Electronics Production
Milling and soldering a PCB board
This week's assignment was daunting given that I have soldered about 2 times in my life and I think "stuffing" is for taxidermied animals. But because I had to do the assignment twice I now feel like a pro.
Images
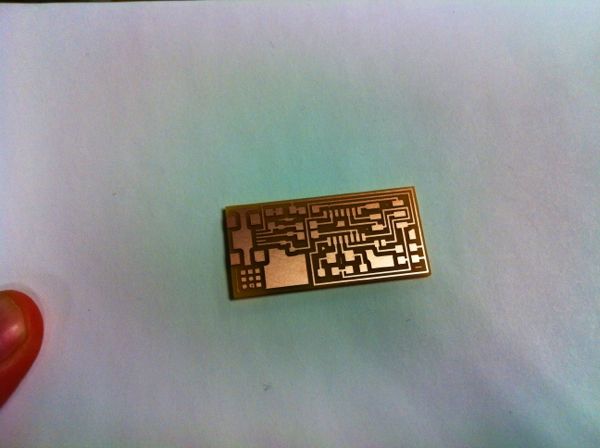
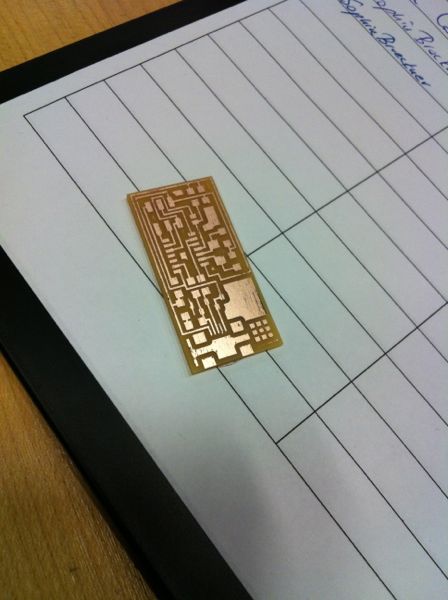
My first board came out perfectly in under an hour. I was on such a good path. Yet so naive...
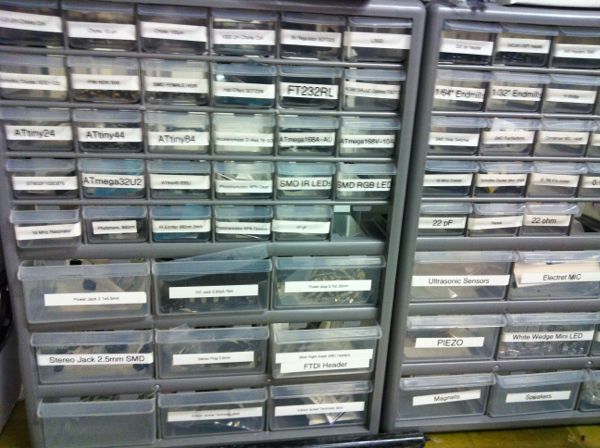
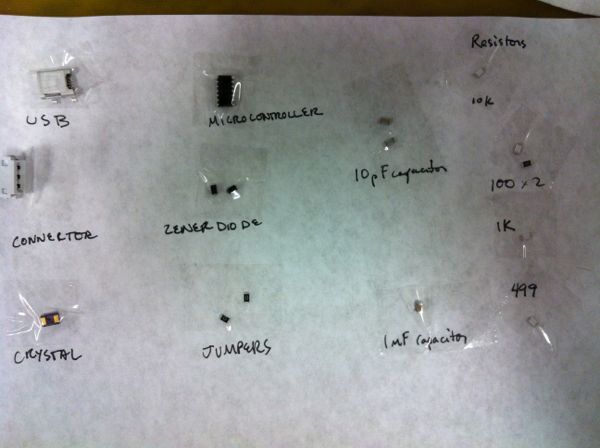
It was a little complicated tracking down the components we needed in the lab.
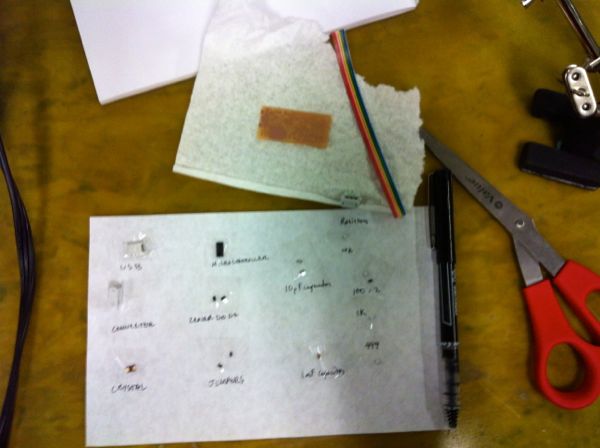
Each component was about the size of a speck of dust. Dan Novy taught us the handy trick of taping each component to a piece of paper and labeling them.
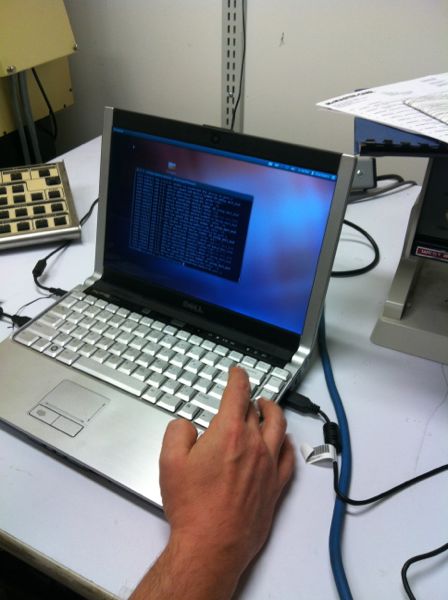
I managed to solder all the teeny things onto the teeny board and was inordinately proud of myself. However, upon testing the board with Dan's programmer it turns out that it couldn't see my board at all. FAIL!!!
I tried troubleshooting it by re-flowing the solder connections, checking for any bridges, and then testing the crystal with the multimeter (which showed no current going through). Then I even tried resoldering a new crystal on in case I had fried the crystal with too much heat. But to no avail. My perfect board did not want to communicate with the outside world.
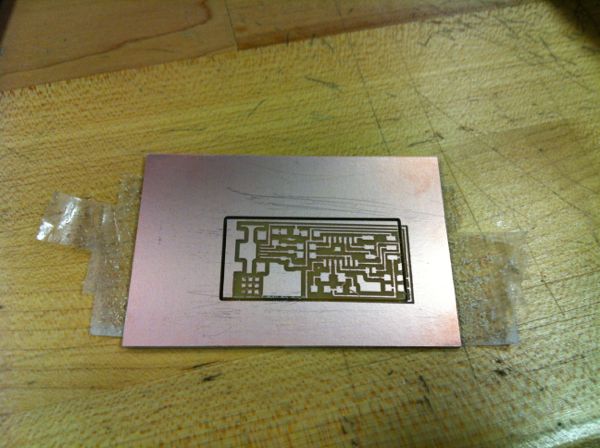
Back to the Modela for more milling. This time it took a couple of tries to get it right. In the example on the left I actually moved the board between doing the traces and the cutout. This was a really bad idea.
After some issues with deburring, I made a nice fresh board. (To deburr, slide a steel rule across the board but very gently. I actually seemed to pull up a trace on one of my boards with a ruler. Also - wash the board before soldering!)
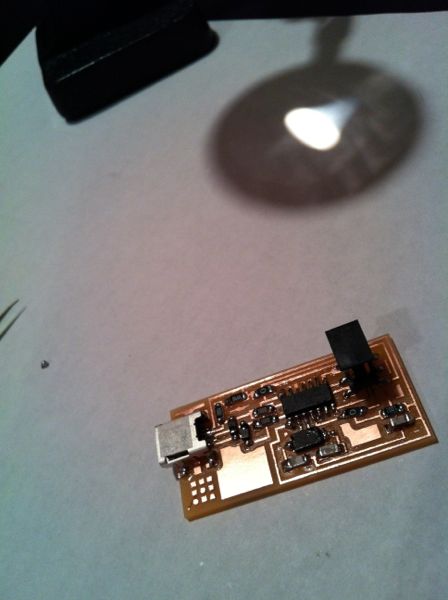
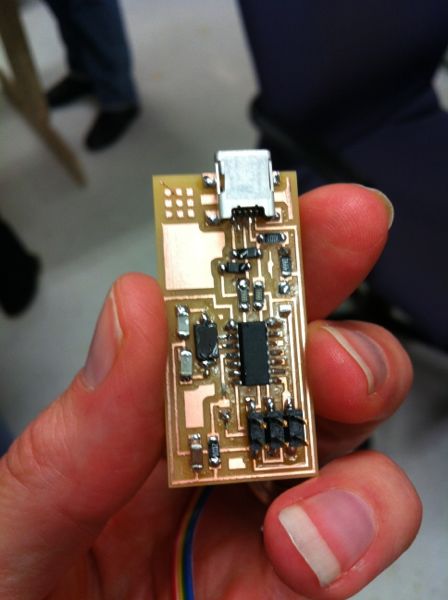
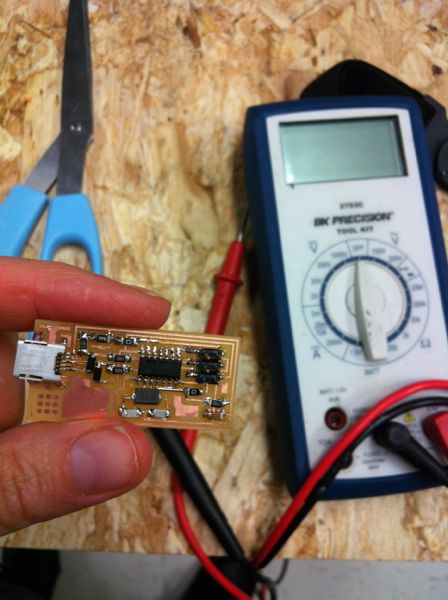
Solder job #2. The flux pen was my friend. The result is a little blobby but I still feel very affectionate towards it.
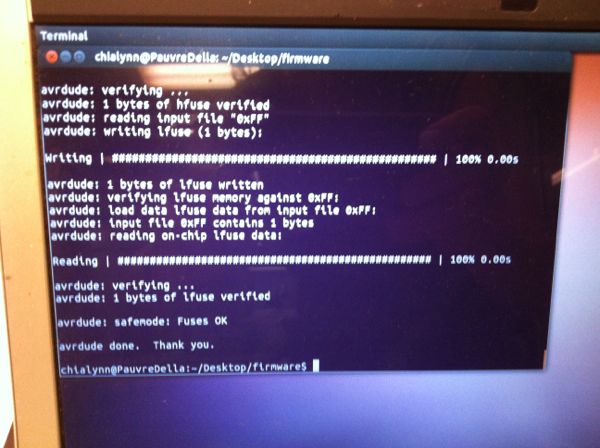
OMGOMGOMGOMGOMG. It programmed! I am the best!
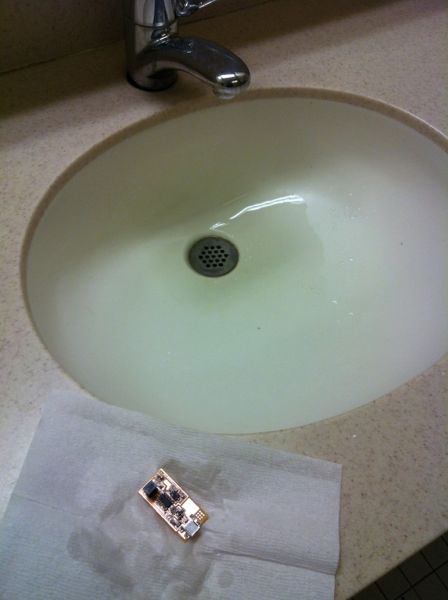
My final step was washing off the flux pen traces.