Ladle Holder (the edges are too sharp)
The goal was to make something by creating a composite (i.e., one that combines a material with good tensile property with a material that has a good compressive property). We used linen fiber for the tensile material, and epoxy for the matrix that provides compressive strength.
p>For my project, I (ultimately) decided to make a speaker cone. I hope to turn it into a real speaker next week as we work on output devices.
Nadya created this nice handout on what composites mean and the process of creating them.
I tried out several objects before settling on speaker cone.
First I thought of making something to place my ladles that I am cooking with. My design had sharp edges (and I did not know how to create rounded edges in the free version of Sketchup). The hobby shop folks recommended I go with something that does not have such small geometry and shart edges.
Then, I decided to make a lighter hammer to do micro-tuning of Tabla (Indian drums). The available tuning hammer is really small but heavy. When the drums get old, they become very sensitive even when strocked lightly with a tuning hammer. I thought, it would be nice to have a ligher hammer made out of wood on which I can wrap some composite material. There were two problems with this idea: (1) there was no need to turn the ligher wood hammer into a composite in the first place, but (2) making a hammer would be difficult to achieve withough having breaks in the composite material. This idea too was shelved.

Nadya suggested I try a speaker cone that I could turn into a speaker next week.
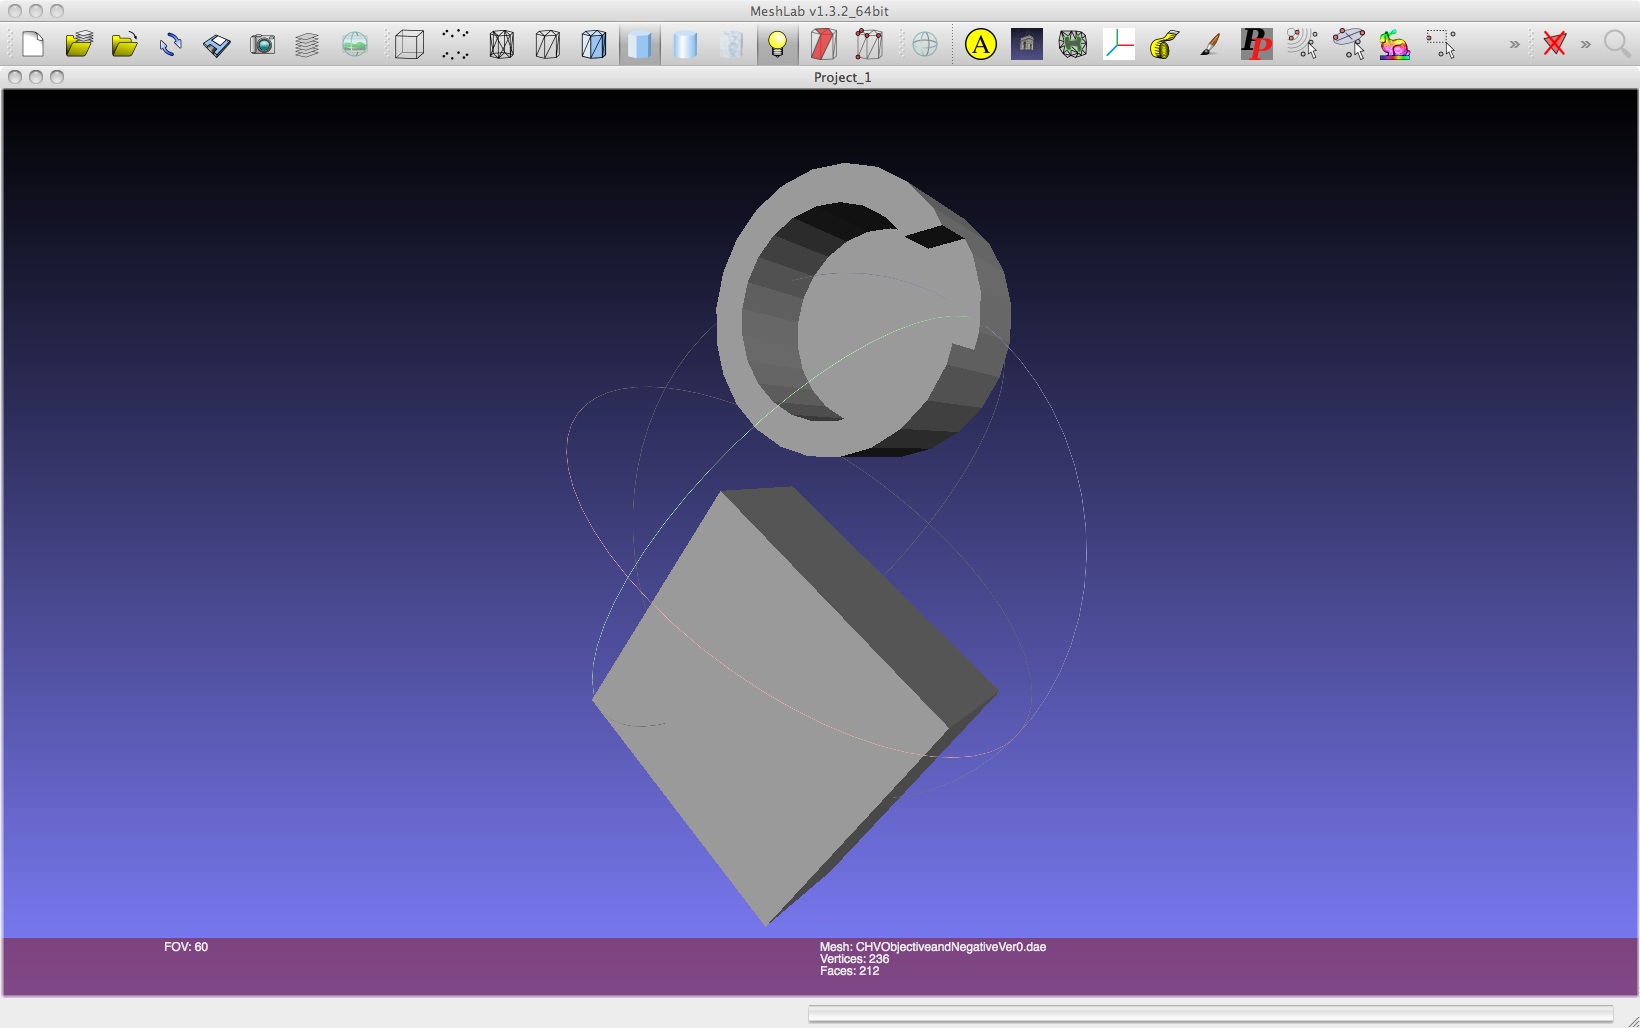
I had to begin by doing a bunch of research on speaker design. I took the dimensions from a mid-range speaker described here and created a mold.

I designed the mold in Rhino and then machined a piece of foam on the CNC router to make the mold with rough and finish cut. After that, I cut the excess foam using a band saw to make it smaller.
One lesson here was that I could have put in somethought into how the geometry of the mold affects the placing of the composite. For example, I could have evan machined the base for the mold that helps in determiing where the laying of the composite should end. Also, the mold design can done to make vacuuming most effective. My design was easy to vacuum but I can imagine haivng the mold to make vacuuming difficult.
I tried out laying the fiber in various geometry before soaking it in epoxy and actually setting it. As I was dealing with a cone-shaped mold, I first thought of using small band-aid like piece of fiber, but then wasn't sure if it would be too brittle a composite in the end. Finally, I chose to cut linen into stips that were a 1/4th inch thicker than the cone I wanted to make, and laid it into a octagonal shape (by folding the linen strip after some lengh and then continuing around the cone). I took 3 to 4 strips of cloth together, soaked it with epoxy, and laid it. In total, I laid 6 such layers. I am not sure if I used too much epoxy. We'll see.
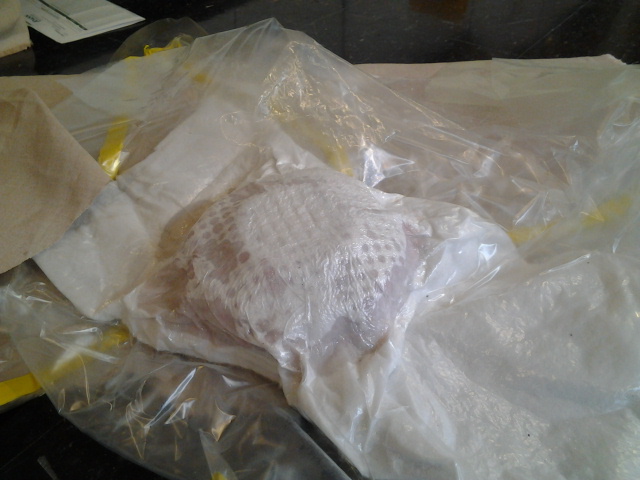
After laying composite, I wraped them with bleeder and breather. I can't quite say if I had too much bleeder, breether. Then, I placed the mold along with one more mold from a fellow student in a vacuum bag, and started the vacuum.
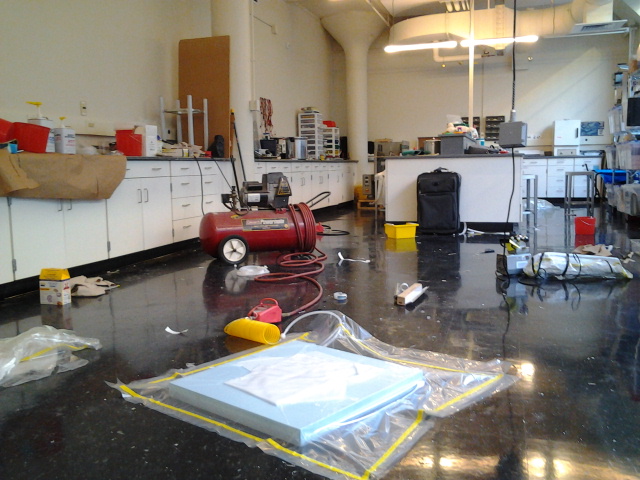
We vacuumed the set up for 18 hours.
Current challenge: I had to leave town for two days, and retrieved my vacuumed set up only after 48 hours. I am still working removing the breather and bleeder to get the composite out.