Week 4 - 3D Printing and Scanning
Chintan Vaishnav
Goal
To scan a 3D object. To print a 3D object.
Scan a 3D Object
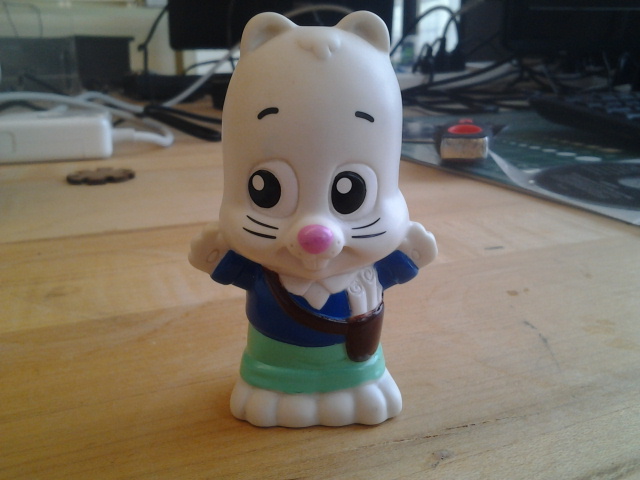
Scan Object (Front)
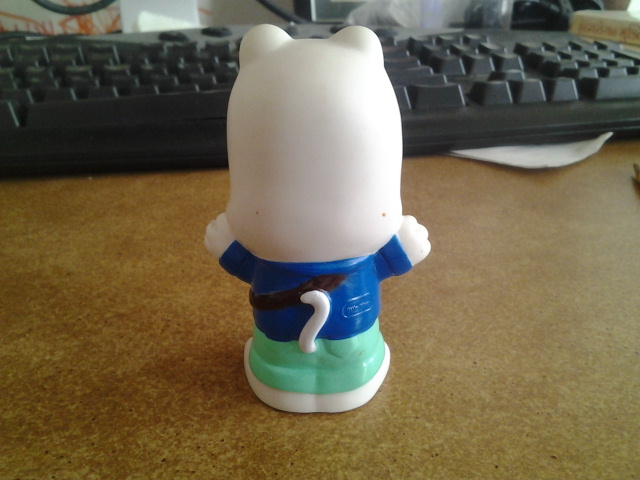
Scan Object (Back)
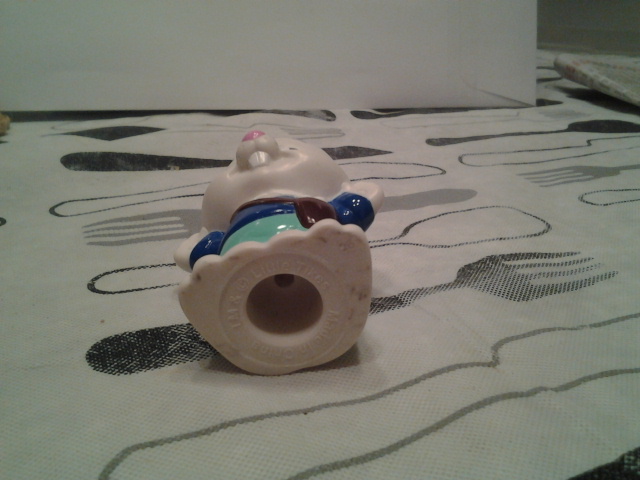
Scan Object (Bottom)
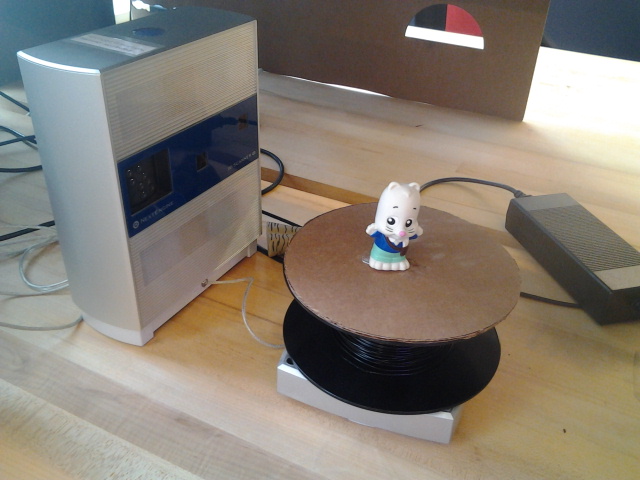
Scan Object (on the Scanner Base)
I decided to scan one the toys my daughter has. Here are some tips from my experience to help you do a successful scan:
Pick an object that is less glossy/shiney. Alternatively, you chould coat it with white paint or poweder, or scan it when the daylight is low. Luckily, I picked something that was not shiney, but I saw a bunch of people struggling with this problem.
Read the ScanStudioHD Manual. I skimmed the manual for using the ScanStudio before I began. Learn the sequence of steps from here. The hardware setup is easy, but software is not intuitive. I believe, it was becasue I read the manual that my scanning and post-processing of the image went smooth. You can find the manual here.
Make sure the scanner base does not shake. In IDC Lab, the scanner is on the same bench as the replicator. While the replicator is on the whole bench shakes, so if you were to scan during this time, move the scanner to a separate bench.
Pick the right scan quality. The ScanStudio software lets you set the quality of the scan. I had to choose at least an SD quality scan (the three options available are quick, SD, and HD), or else my scan image had holes that were too large to fill, by software or manually. HD scan would was prohibitively time consuming for no real gains, and quick scan was too patchy.
Try auto filling the holes first. I played with the "Settings" (available through pull-down menu) for hole filling to adjust it such that it tried to fill everything smaller than 0,6" (appropriate to my image). The software was able to fill everything, leaving out the hole at the bottom. The manual fill did not do as good a job.
I believe I have a really nice scan, which would have printed just fine, if I wanted to print it.
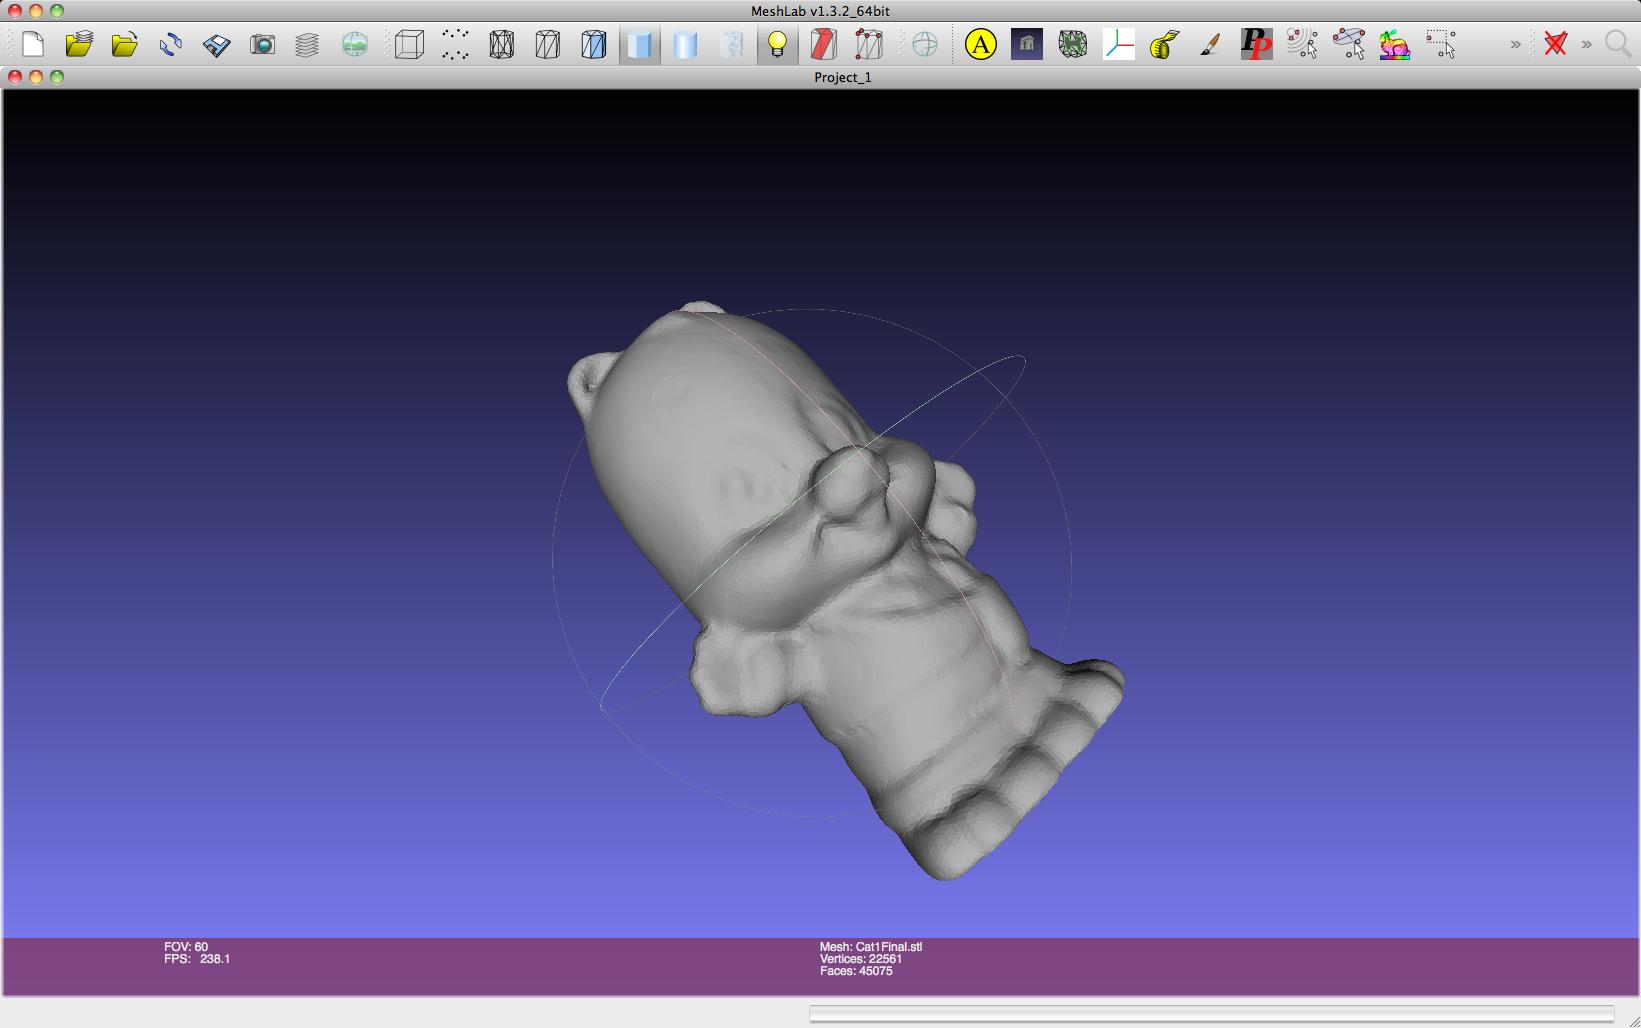
3D Model
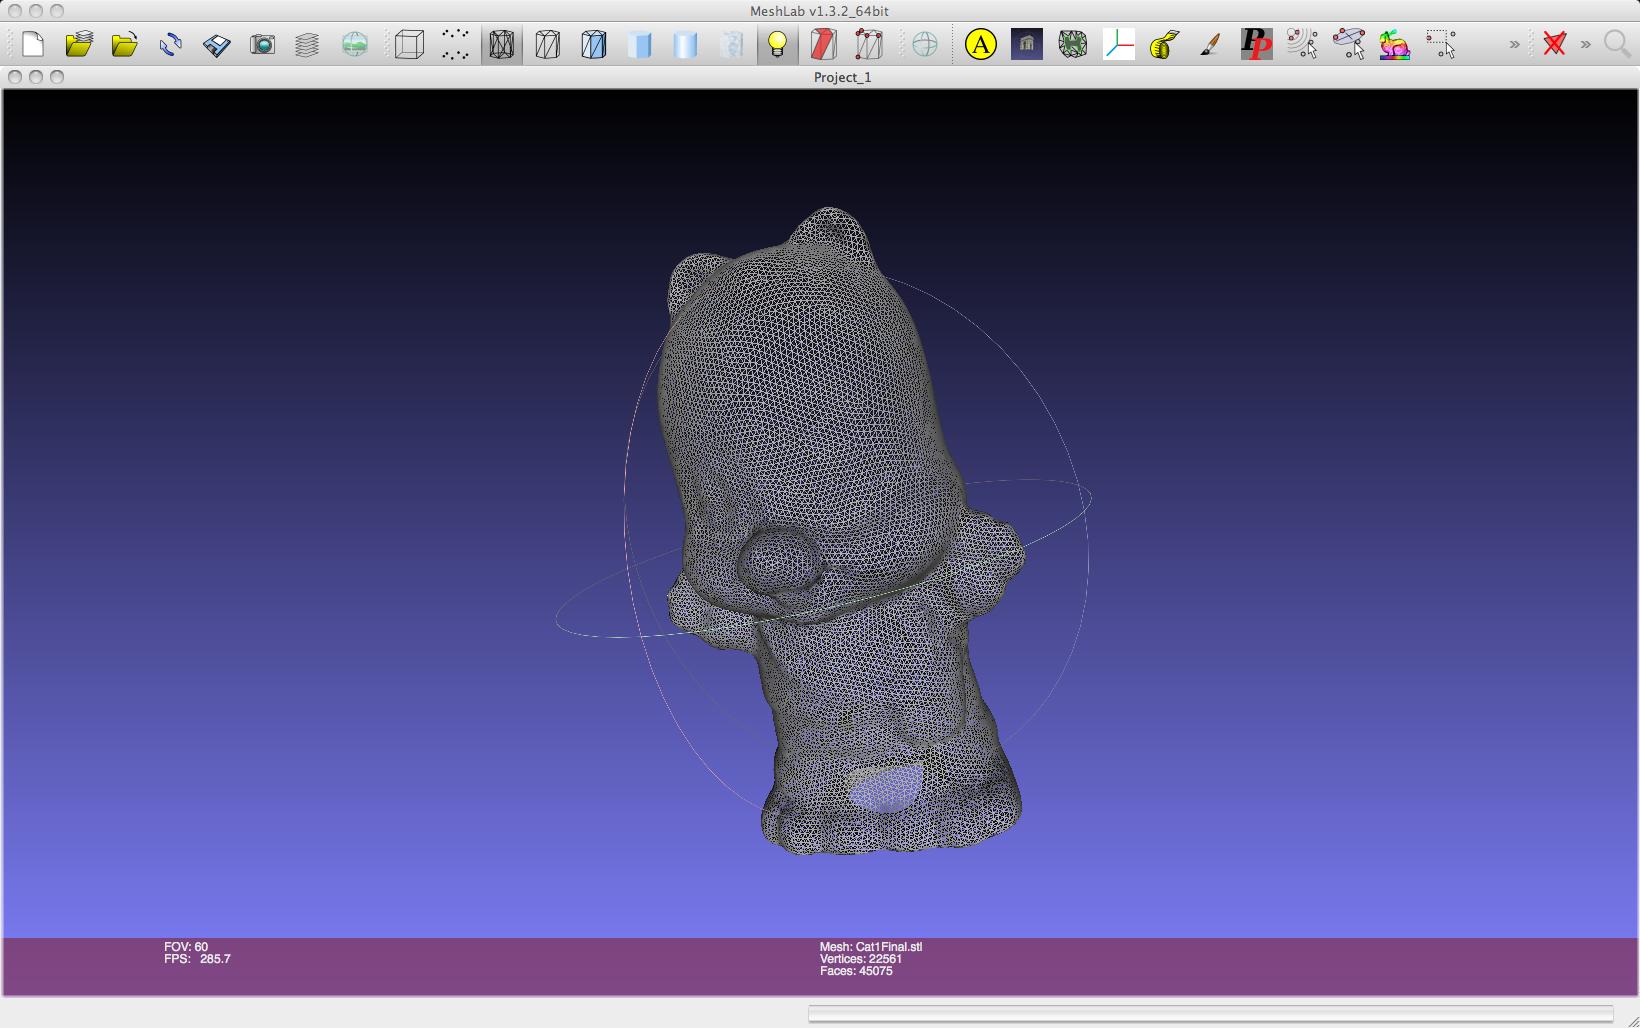
3D Model Wire Frame
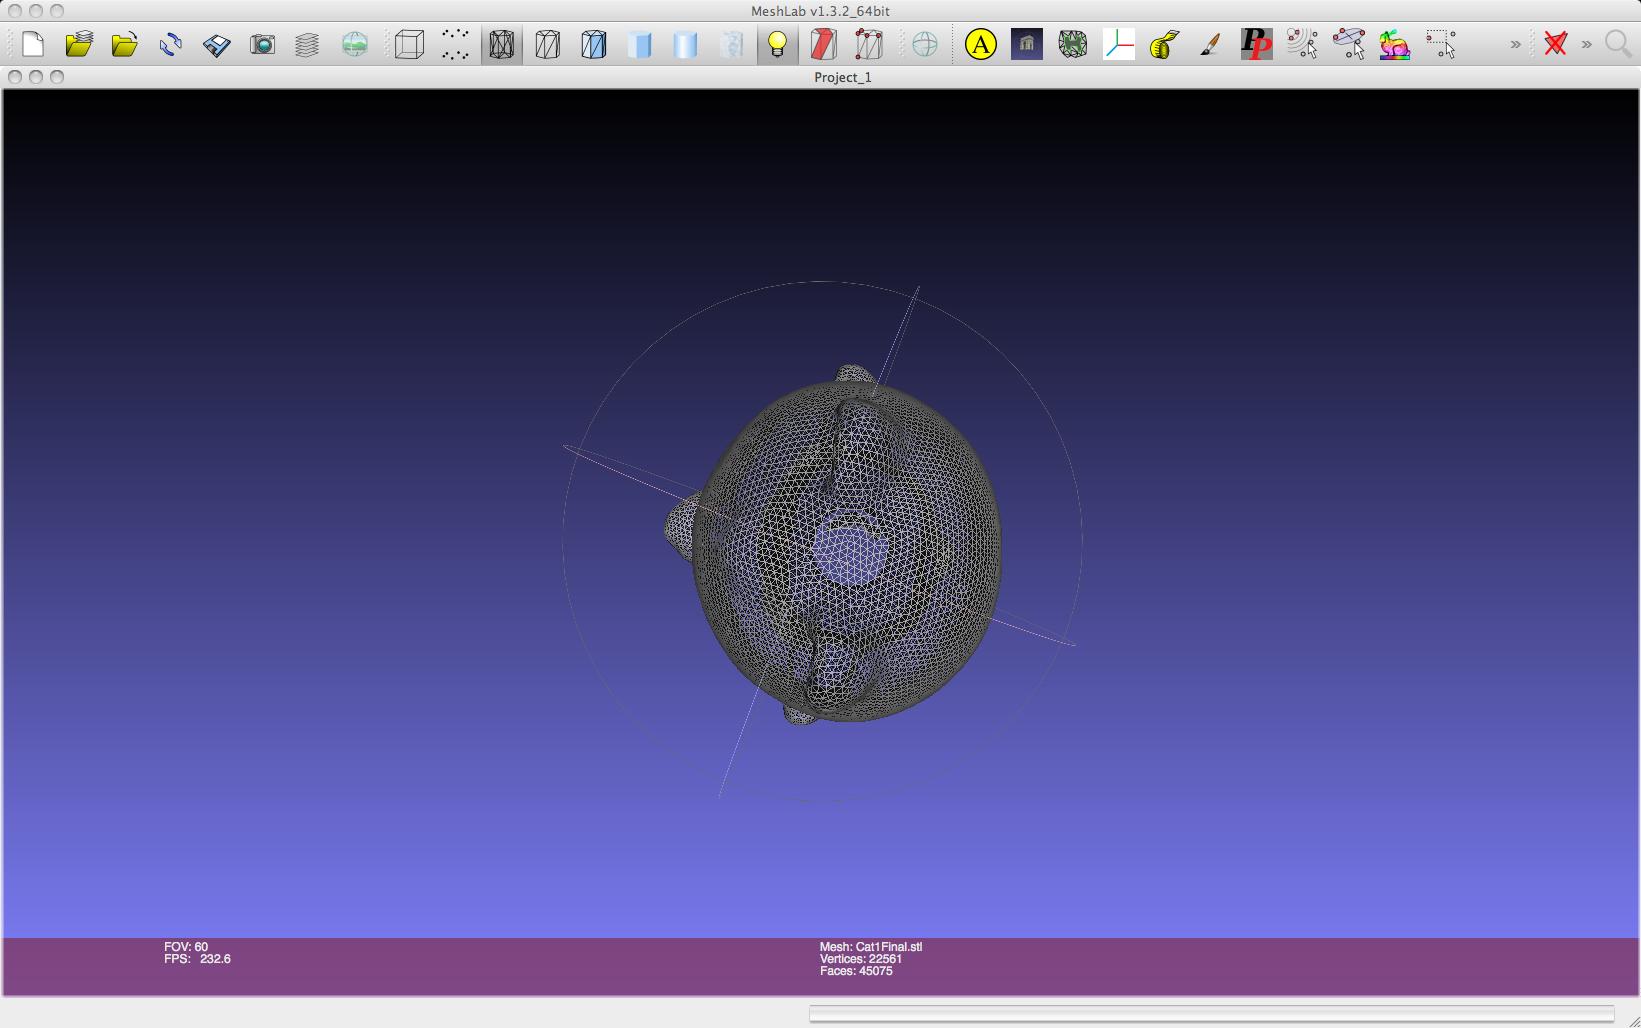
3D Model Top
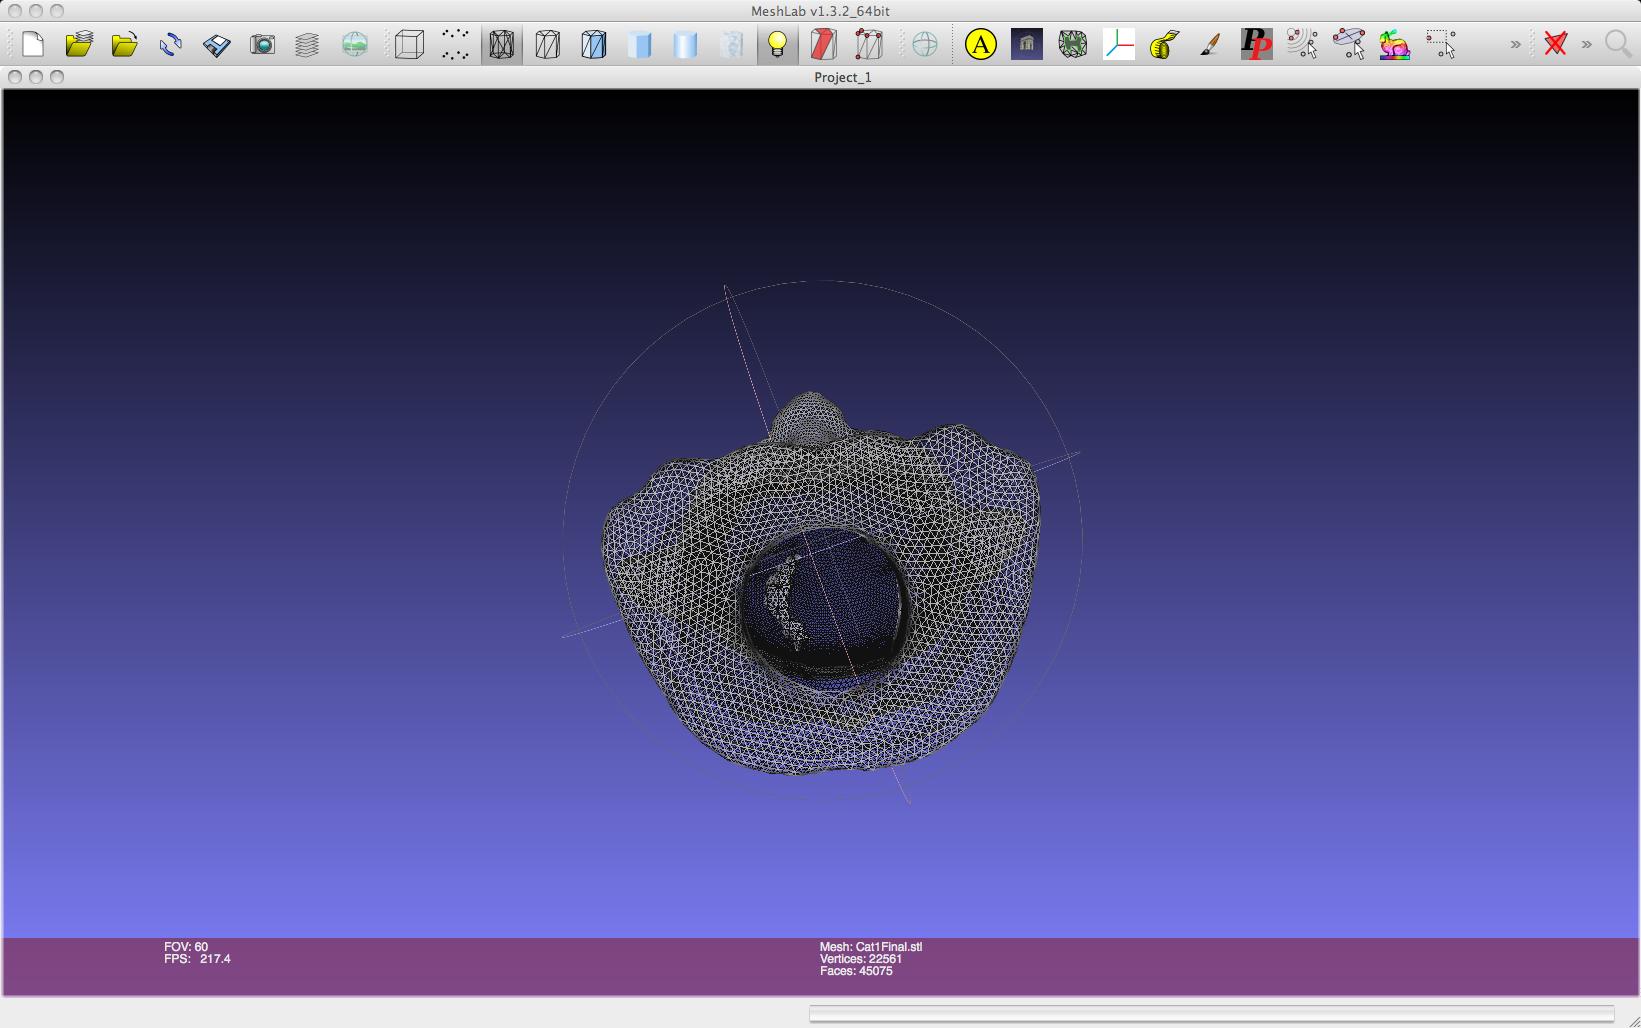
3D Model Bottom (with holes filled)
3D Print
I created a Lego Block of dimensions exactly the same as a real one. The test, once it prints, is whether it fits a real block. I used Google Sketchup for making the block. I had hoped to use AutoCAD, but I am unable to install it because of some license issue that I am working on sorting out. The Sketchup can do most of what I would have wanted. Moving and replicating an object is combursome, but the overall experience was stable. This was my first time drawing a Sketchup object of exact dimensions.
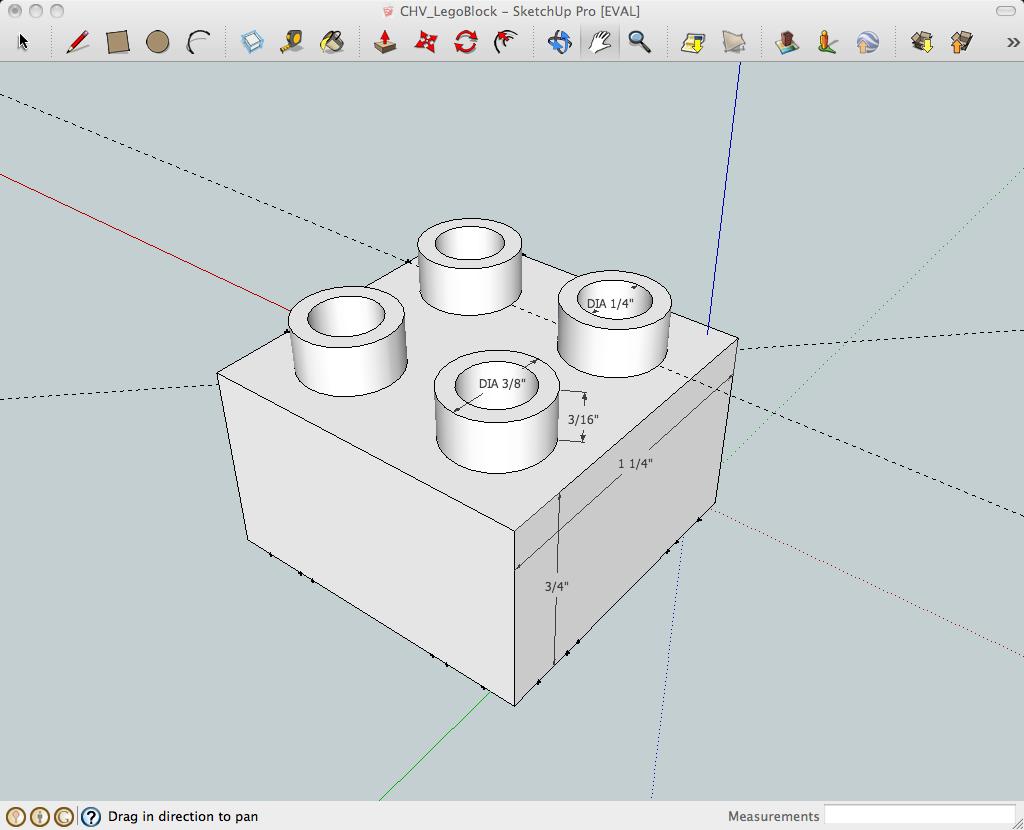
3D Drawing for Printing (Top View)

3D Drawing for Printing (Bottom View)
The Lego block came out beautifully, and they fit with real lego blocks. The inside of the lego part was covered with base material and covered with a thin layer. This cover had to be removed with a knife before desolving the base material.
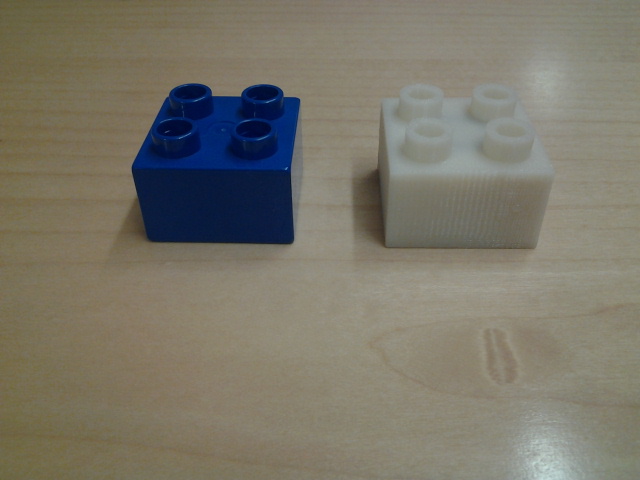
3D Printed Legoi (white)
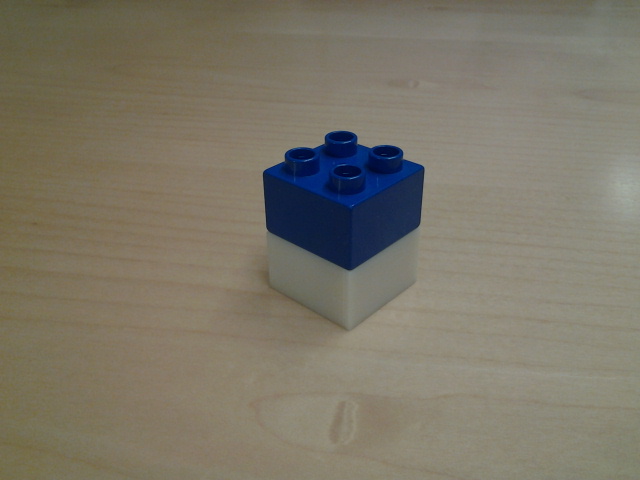
3D Printed Lego fits real ones
Files
Scanned Object STL
Lego Block Sketchup