Week 10 –
Composites
Schooner Hull
Make a 3D mold, and produce a fiber composite part in it.
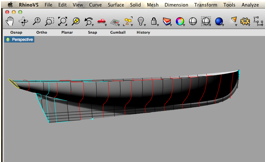

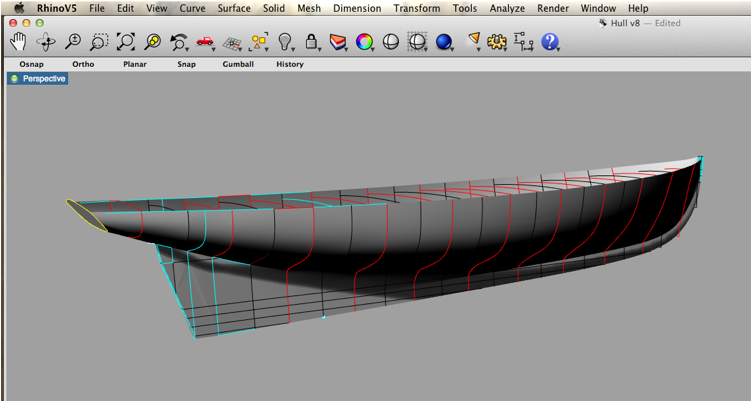
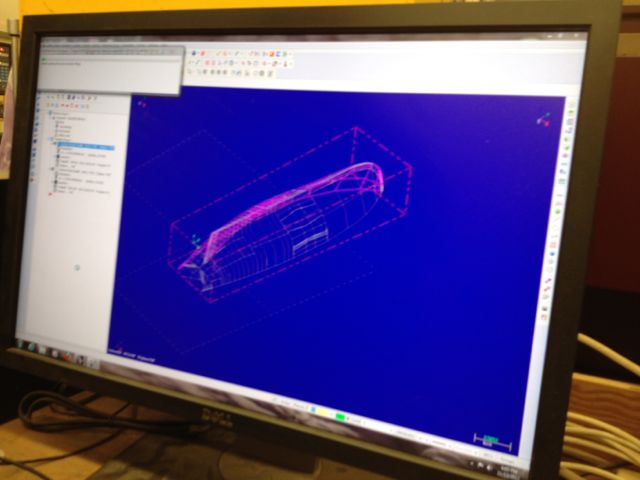
For this week I chose to finish the 3D model I was using for the half hull in Make Something Big, turn it into a whole hull, and use it as a plug for a composite hull, using Linen and Epoxy. Many thanks to Sam for his patience with teaching me Rhino.
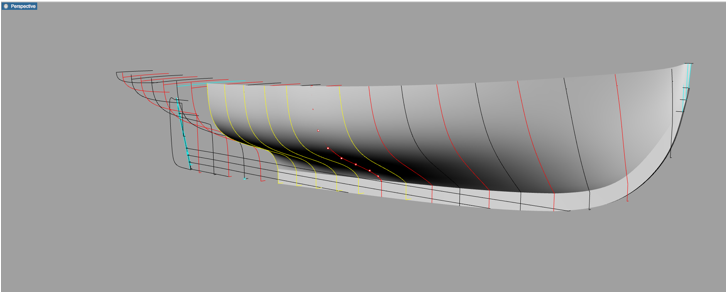
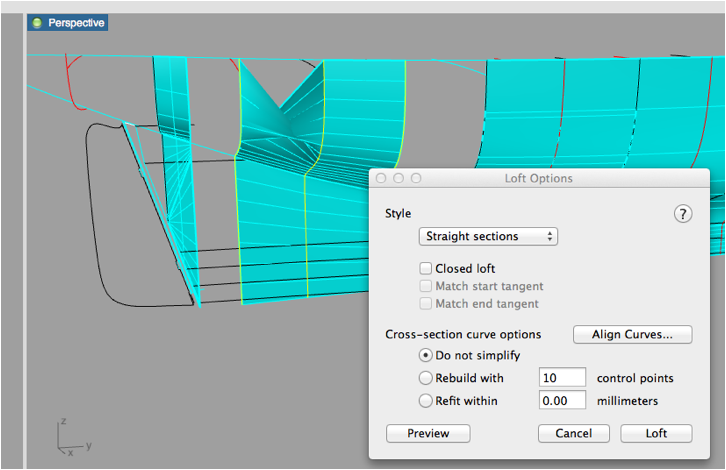
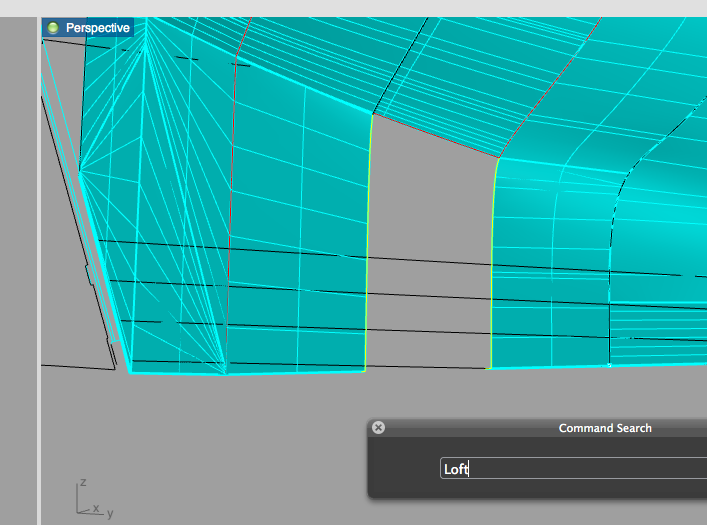
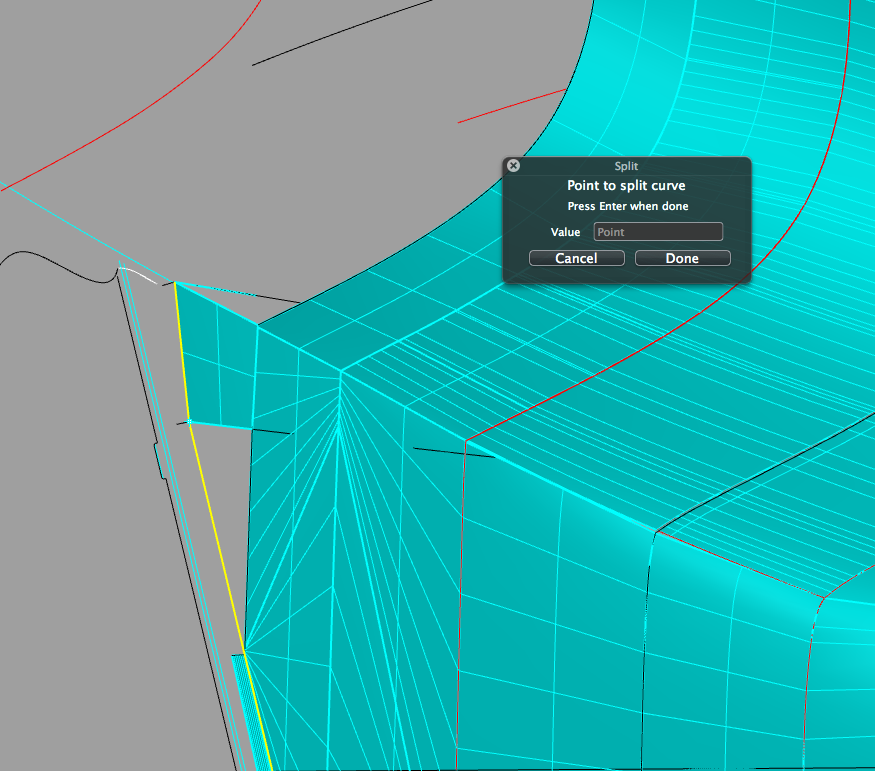
The Challenge lay in the way Rhino wanted to treat the curves toward the stern – essentially twisting the plane. I got around this by splitting the curves at the point where the hull meets the keel, and choosing the “Sweep 2 Rails” rather than “Loft”.

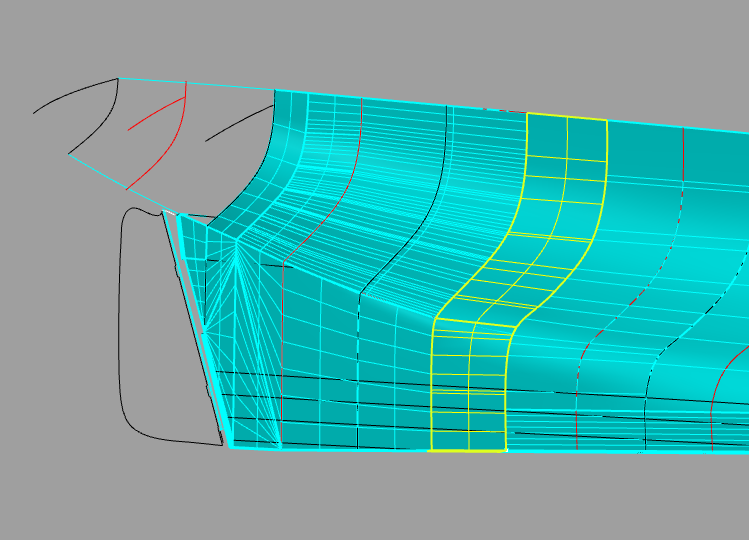
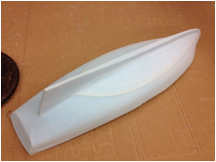
It took many hours of fiddling, but the result was worth it.
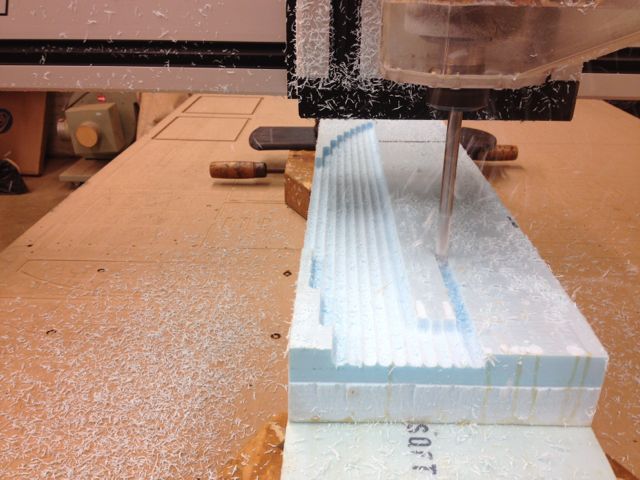
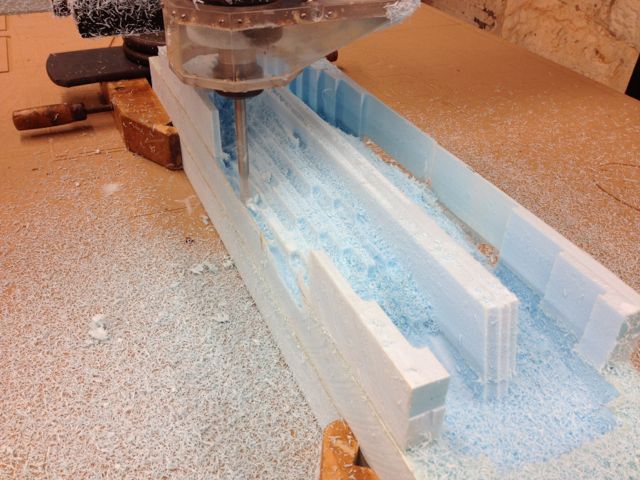
Next step was to import into MasterCam and create rough and smooth toolpaths. I don’t have good pictures of this. The settings were for a parallel toolpath using a 3/8” round mill.
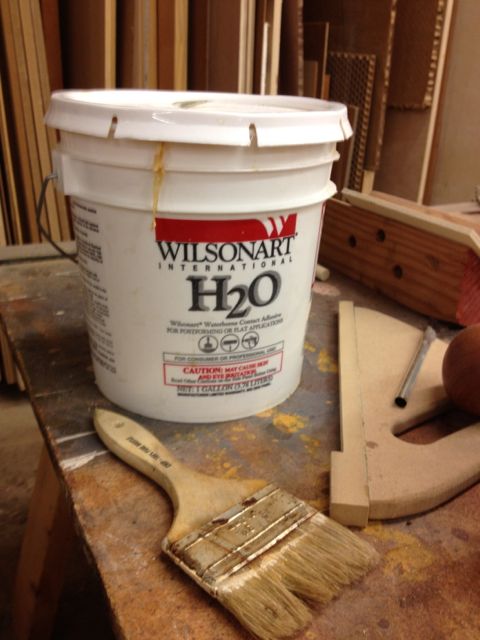
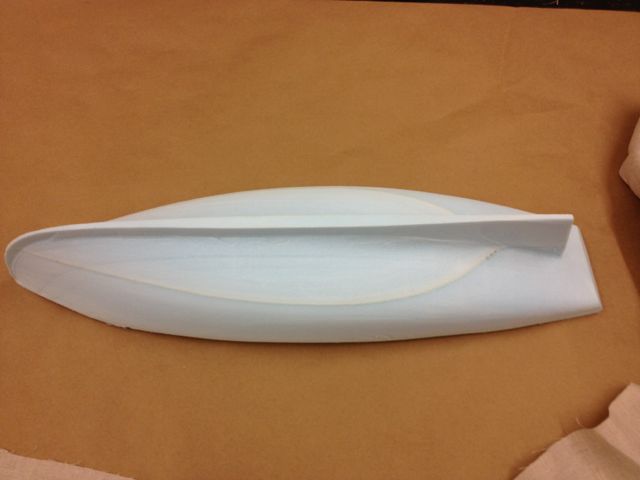
The next step was to glue the foam together to make a blank, using a water-based contact cement. Ken at the Hobby Shop recommended clamping and leaving overnight for a stronger bond, and to reduce the chances of gumming up the mill bit.
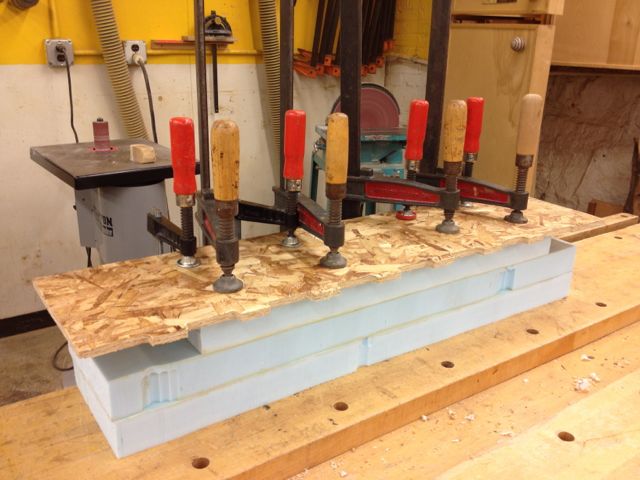
We clamped the blank from the ends and weighted the blank. It worked well.
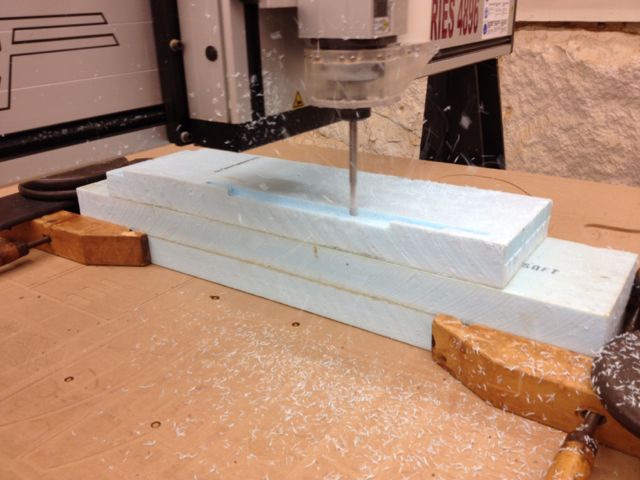
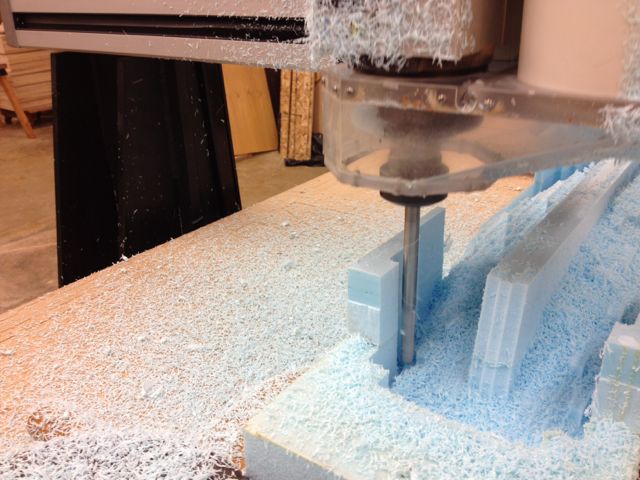
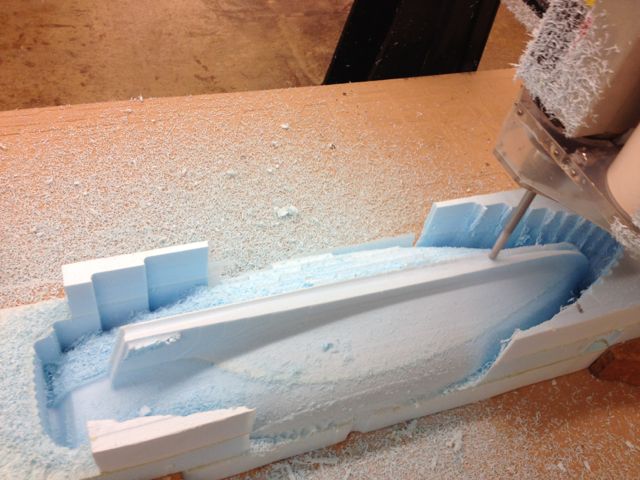
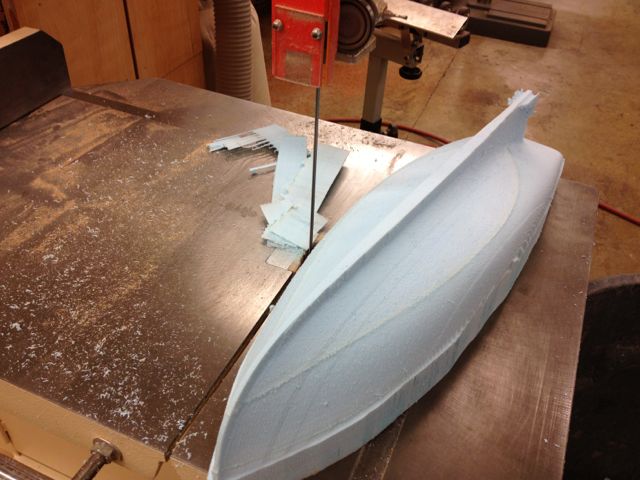
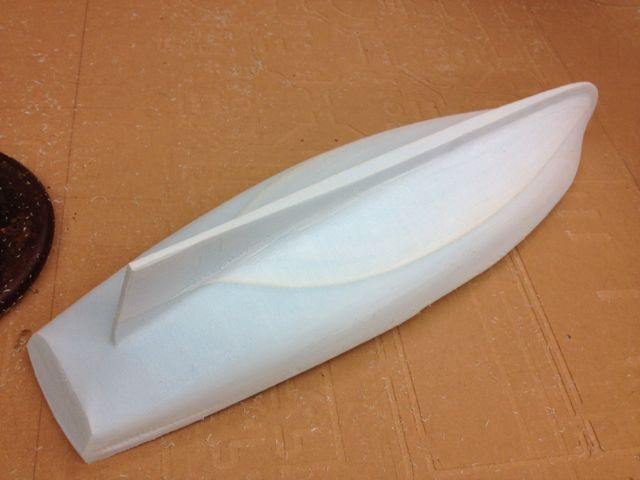
Once complete (80 minutes later) I trimmed the excess using a band saw. In retrospect, I wish I had left more foam under the mold as this would have made for easier glassing. My intention was for this to be a plug, rather than covering it entirely. The lumps by the sternpost are because the keel flexed during the last stages of the milling. They were easily removed with a sanding block.
I already have experience with West Systems in a variety of applications, so I wanted to try another material for the matrix. Nadya had suggested Liquid Plastic, and commented on its fast drying time. I thought this would enable me to lay up several layers, drying in between, allowing for a better finish.
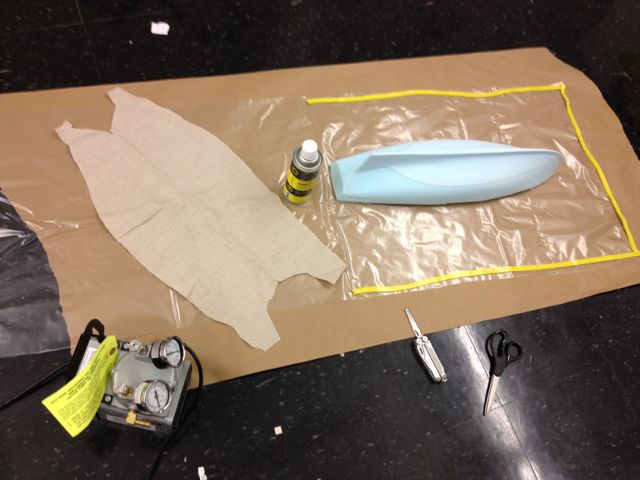
Liquid plastic mixes easily, but you only have 15 minutes to work with it.

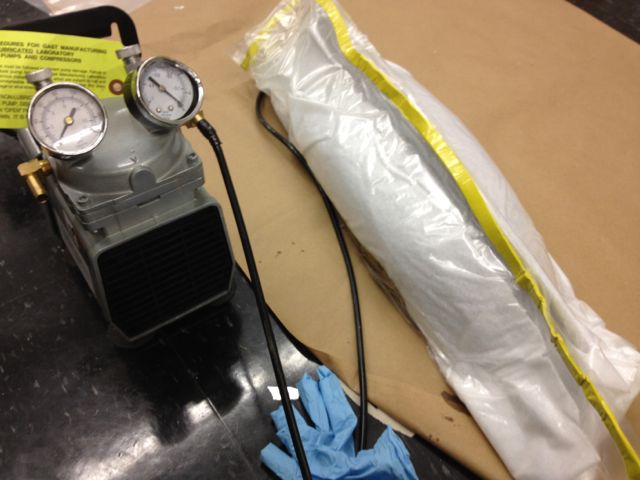
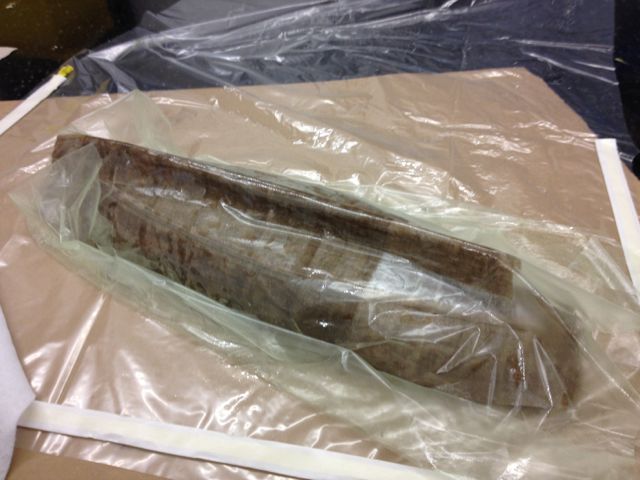
Mold with one layer of linen, impregnated with Liquid Plastic, covered with a bleed sheet, in a vacuum bag sealed with mastic tape.
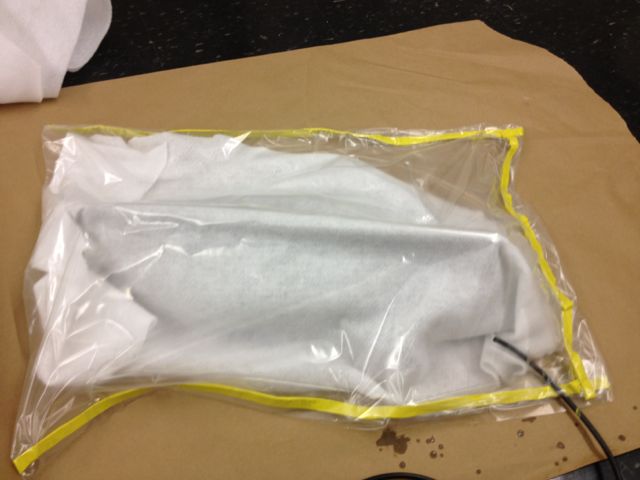
I’m short on photos (not wanting to trash my phone) – this next shot is after the second layer. The first one came out better, and I attribute this to an inadequate seal on the second vacuum bag. This is the most significant limitation of the fast dry liquid plastic in that if you don’t get an adequate seal quickly , or if you try to add more linen after the resin has started to set, you won’t adequately such the residual material through the bleed layer.
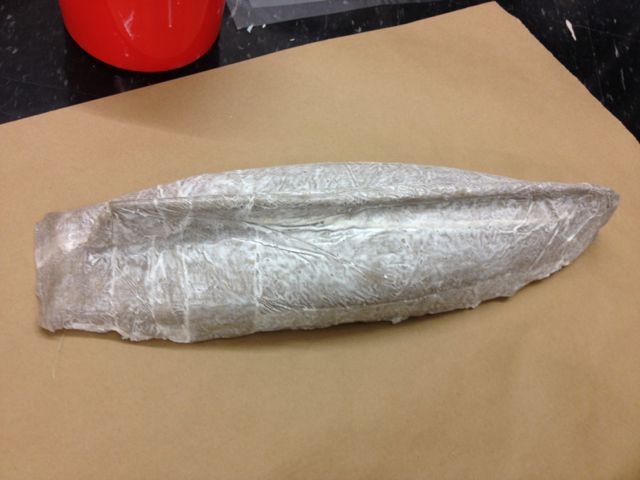
Third layer (below) actually came out really well (excellent seal), but I don’t have photos.
I went for a fourth layer. This time I left it overnight in the vacuum bag

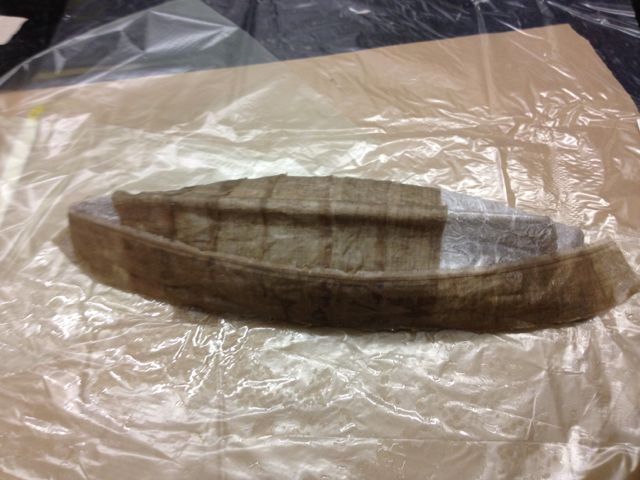
It came out OK, but there is some delaminating at the gunwales.
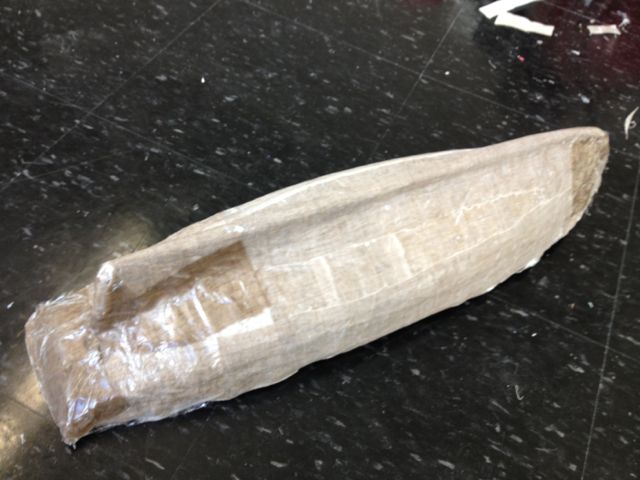
Key learning: Epoxy is much simpler in the long run. The darker panels I attribute to an inadequate seal on the vacuum bag.