Week 6 – Molding
and Casting
President Obama’s
Iranian Toy Drone
Original Plan
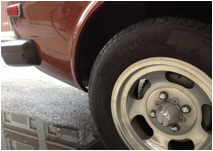
I had plans to build a metal version of the hubcap prototype that I had 3D printed a few weeks ago, to replace a broken plastic one on a 1974 Datsun 260Z.
Was looking into low temp alloys or powdered metal – but was advised that hot molten metals were likely to involve a level of risk management that was beyond the scope of the class. Fair enough. Neil forwarded an excellent chronicle of investment casting from 3D prints. It’s a great project – just not for this week.
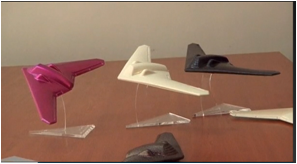
Enter the drone.
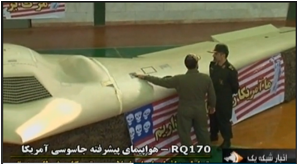
In January 2012, the following story caught my eye on Reuters:
Iran is sending a US drone it captured in December home, with a small makeover. Mocking requests to return the drone, a local toy company has plans to send a miniature pink model of the RQ-170 Sentinel to US President, Barack Obama.
“We wanted for Mr.
Obama himself to have this toy because we want him to realize that Iranians don’t
leave anyone’s requests unanswered. We chose the color pink because it is Mr.
Obama’s favorite color. We wanted
to show that we can deal with this in a very friendly and peaceful manner and
put it in the playful hands of the children of Iran, to pursue a soft war with
president Obama and the US.”
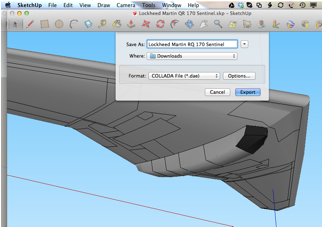
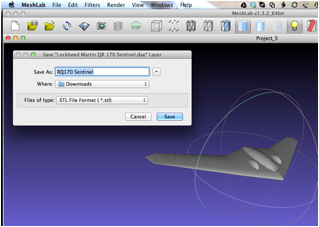
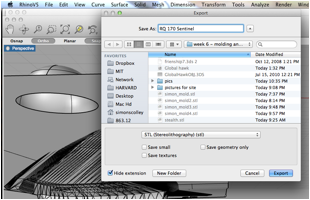
I searched for RQ-170 Sentinel on 3D Warehouse, and opened it in Sketch Up. I then exported it as a .dae file, imported it into meshlab and exported it as a .stl file
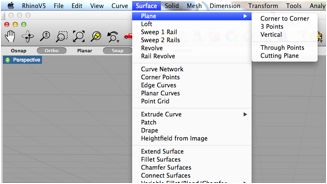
I imported into Rhino, and created a cutting plane, about 5º off horizontal. Next came the registration points, sprue and vents.
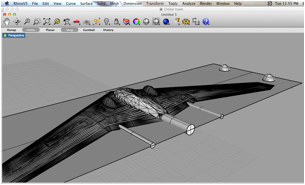
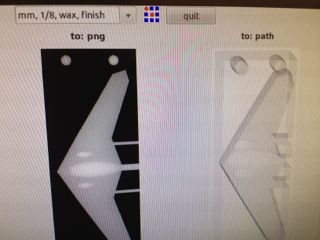
Exported as .stl, and imported into fab module. Made sure that the rough cut settings were in mm. I scaled the model to fit the available piece of wax. I’d originally planned on making a smaller model to save time. But I could see from the path that the space between my registration marks was smaller than the 1/8” mill head, so I resized larger. Had I known just how long the milling process would take, I would have simply moved or even deleted the marks.

The rough cut went well. It took a while, but seemed to work efficiently. I’d considered the drone a reasonable project because it is only 5 mm deep, but there was a lot of wax to remove. Used a glue gun to anchor the wax block in place.
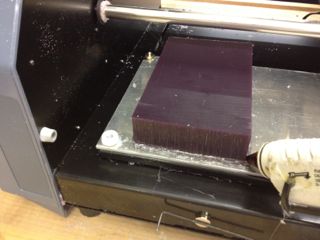
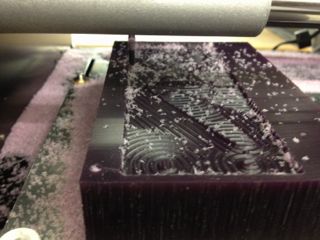
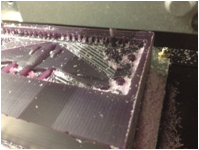
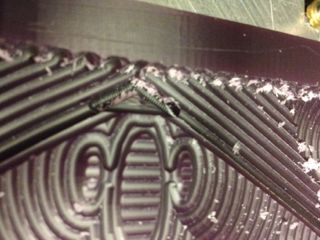
The drama came with the finish cut. I aborted the job a few minutes in, because the Modela seemed to be removing more wax than I’d envisaged, and more clumsily compared to the detail in the model. Not that I distrusted the machine inherently, It was just alarming watching so much wax suddenly disappear (I’ve had haircuts like that, that didn’t end well). I reloaded the file, double checked my settings and went for it again. It continued removing a lot of wax, and moving the mill head around a great deal for the actual cutting it was doing. I decided to just trust the process. Trust as we all know, often requires a little patience.
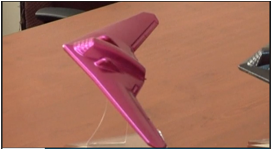
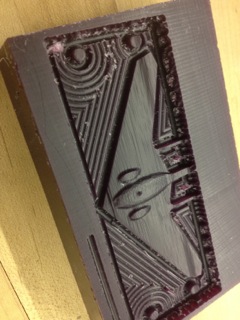
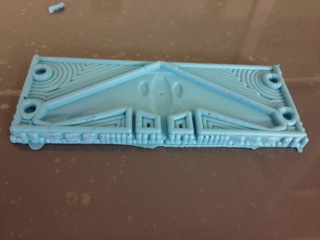
Two and a half hours later and we have a positive. Spent a lot of time moving around, and not much time working. Much like some of my recent deckhands.
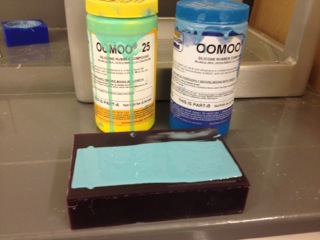
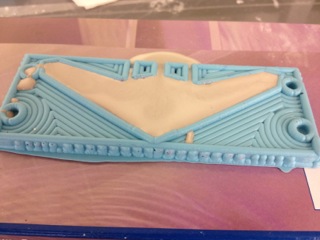
Poured the silicone mold and went to bed. The following morning it had set well, and I turned the block over to mill the other side, and poured a half-cast using Hydrostone. The mixture seemed runny to me based on the description of “like yogurt” so I mixed it a little thicker than the manufacturers recommendations. I used warm water to encourage a fast set. Based on the long-and-flat-ness of the mould, I used a cardboard box to provide rigidity. When I use both halves of the mould I will need to sandwich these.
Lessons