Week 2: Computer-controlled Cutting
Overview
The second assignment was to design and press-fit construction kit. This week, I learned how to...- Use the laser cutter and the vinyl cutter
- Design and construct a press-fit lamp using cardboard
Inspiration
I just moved in to my new dorm a few days ago, and I needed a nice piece of lighting, other than the fluorescent light on the ceiling. I always have the option to run to IKEA, but I thought, why not make one! Upon thinking about the design, I was inspired by the "Tree of Life", which is a icon of Disney's Animal Kingdom.
The Tree of Life represents the beauty of mother nature and wildlife. Since the main material for my lamp would be cardboard, I thought using the Tree of Life as a design motif would be nice, since cardboard is made from trees. It also represents its nature of being 100% recycleble and eco-friendly in many ways.
Press-fit Construction Parts
Before going into the design, I first created cicular press-fit parts out of cardboard using the laser cutter, and tested how press-fit construction works. The material that was provided was a sheet of cardboard with a thinkness of more or less 4.4 mm. I tried out different slit widths (3.8, 4.0, 4.2, and 4.4 mm) and found 4.0 mm was the most moderate in terms of joining cardboard parts together.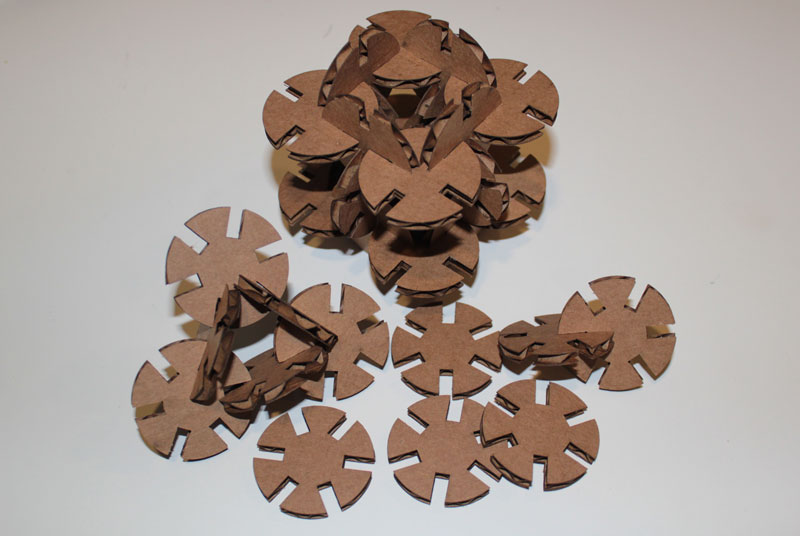
As for the laser cutting settings, I used the following setting.
- Speed: 65
- Power: 45
- Frequency: 1050
Design
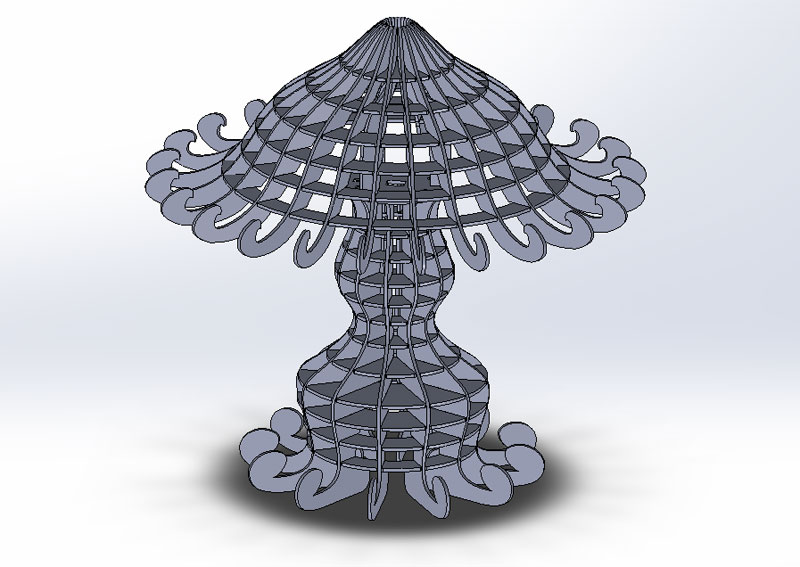
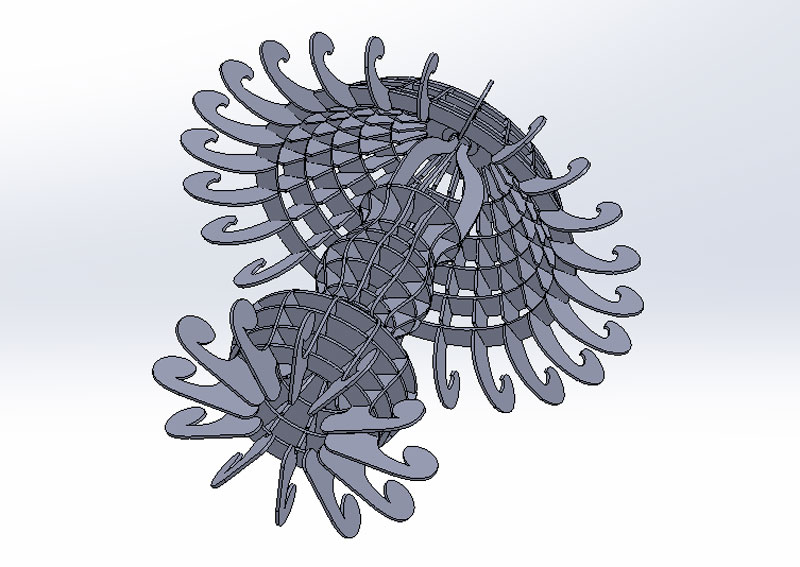
After getting a hold of press-fit construction parts, I went on with the design. Given the inspiration from the Tree of Life, I drew, extruded, modeled, and assembled the parts using Solidworks. The number of parts came to a total of 56 pieces altogether. In the initial design, I had set the slit width to 4 mm, which turned out to be problematic.
|
|
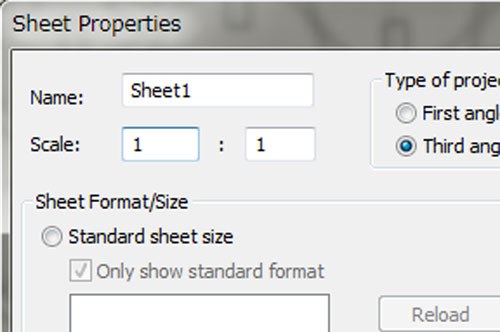
After creating the design, I placed the outline of the parts on a 2D drawing surface, and exported it as DXF files. I then opened the DXF files using CorelDraw, and sent it to the laser cutter. The DXF design files may be downloaded below. On my first try, I was shocked to see all my parts doubled in size when I opened the exported DXF file in CorelDraw.
It turned out, this issue was caused by the "sheet scale" parameter in SolidWorks. Solidworks automatically expands or shrinks the outline to this parameter when parts are placed on the surface. By default, the values were set to 2:1, which would double the dimensions. This parameter may be changed from the sheet properties menu.
Laser Cutting and Construction - Attempt 1
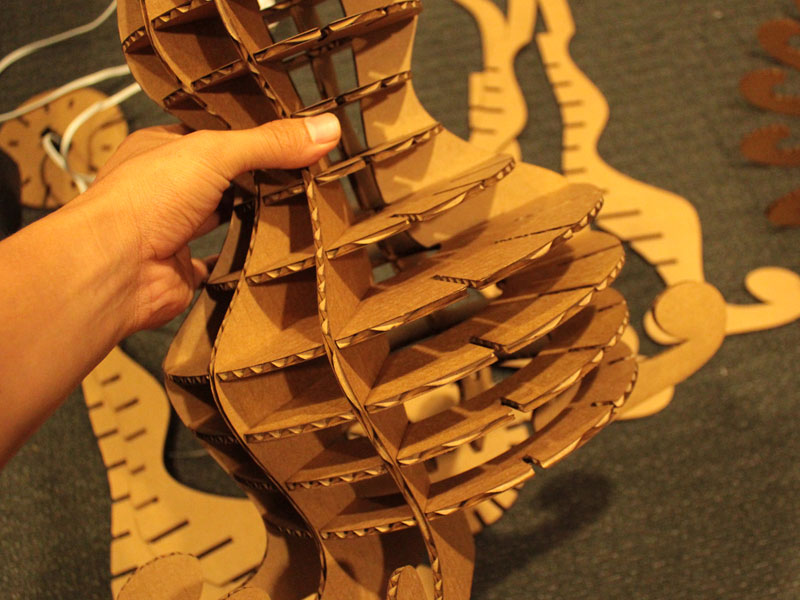
After cutting out all 56 parts using the laser cutter, I started the first attempt of putting it altogether.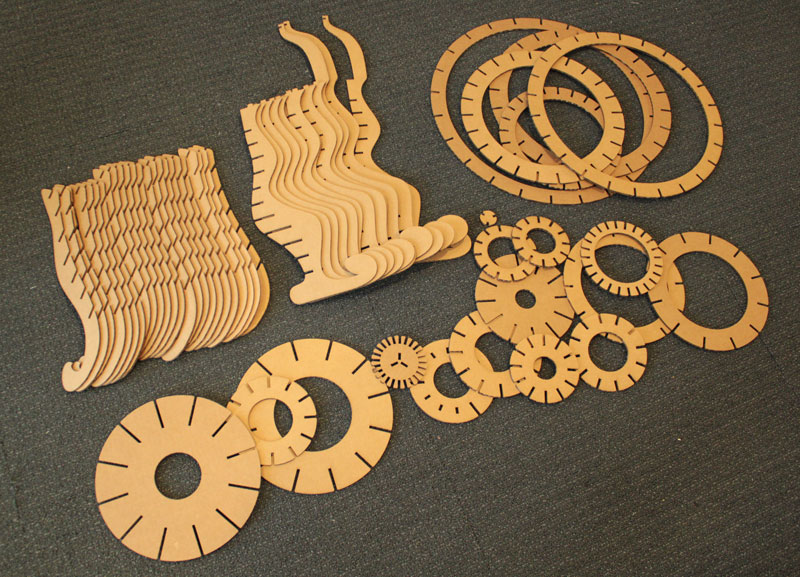
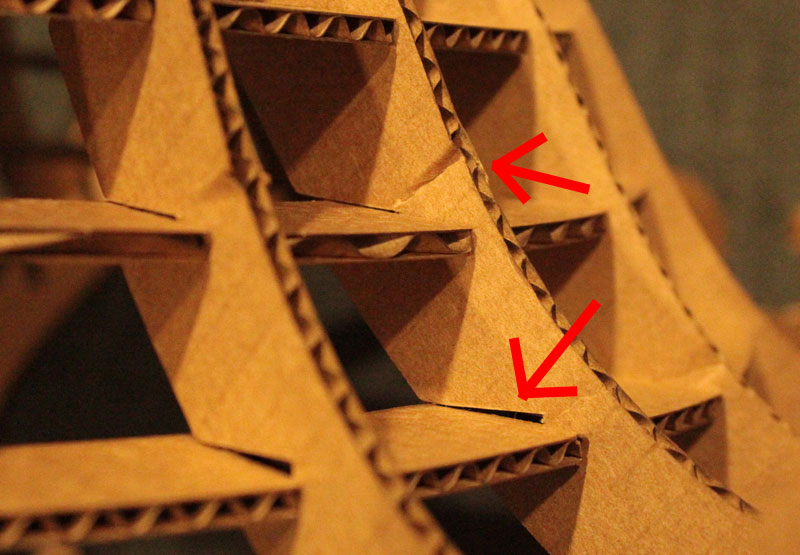
Note that I had set the slit width to 4 mm in the initial design. This width was perfect for joining 2 pieces of cardboard parts together firmly. But when you have a series of slits, as it was the case with this lamp, it turned out 4mm slits created too much friction for the parts to fit all the way through.
I managed to "brute-force" the parts, and some how shoved/jammed the parts together. However, it turned out to be a "jam-fit" construction kit, instead of a "press-fit" construction kit. My lamp became a something like a lamp shade in a way, but it was full of bent parts and awkward gaps.
I decided, I could revise the design and redo some of the parts.
Laser Cutting and Construction - Attempt 2
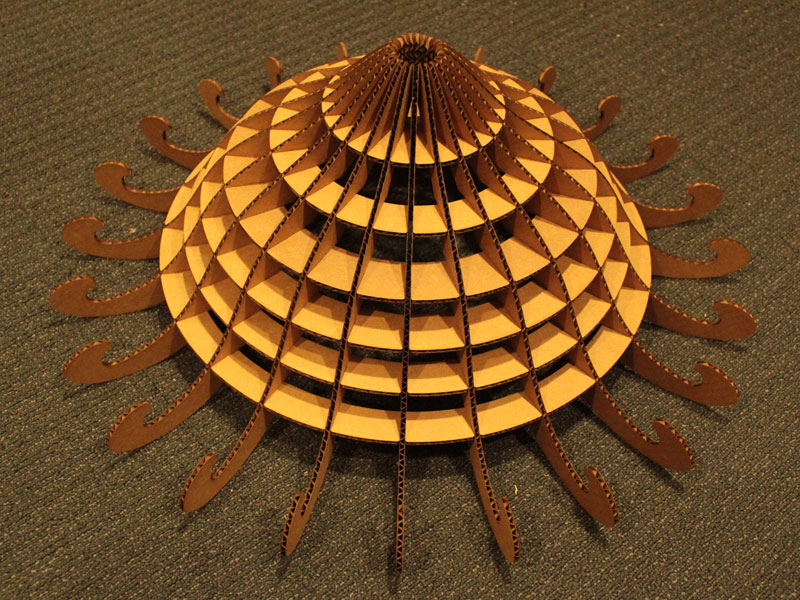
As for the second attempt, I adjusted the slit width to 4.4 mm in parts which are in between the top and bottom layers. I left the slit width of the top and bottom parts to 4.0 mm. This allowed the structure to remain firm enough, while the extra gaps allowed less friction and easy press-fitting.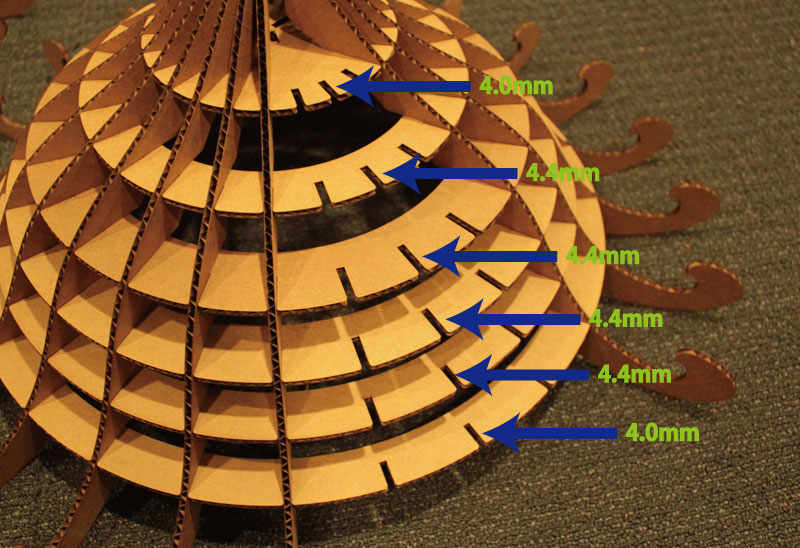
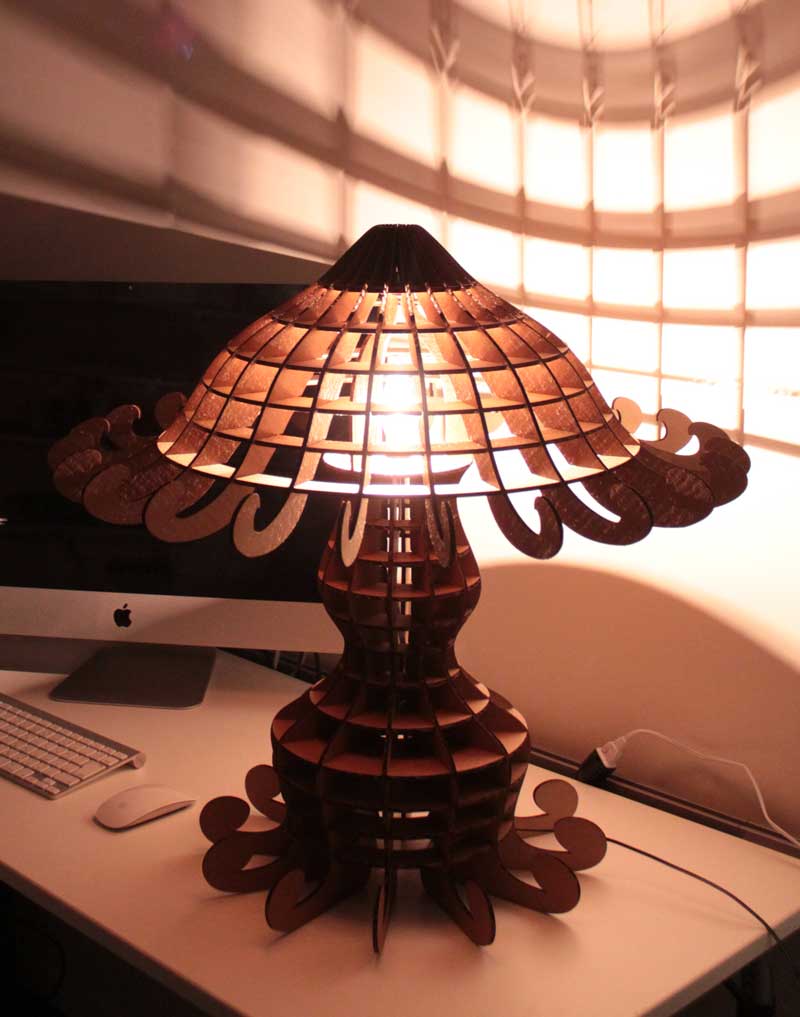
After press-fitting all 56 parts....
|
|
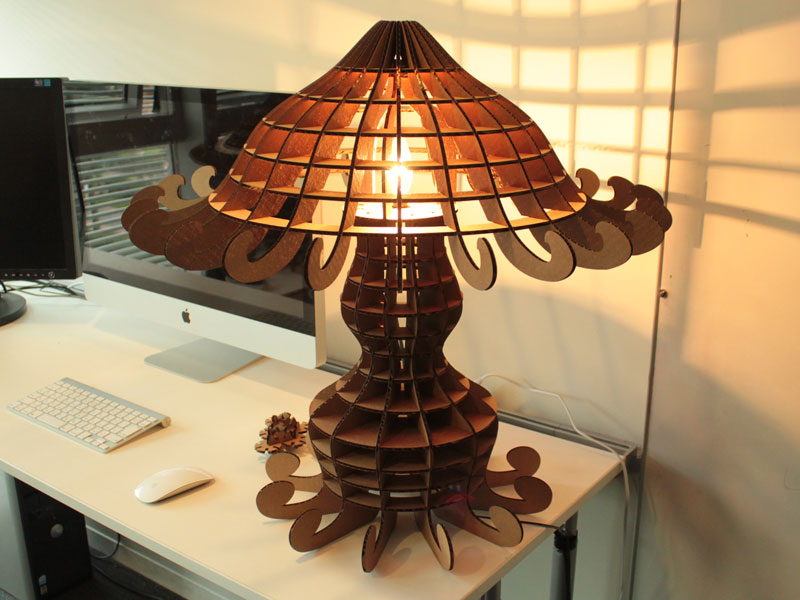
The lamp was completed!
Downloads
You can download the outline of the parts here.- Circular Construction Parts (DXF File)
- Lamp Construction Parts (DXF Files)