Week 4: 3D Scanning and 3D Printing
Overview
The 4th assignment of the semester was to scan something and print something in 3D. I decided to scan a little army soldier and print a iPhone dock with it. This week, I learned how to...- Use a 3D scanner
- Fix and manipulate 3D polygon meshes
- Print and finalize 3D objects

|
|
Concept
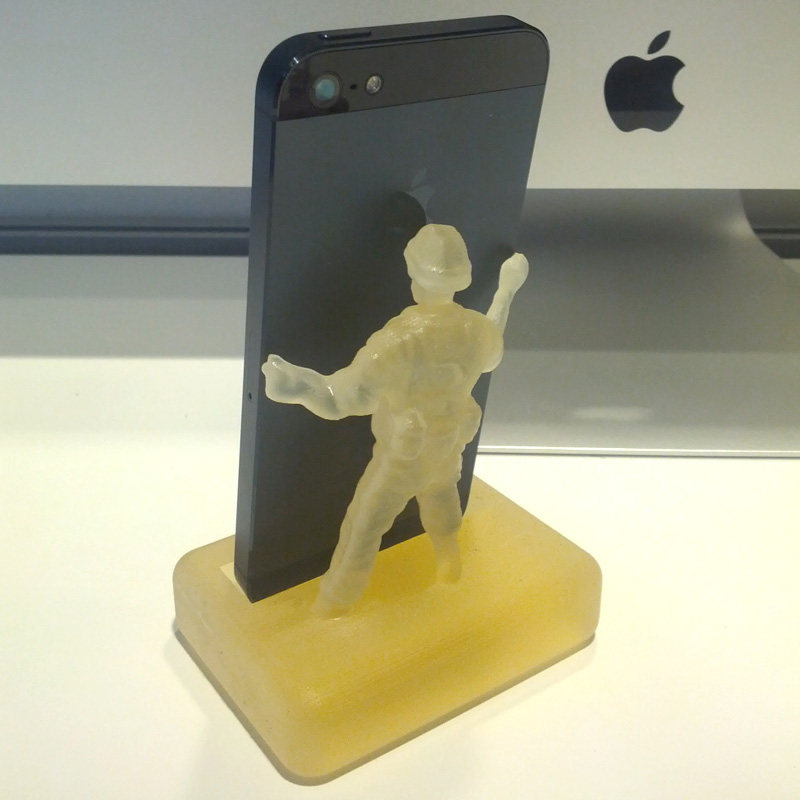
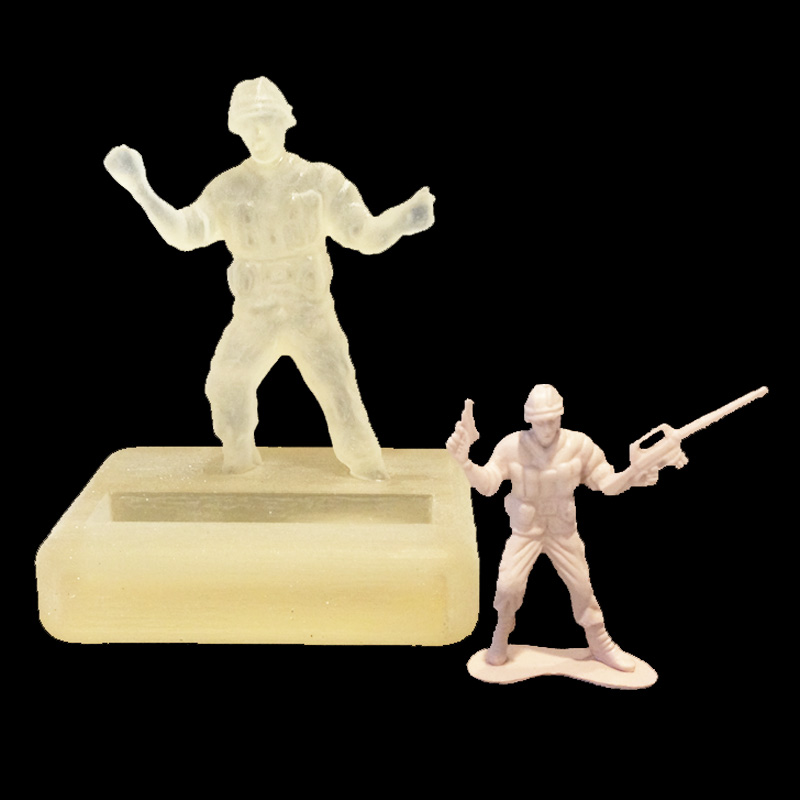
I recently bought a new iPhone 5, and was in need of a dock stand. I was sure of making a dock, but I was wondering what kind of dock I should make. When I found a bunch of army soldiers in my office, I came up with an idea of making them abandon their guns, and hold my iPhone instead!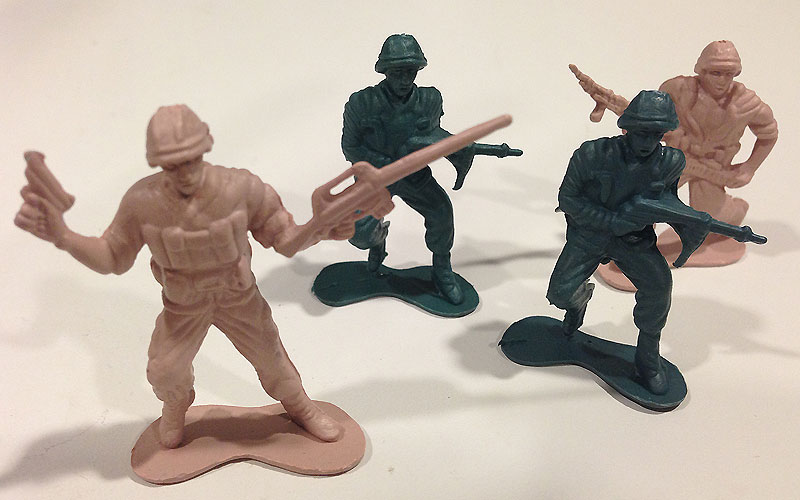
Scanning the Soldier - Attempt 1
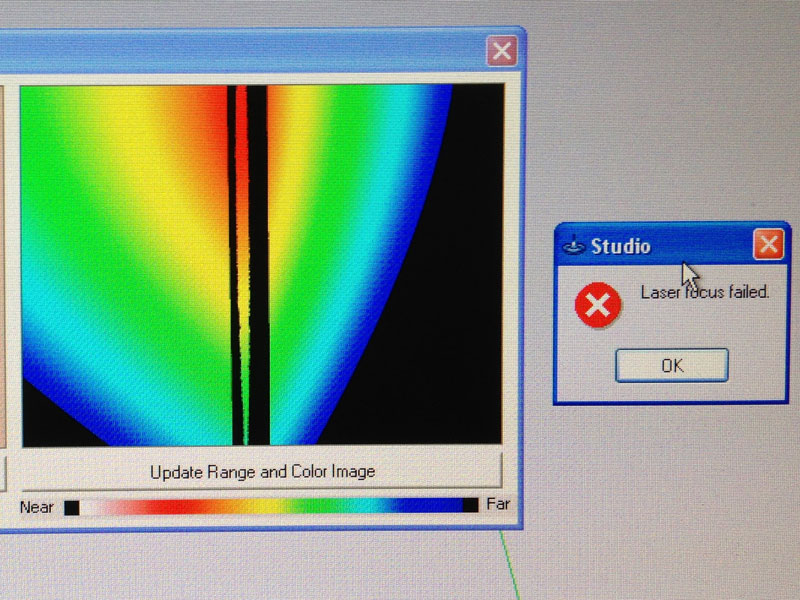
The very first step would be make a 3D model of the soldier using a 3D scanner. I first used the Konica Minolta VIVID 910 along with Geomagic (3D mesh editing software).
However, I had a hard time finding the right settings and paramters to scan the little army soldier. I tried various combinations, but the calibration just didn't work and resulted in blurred and awfully aligned scans.
|
|
I don't know for sure, but I suspected that the conditions were not suitable for scanning a tiny object with detailed surfaces. Chaging the lighting or lens might have made things better, but I chose to take a different approach.
Scanning the Soldier - Attempt 2
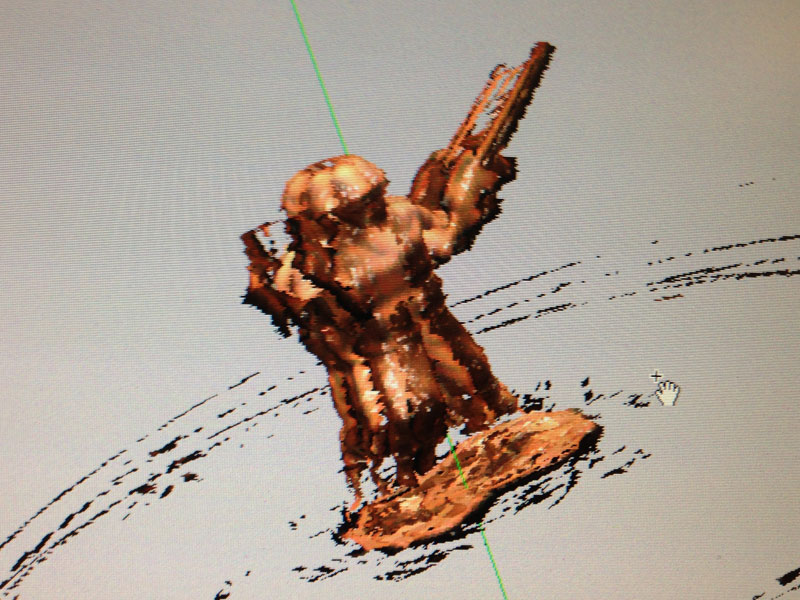
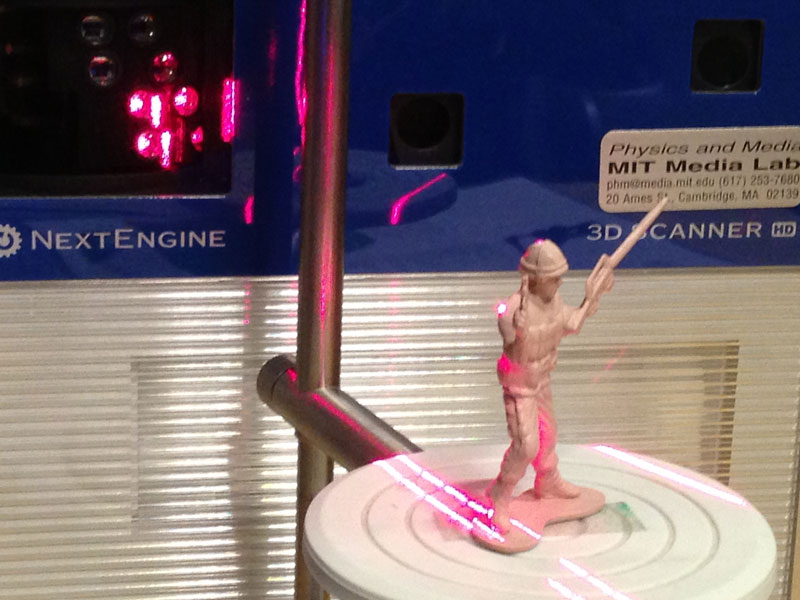
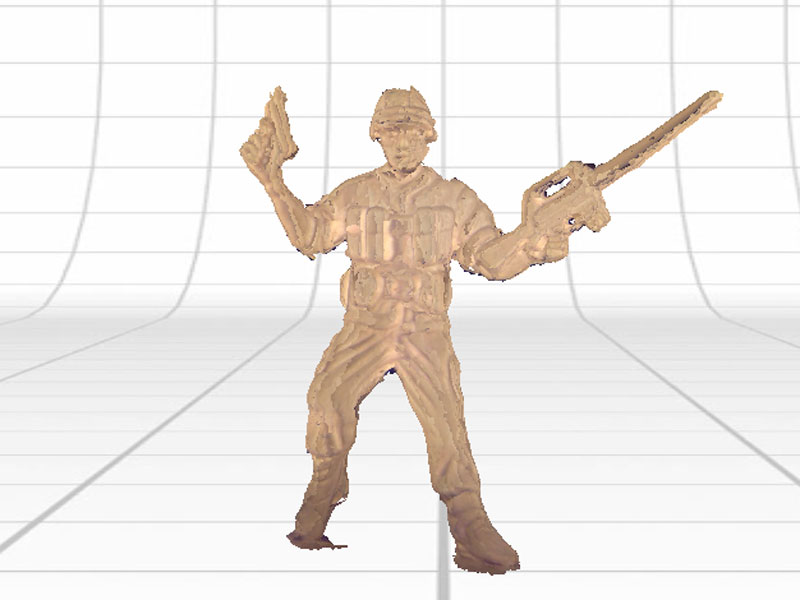
I decided to use the NextEngine 2020i instead because the setting seemed better for scanning smaller objects. I started the ScanStudio (scanner utility), and adjusted the settings to "macro mode" since I was scanning a small object. I also make it so that it would take 10 shots (every 36 degrees) around the soldier.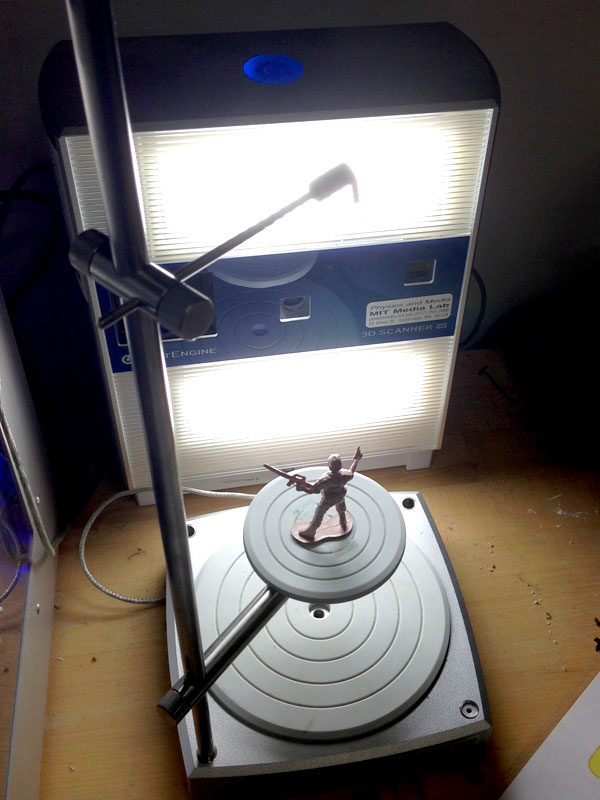
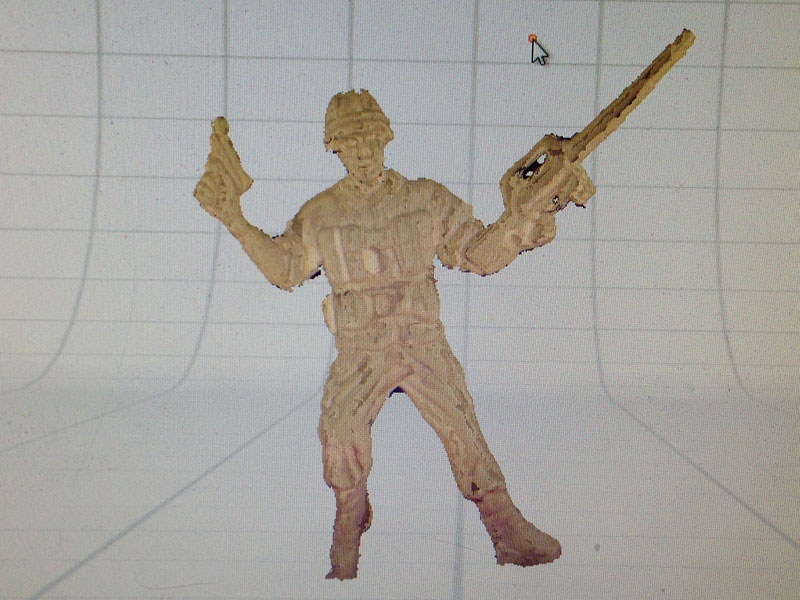
The scan seemed fine at first. However, since the support pole was blocking the laser, the scanner failed to capture the rear side of the soldier, and the mesh ended up with numerous holes.
|
|
Scanning the Soldier - Final Attempt
In order to prevent the pole from blocking the laser, I removed the pole and used a box instead to adjust the height of the turntable.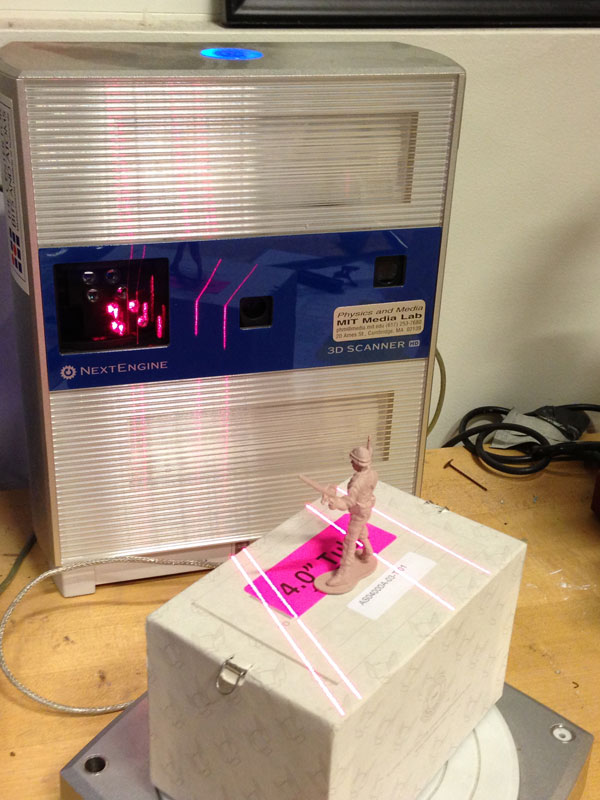
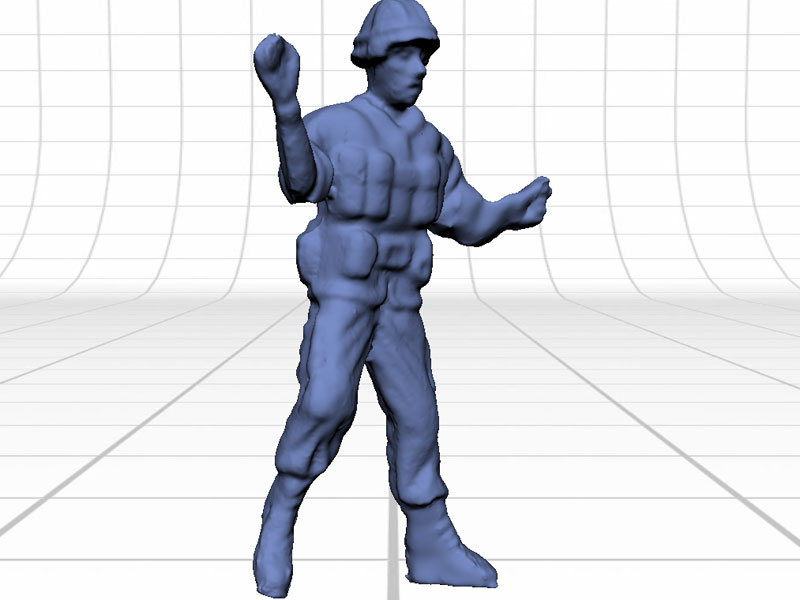
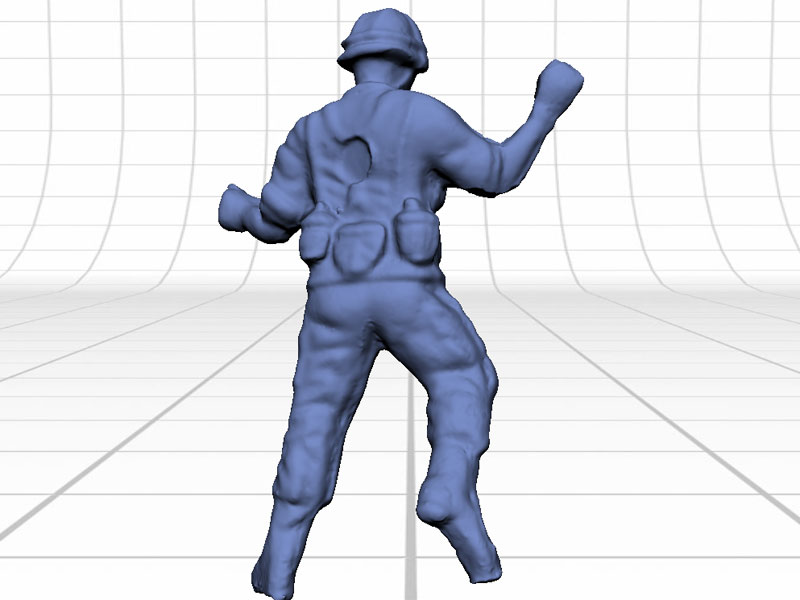
This time, the scan went perfect and I was able to capture a nice 3D mesh of the soldier.
Fixing the Scanned Mesh
Normally, raw scanned meshes are full of holes and cracks. Before going any further, repairs must be done to the mesh. There are various ways of doing this, but thanks to ScanStudio, it has a feature called "fuse". This feature automatically repairs the holes, removes any sharp edges, and creates watertight meshes.Before running the "fuse" command, I "disarmed" the soldier by removing the weapons guns from both hands. I also removed small particles of noise within the mesh.
After removing the unwanted parts, I adjusted the resolution ratio to 0.3 in the "fuse" options, and ran the command. However, this resulted in a 2-hour wait for the computer to finish the calculations, and a extremely high-resolution (2.2 GB) mesh file, which was nearly impossible to edit.
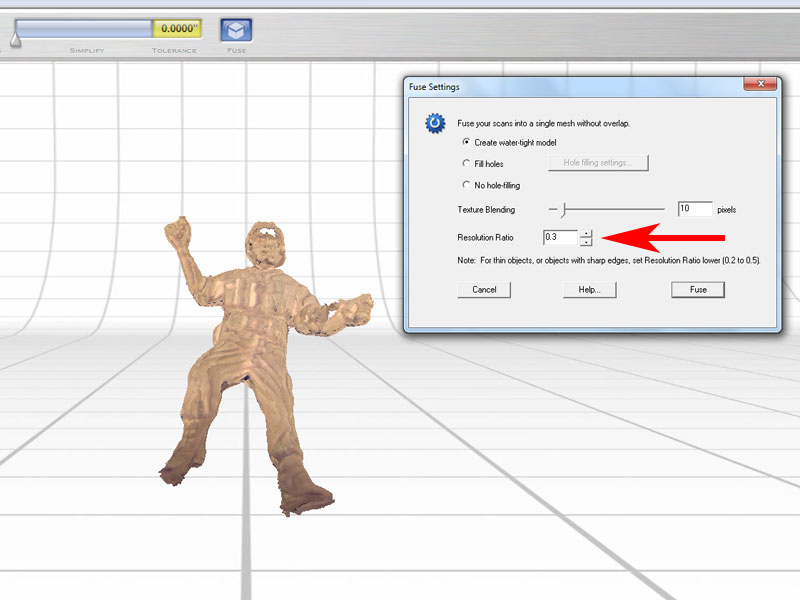
I eventually used 0.8 for the resolution ratio, which turned out to be just fine. After fixing the mesh and creating a watertight model, I exported it as a STL (stereolithography) file.
|

|
|
Designing the Dock
The next phase was to design the dock. As usual, I first used Solidworks to create a model of the base, and exported it as a STL file.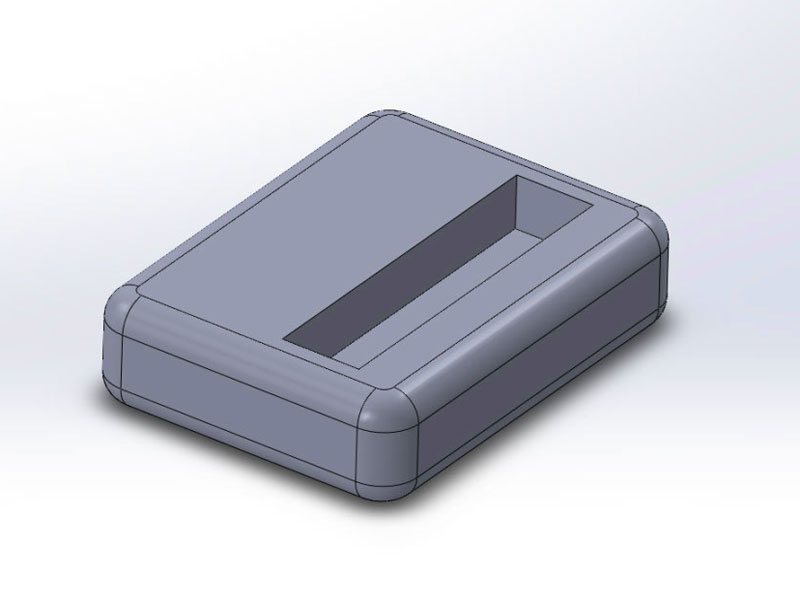
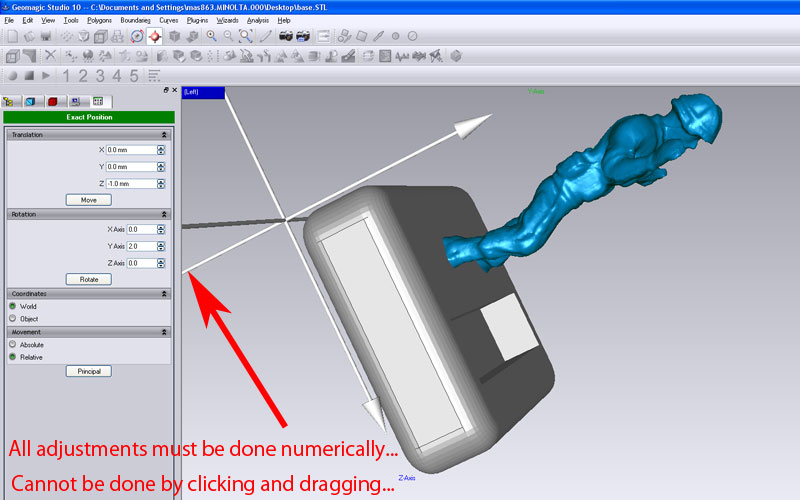
After creating the base, the next step would be to combine the two meshes into one complete mesh. It turned out this was the most complicated procedure. I first thought of using the MeshLab, which is an open source mesh editing software. However, the Mac version was extremely unstable, and crashed occasionally. Therefore, I used Geomagic for aligning and merging the meshes.
The aligning operation was not so hard, but Geomagic had a "wonderful" numerical interface for it... I personally thought it should have a more intuitive, click-based UI for simply moving and scaling meshes.
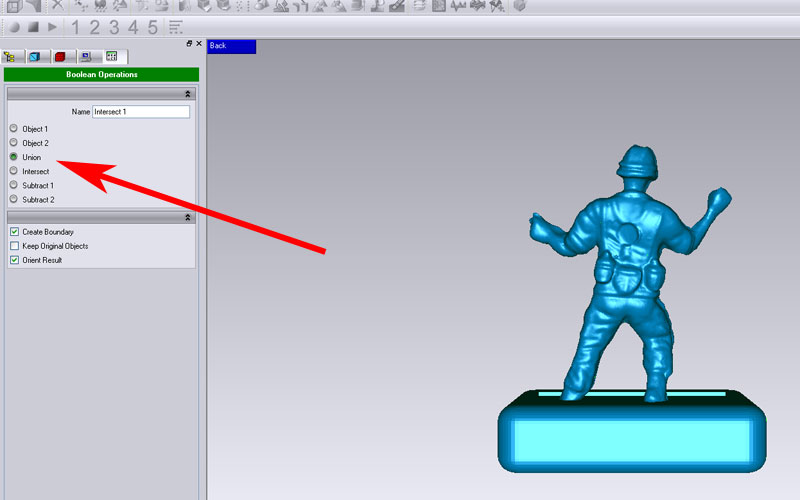
Now comes the part of merging the two meshes, which was the most hard thing to do. I tried out about 15 different combinations of commands with similar names, such as "merge" or "repair intersections". However, none of these did the integration as desired, and Geomagic would complain for having a non-watertight mesh when exporting it as a STL file.
The correct way of merging two meshes into one mesh ended up to be using the "boolean operations" command. Selecting both meshes and invoking the command with the "union" option finally did the appropriate job.
After successfully merging the two parts, I used the "thicken" command to add a very thin (0.01 mm) layer over the mesh. This layer covered up small dents and cracks, and I finally had a nice 3D polygon mesh of an iPhone dock with a soldier!

Printing the Dock
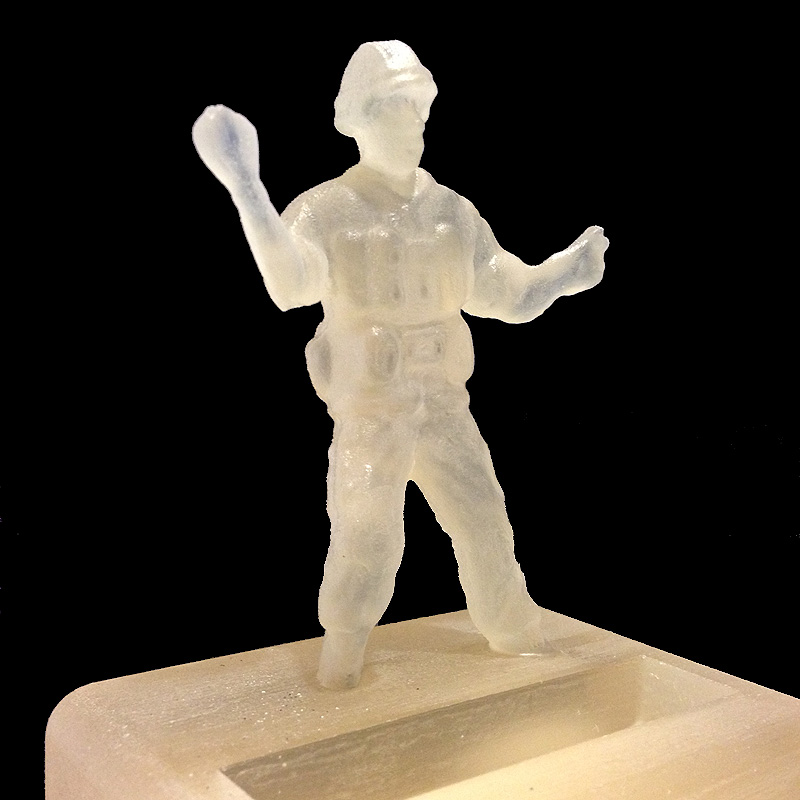
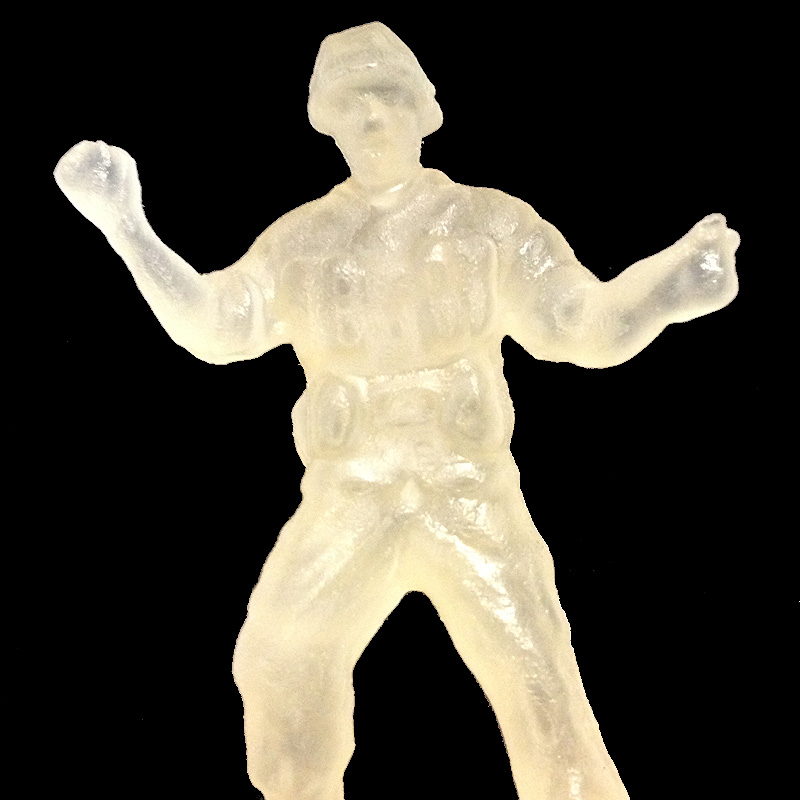
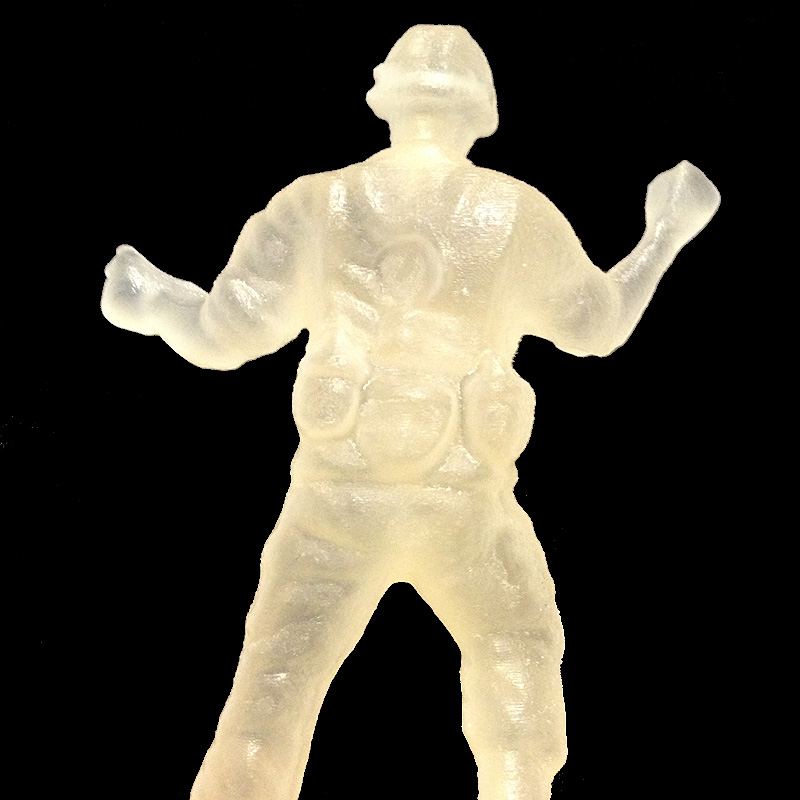
The 3D printing was done by the Invision si2, which shoots out layers of acrylic plastic. After feeding in the STL polygon mesh, it took about 12 hours to print the entire model. It was also required to bake the model and melt off the supportive material (wax).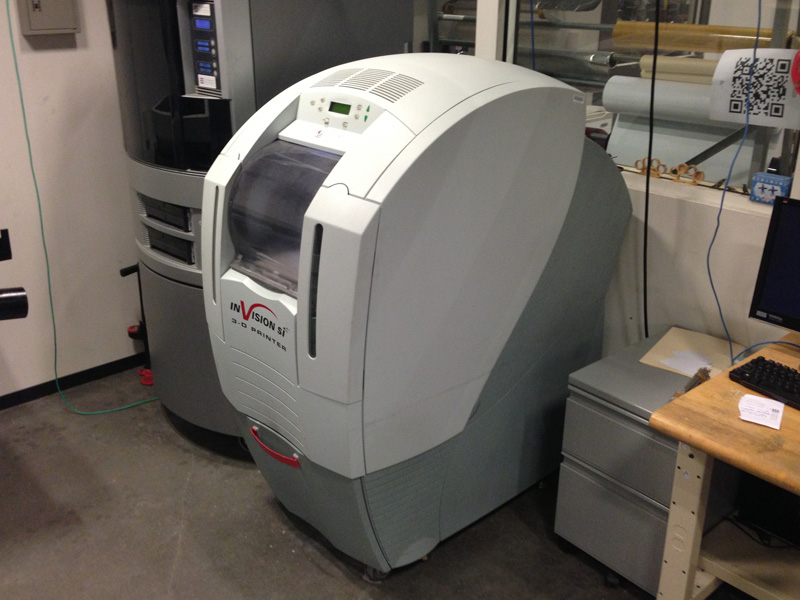
When the supportive material was all gone, a nice iPhone dock with a soldier appeared!
|
|
|
|
Downloads
You can download the polygon mesh file for the iPhone dock here.- Soldier iPhone Dock (STL File)