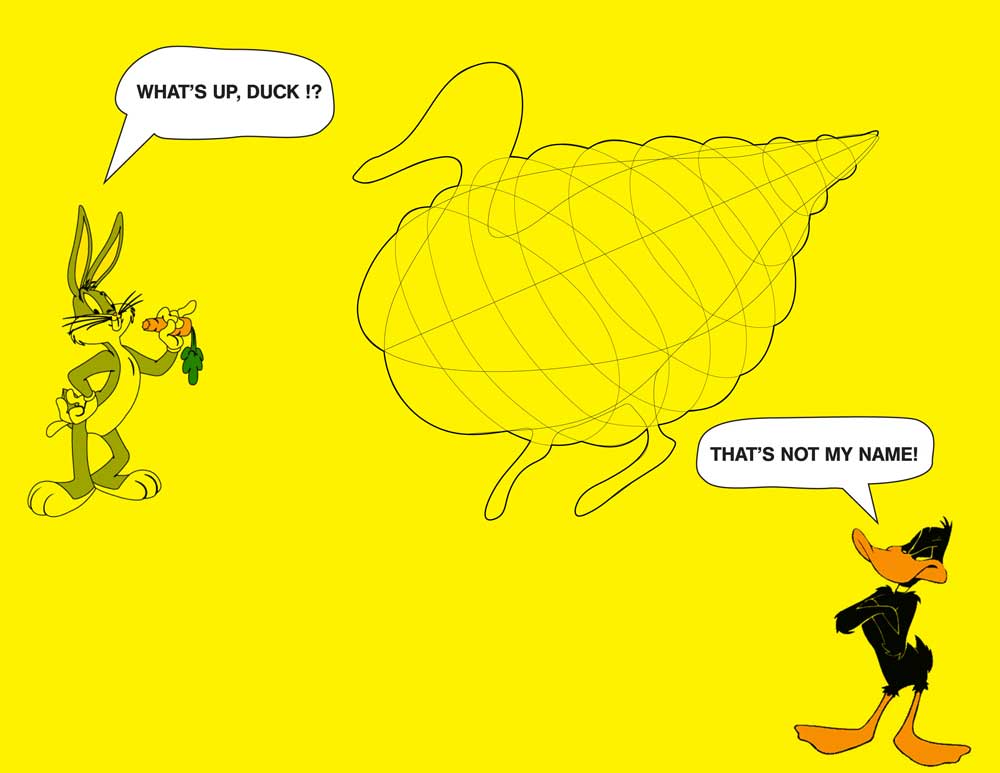
Initial Rhino Model
In the previous week, I proposed to build a Mama-Duck Bot. My plan was to use the weekly exercises to build towards my final project, so this week's press fit assignment would be on building a duck body from corrugated cardboard.
Skeletal Rhino Model
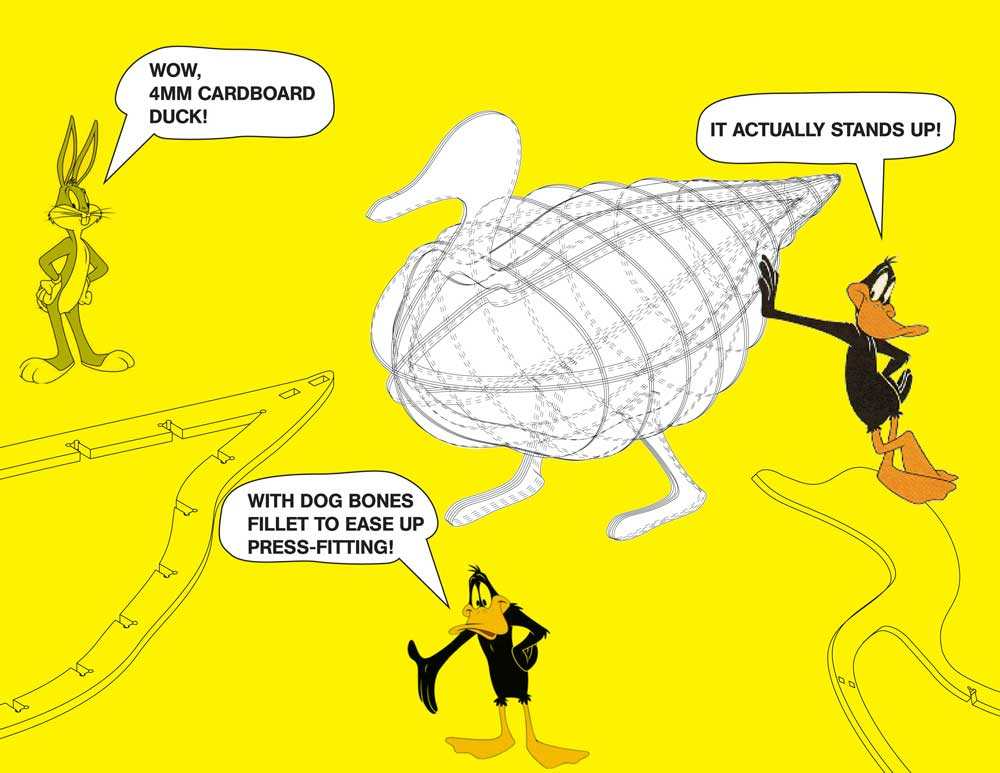
The duck was modelled using Rhino Mac. This took a bit of time and it'd have been much easier, perhaps, to scan a duck or import it from Google Warehouse. I built the thickness of the material that I was going to use -- 4mm cardboard sheets.

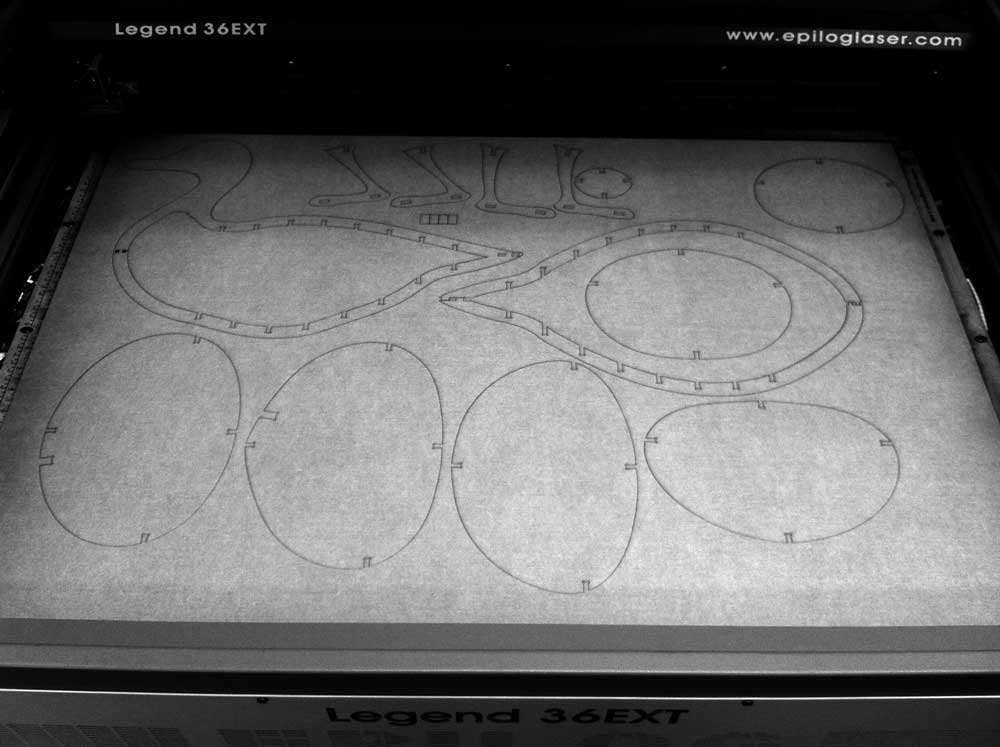
Cut File Layout
The pieces were laid out on 24" x 36 so it would fit nicely on one of the Epilog Laser Cutting Machines we got at the Architecture Department Fab-Lab. It's now ready to be cut!"
Laser Cutting [with one piece missing]
To laser cut this, I used the Epilog 120 Watt Machine with these settings: 60 Power + 80 Speed, and did it in two passes. If you need to save time, you can definitely cranck up the power up to 100 -- with a higher speed, obviously -- but expect to smell and see black burnt edges. Don't forget to set the focus of the laser beam at the beginning, before begin laser-cutting, and stay around the machine when you're cutting as the material might catch fire.
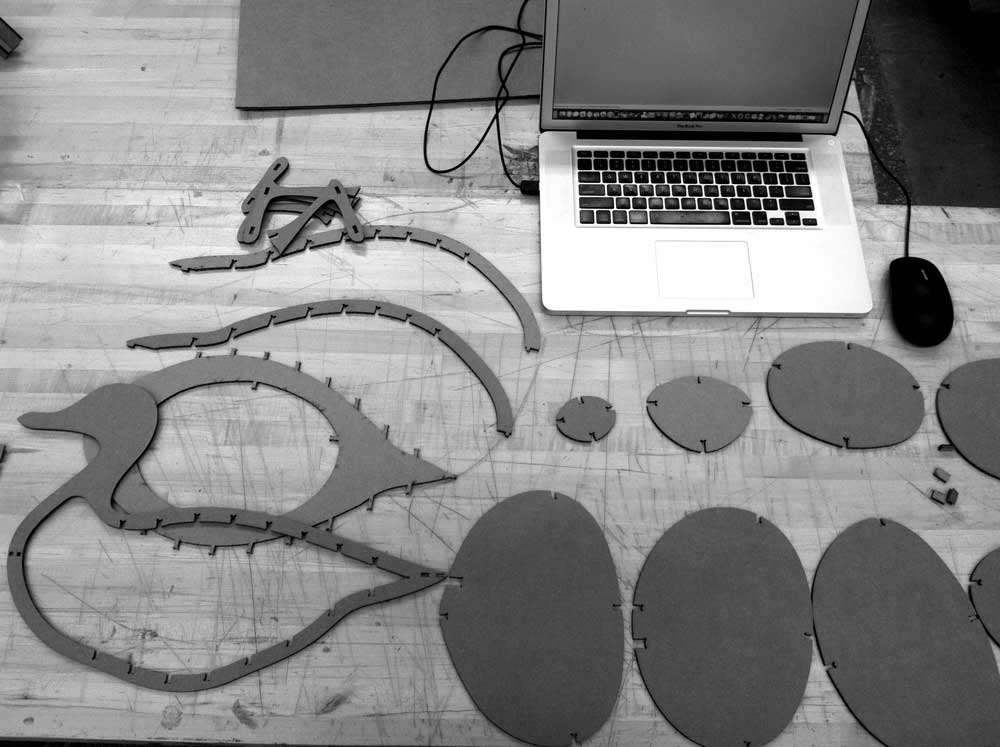
Pieces Ready to Assemble
When working with many pieces, I'd say that it's always a good practice to have them labelled them, either using the machine or manually. In this case, there were only a few pieces and each was quite different to the rest, so all I did was to double check which pieces were which by doing visual crosscheck on my screen.
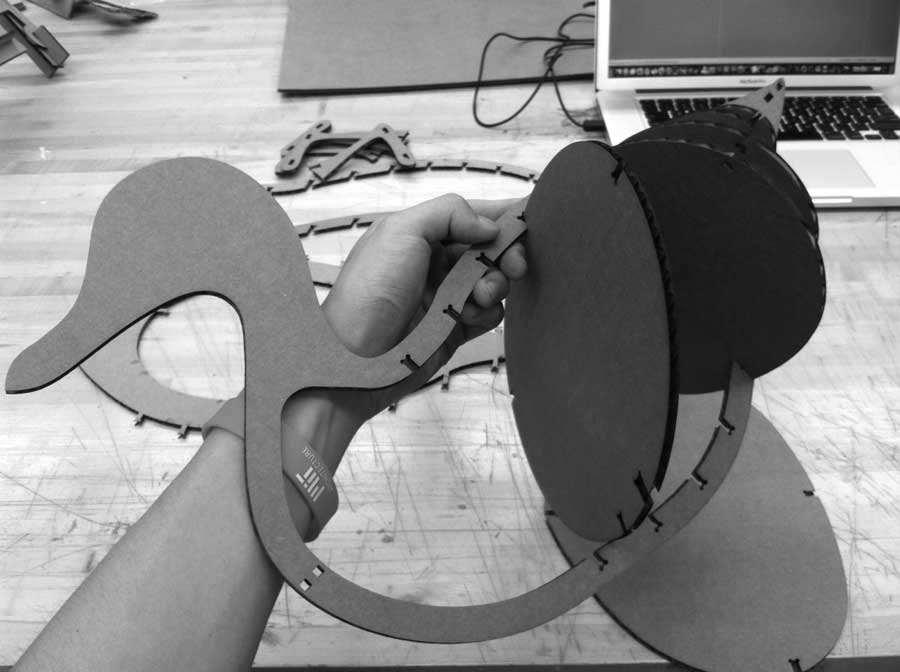
Let the assembly begin!
At this point, I realised that the centre piece of the duck worked really well, as it flexes in and out, to let the fins slot properly into their positions. The piece went in one by one, smoothly. I'm happy it works!
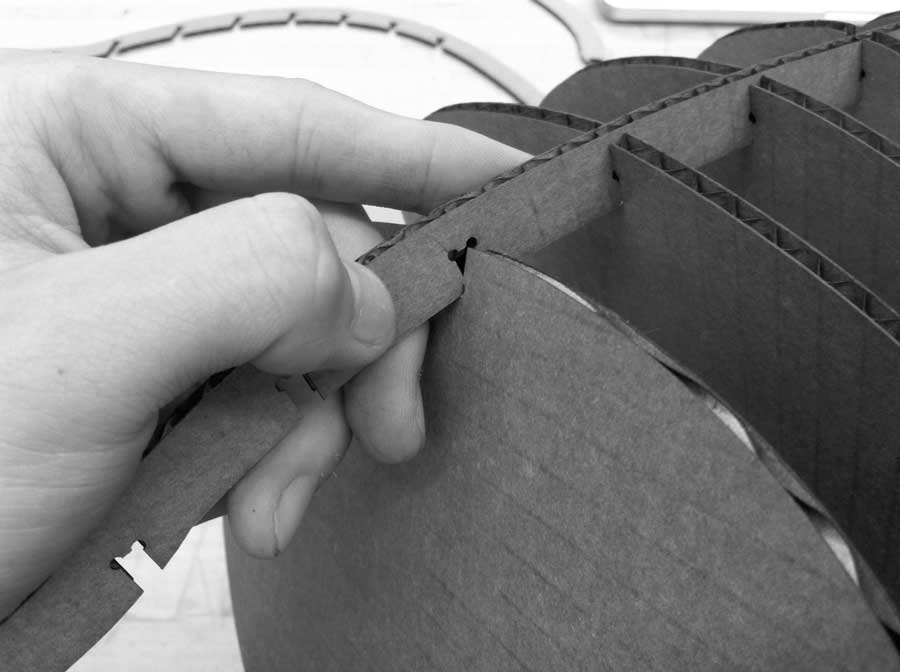
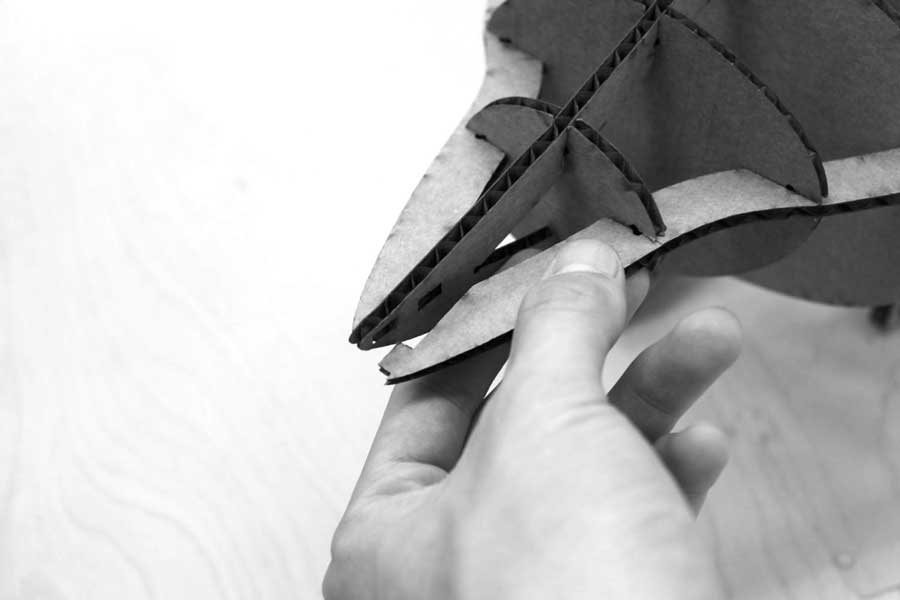
Special Feature
Having previously used the CNC Machine, it's become a habbit for me to put "dog bones", i.e. these are the filleted corners on the notches that would allow for some tolerances due to errors caused by imprecision of cut dimensions.
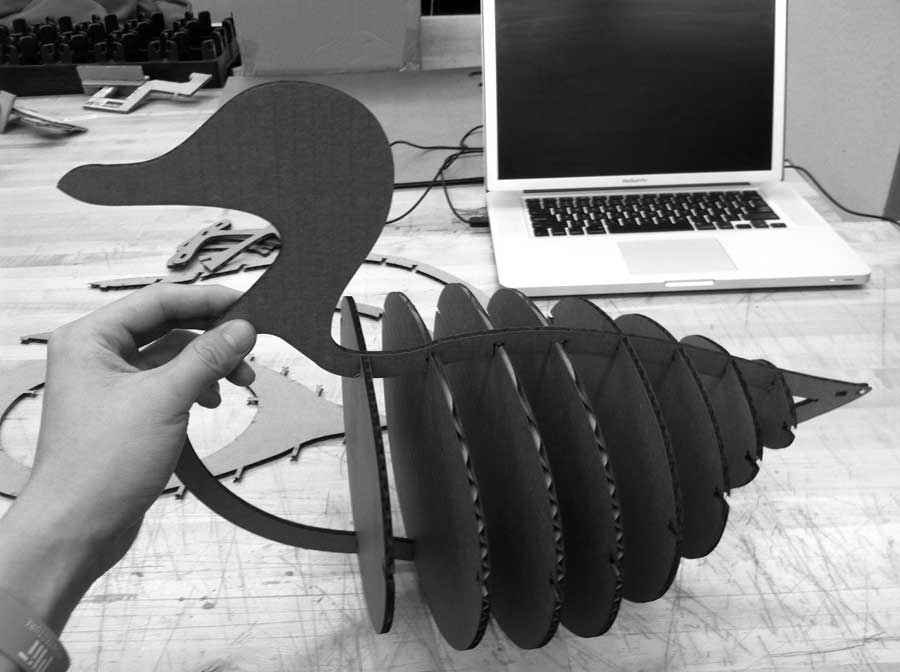
Middle Part Done
Once all the fins were placed properly, I pressed the centre piece inwards so they fit into each other nicely.
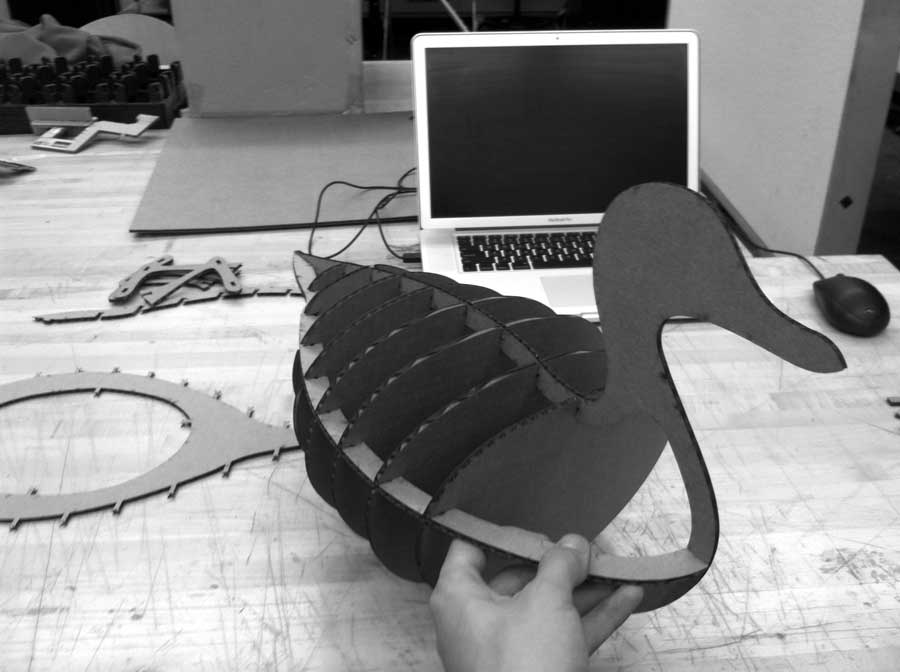
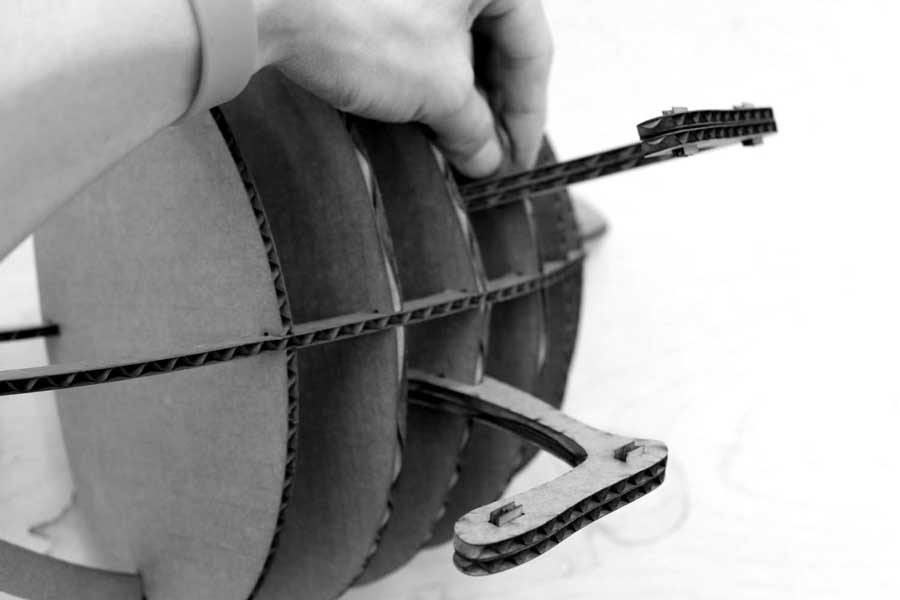
Putting the Bracings
The next step was to put the two side bracings. The bracings stiffen the whole construction by keeping the fins from rotating freely.
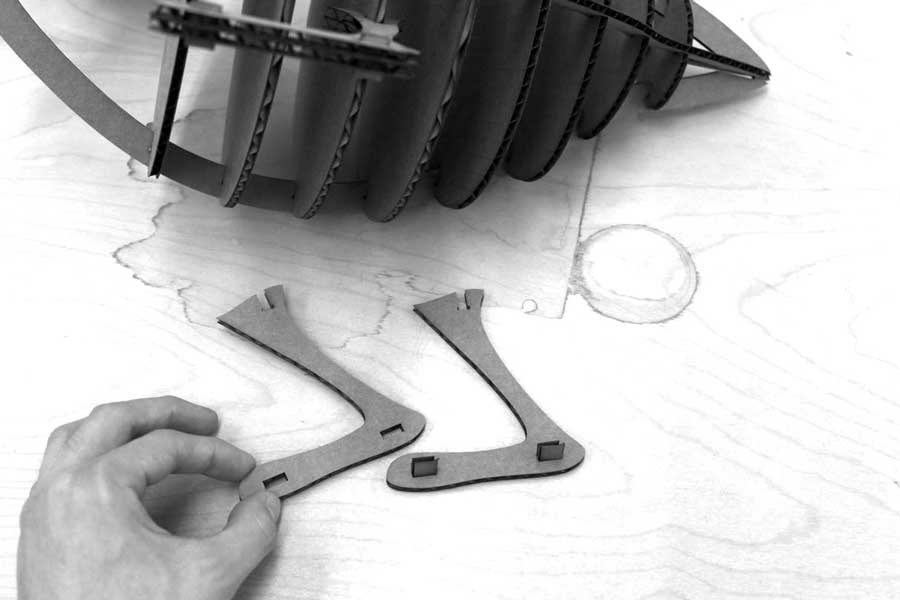
Feet
Two layers of cardboard were used to make the feet more rigid; they're also "glued" together by friction joints.
Detail 1: Feet Construction
To ensure the stability of the whole body, I designed both feet to be inserted into the fins at an angle.
Detail 2: Bracing Slots
To connect the side bracings, I designed pins that would fit into the thickness of the cenral piece.
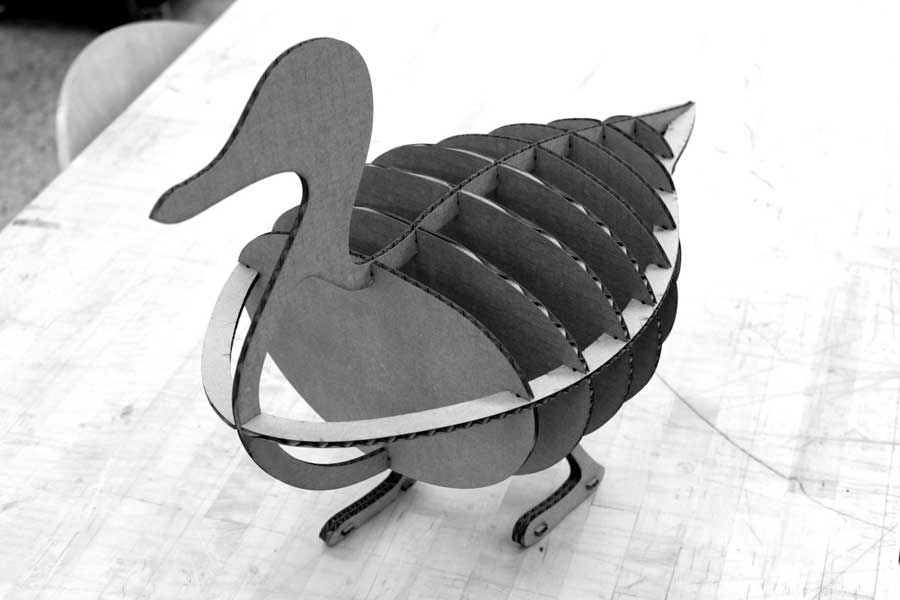
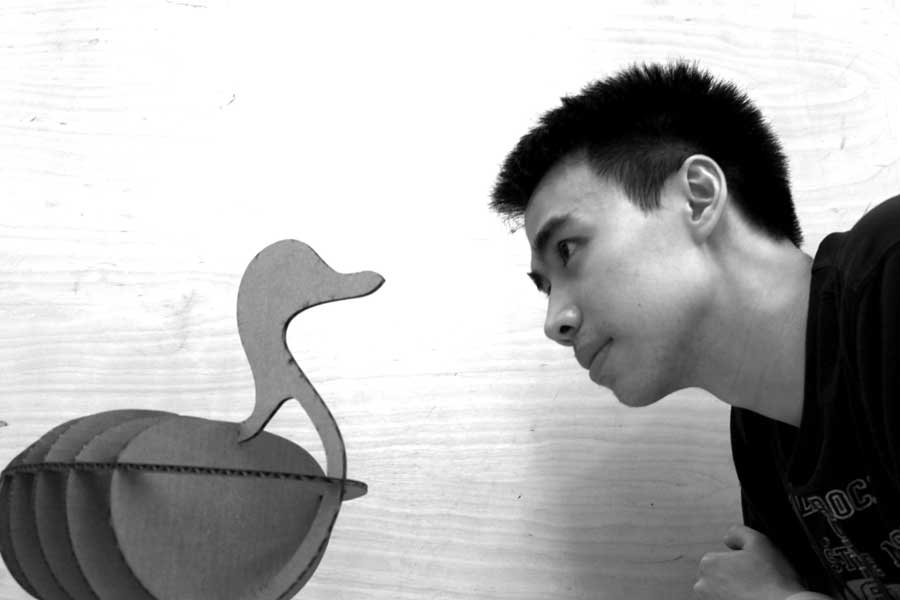
It Stands Up!
I'm pleased to see the cardboard pieces fit nicely together and it actually is able to carry its own weight on the two feet! Go duck go!
What's Up, Duck !?