I wanted to replicate chinese 'puzzle balls', which had fascinated me when I first saw them as a kid in my family friend's house. I later found out, while googling for pictures, that Shaul Goldklang did a similar project last year. I think these puzzle balls are a natural thing to want to 3d print, because they'd be impossible on other types of machines, e.g. laser cutters, milling machines, etc, but you can make them on 3d printers.
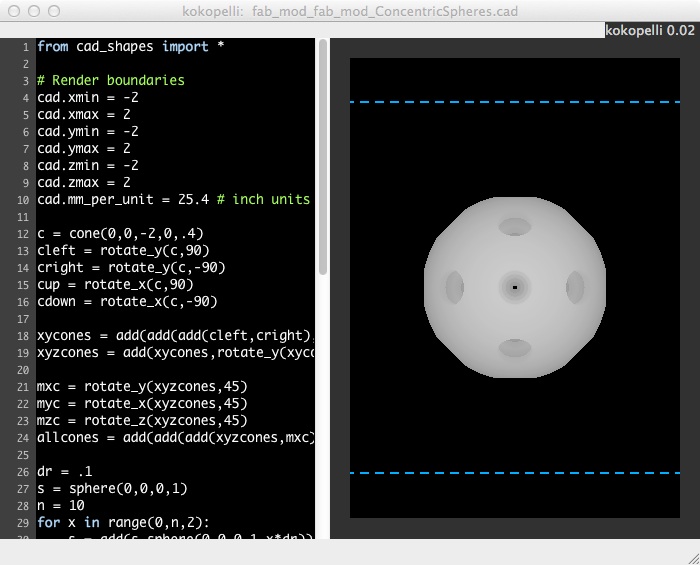
I made a .cad file using kokopelli. This involved adding and subtracting spheres from the outside in, to get 5 shells, and then subtracting a lot of cones from the spheres, to get the peepholes in the shells:
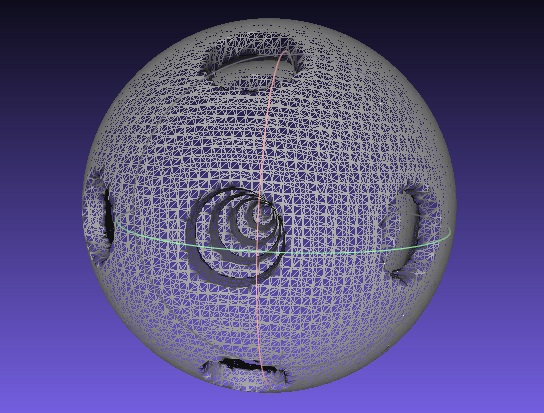
I used the fab modules to convert the .cad file to a .stl file that I could send to the printer. Here's the .stl file in Meshlab:
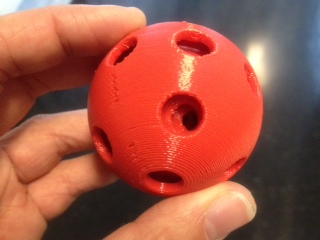
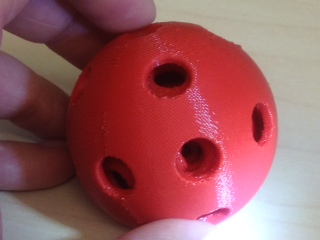
Finally, I printed the concentric spheres on the Dimension printer. It worked! There are 5 layers, and they move independently.
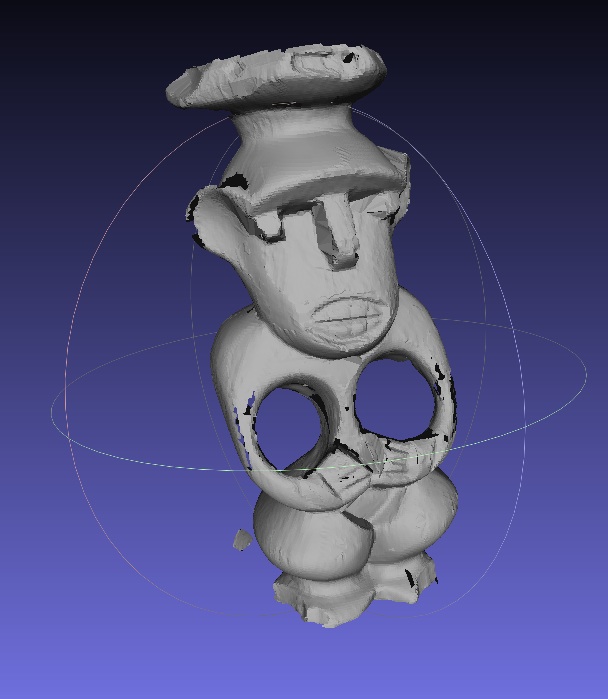
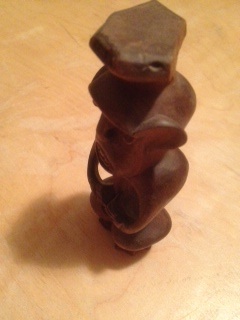
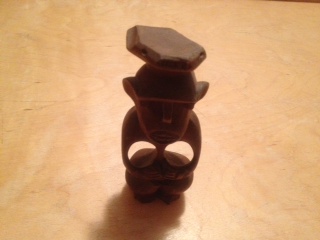
For 3d scanning, I decided to scan this little figurine my father had since he was young.
I initially tried using the 123D iphone app, which worked ok, but with some significant holes and mistakes, i.e. capturing the background as part of the object.
I decided to try the NextGen scanner to see if I could get better results.
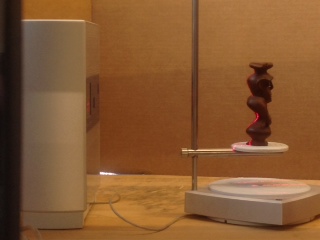
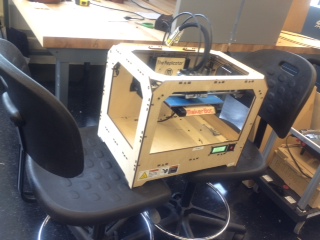
One big problem was that the replicator was running nearby. It was on a different table, but my figurine was visibly wobbling as it scanned, so Charles and I moved the replicator so its vibrations were more isolated:
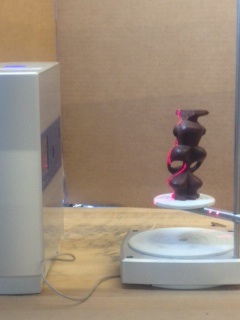
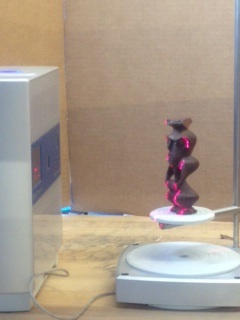
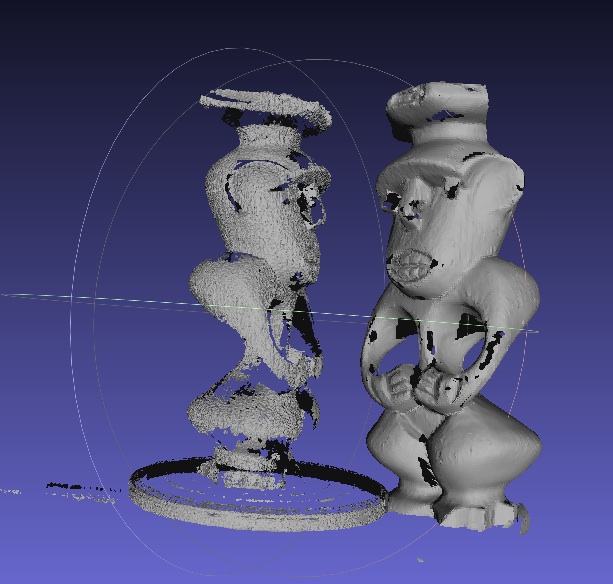
It made a big difference. The scan when it was wobbing is on the left, and the non-wobbling one is on the right:
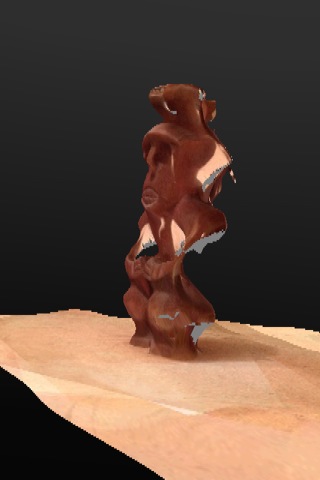
I filled some of the holes for an improved model, though I still had trouble filling some of the bigger holes, especially around the arms, because MeshLab would default to filling in the space the arms encircle. Here's what I got, and the .stl file: