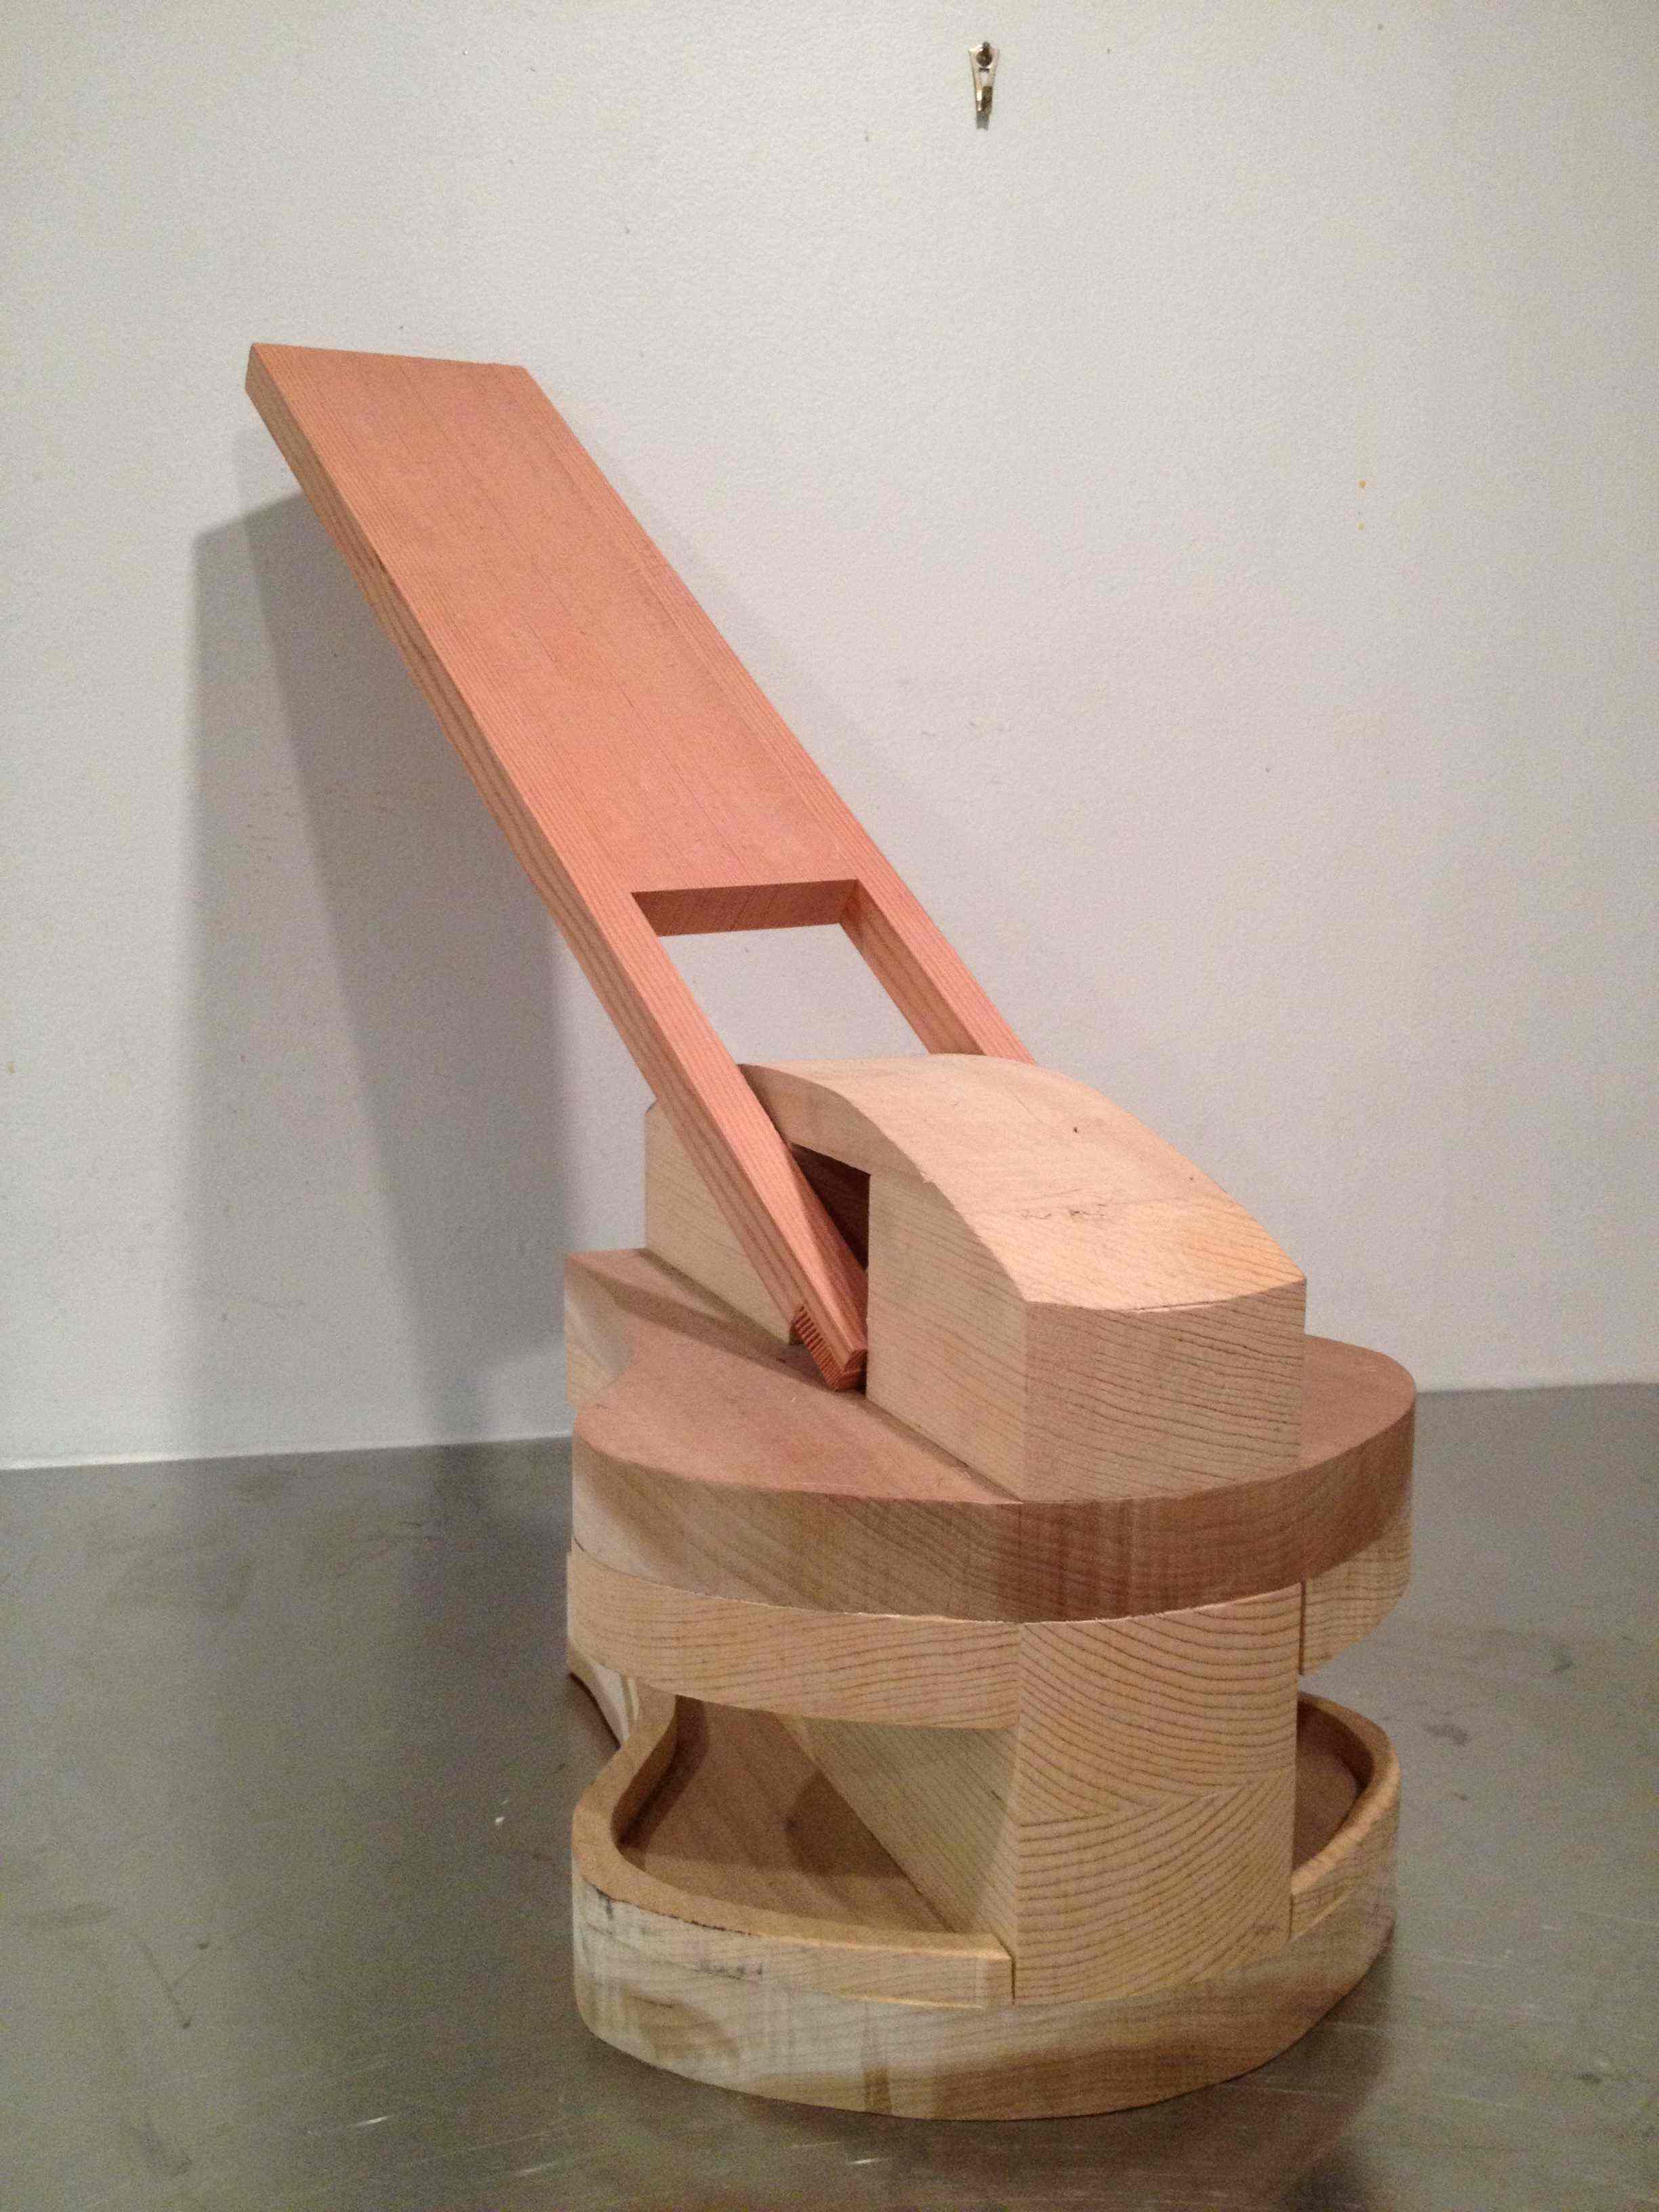
I decided to make a big red Swingline stapler that could serve as a bench. In later weeks, I may add some sensors and electronics to make it functional as some sort of stapler. But for now, it will function as a bench that looks like a big stapler. It was hard to think of what to make this week. In the end, my inspiration came from my friend Alexandra Boghosian who once made a beautiful giant zipper-pull out of wood:
I like the idea of enlarging something relatively small, hence the big stapler. I was also inspired by Ignatio's press-fit stool from the press-fit week.
Here's documentation of my workflow:
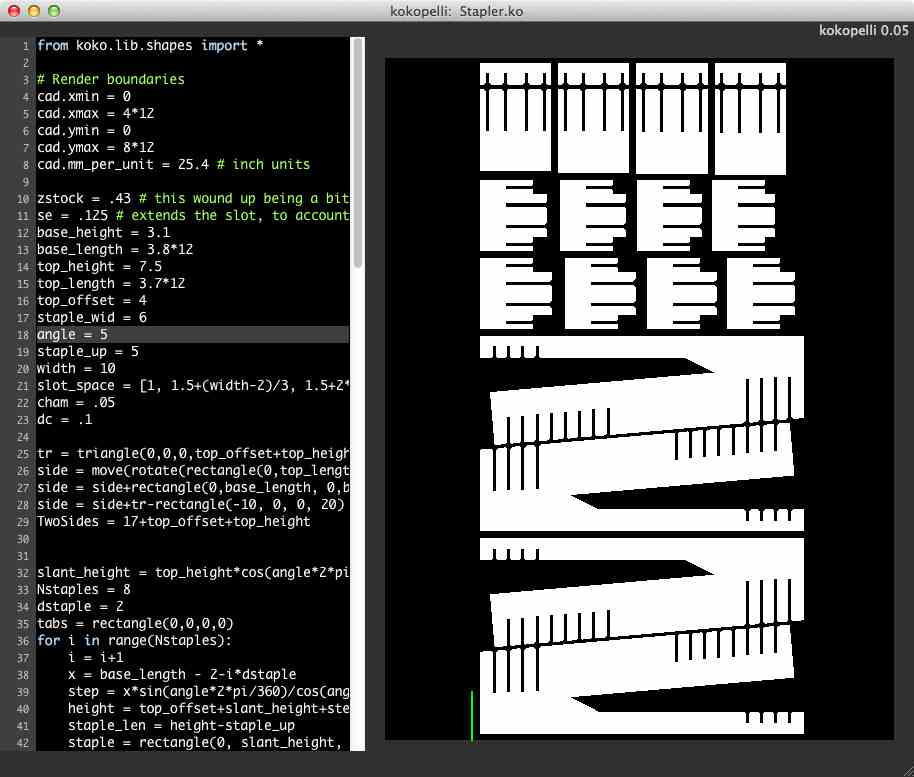
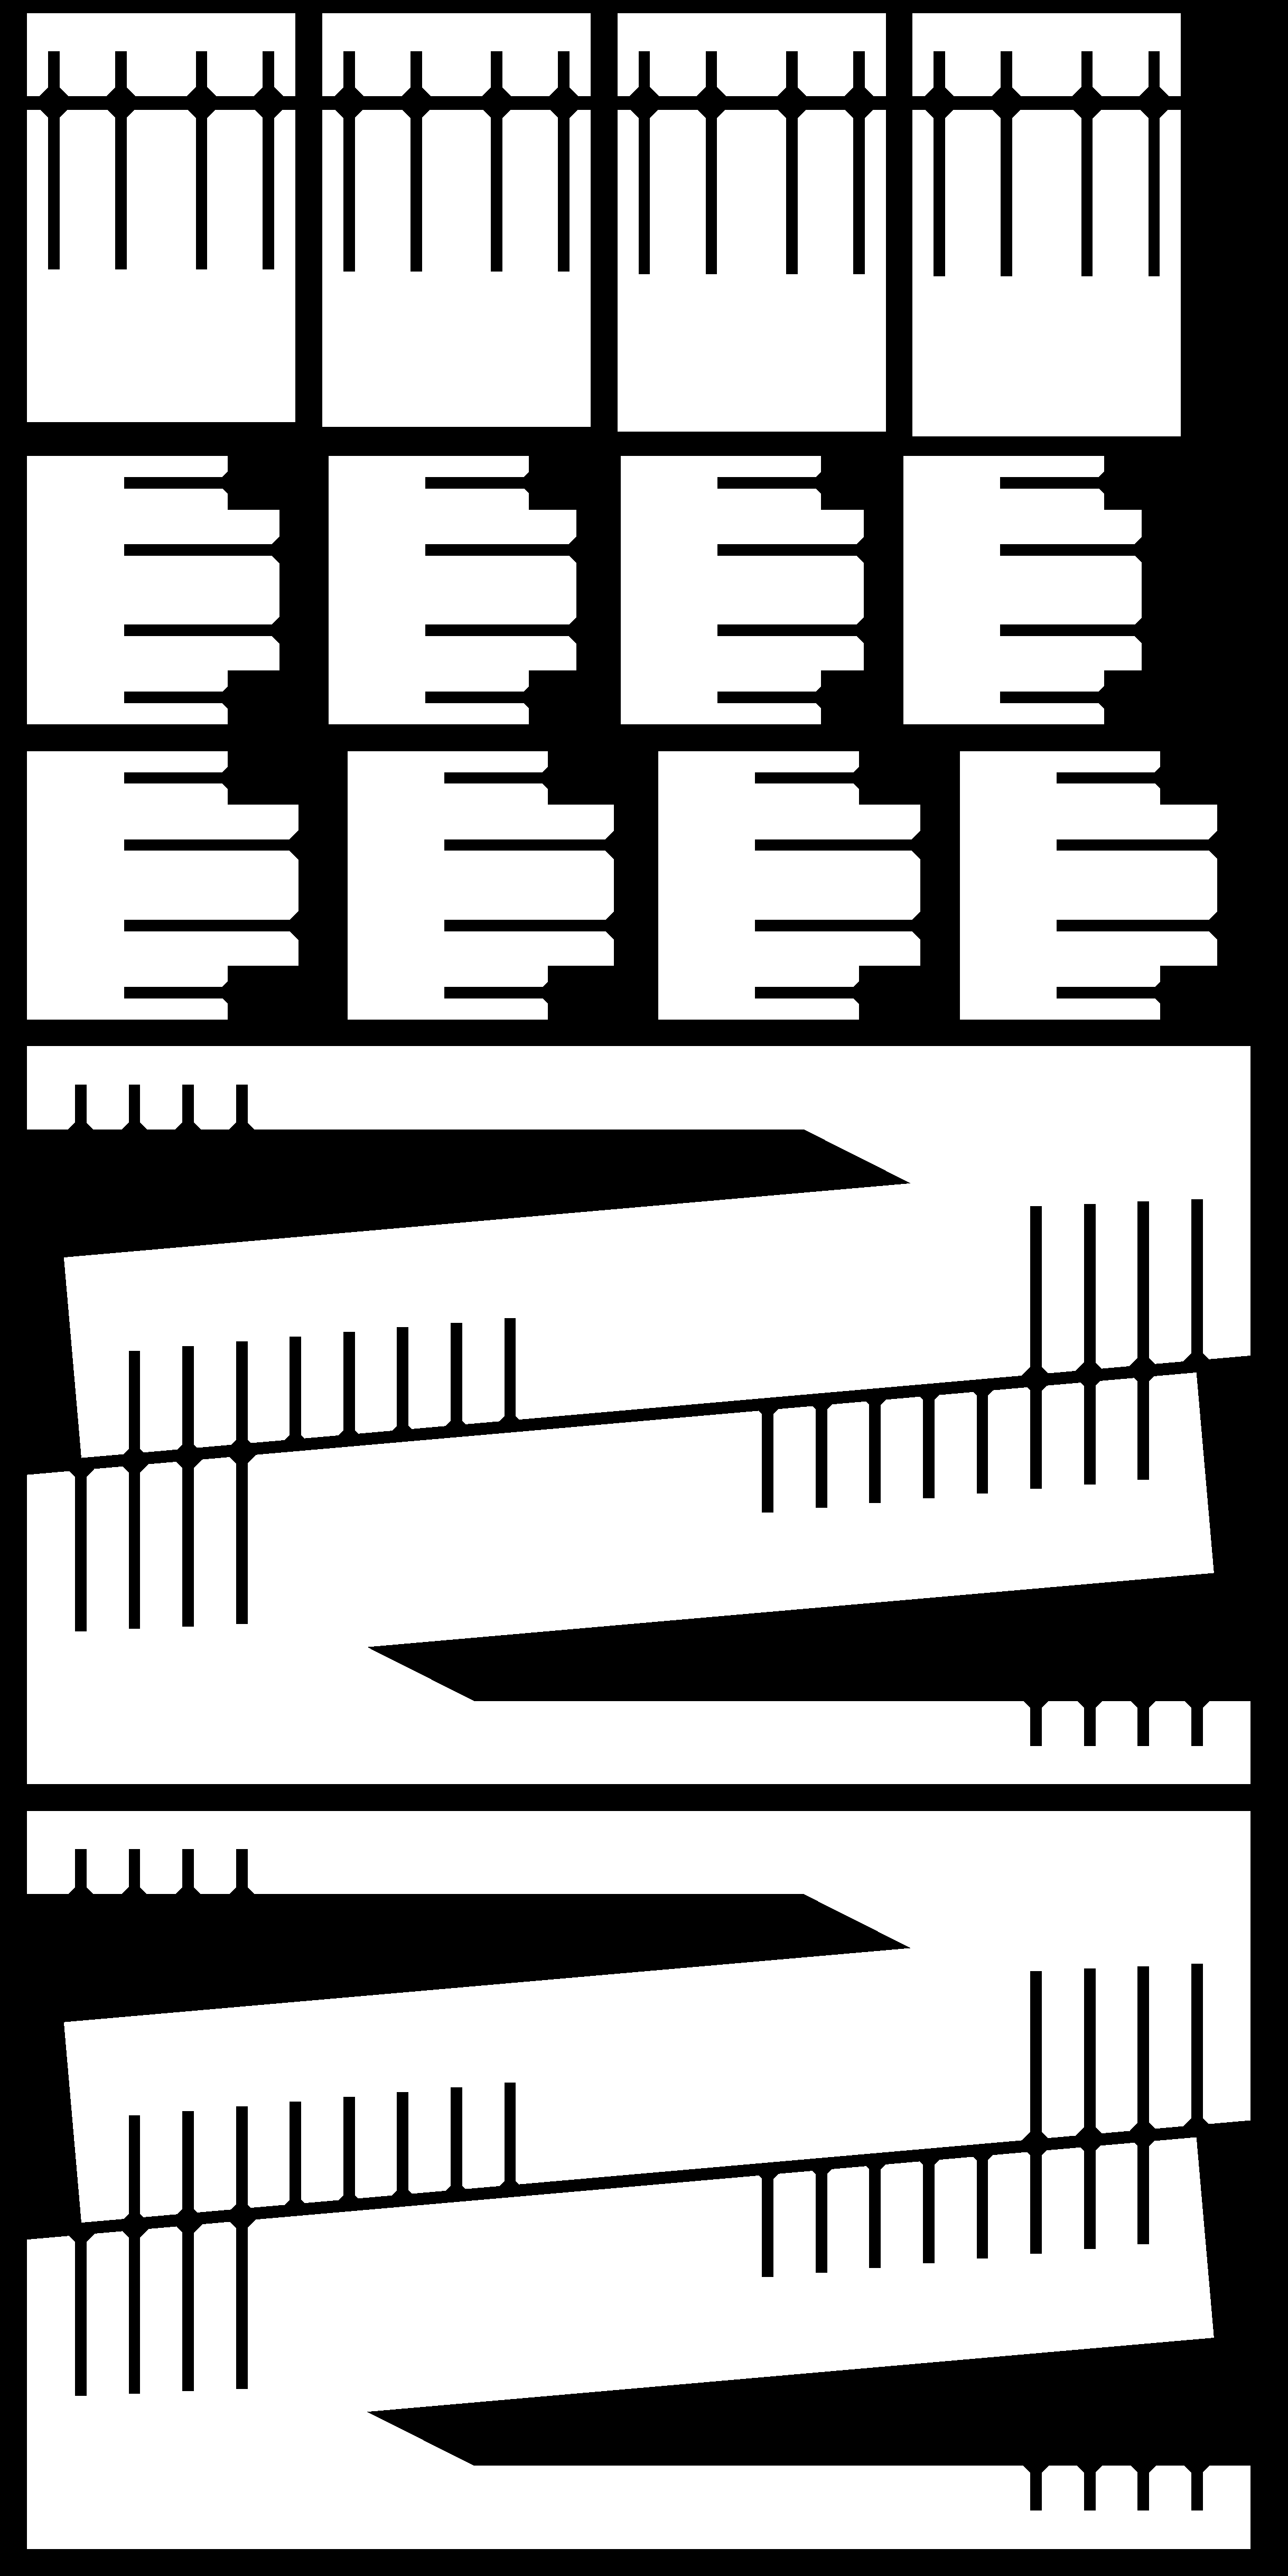
I designed my stapler in kokopelli. Here's the .ko file, which should also serve as a .cad file to put in the fab modules if you change the extension. You can also export .pngs directly from kokopelli, which is what I did. Here's what it looks like open in kokopelli, and as a .png:
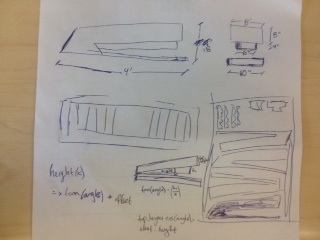
Visualizing things in 3d is challenging, and sketching things out on paper first helped a lot.
At some point I would love to learn Rhino with the Grasshopper plugin -- after talking to people this week, including some of my fellow students and Ken and Brian from the hobby shop, that's what most people recommended. However, any 3d software seems to have a significant learning curve (with the exception of kokopelli, which I found very intuitive for simple projects, but which can't do everything easily -- I think stretching and distorting things is more intuitive in click-and-drag GUIs than in kokopelli's python environment)
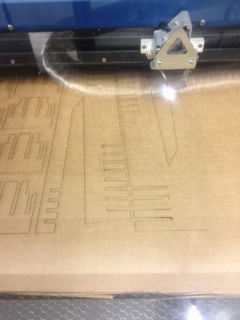
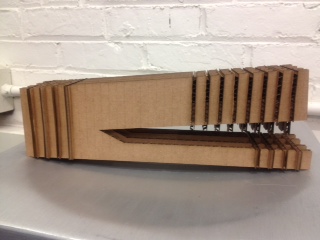
Just to be sure that the pressfit design would work, I made a 1/4 model on the laser cutter. It worked, and I'm very glad I made it -- not only did it give good intuition about what the final stapler would look like and what would wobble/stress most, but it was also a fun birthday gift for my friend Dalya:
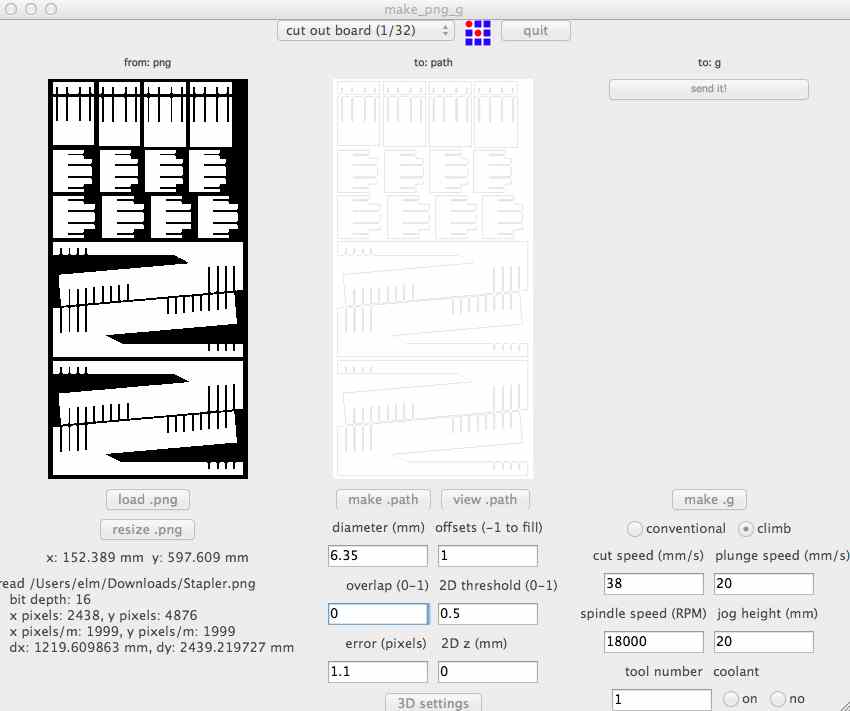
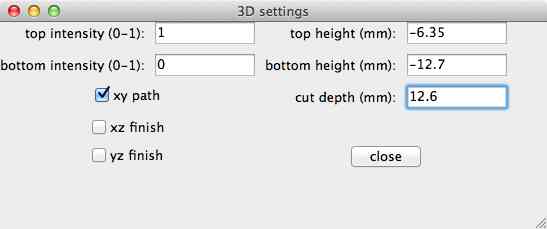
I had some trouble with the fab module tool paths. First of all, once you make a .g code with the fab modules, you need to change the extension to .nc before you send it to the TechnoCNC. The fab modules would do one 'cut' at z=0, which wastes a lot of time when you're cutting big parts. Also, they do the first cut on all the parts, then the second cut on all the parts, etc. This is bad if you're trying to share machine time with other people and can't run everything at once, or if you just want to see that it works on one part before cutting everything. Luckily, it was easy to break up my kokopelli file into separate pieces, which I sent to the fab modules one at a time. To avoid a wasted 'cut' at the top of my piece, I told the fab modules that the top of the stock was at the depth of my first cut (there's probably a better set of settings, but this worked). Ken recommended what settings to use for speeds and feeds. The .nc files and corresponding .pngs for cutting the stapler out of 4'x8' 7/16in think stock in several parts are here, and here are the settings I used:
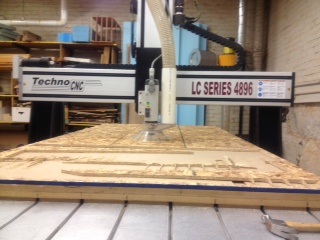
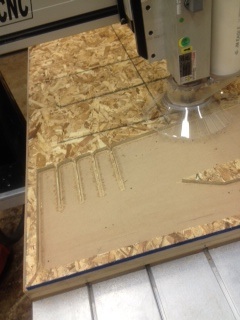
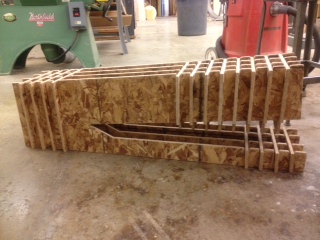
It was great to work in the hobby shop -- it's a wonderful place! Thanks especially to Ken for helping me out. Ken mentioned some design tips, in case I made something like this again: there should be feet on furniture to prevent wobbling, and stress points be shaped in an arch, not a sharp point. We nailed the 4ftx8ft OSB to the bed of the TechnoCNC, and after the minor trials and tripulations with the fab modules (Ken is more familiar with the OMAX and MasterCAM softwares, which he recommends I learn), I managed to cut out my pieces:
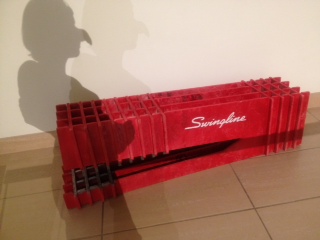
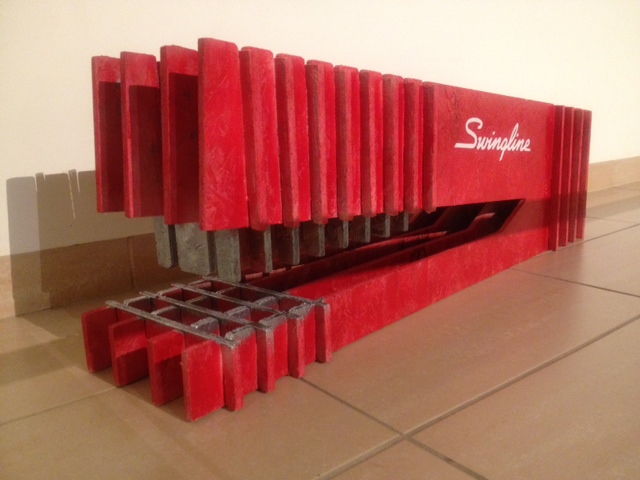
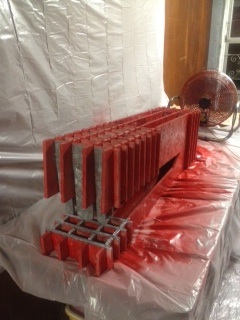
After a lot of sanding, I assembled my OSB staper:

My slots were a bit too wide. It was still sturdy enough to sit on, but I decided to glue everything together. My next plan was to spraypaint it to a more stapler-like coating. MIT was closed Monday because of Sandy, so I was stuck at home:

I managed to take the stapler bench home on Tuesday:

Despite more flooding in Harvard Square,

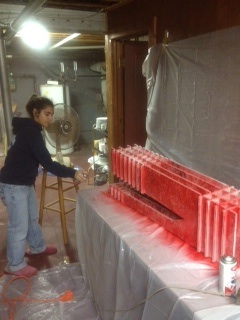
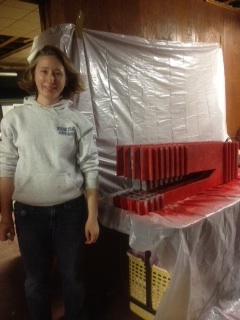
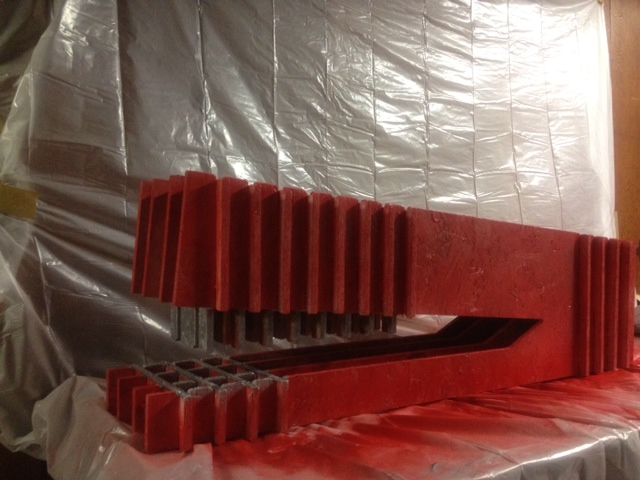
I spray-painted the stapler, with help from my friend Alexandra Boghosian, who was visiting from New York:
I emailed Swingline, who kindly gave me permission to use their logo on my project. I got a copy of their logo from their website, vinyl cut it with the fab modules, and stuck it to the side of my stapler:
A fun Halloween project...