Week 2: Press Fit Construction kit
This week's task was to design a press fit construction kit. I designed a gravity-based coin sorter construction kit! Originally when I was thinking what to do, I wanted to make a kinetic aggregatable module which would become a Hoberman sphere--to make my task more ambitious, I wanted to do it out of bristol paper and an expandable origami joint. I quickly found that this was a little too difficult, and that the paper would never be sturdy enough. So scratch that!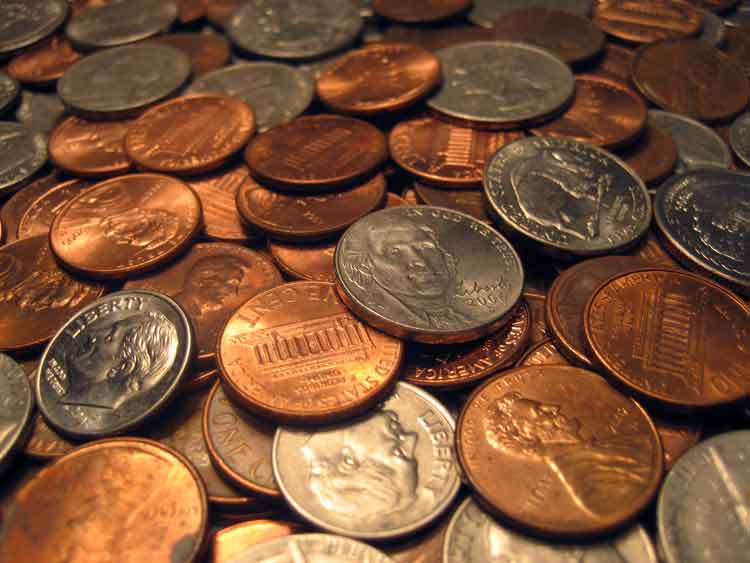
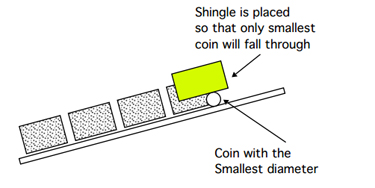
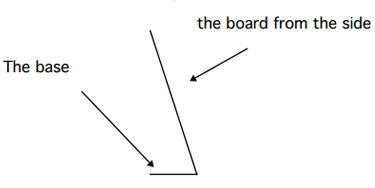
SO then my next idea was to make a coin sorter/holder, since I hate coins and always seems to acquire them in my studio. After doing some research, I found a pretty easy way of making a gravity based sorting mechanism by creating a series of ramps and having the whole sorting mechanism at an angle. This allows the coing to lean on the back and it will fall into the proper whole based on it's height. See diagrams below, courtesy of Mayer Goldberg ( PDF here )

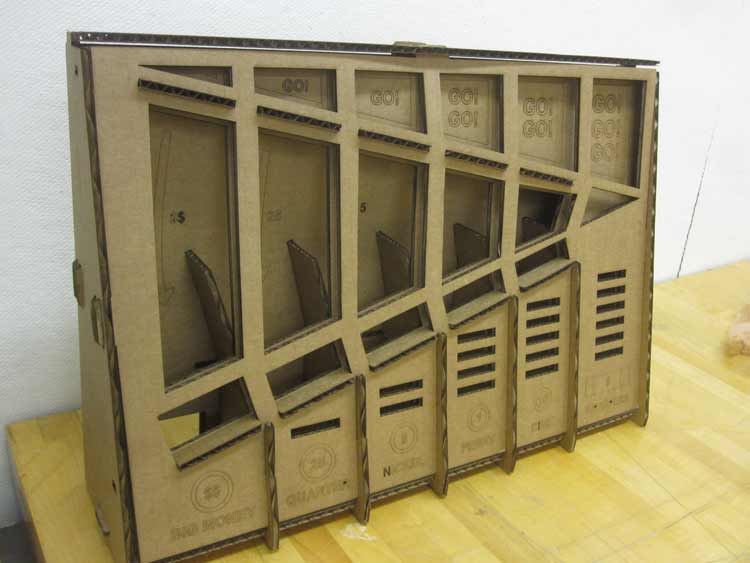
For an aesthetic, I was inspired by the old slot machine coin banks that I used to have as a child. The more I started to design the fit kit, the more it resembled this ha. So I decided to engrave some coin symbols, and text on my machine. I also made a bunch of cut outs, leaving only what was absolutely necessary for the machine to work...that way you can see whats going on inside!
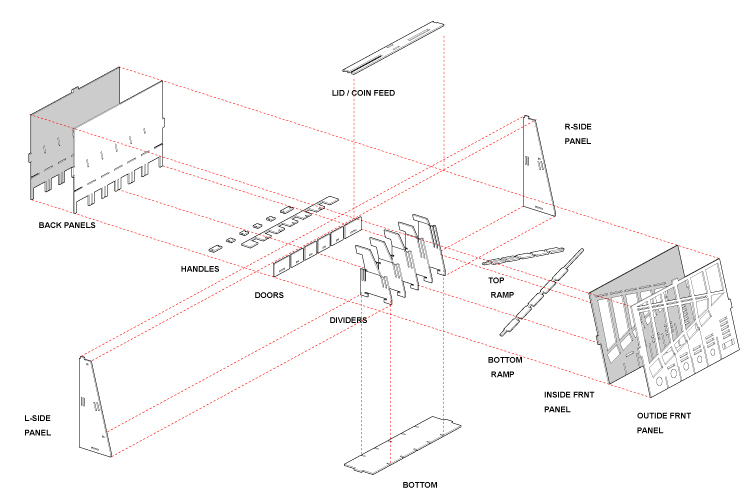
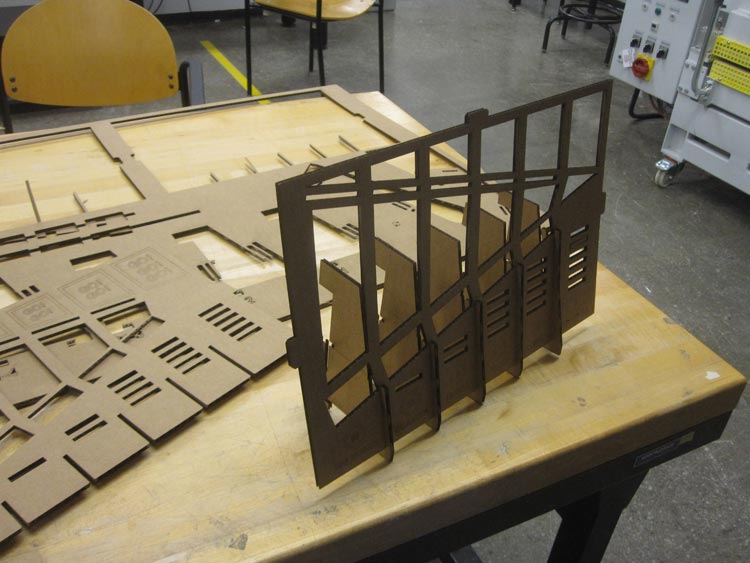
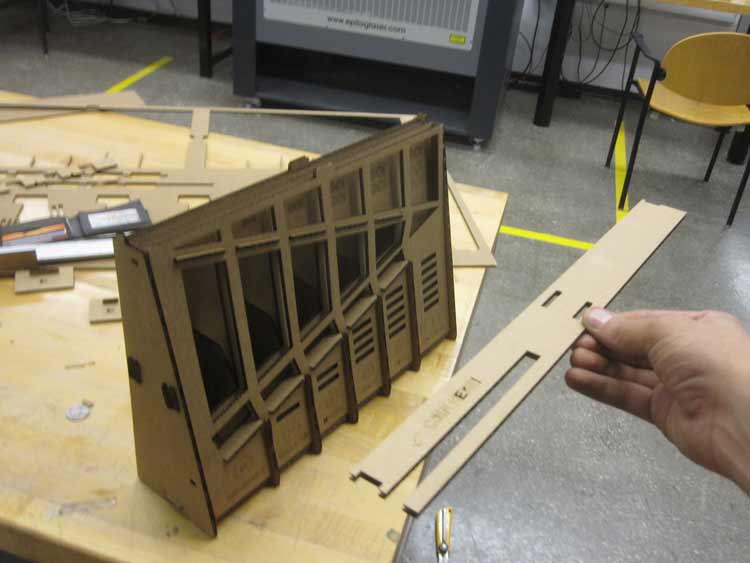
The way mine works would be that the front panel would be a double skin, housing the ramp inside. The back panel would also be a double skin, so that i can put operable doors for each of the coin divisions. These would be held together structurally by ribs, that would also serve as the dividers for each coin and wrappers (in case I ever buy those). THen the sides and top provide additional stability! It was a lot of fun to design something that was both functional and well put together...each joint relied on the next...from the ribs to the panels to the sides...etc. I had never done this before so it was quite fun!
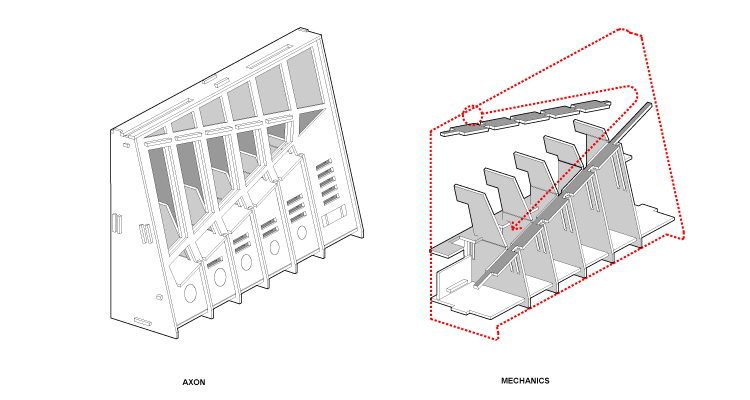
I added a second ramp on top, to prolong the enjoyment of the sort. The coin drops down at the top, goes down, hits the side, and then falls into the appropriate hole. The ramps helped to stabilize the front panel system. Note the ribs, fold to align with the openings for the coins. I used a score line to accomplish this.

For modeling and CADing, I used Rhino. I basically modeled the whole thing in 3D first, utilizing "blocks" for the joint connections in case the material thickness changed. Then I took the faces of each I measure with a digital caliper that the thickness of the cardboard was .160 inches so I used that for the slots. It seemed to work perfectly so I used that for the final laser file sheets.
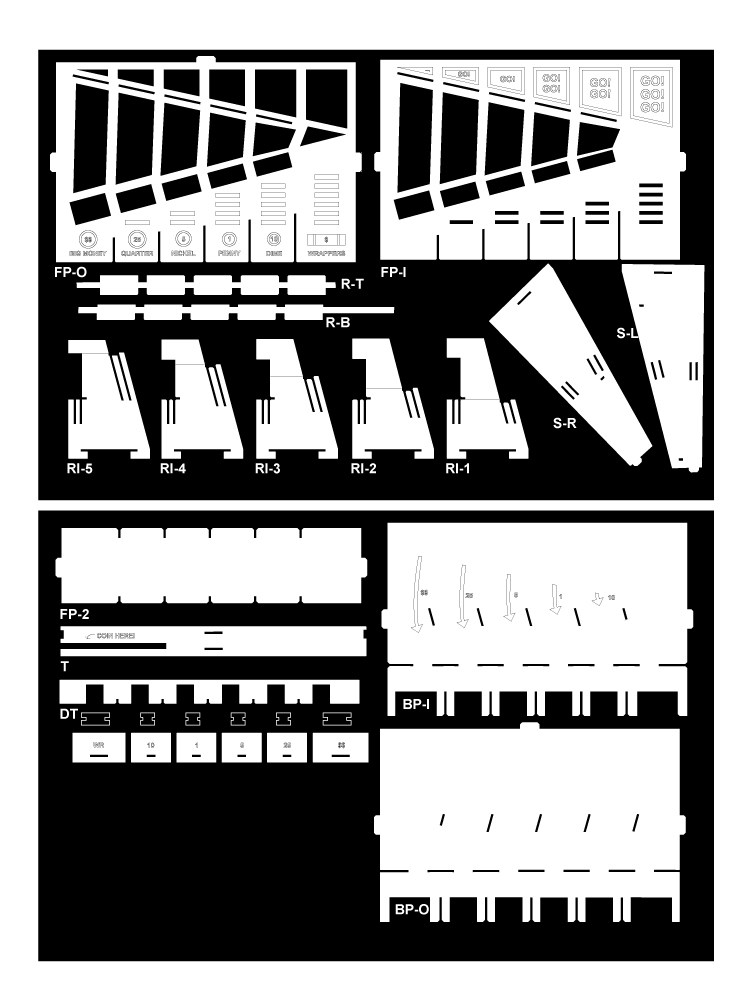
I then layed out the sheets in rhino, and seperated out my scores and cuts into seperate layers. I managed to fit them on just two sheets ((24 x 36).
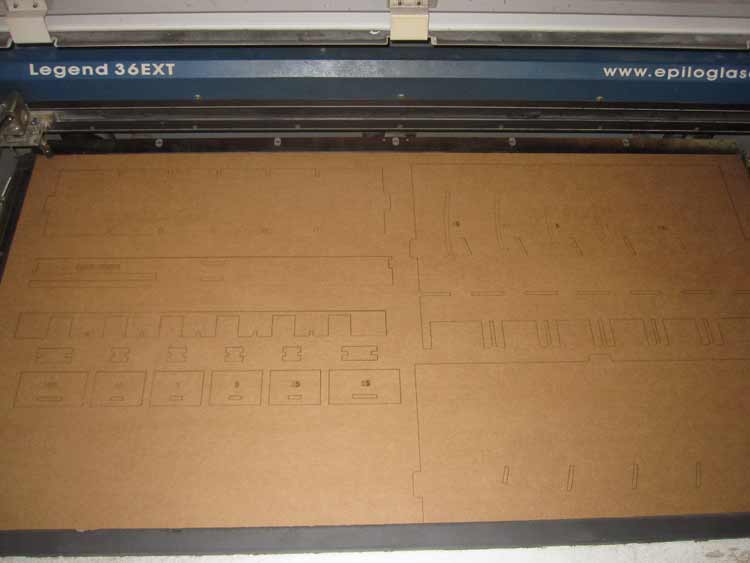
I ended up exporting my sheets to AutoCAD because the computers in the fablab are wicked slow. Remember to turn off all plotstyles, have all lines continuous, and at default lineweight. I found out it wouldn't cut otherwise! First sheet done! It took a bit of time to get the right settings. I was using the 60W Epilog in 3-402 and the settings were as follows:
1/8" Cardboard on Epilog 60w
CUT
- Speed: 40
- Power: 70
1/8" Cardboard on Epilog 60w
SCORE
- Speed: 100
- Power: 30
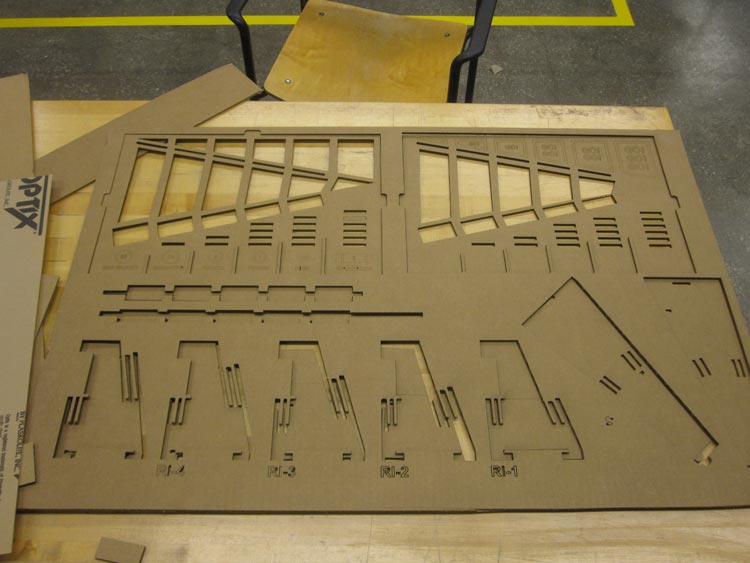
Cut like buttah
Notches worked great for front panel
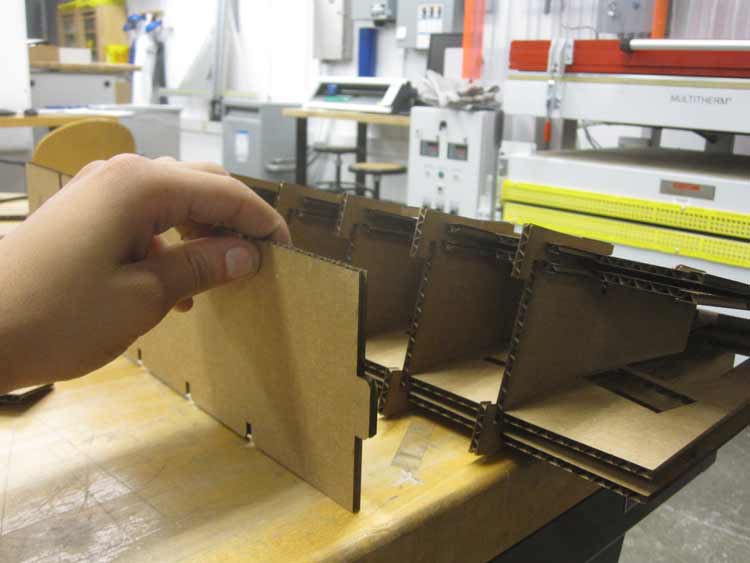
This joint below didn't work at first. I found out that cardboard is not as flexible as paper (durh).
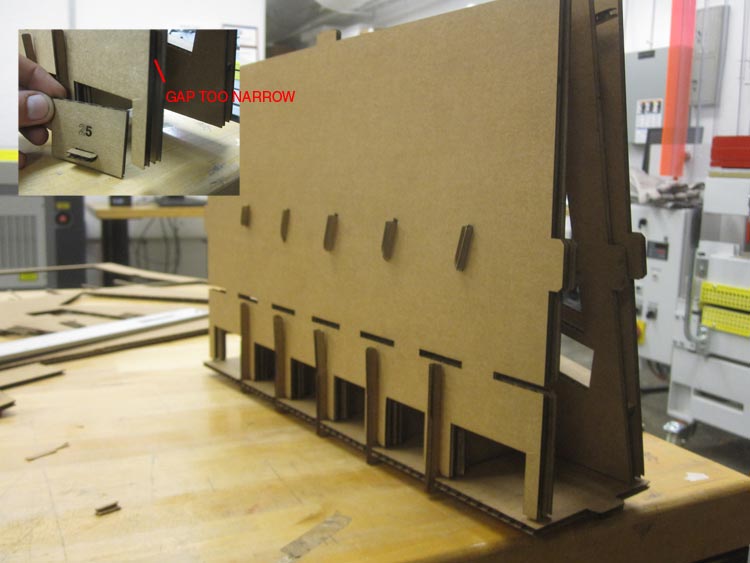
On the back panel, I ran into the issue that I didn't leave some extra space for the door to morve about. The gap became to narrow, so I had to leave the door construction out.
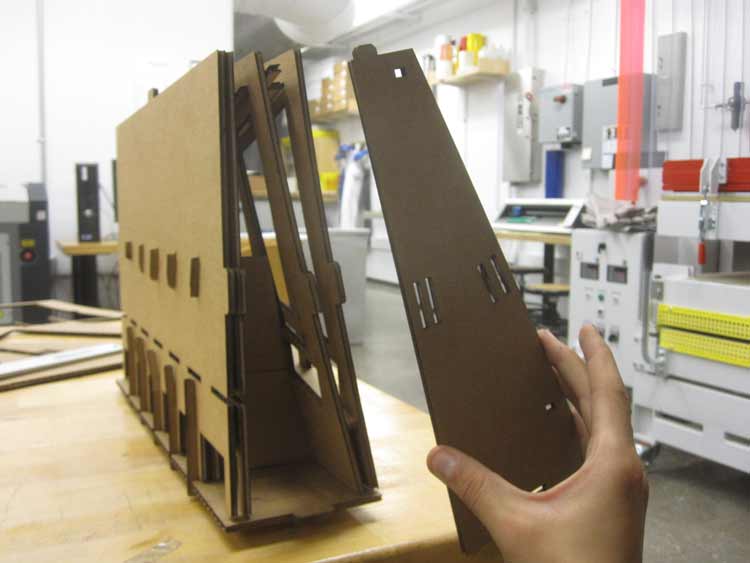
Side Panels were really stable
I think the top could have been held in better, maybe if the sides came up more, and it notched in to those.
After Thoughts
Overall, I think it turned out pretty good and it works (most of the time)! I learned a lot about design joints, and now I have a sweet coin machine. Check out the video below!
What to Improve
- I really want to make this out of plexi, so you can see everything and the cutting of windows can be eliminated. This requires better joints
- The top is the only thing that isn't super secure, I would fix that.
- When scoring cardboard, small pieces tend to fall off..either single line text or a lower setting might of been better for my annotations!
- Definitely would of been cool to have the doors
Tips
- It really helps to 3d model things out, you can discover joints that you wouldn't of seen otherwise!
- Save your laser settings, it's awesome
- Always turn off lineweights, plotstyles, linetypes if you use AutoCad!