Week 3: Electronics Production: FabISP
This week for HTM(A)A we milled and programmed a FabISP board. A FabISP is an in-system programmer for AVR microcontrollers, designed for production within a FabLab. That is, it allows you to program the microcontrollers on other boards you make, using nothing but a USB cable and 6-pin IDC cable. More information can be found here
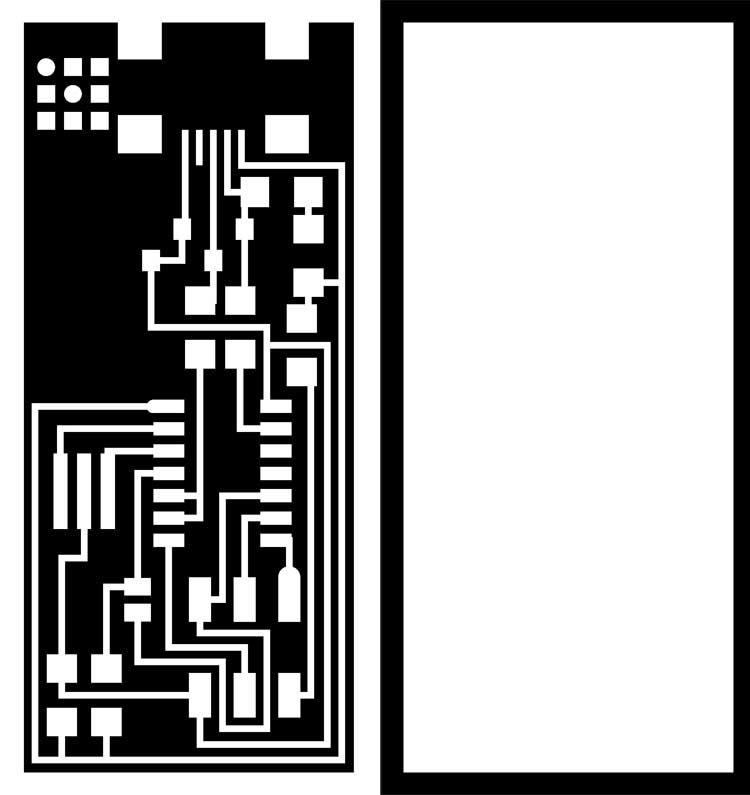
We used the fab modules software, with these templates for the tracings and the outside edge.

For creating this, we used the Roland Modela Milling machine. Essentially, we used a copper plated board, and milled out the circuit tracings with a (suuuper tiny) 1/64" bit. Afterward, we use a 1/32" bit (4 passes) to cut out the board. For the z settings, these are what I used.
- Mill tracings - 2d z: -0.1
- Outer edge cut: -1.65
Saudering..Putting the microchip on! I found out later the easiest way to sauder is to apply a little sauder to one of the two(or more) pads for each component. Then you heat it up and slide the piece in. From here, the rest of the joints are easy because the piece is stabilized!
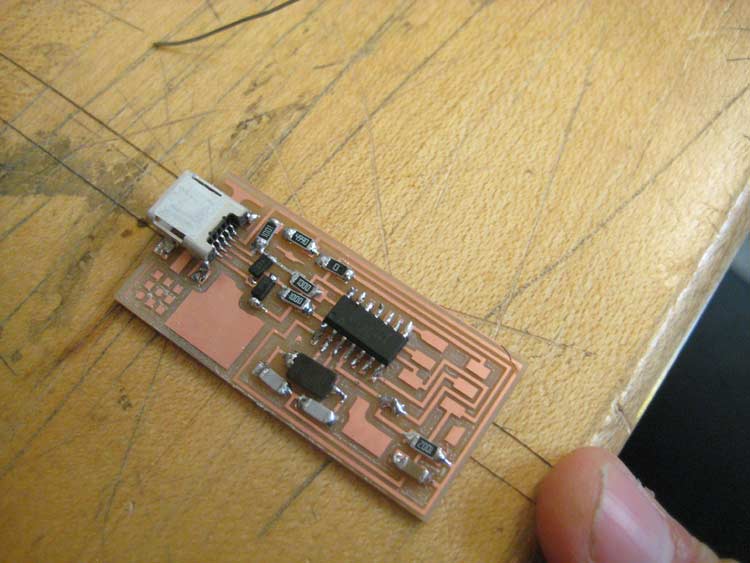
The usb traces were the most difficult to sauder; you can see how small they are. The first time I tried to do this, I mess these all up, and ruined the copper trace, forcing me to redo this.
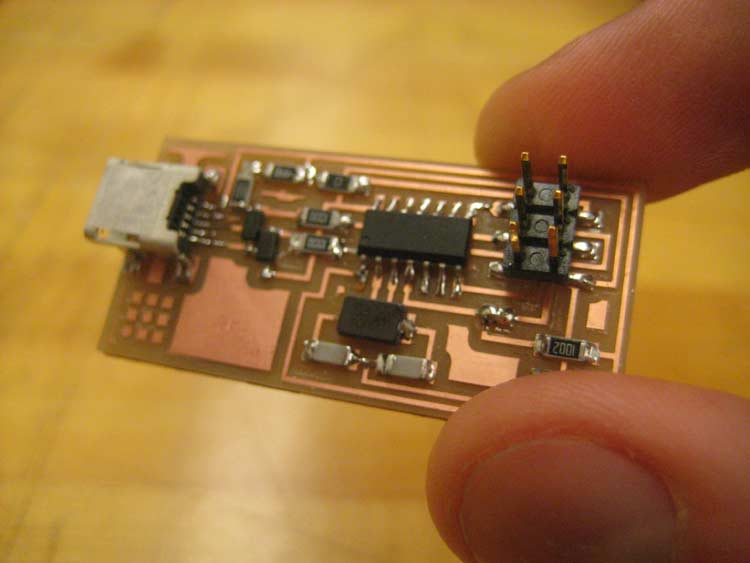
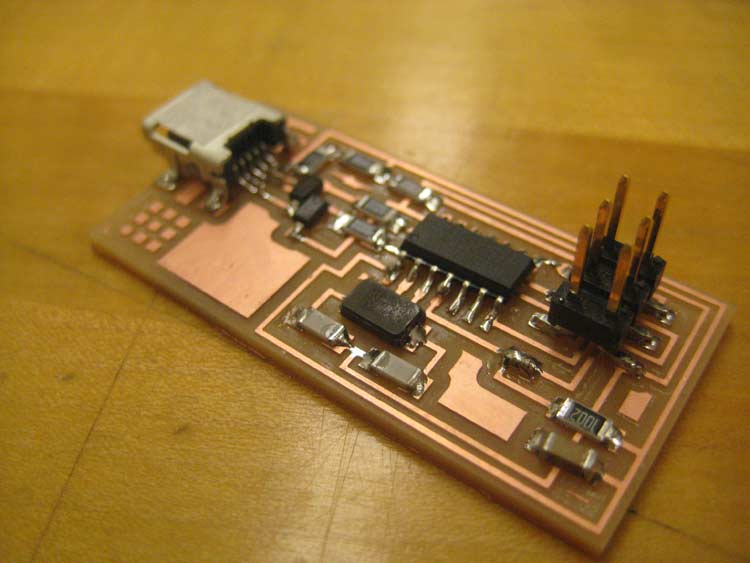
Done! Look how small this thing is! Let's see if it programs!
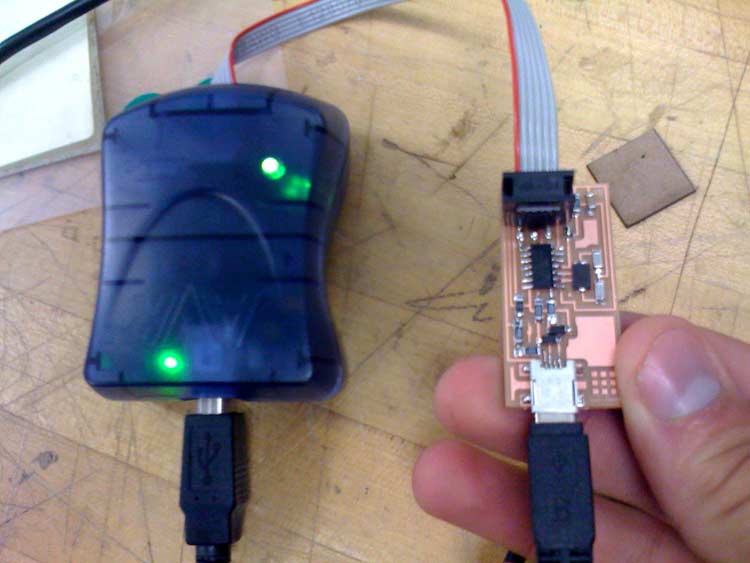
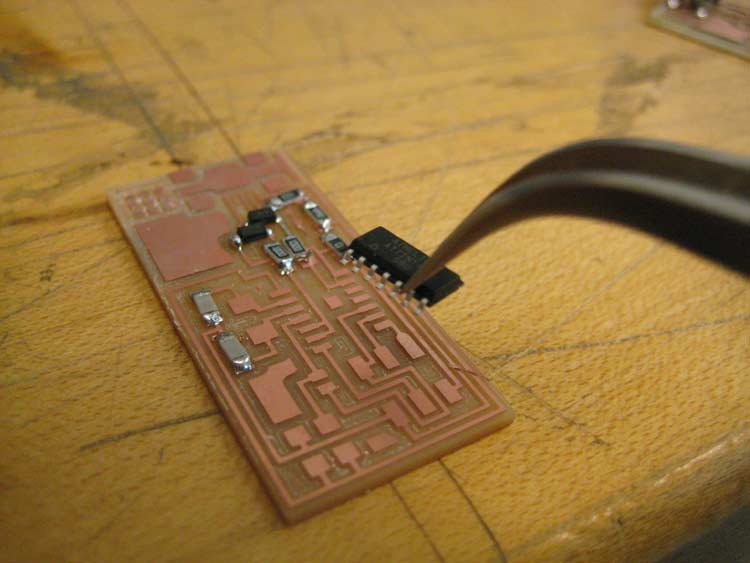
So last thing to do is plug in the IDC cable from the store-bought AVR programmer, and plug in the usb-to-mini cable (for power). The first test to see if your board is properly working is if the light is green. If it's red, then it is not working.
I used Crosspack (OS X) the first time I attempted to program it and this failed with an ERROR 1. I had to start over because of my poor saudering on the usb traces.
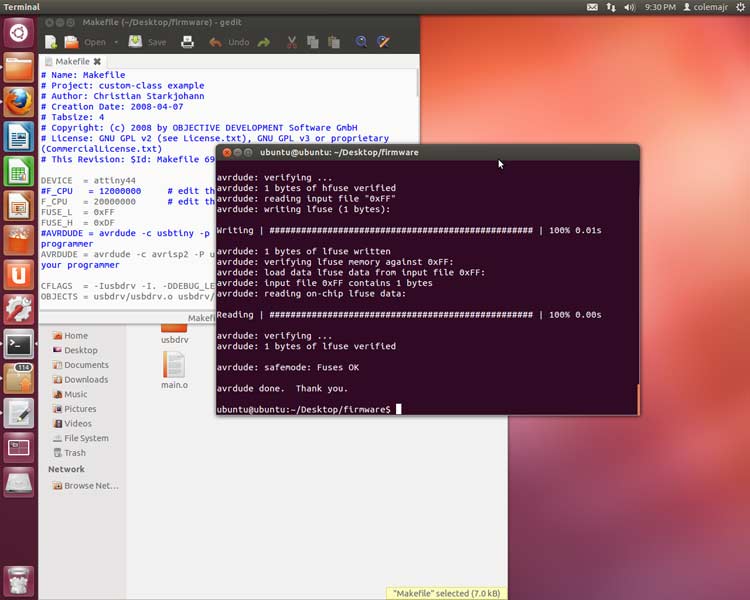
The second time I built the board, I used Linux's avrdude and avr-gcc (info here). SUCCESS!
What to Improve
- This is all about saudering, I got better my second time, but it could still be cleaner!
- I would like to try some of the other FABISP options, such as the one with the built in usb
- Definitely would of been cool to have the doors
Tips
- Use copper braid to get rid of excess sauder.
- Taping your board down when saudering really helps
- PRACTICE SAUDERING! Place a dab of sauder on 1 of the pads for each component. Then for each one, Heat this up and slide the piece into place..This is an easy way to fasten it..then you can easily add sauder to the remaining pad(s).
- Place the copper piece near the origin of the Rodela, it cuts better!