PRESS-FIT CONSTRUCTION KIT
I wanted to do something different for my press-fit construction kit. Being an architecture student,
the laser cutter is almost always used to make dozens and dozens and dozens of pieces that are then just
glued together. This week's project posed a challenge: how could I build something without tacky glue?!
The cloning capabilities of Inkscape really fascinated me. I'm a huge fan of Adobe Illustrator
so I spend much of my time drawing and refining architecture boards there, but I always do my line
drawings in Rhinoceros (the MIT modeling software of choice). I tried to get Inkscape to work on my
MacBook Pro, but something funky with X11 (required to use Inkscape) prevents me from actually using
it. Hasta luego, Inkscape...
The inspiration behind this week's project comes from my summer UROP working for Liam O'Brien. The very
last two weeks, I worked on a fuzzball collaboration between Liam and Joel Lamere. Right when I joined,
the geometry took a turn for the more interesting. What started out as a sphere composed of hexagonal
shapes turned into something much like a
"Pentagonal Icositetrahedron",
a 24-faced dual polyhedron of the snub cube A_7 (I'm not really sure what that means either...).
I thought that it would be fun to try to recreate the spherical form without any glue as a reminder that,
deep down, I really am an eco-friendly person.

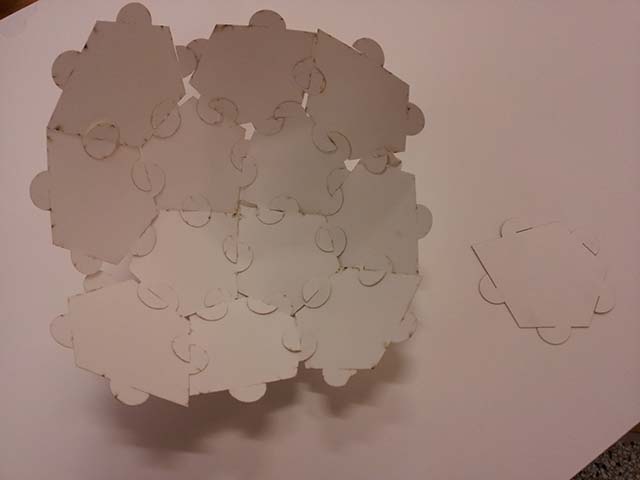
For my initial tab connection tests, I used the laser cutter to cut out test shapes out of two-ply
Bristol board. From the five shapes above, the first one is the original face of the Pentagonal
Icositetrahedron without tabs. The second shape uses two opposing tabs to hold the adjacent pieces
together. In my initial guess at the slot-to-tab ratio, I oversized the outer edge of the tab so much
that the tabs did not fit into the slots. The small size of the pieces also made it incredibly
difficult to fit the tabs into their respective slots. The relative thinness of the Bristol board
causes the tabs to deform and warp easily as well. I thought the third design test might work, but
in the end, the Bristol board was too rigid to allow the tab to flex in such a way as to fit into the
slots. The fourth piece tries to simplify the shape of the third test piece while using similar
principles to hold adjacent pieces together. I tried to construct the sphere using these pieces as a
tension fit shell, but about halfway through the ball, different pieces started to shear and move in
plane. The subtle shifts caused many of the tabs to slip out of their slots, and the whole structure
started to fall apart.
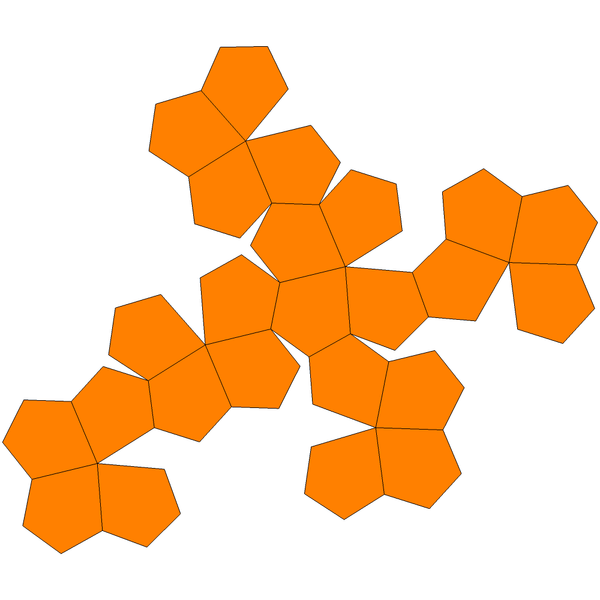
Despite having worked with this particular geometry before, I actually learned a lot about the unit
just trying to figure out how to nest the pieces for cutting. The pentagon is symmetrical, and the
three shorter sides all have the length. The five-sided unit primarily forms two different clusters:
the four-unit star can be easily identified by congregation of the two longer sides in the center of
the star while the three-unit pinwheel follows its own pattern in the way the same two shorter sides
of each pentagonal unit meet together. Through these two main rotational symmetries in the shape
fabric, I confirmed that the entire sphere could be built using just one pentagonal unit.
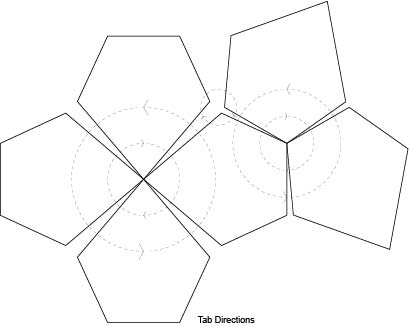
The fifth and final design shape expanded on the double tab construction of the second shape while
also growing the shape by 125% and reducing the ratio of the outer edge of the tab to the inner edge.
When deciding on the sizing of the tab, I kept the slot width constant, shrinking the inner edge of
the tab and widening the outer edge by the same amount. I went by 2.5% increments until the tolerances
were just enough to allow the tab to go in relatively smoothly. This time, about a third of the way
into the sphere, the pieces close to the outer edge of the construction shell started to shear, and
the constructed portion of the ball collapsed. After repeated attempts of trying to re-shear all the
pieces back together, I took a small portion and turned the entire shell inside out. The compression
structure of the units acting together helped to keep all the pieces from shearing.

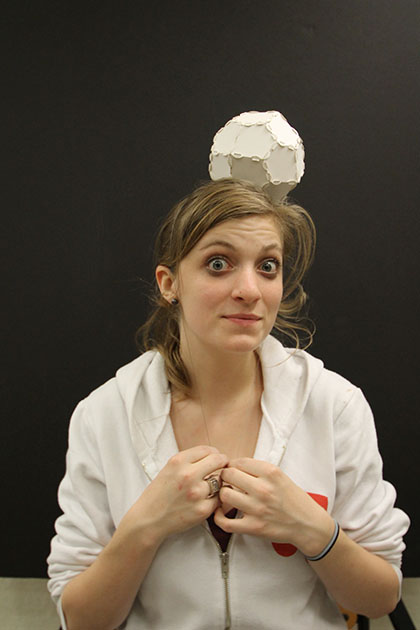
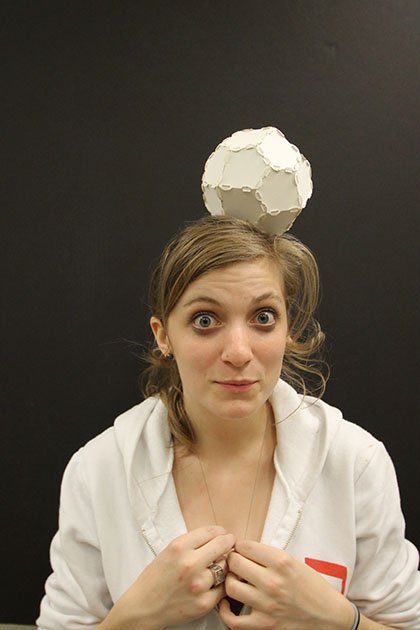
Ta-da! Not nearly as clean and smooth as the reverse tension form, but in the end, the compression form held together much better. I now want to outfit the lantern with LED lights...upcoming project? Thanks to Audrey for being a great model and giving me piano wire and to Andrew for helping to take and process photos :).

My attempt at using the vinyl cutter. Originally, I had wanted to cut all my pieces using the Roland cutter, but the machine has difficulties cutting through Bristol board to I used the laser cutter instead. I learned that the fab modules like solid shapes and do not like lines. When I sent both a .png and a .svg of the fifth shape above, the "make path" button created an outline of the lines that outlined the original shape.
