
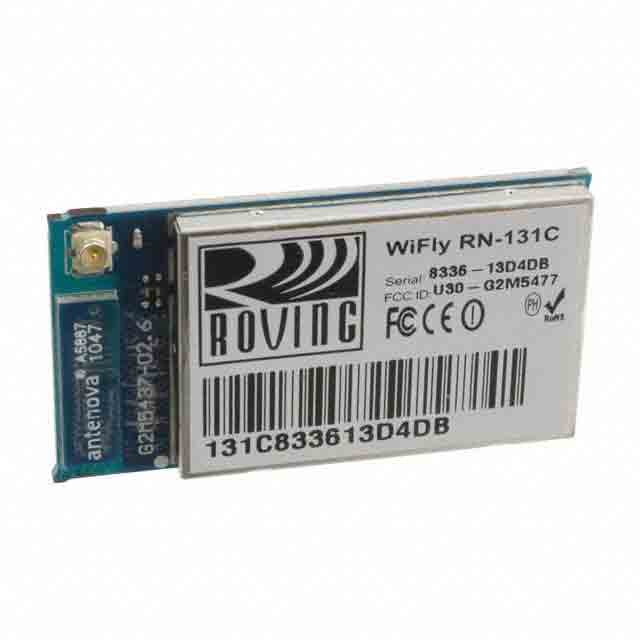
This week we learned about the various options for networking devices together (RS232, SPI, I2C, 802.3, 802.11, 802.15, bluetooth, etc) and had to build a device that implemented one of them. Since my final project requires Wifi to talk to a central web server that manages the chess game, I decided to experiment with the WiFly GSX chip.
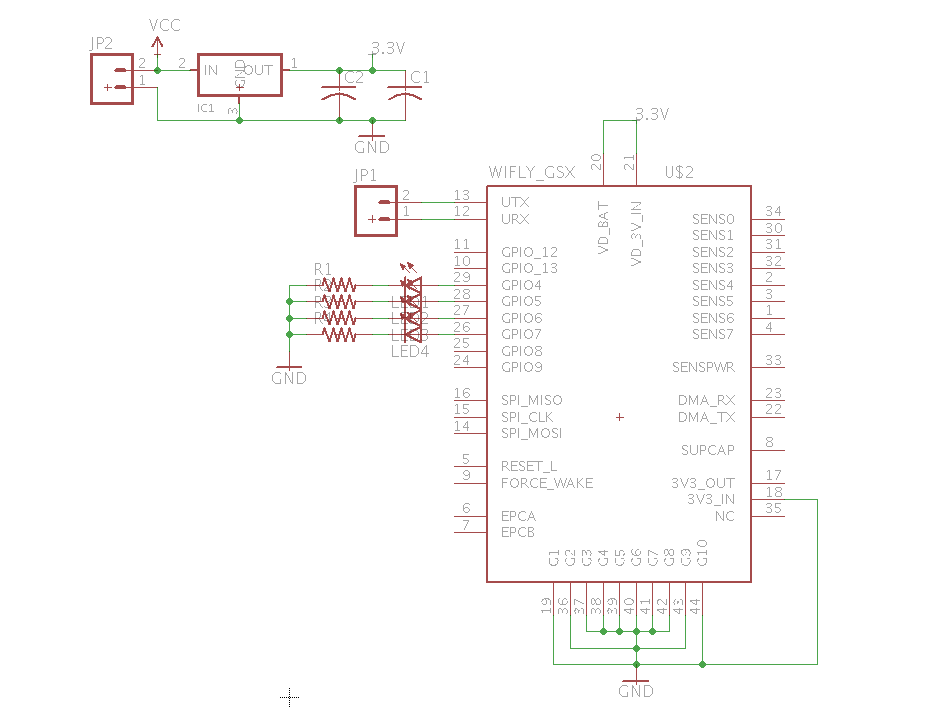
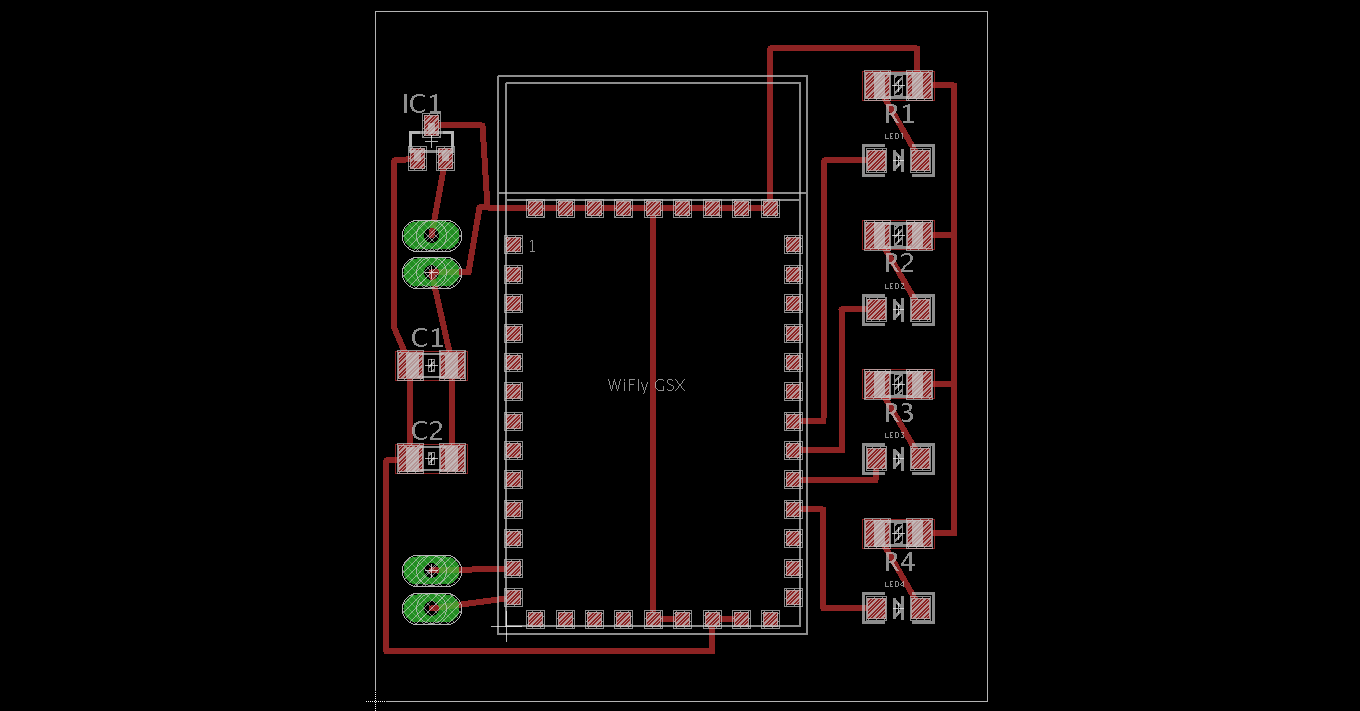
I designed a breakout board for the chip, which basically consists of a voltage regulator to bring the 5V input down to 3.3V for the WiFly chip and some LED indicators to show network status. I also added a few headers for power, ground, tx, and rx lines.
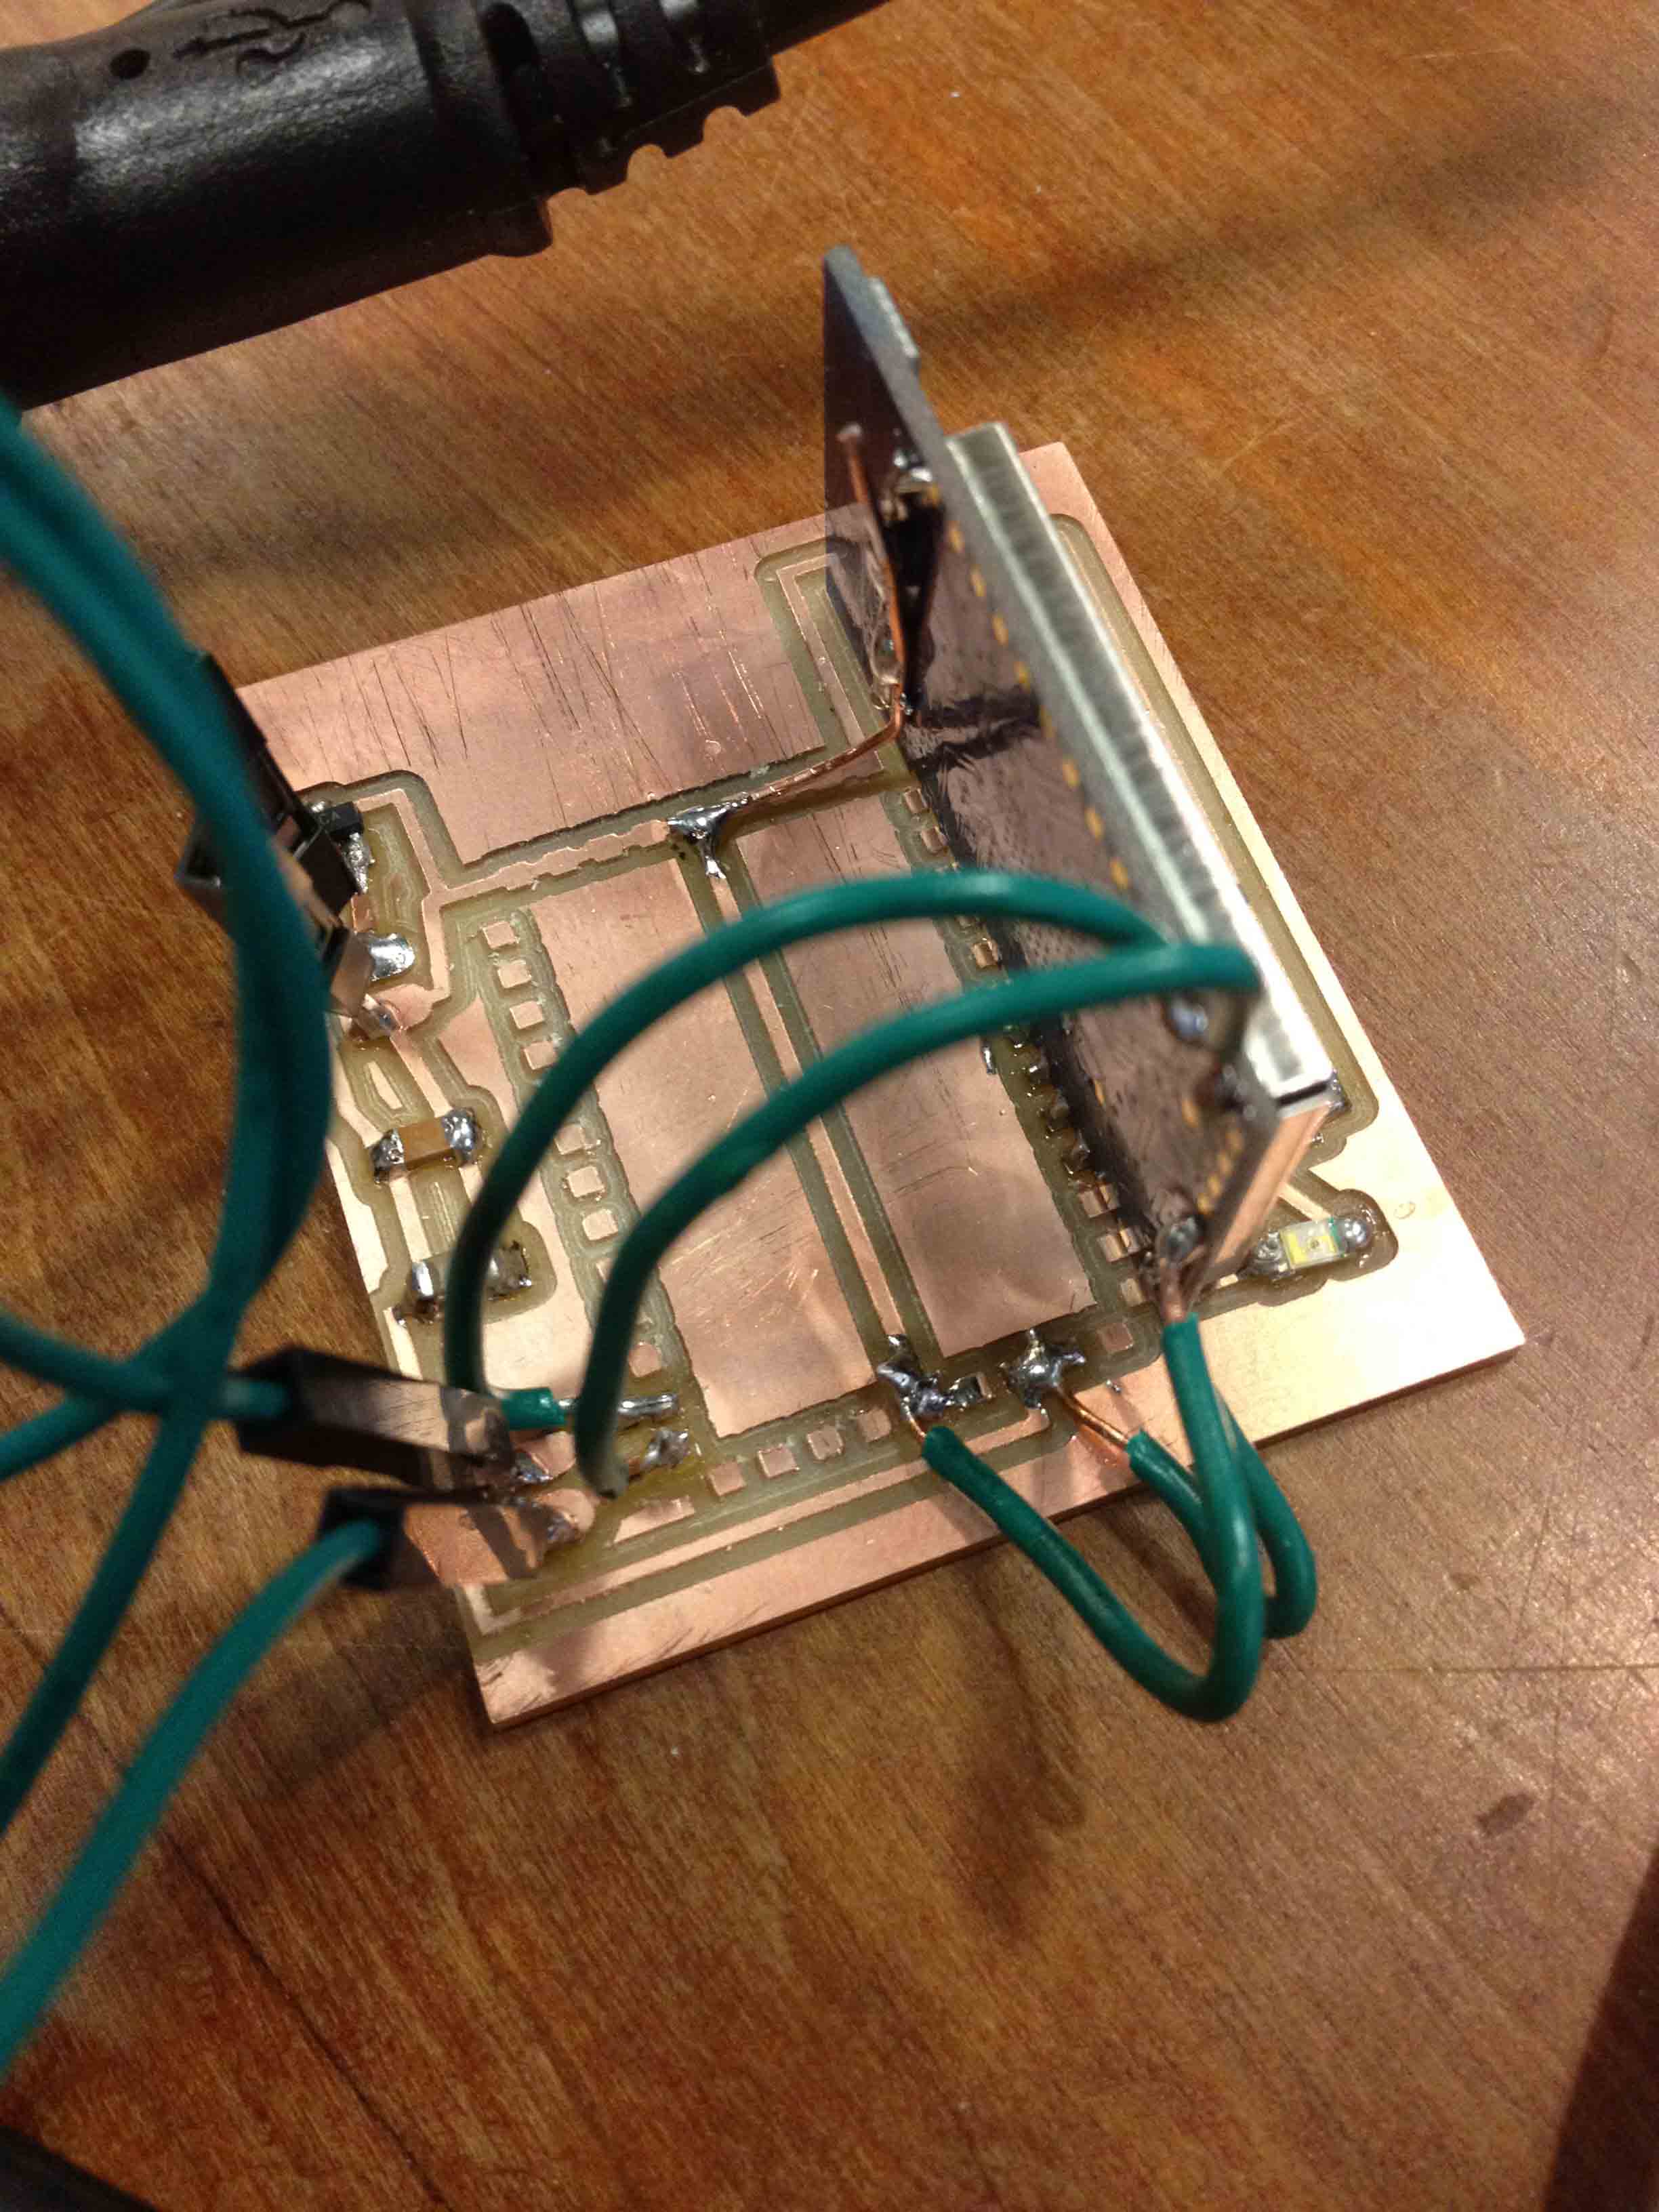
Unfortunately I didn't realize ahead of time that the chip I bought requires one to reflow solder it, which is a huge pain. Since no one was around this weekend to show me how, I just hacked together a solution by hand, standing the chip on end and soldering wire jumpers from the chip to the pads on the board. Its ugly, but it works!
I then wrote a quick web server with Ruby on Rails so that the chip had something to talk to, and began to write code to configure the chip to connect to my web server. The WiFly chip accepts commands and responds through the RX/TX serial lines, so I hooked those up to an Arduino to send and view commands.
The first problem I encountered was that the WiFly chip by default attempts to auto associate with an open wireless network upon boot up. This caused the serial interface to become unresponsive, so sending commands to the chip was unreliable. After a bit of fussing, I was able to disable auto associate with the "set wlan join 0" command followed by the "save" command to permanently store the option in the chip's configuration.
I then had to figure out the right configuration options to enable web communication. By default, the chip uses UDP, so a few config options were required, including setting the IP protocol to use TCP/HTTP, turning on DNS, setting the remote host port to 80, and unsetting the annoying default TCP connection string of "HELLO". Once that was done, I could finally set the wireless password and attempt to connect to a network.
In order to connect to a web server, a few more config options were needed. I had to set the set the host name, open a TCP connection to said host, then send a connection string in HTTP format.
This mostly worked, and I was able to successfully connect to various web pages and retrieve HTML from them. I still had some issues with reading responses from the WiFly chip though. Sometimes its responses would be human readable, but sometimes it looked like garbage. I'm still not sure if this is because of something I'm doing wrong or not.
And here's the full code.
A major problem with doing all of this by hand is going to be parsing the web responses. Its non-trivial to do, especially on an embedded device. Frankly, I'd much rather use the WiFi Arduino shield that comes with the WiFly library and associated WebClient classes, rather than reinventing the wheel.
Design Files: