This week we learned about molding and casting. For my project, I wanted to try embed a circuit board into the object that I cast. I've long had a grand vision of making a simple, natural-looking rock that glows a bioluminescent blue. I can imagine hundreds of these rocks scattered throughout a forest and creating a beautiful Avatar-like aesthetic.
My plan was to mix crushed glass with the Hydrostone material that we were given, hoping it would make the rock transparent and diffuse the light from the embedded LED evenly.
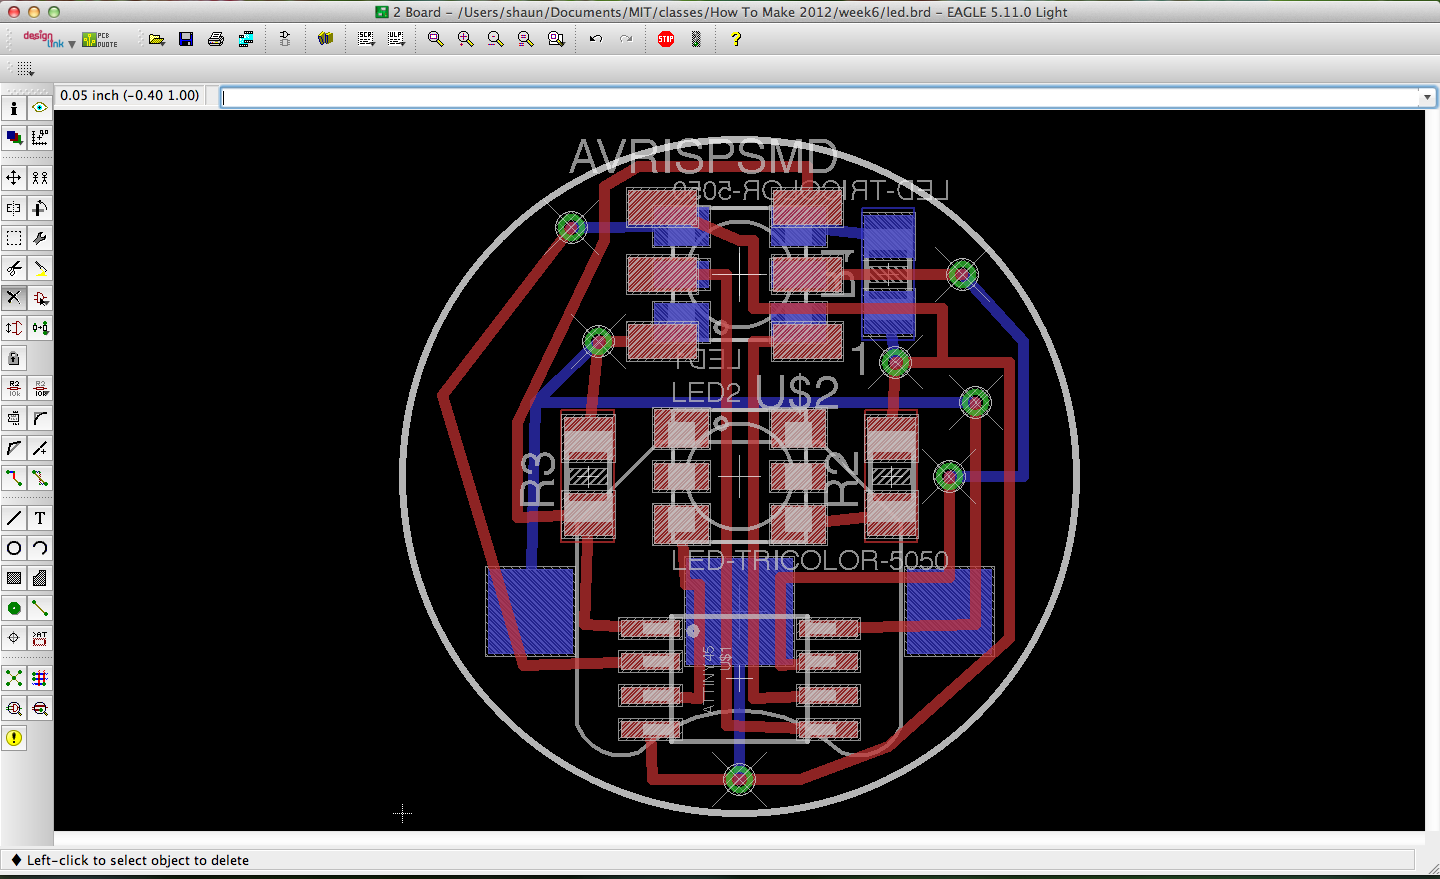
To get a sense of dimensions before making the mold of the rock, I designed the circuit board that would be embedded inside first. Its basically a small circular board with an LED on top and bottom, an attiny45, and a small 12mm coin cell battery.
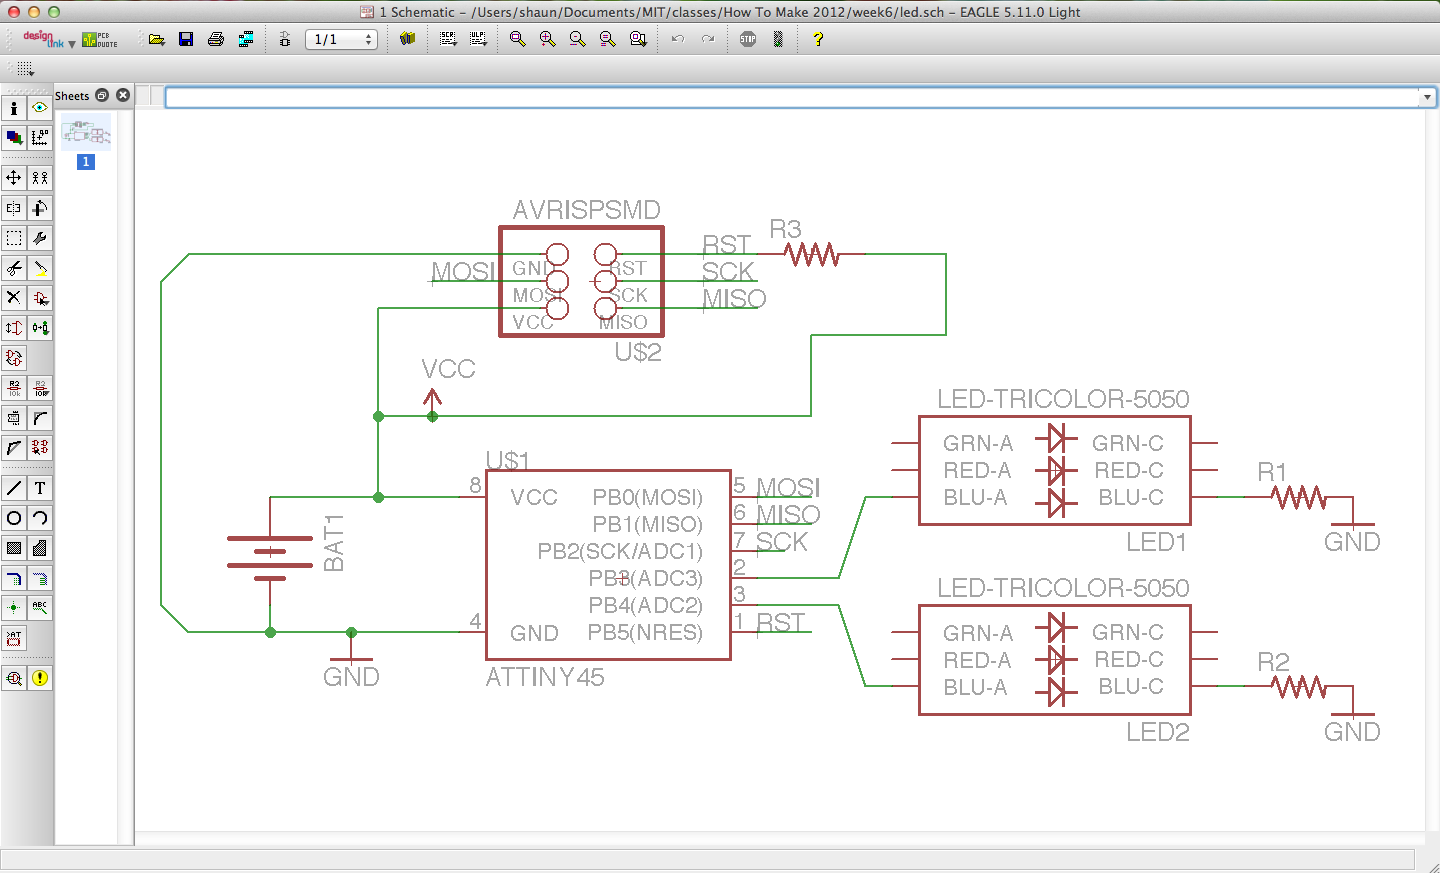
I also realized it would be necessary to write some really optimized code so that the battery would last a really long time (since it would be impossible to change the battery once the circuit board was cast inside the stone). So I modified some code I had written last year for a project with similar power requirements to put the attiny into sleep mode for a majority of its operating time. When in sleep mode with the appropriate bits of hardware turned off, the attiny only consumes a few microamps of current. When on, it uses a few milliamps. So if my board with a 45mAh battery is in sleep mode for 99% of the time, it should be able to last for 45mAh/(0.99 * 0.003mA + 0.01 * 3mA) = ~1364 hours = 56 days = almost 3 months. This is as opposed to unoptimized code which would last only about 15 hours.
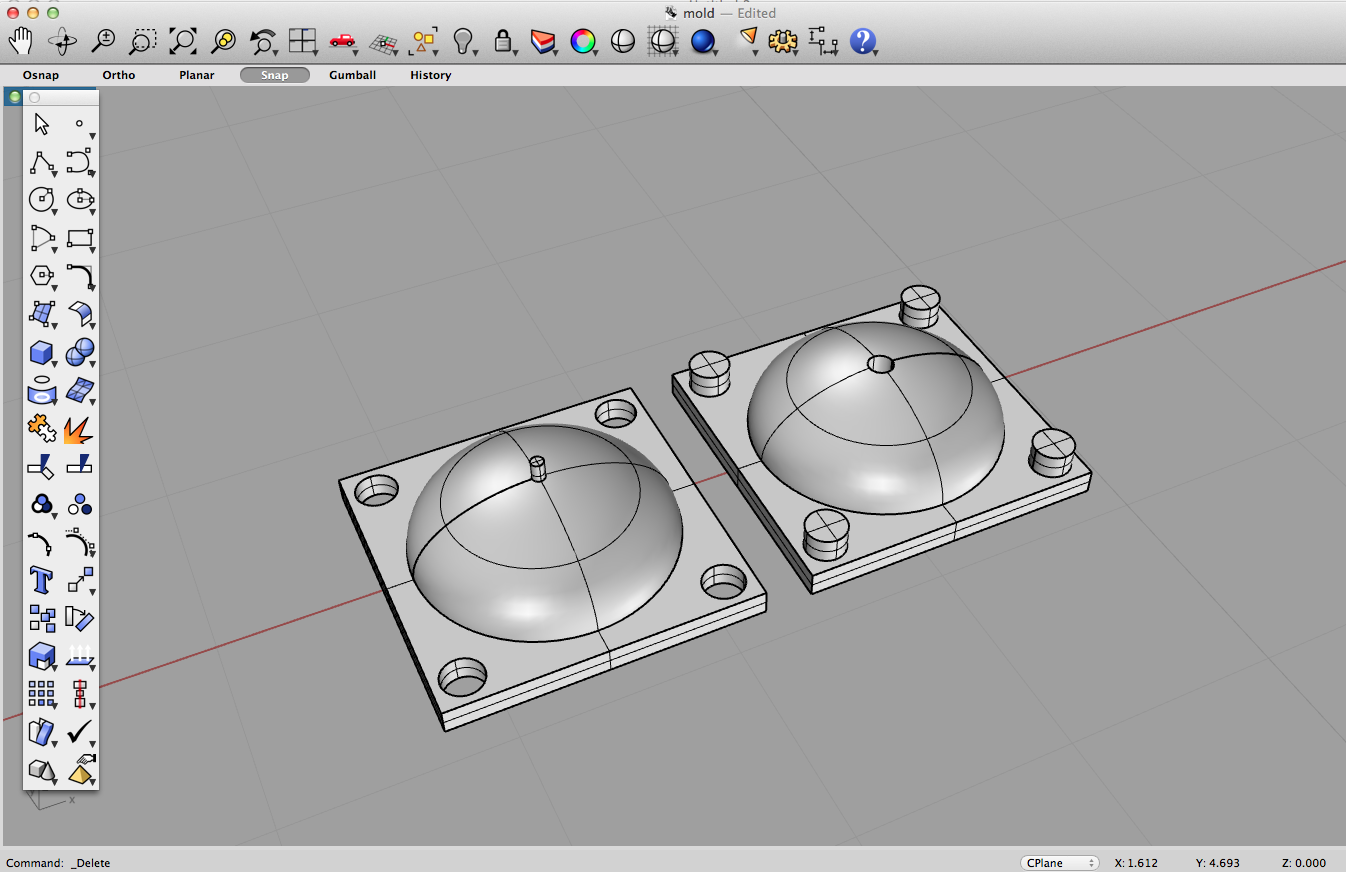
With the board size set, I designed a simple rock shape in Rhino. I added registration pegs so I could align the mold properly, as well as a spout to pour the material into. There is also a peg sticking out from the bottom of the rock so I could suspend the circuit board in the middle of the mold as I cast it.
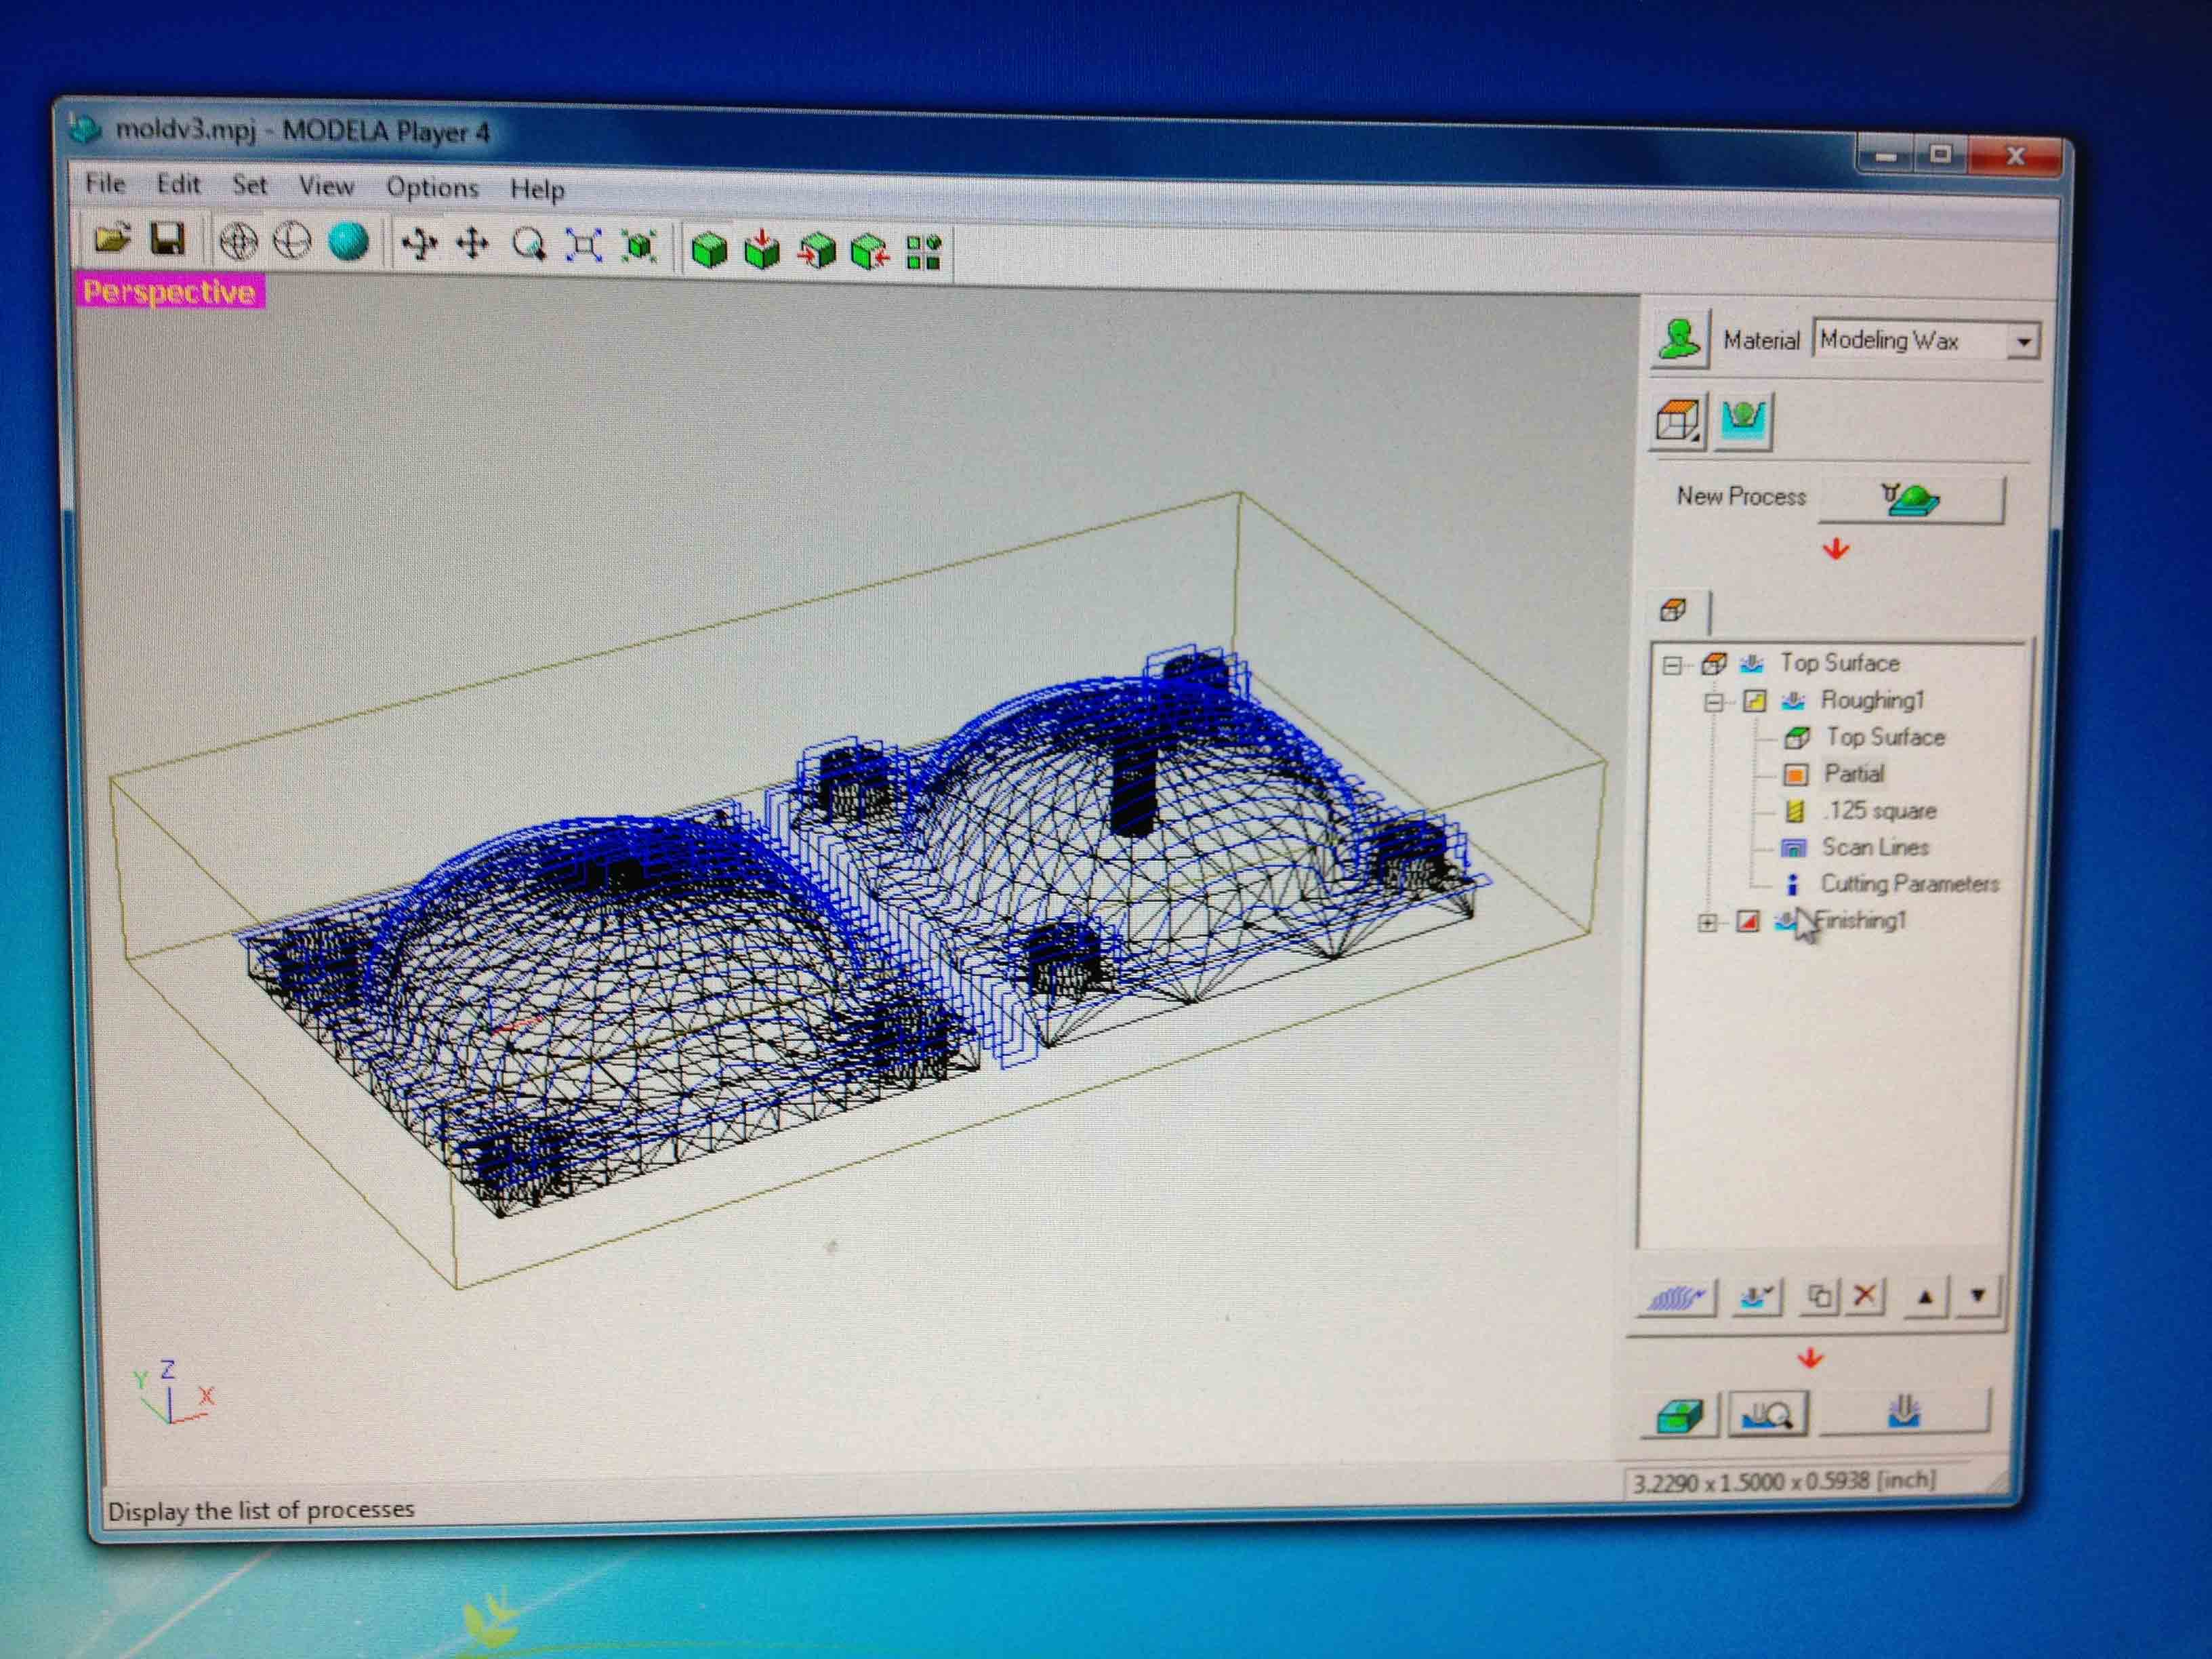
Importing it into the Modela program, I generated the toolpaths for the roughing and finishing passes, and simulated the outcome to see if it would work as intended.

I actually had to go back a redesign the alignment pegs a few times because the 1/8" endmill we were using was too big and couldn't get into and around the pegs correctly. I then set out to mill the wax!
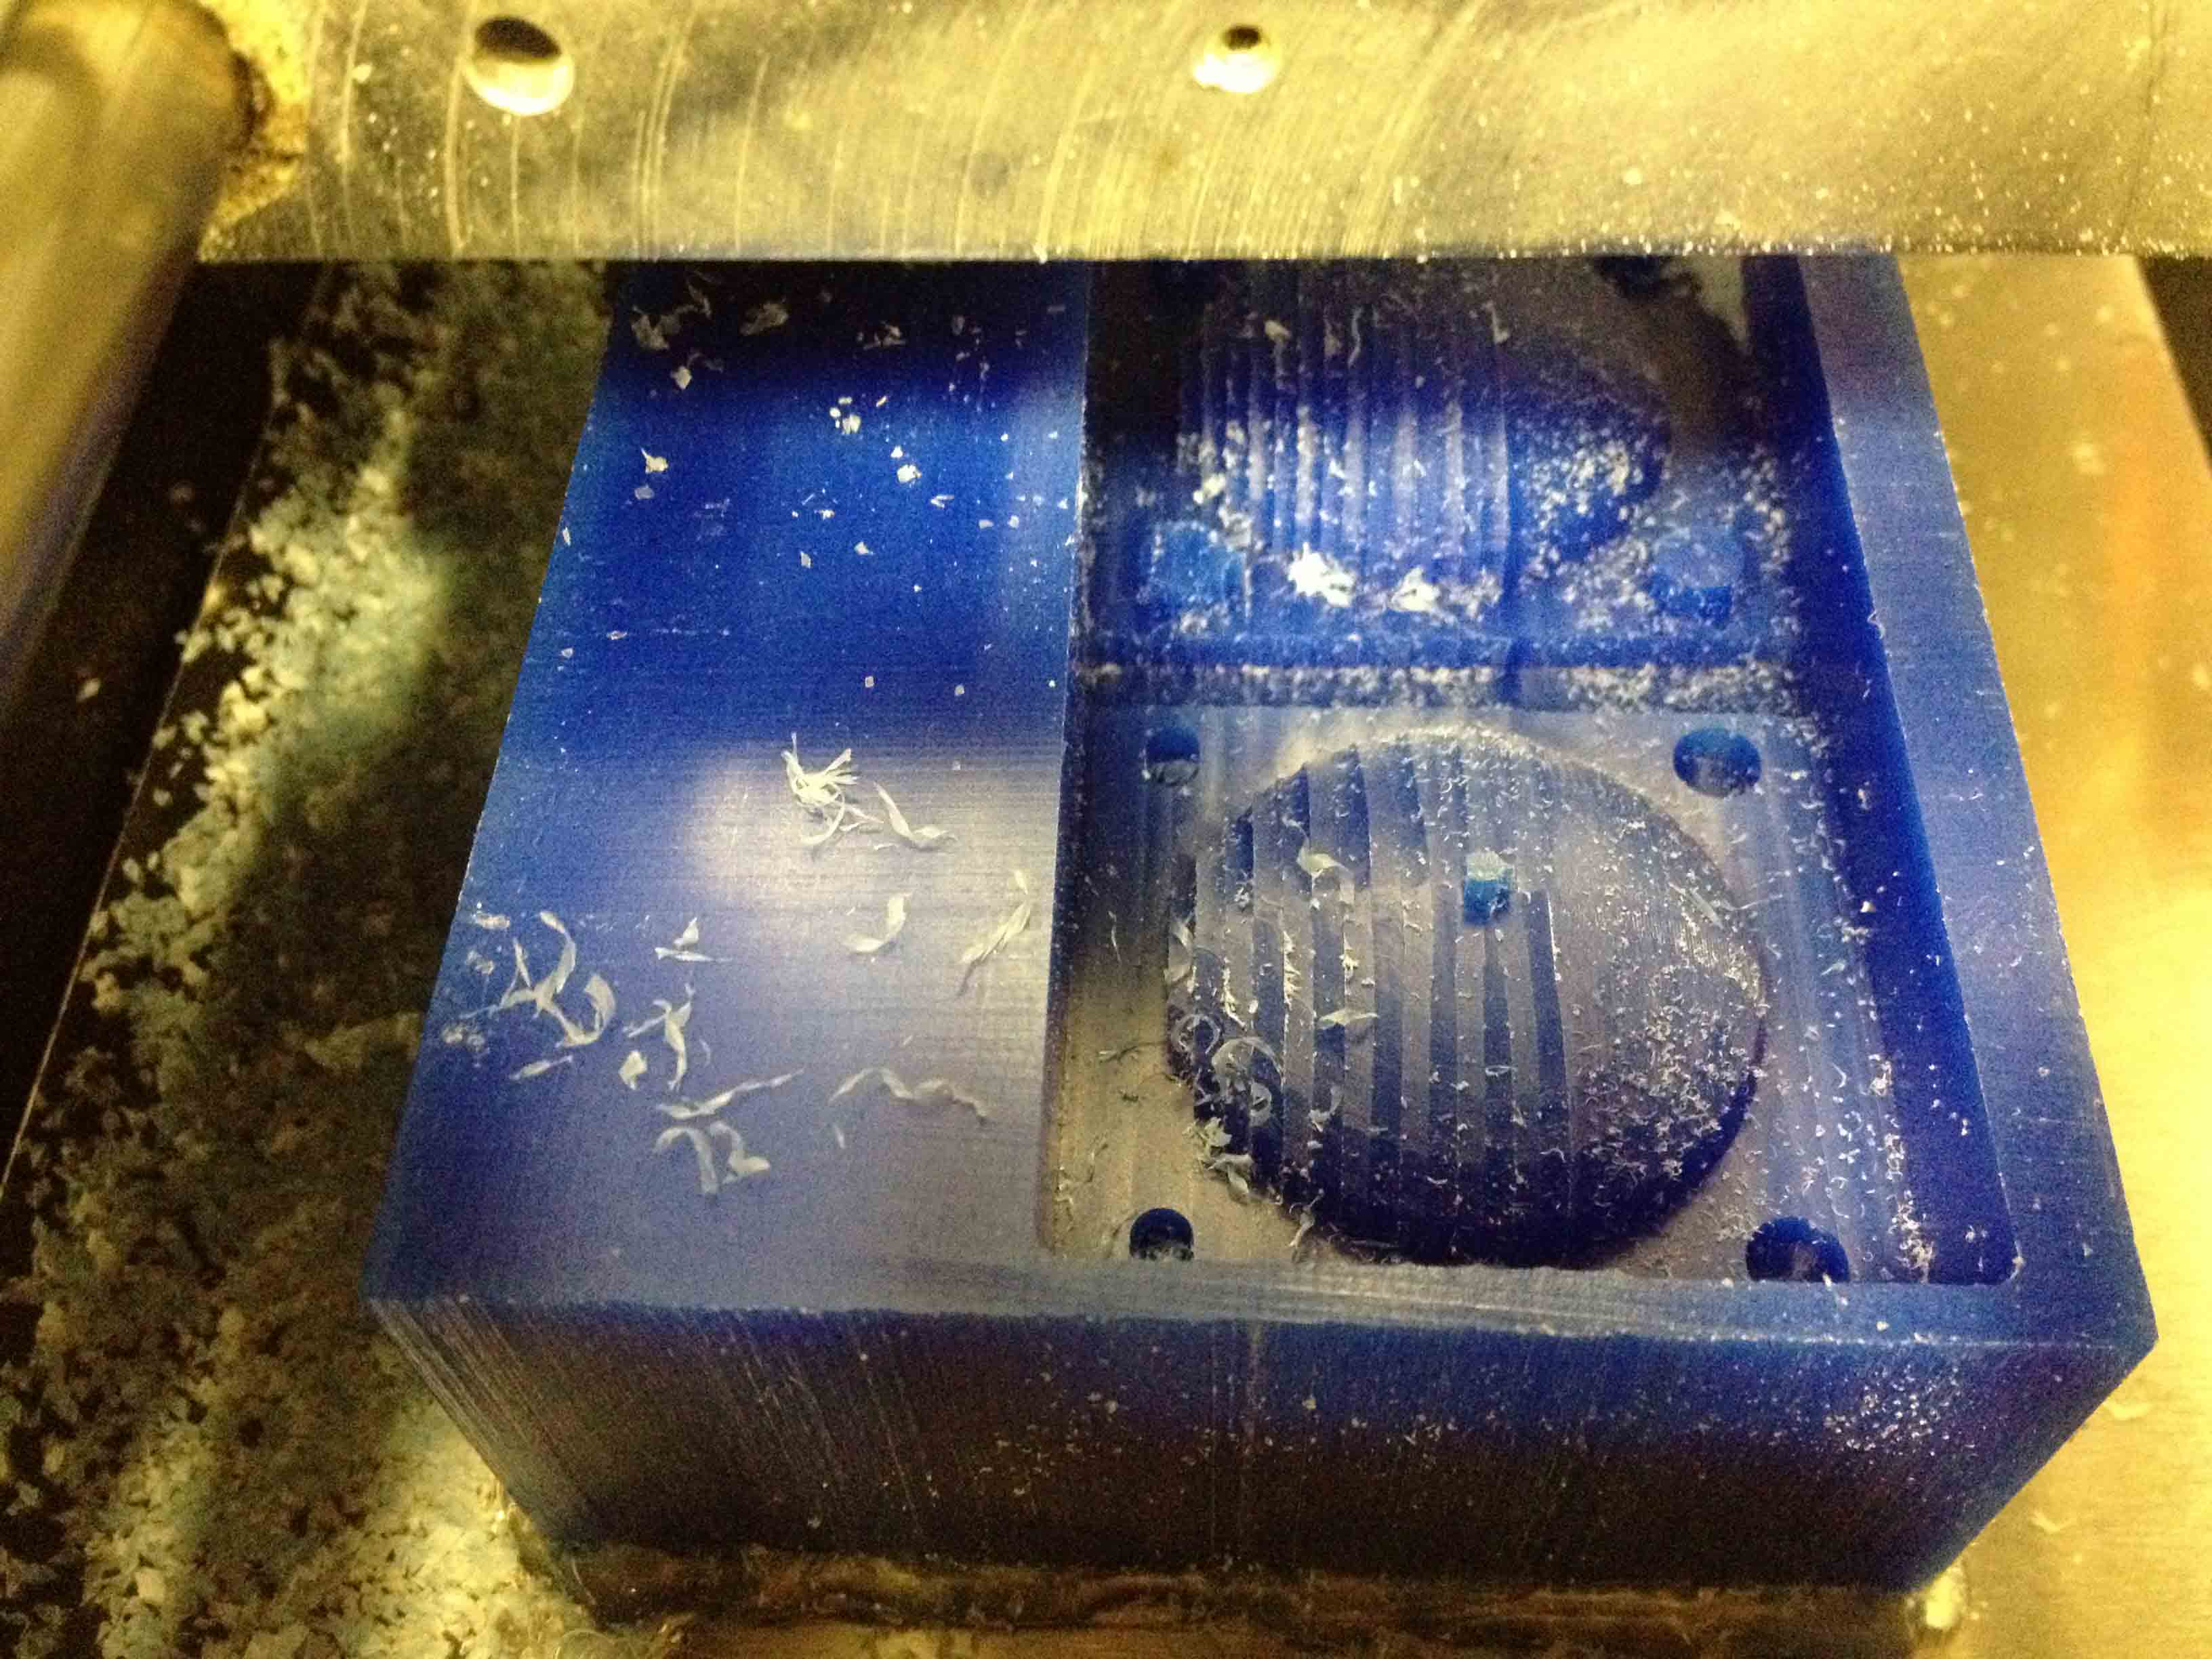
This is a picture of the roughing pass that was just intended to remove the bulk of the material.
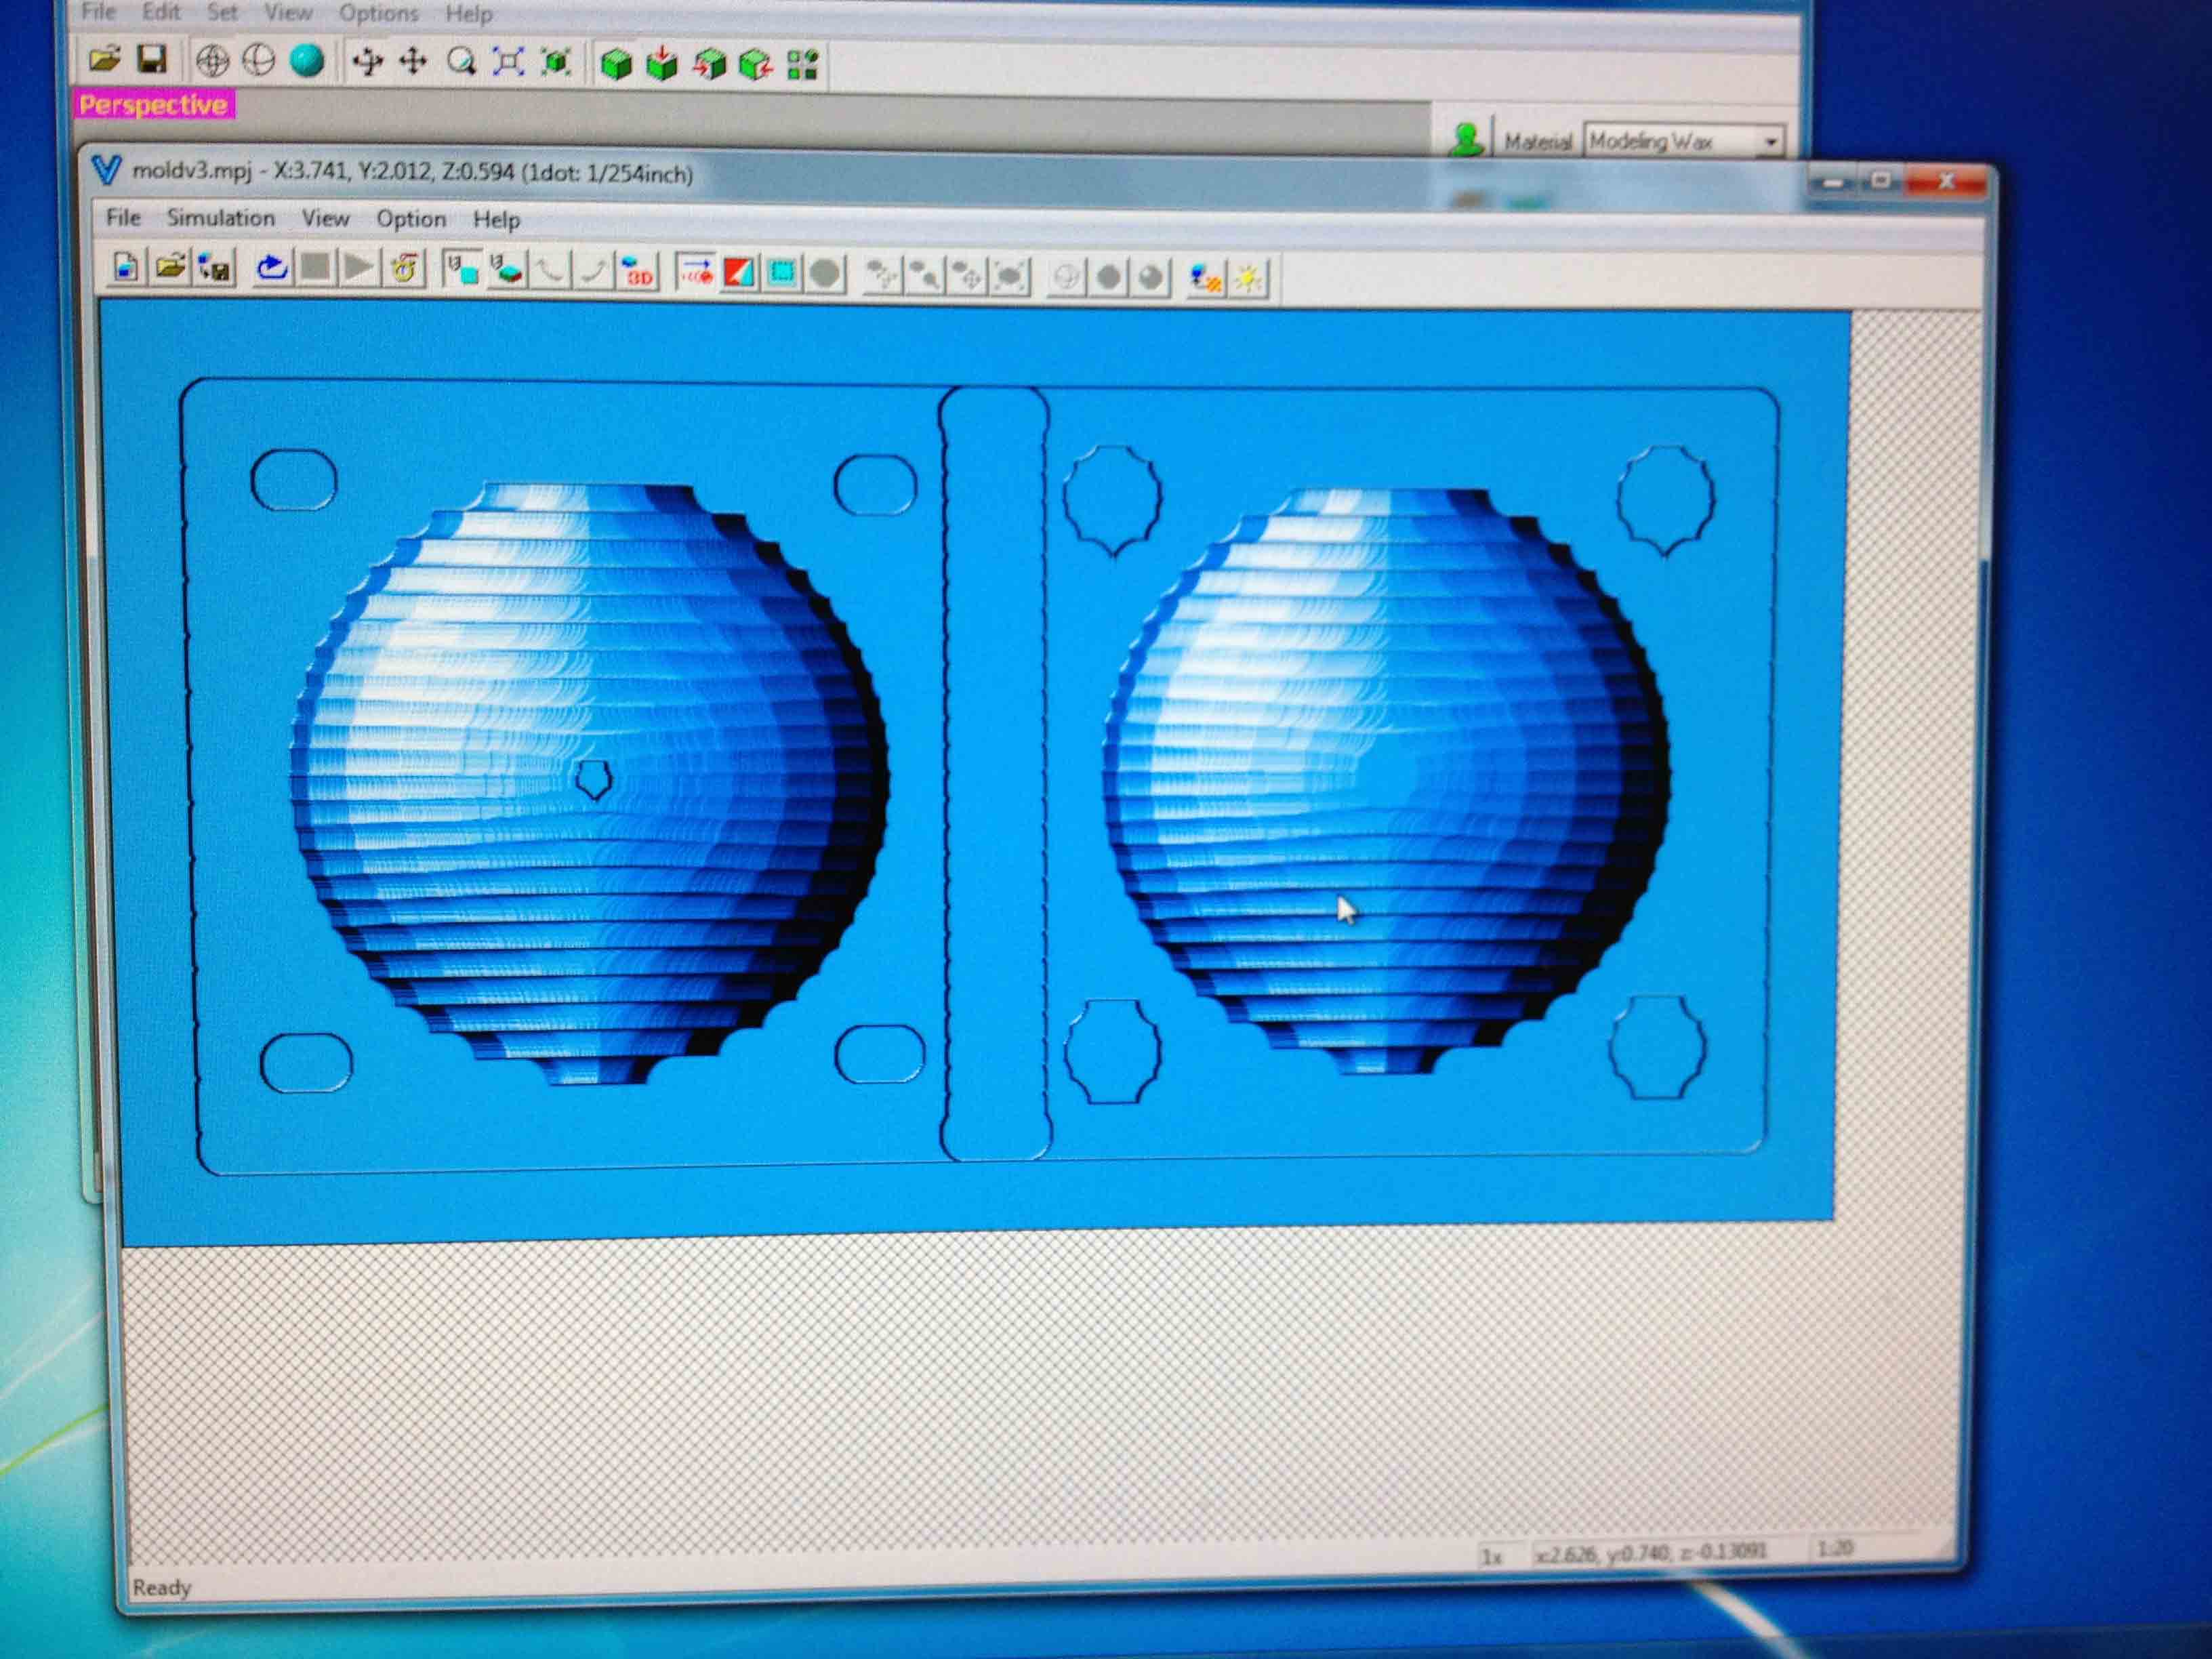
And here you can see the juxtaposition of the rough and finished surfaces in the middle on the finishing pass.
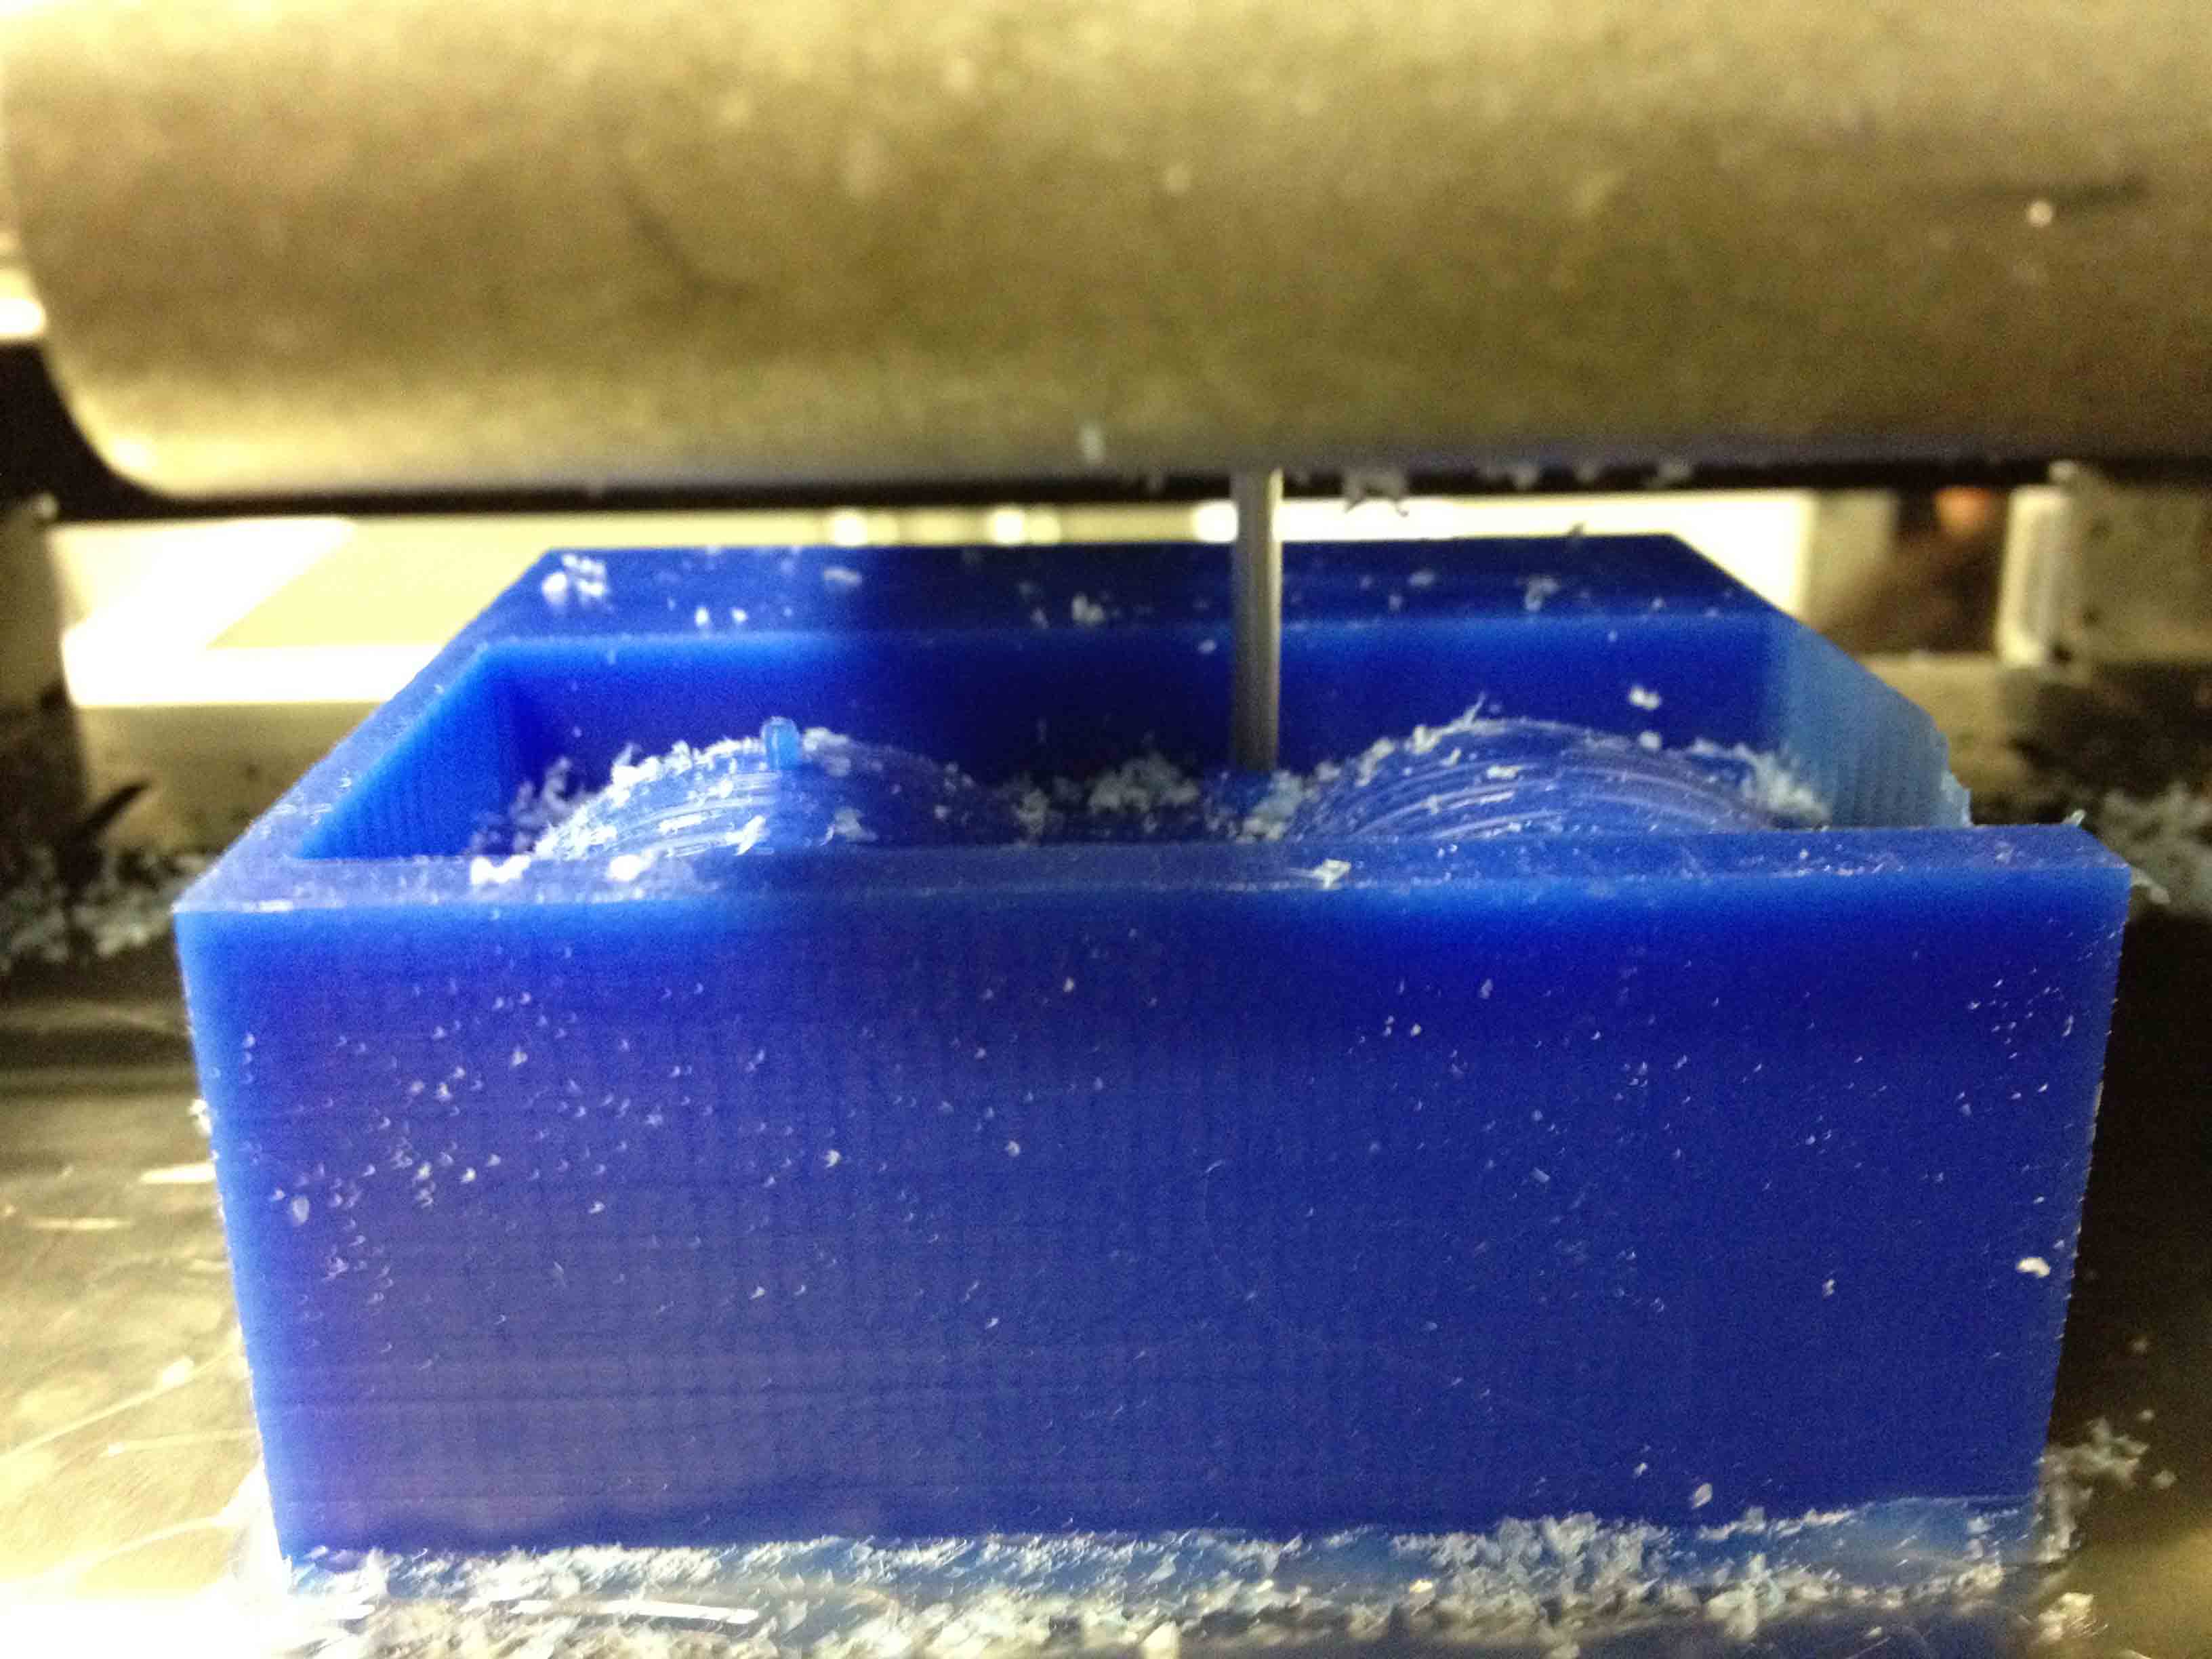
Done!
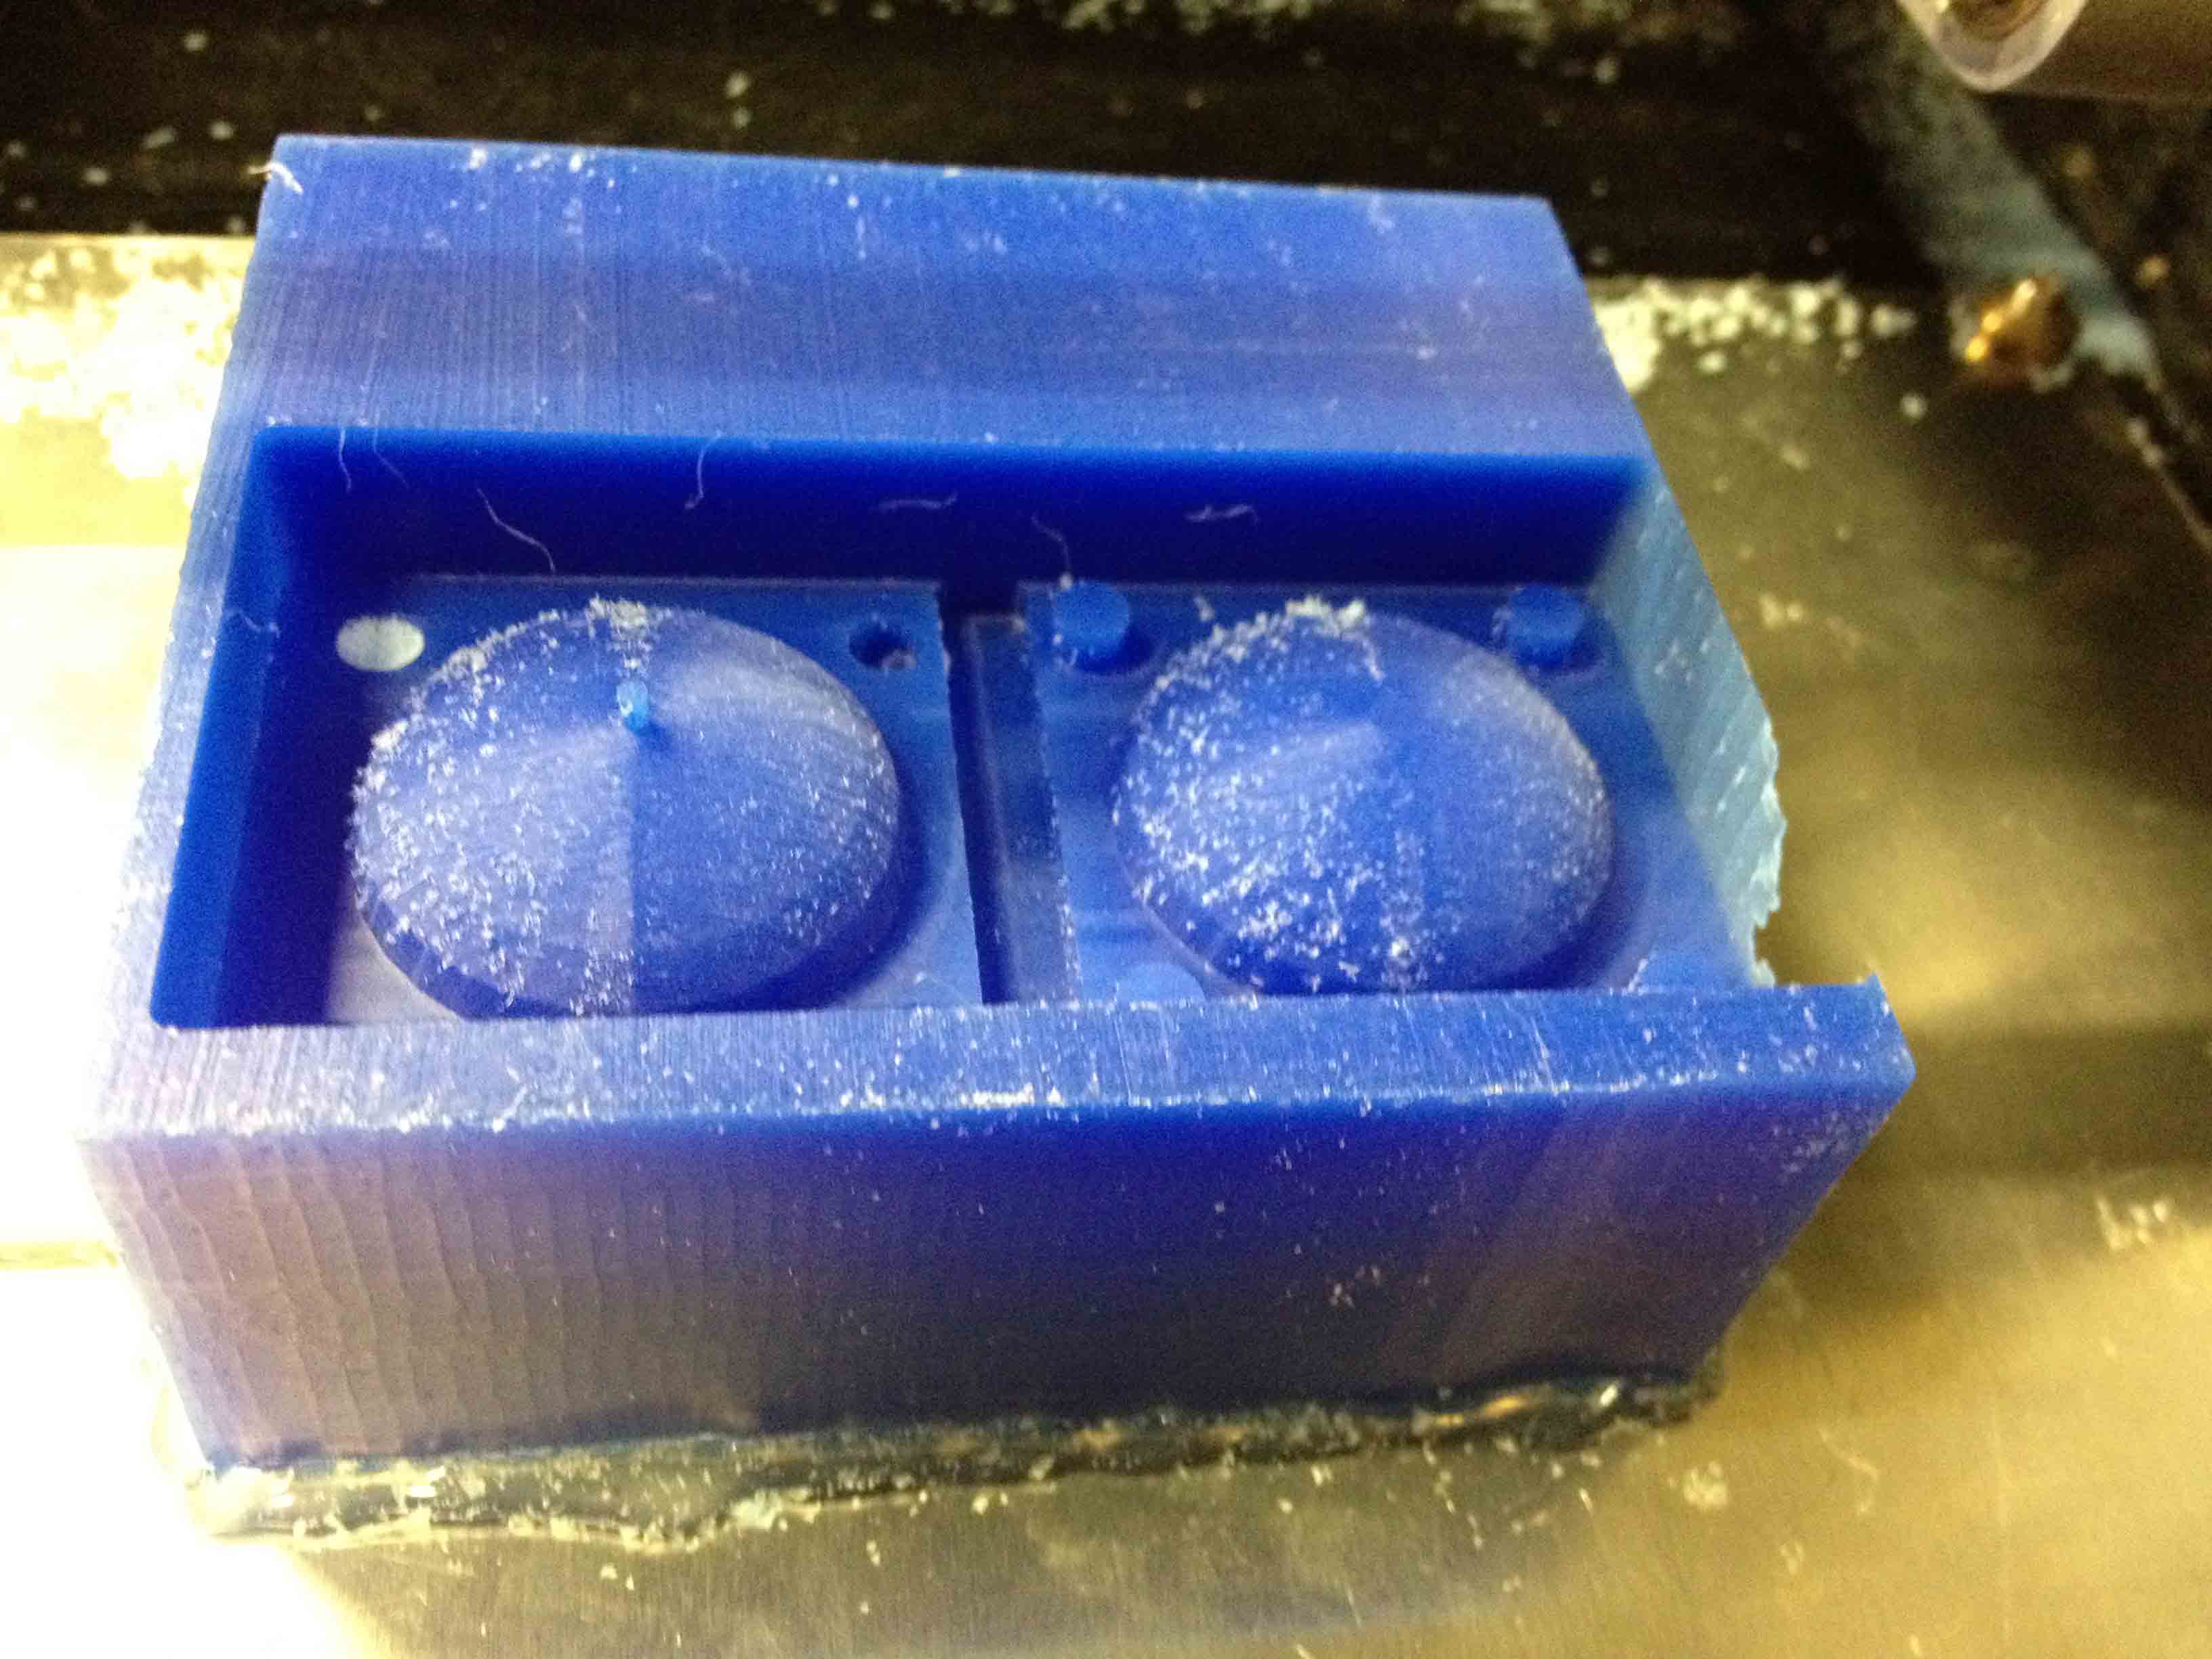
One problem I quickly noticed was that the Modela didn't mill out the support peg for the circuit board! It just skipped over it completely. This was probably because I made the hole too small for the 1/8" endmill to get into, but I wish the program would have warned me that it couldn't cut that part out. It just failed silently, which was kind of annoying. In the end I just use the manual drill press to get a hole in there.
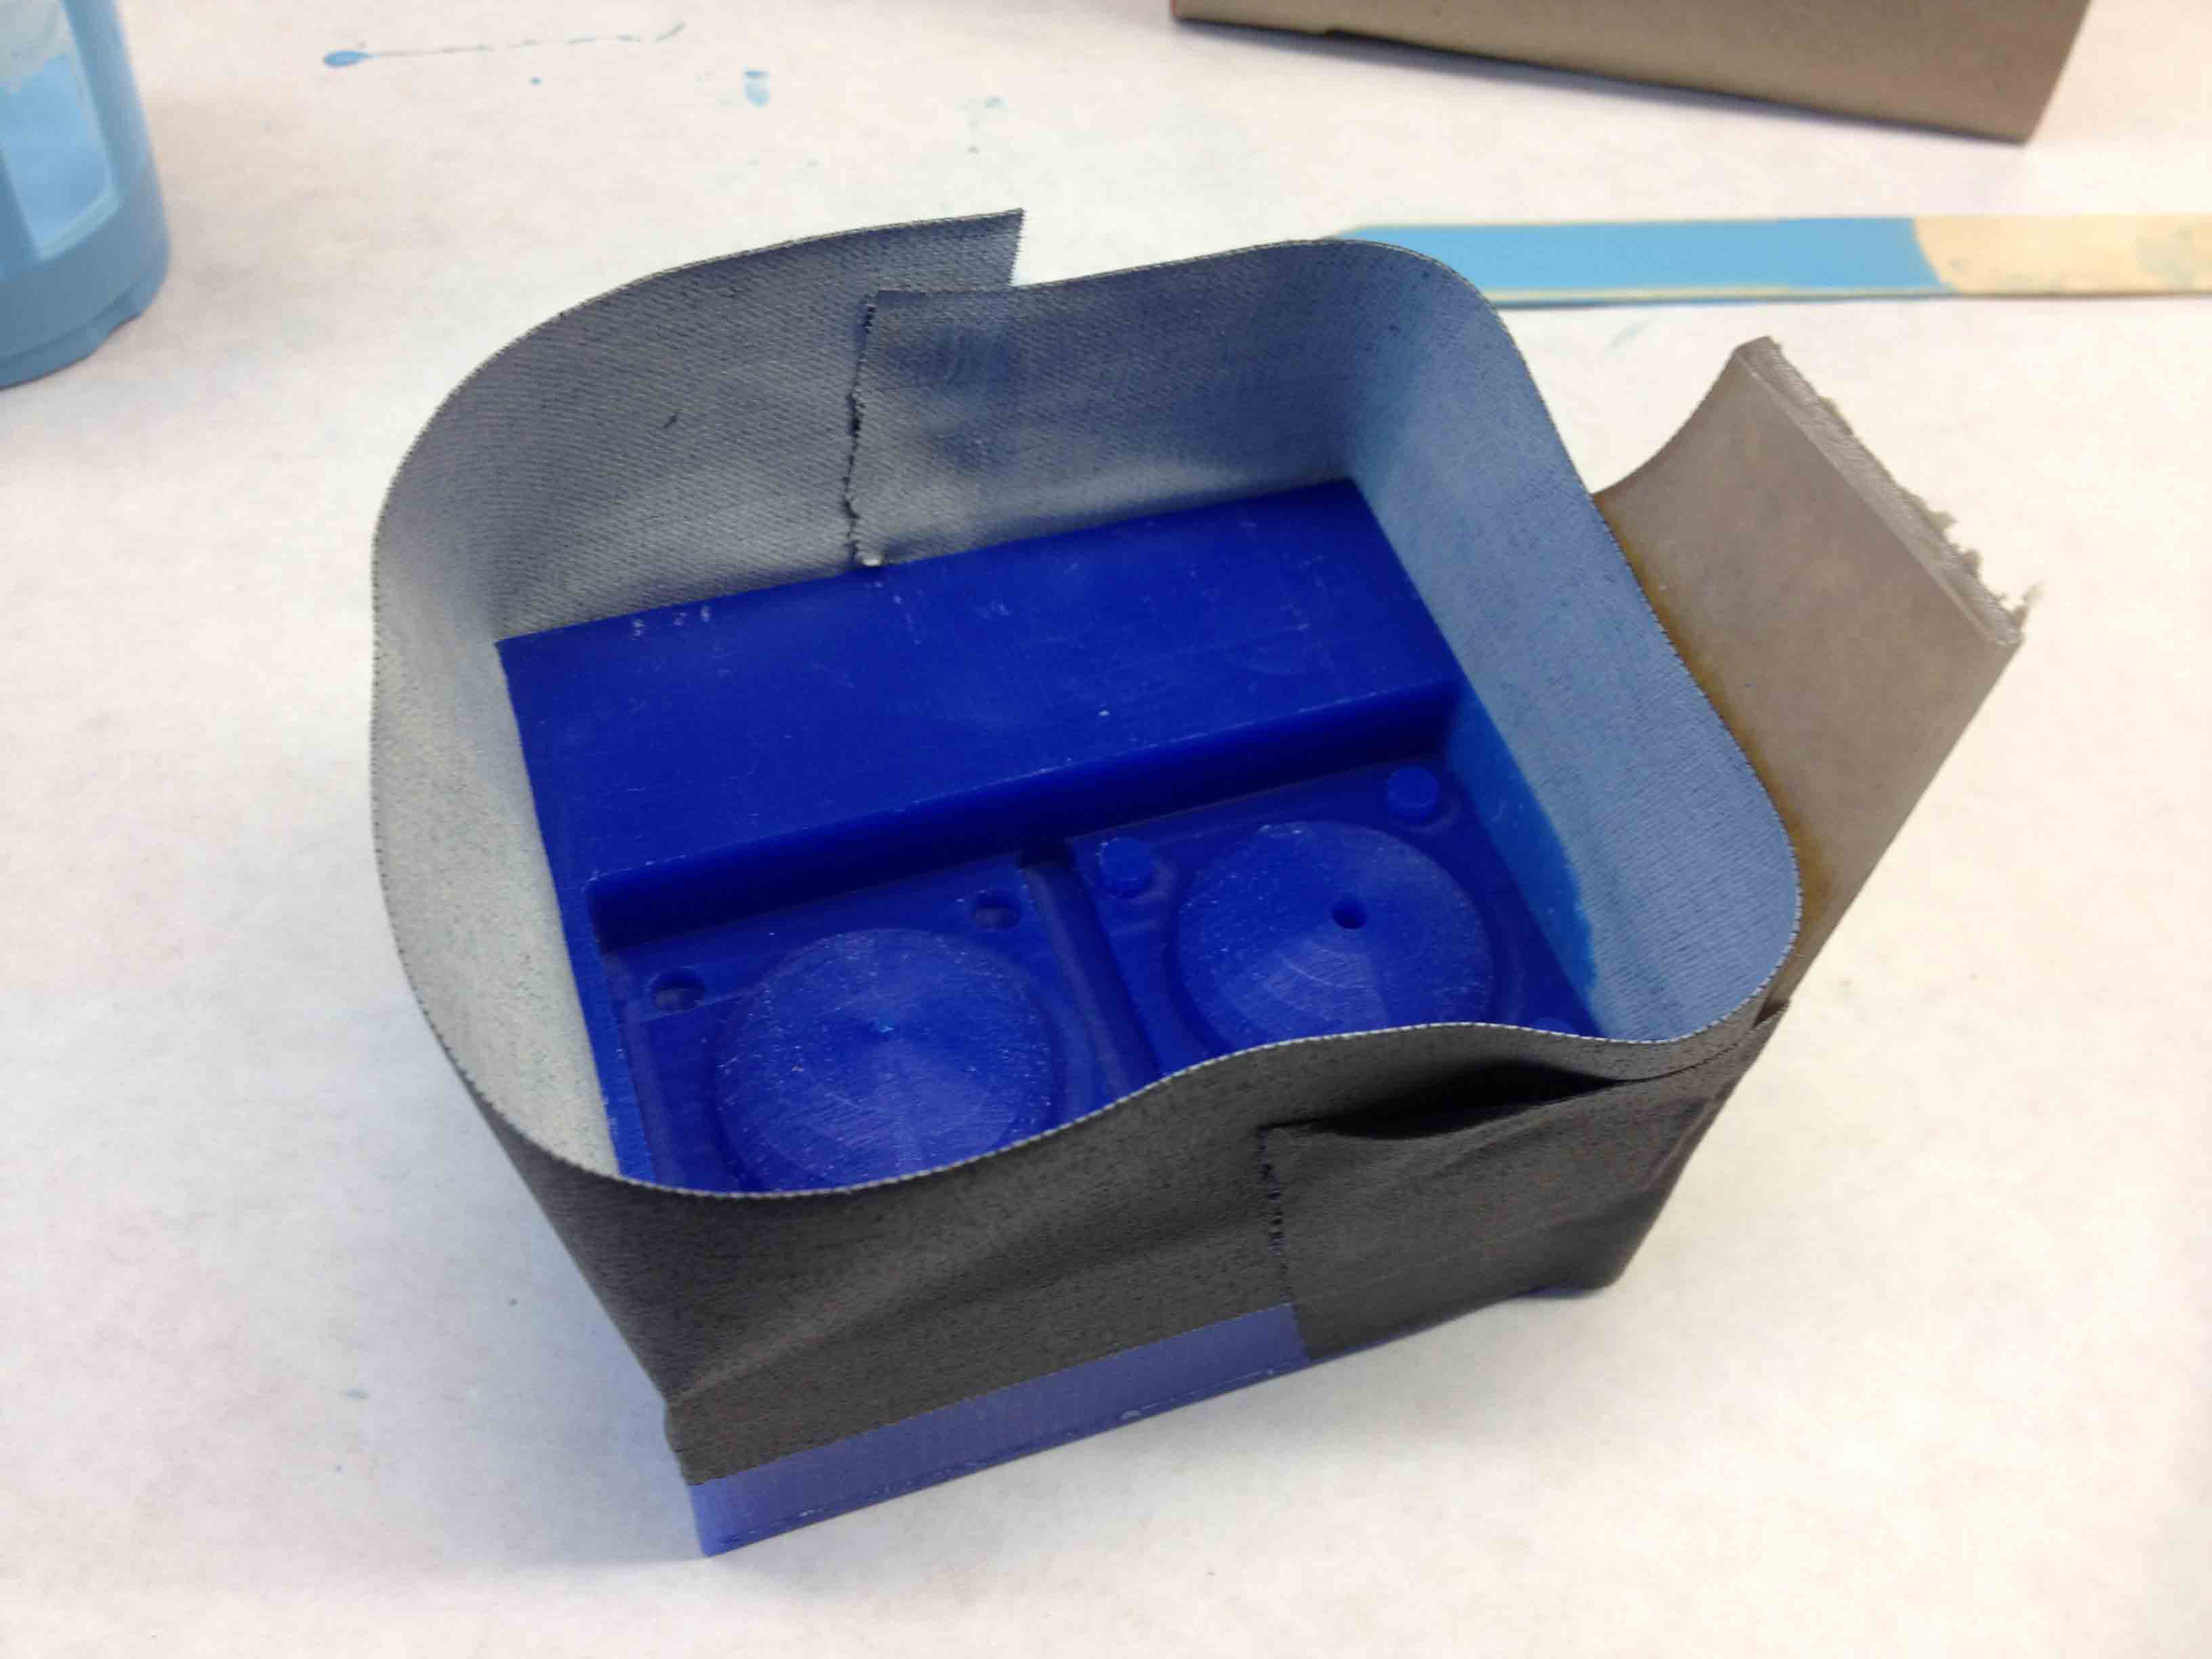
Also, because I accidentally cut too close to the edge of the wax, I had to tape a piece of acrylic to the side for support.
I measured out Part A and Part B of the silicon mixture by volume (1:1) instead of weight (1:1.2) since it seemed easier.
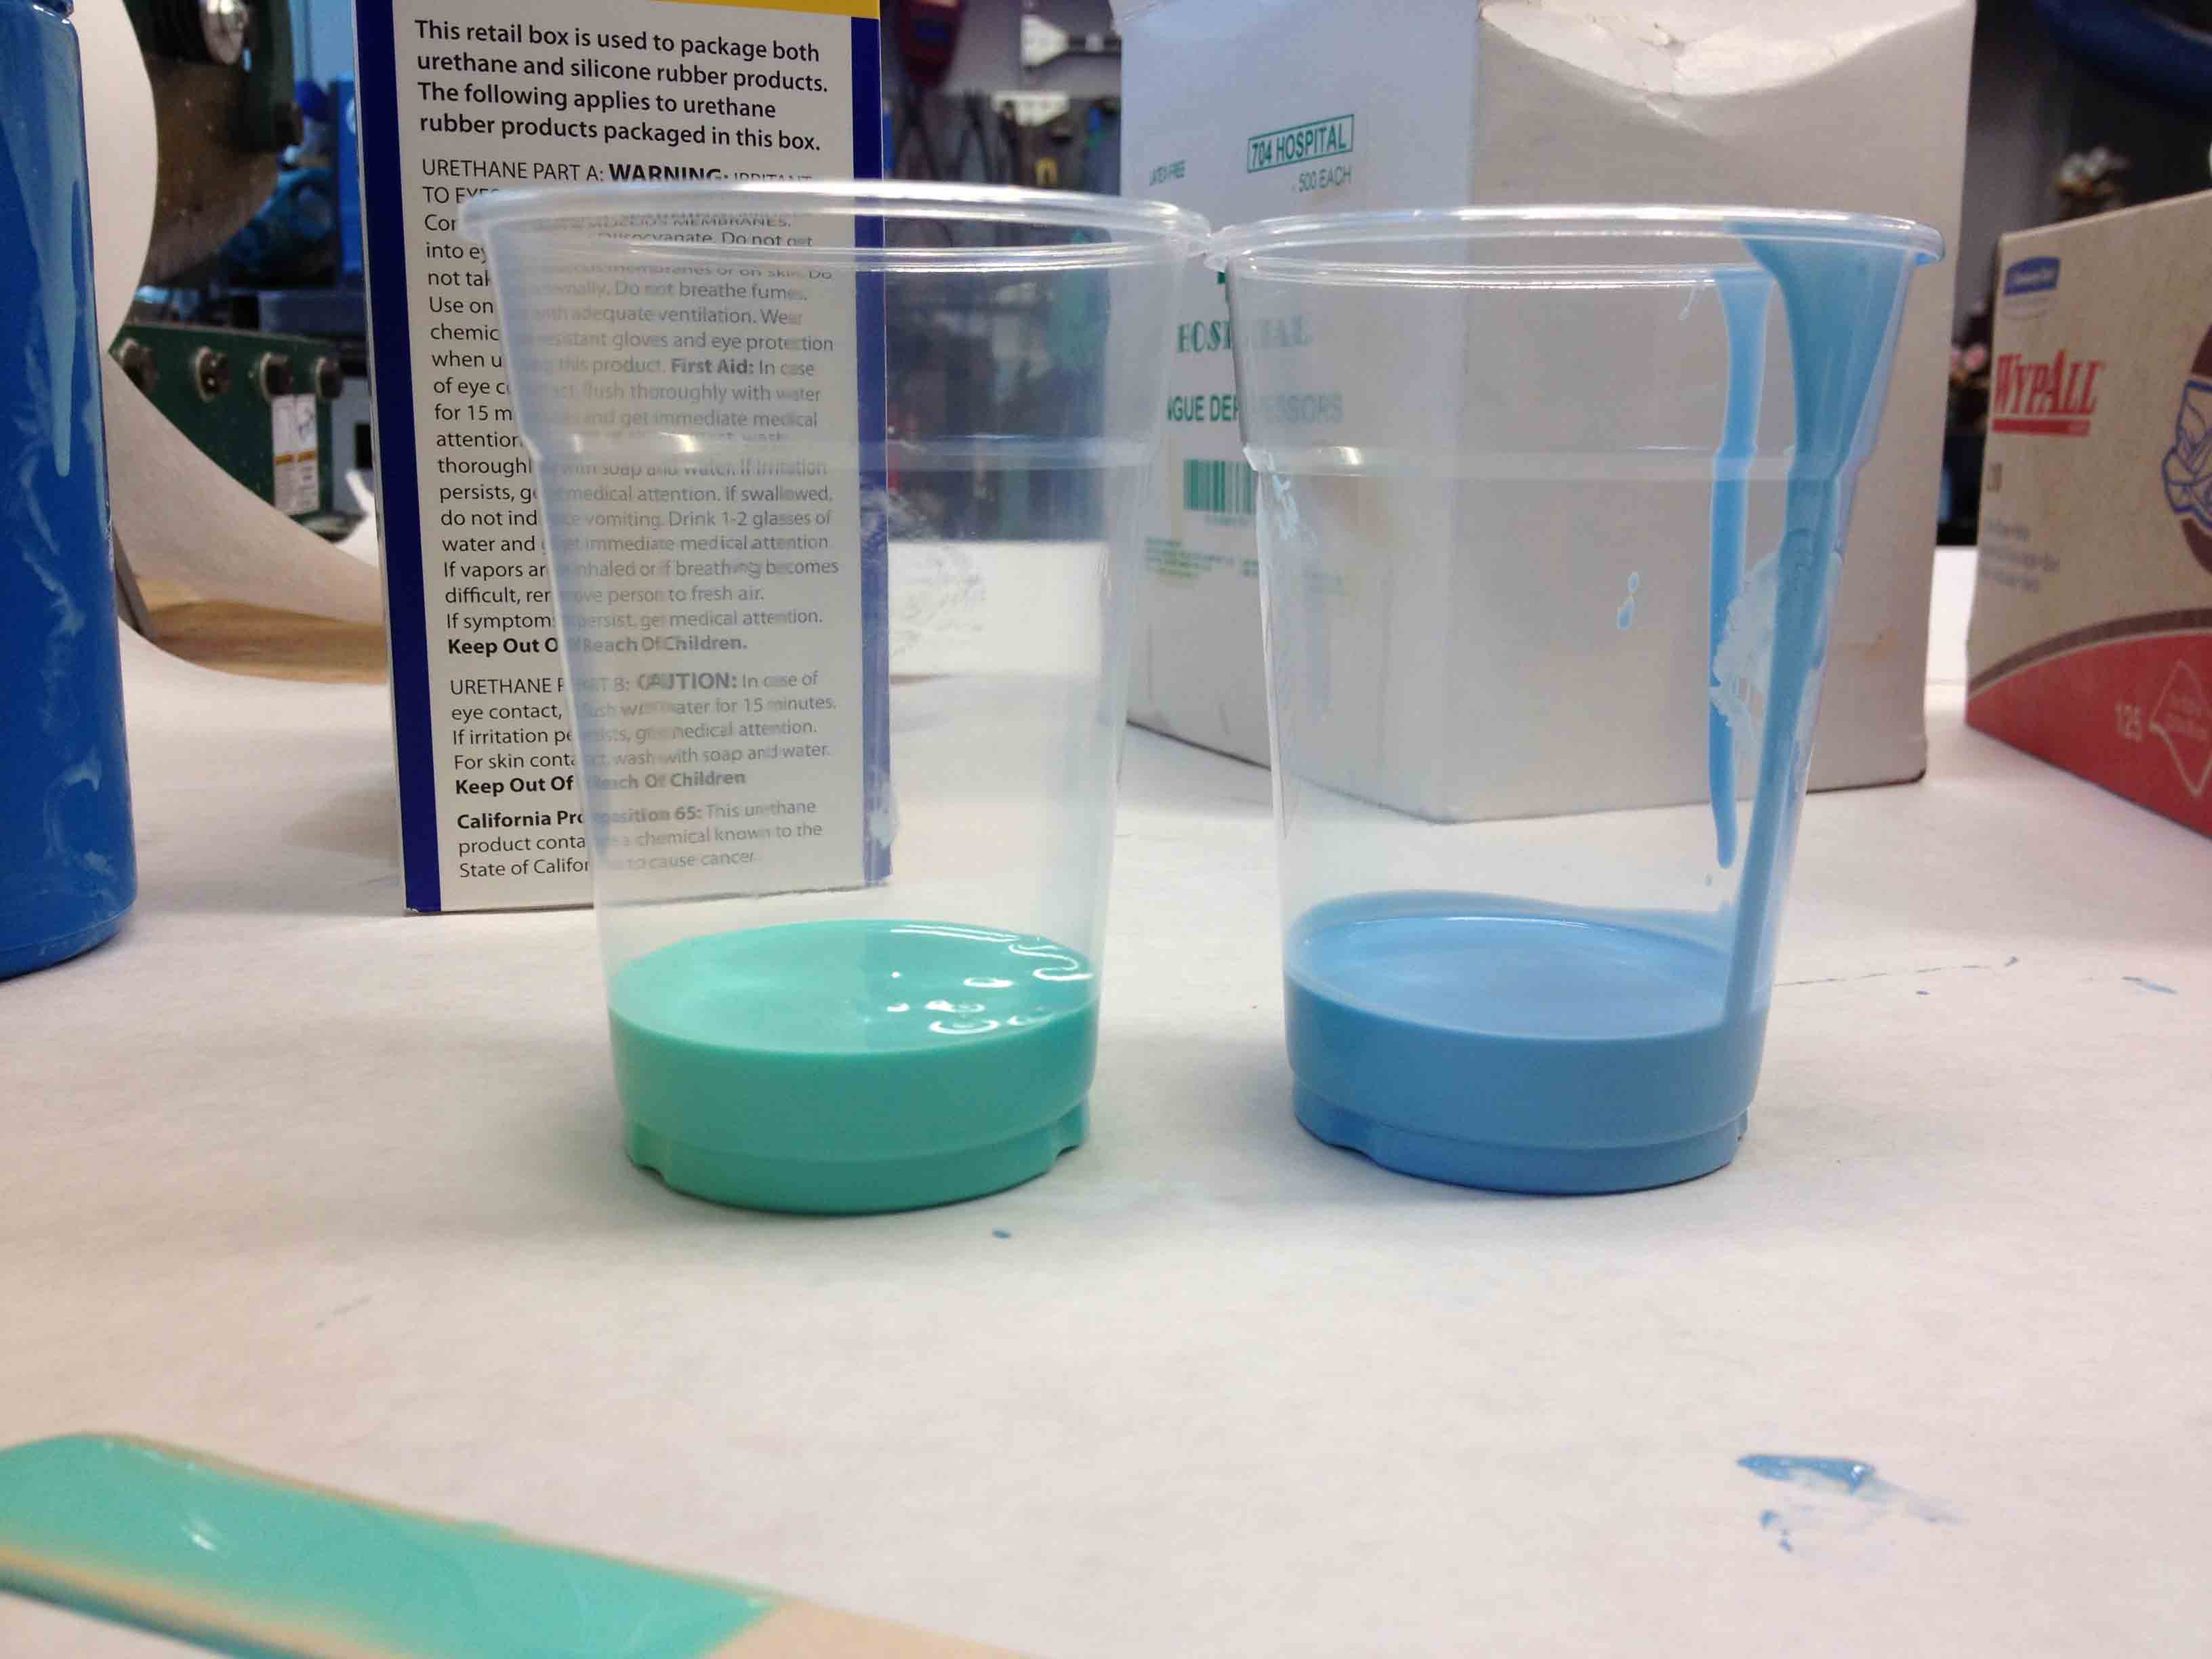
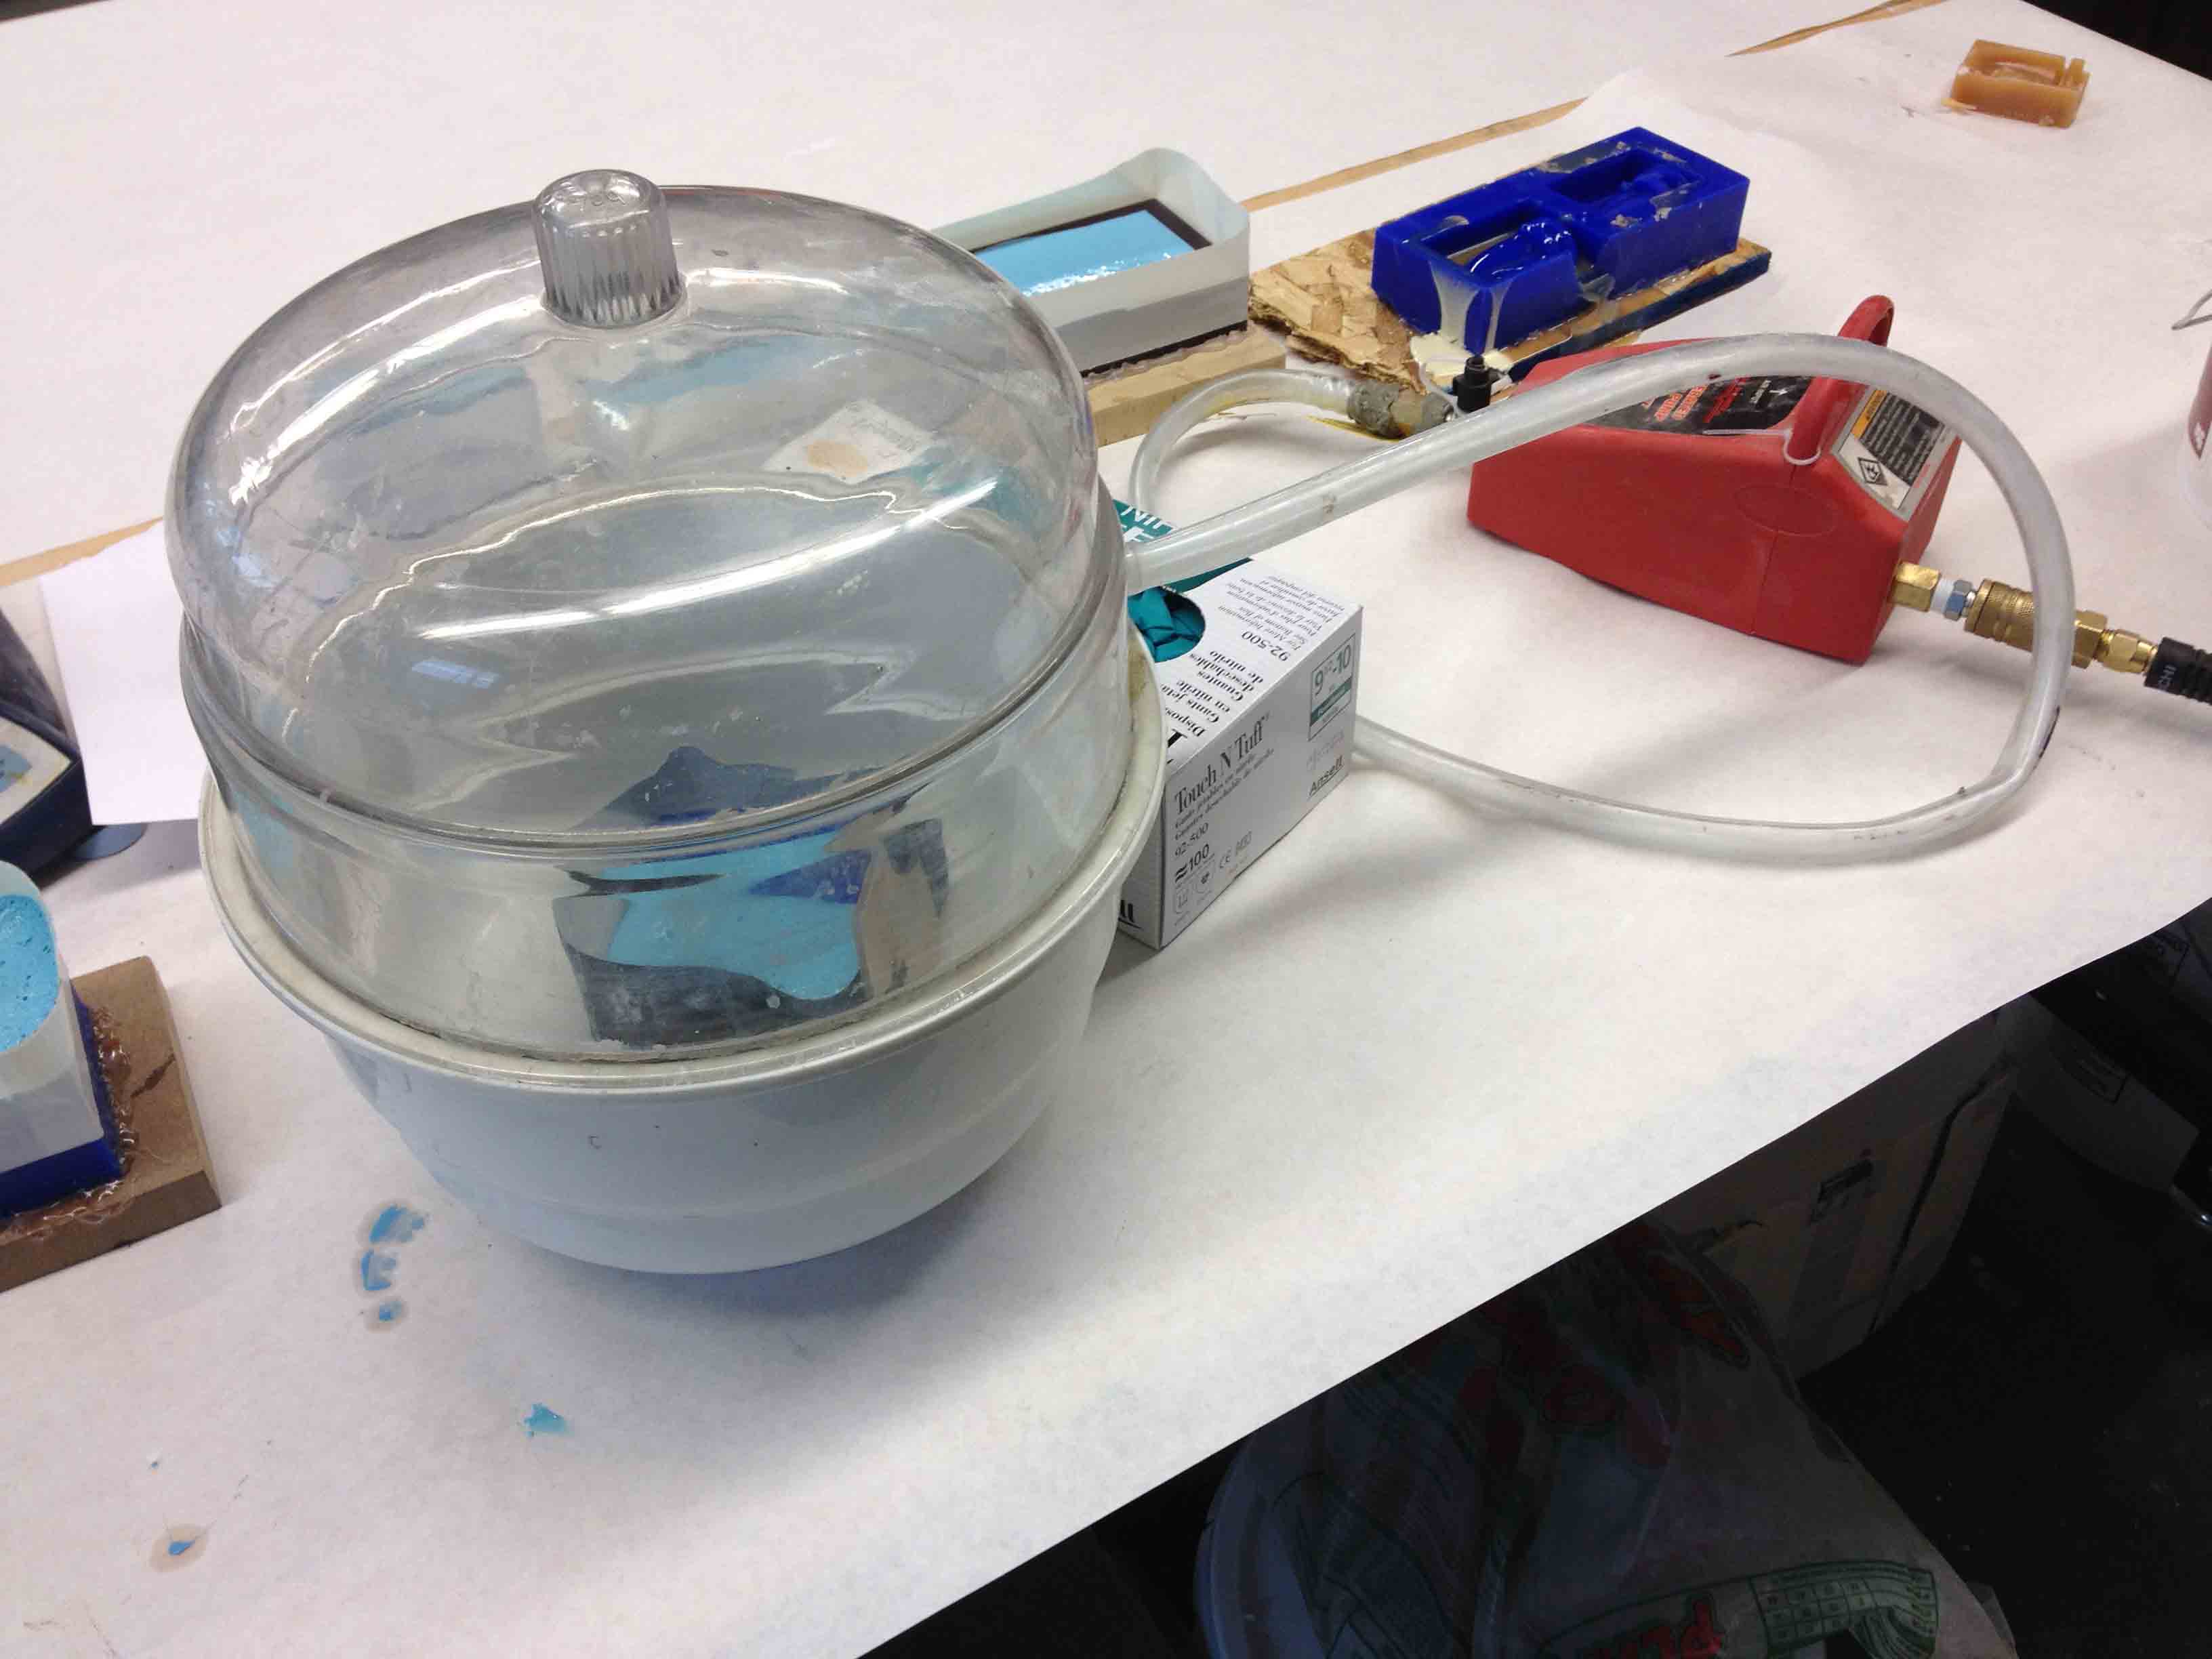
I also decided to use the vacuum chamber to get all of the air bubbles out of the mixture since I did a bad job of doing that myself.
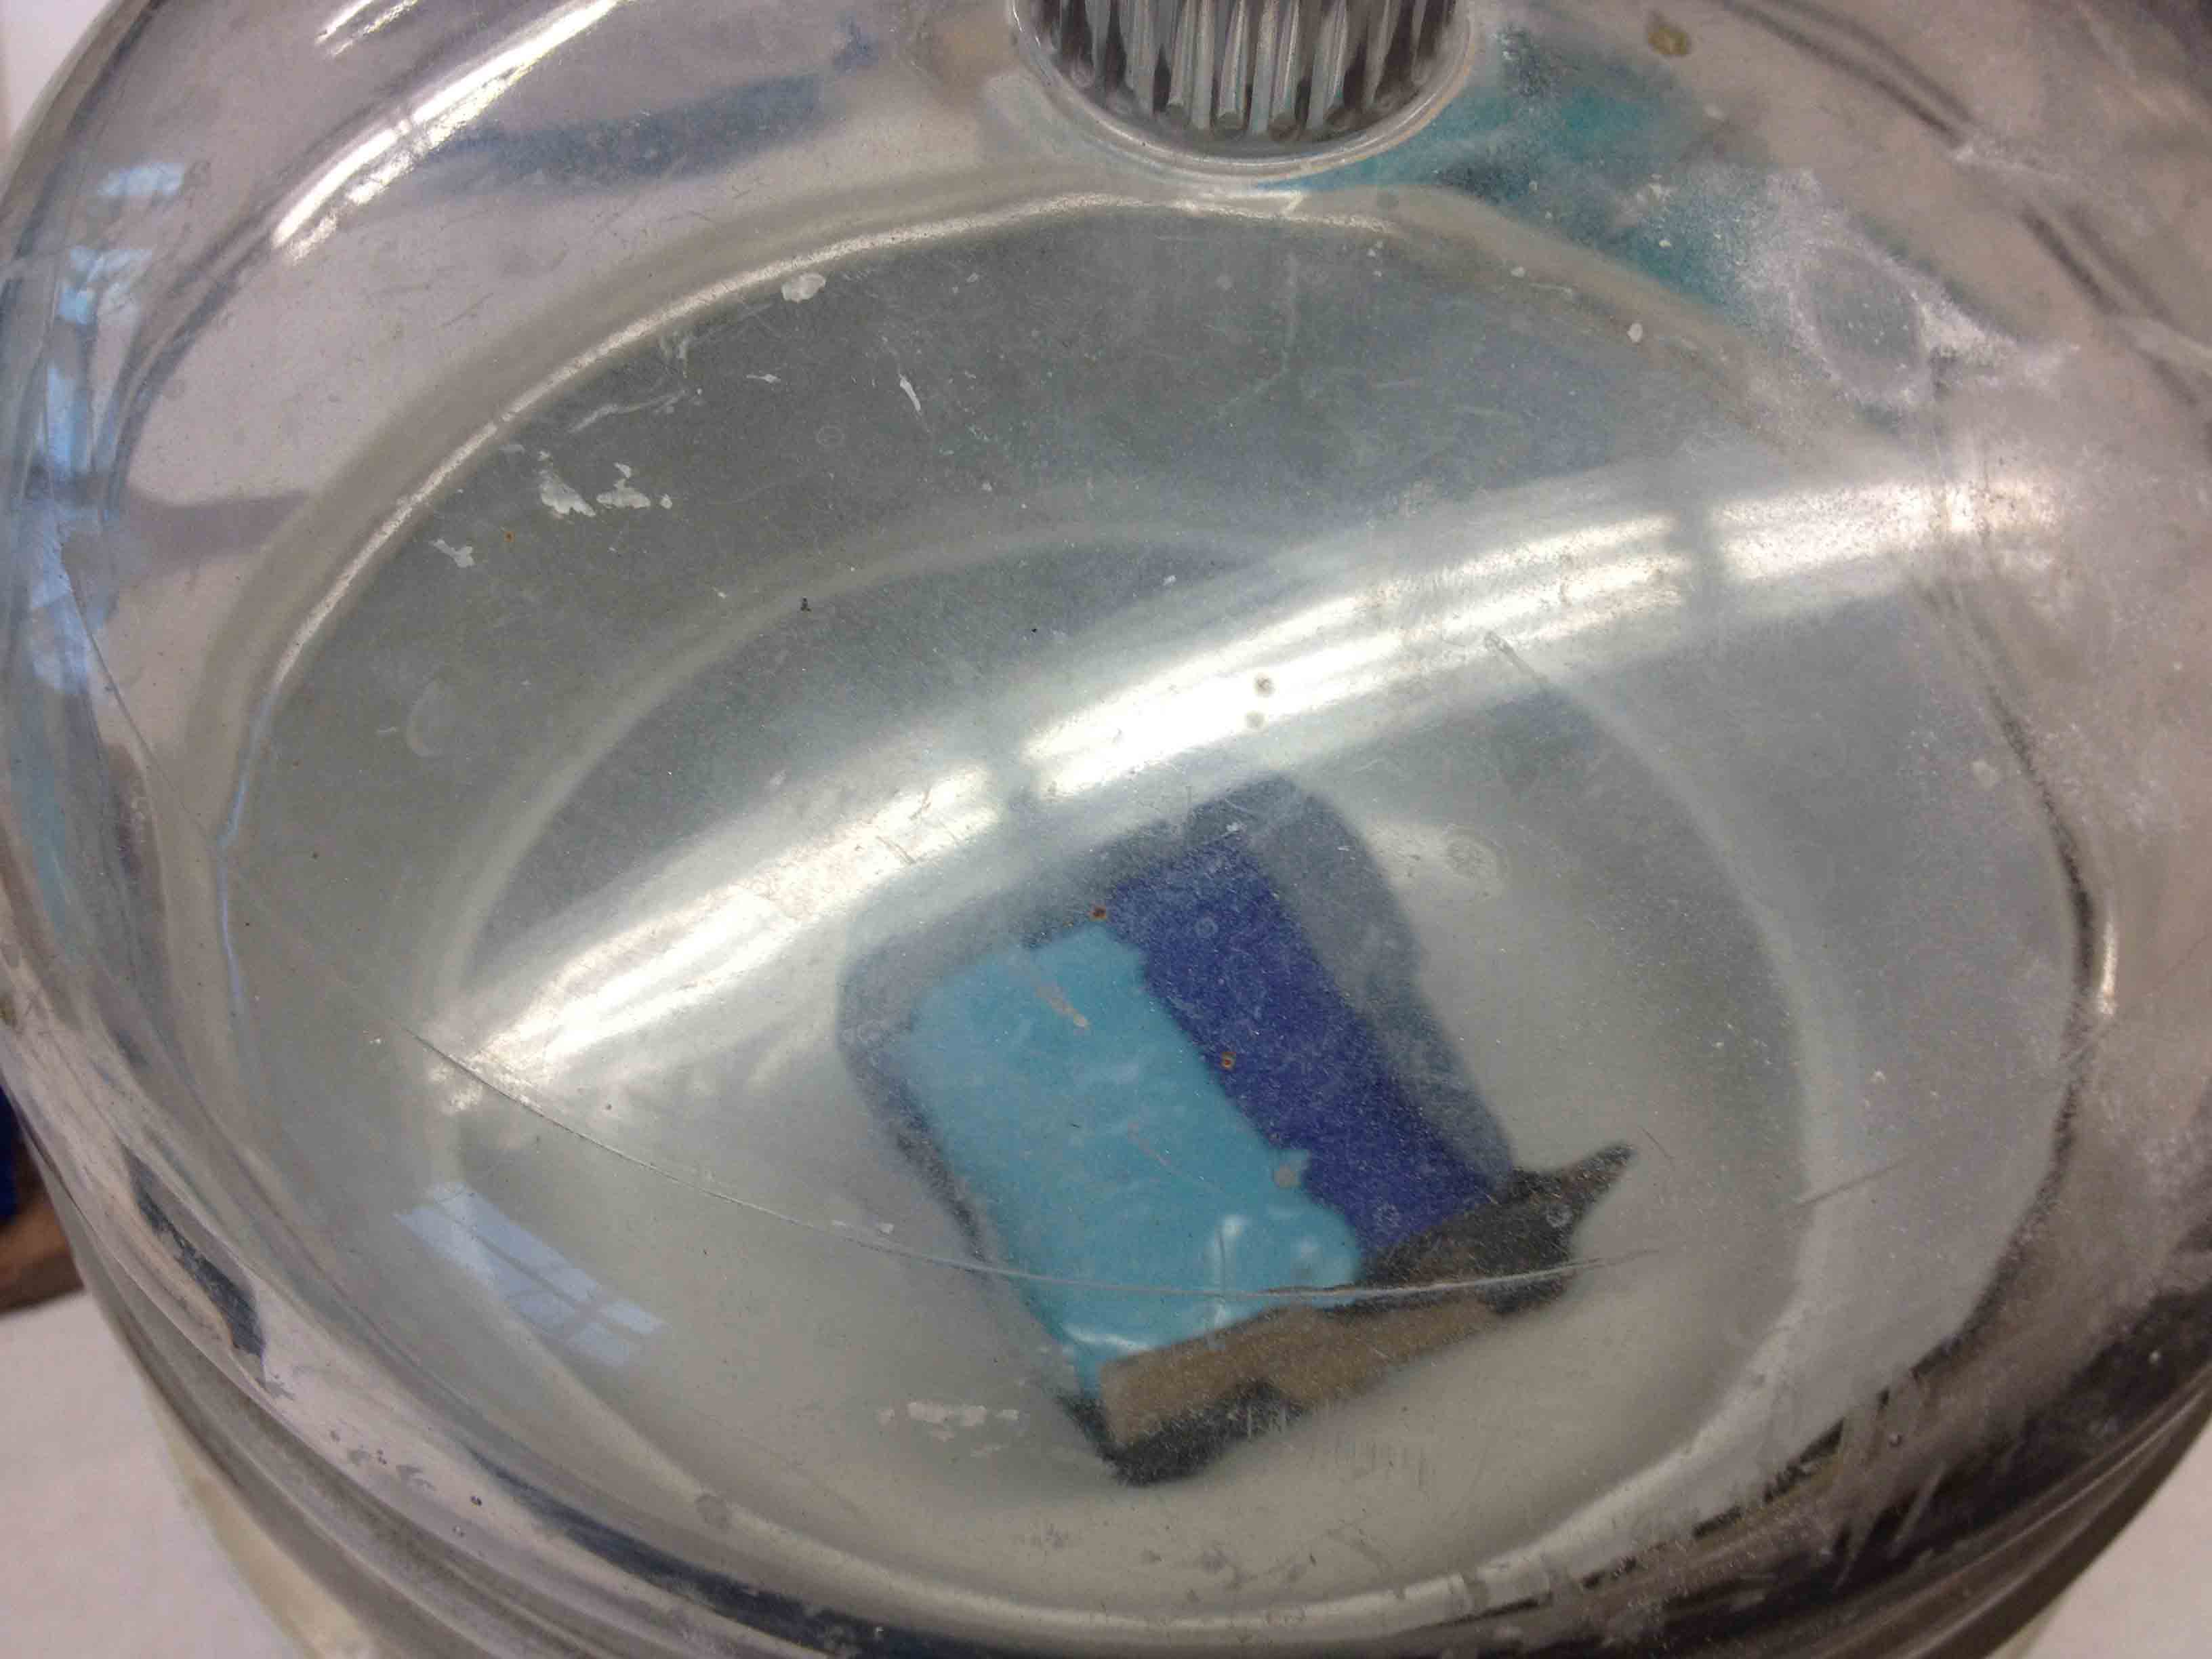
Here you can see how all the bubbles came out nicely.

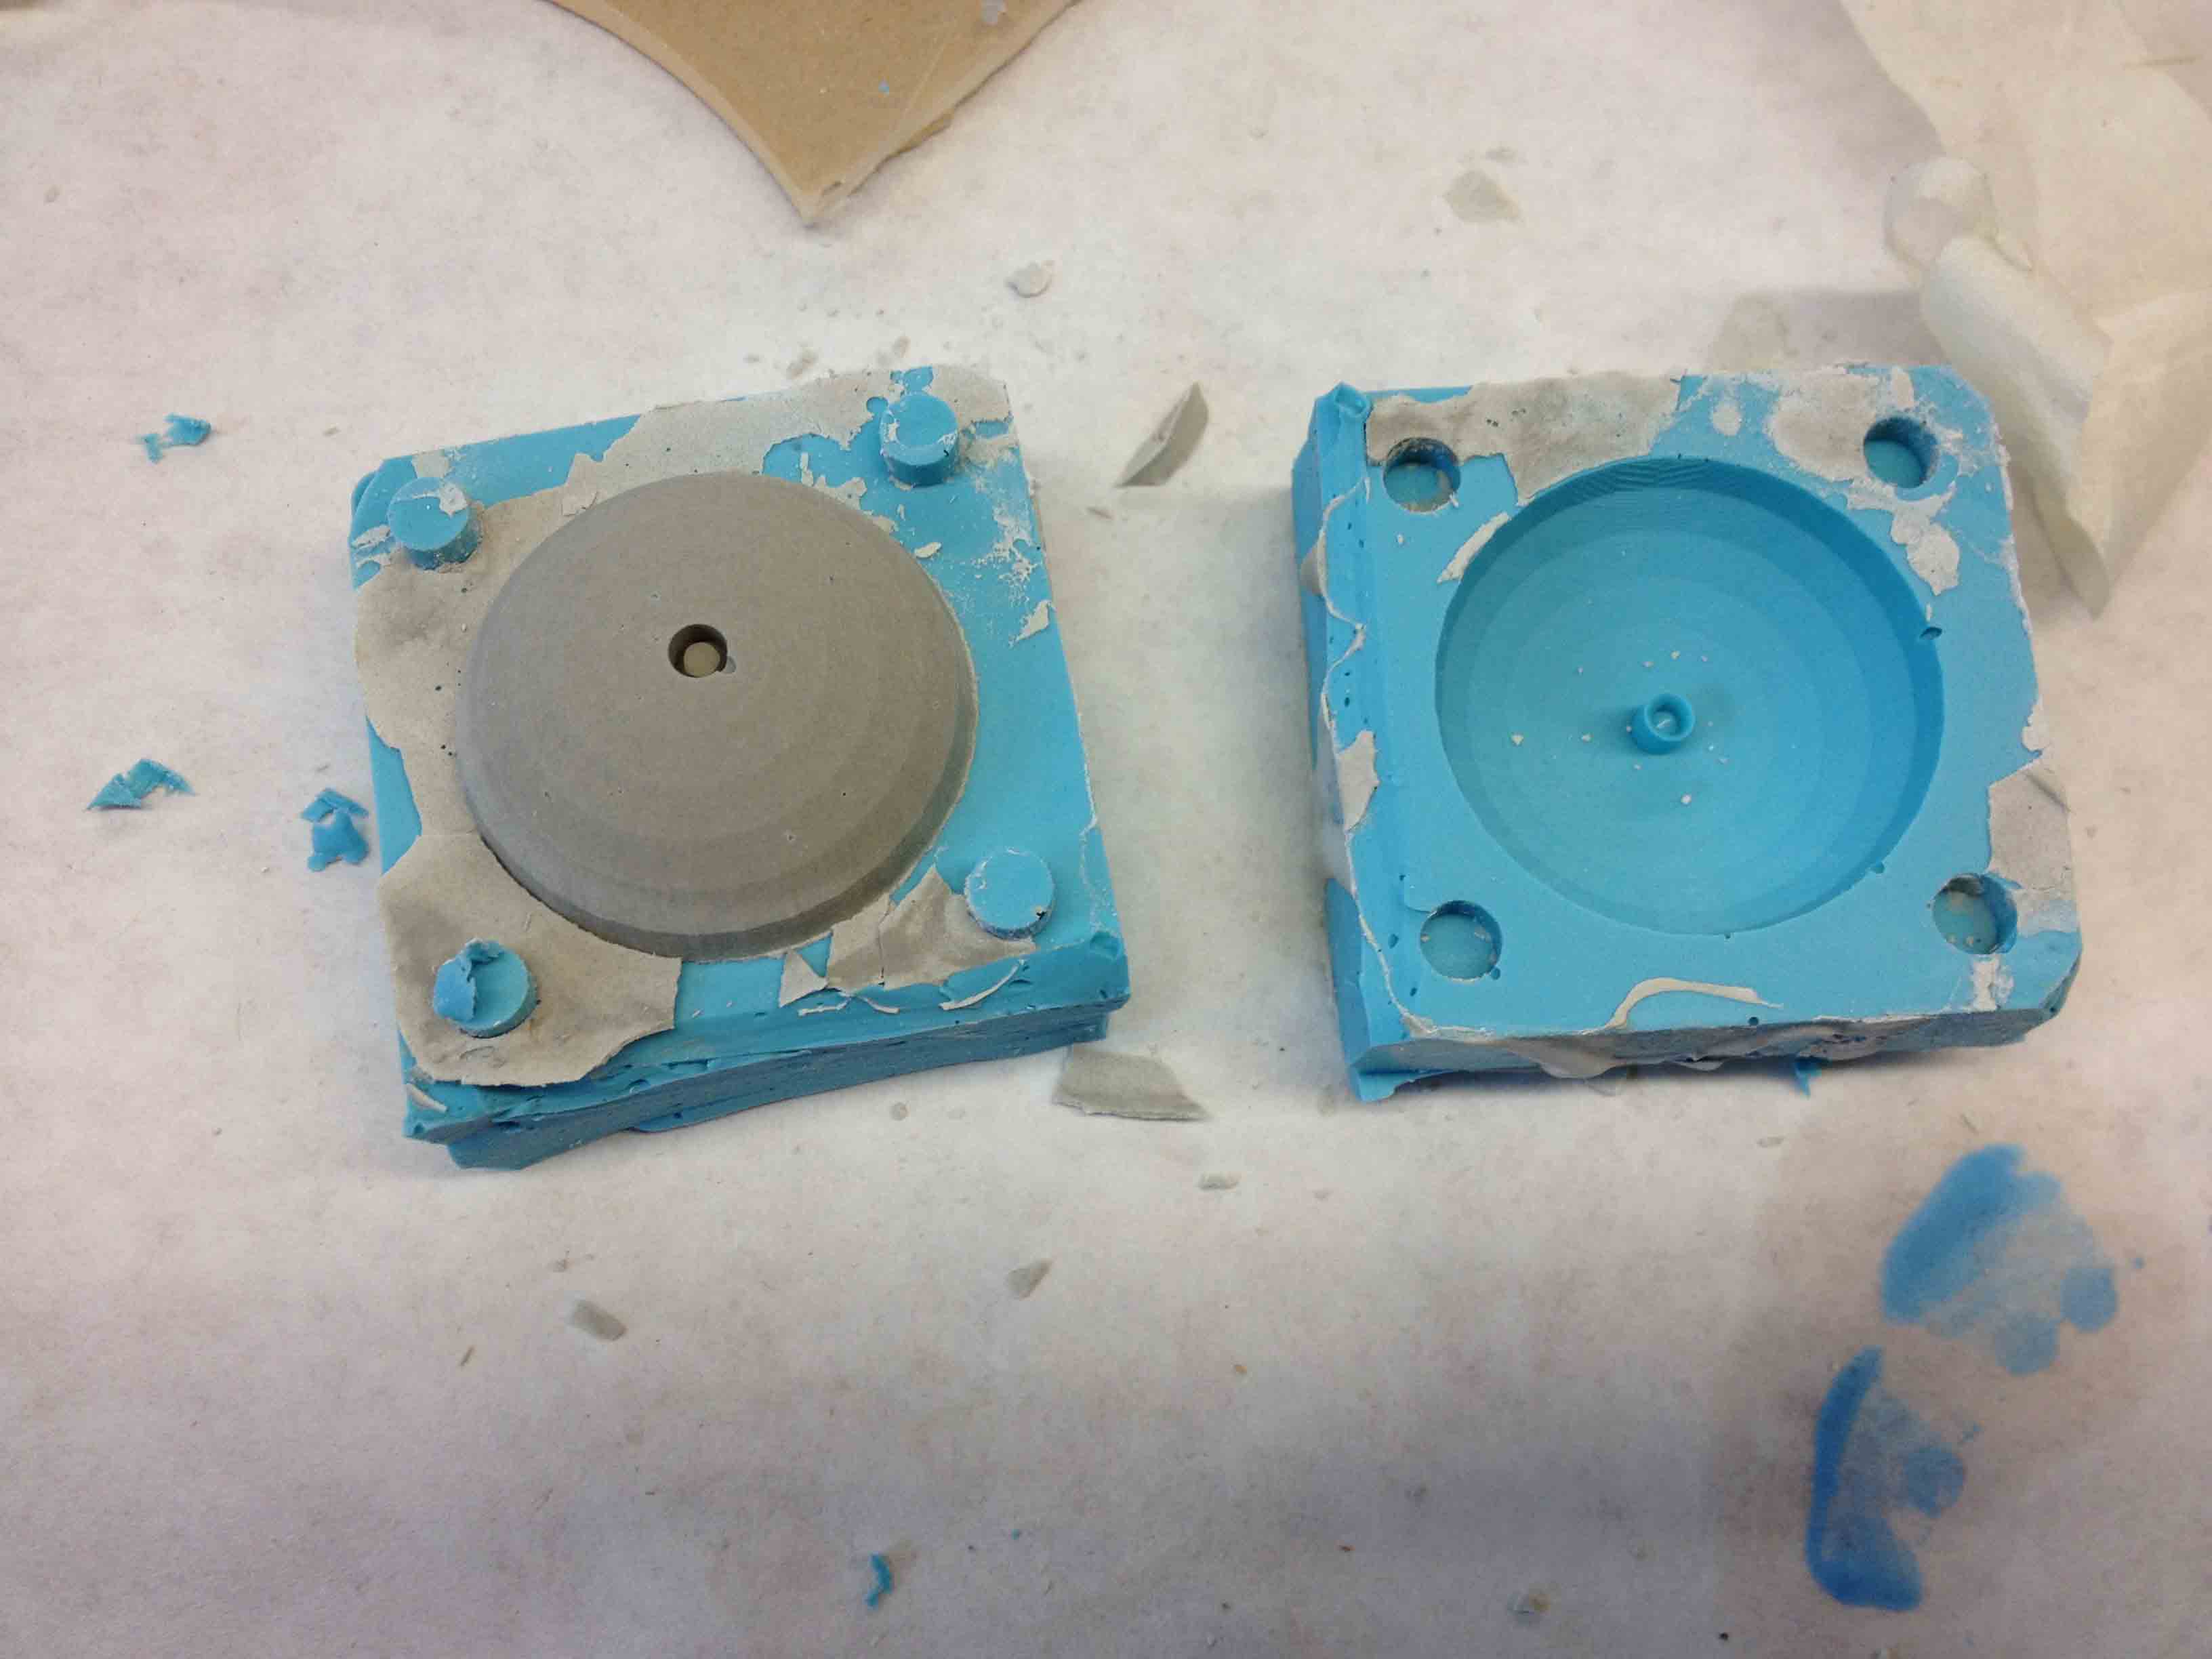
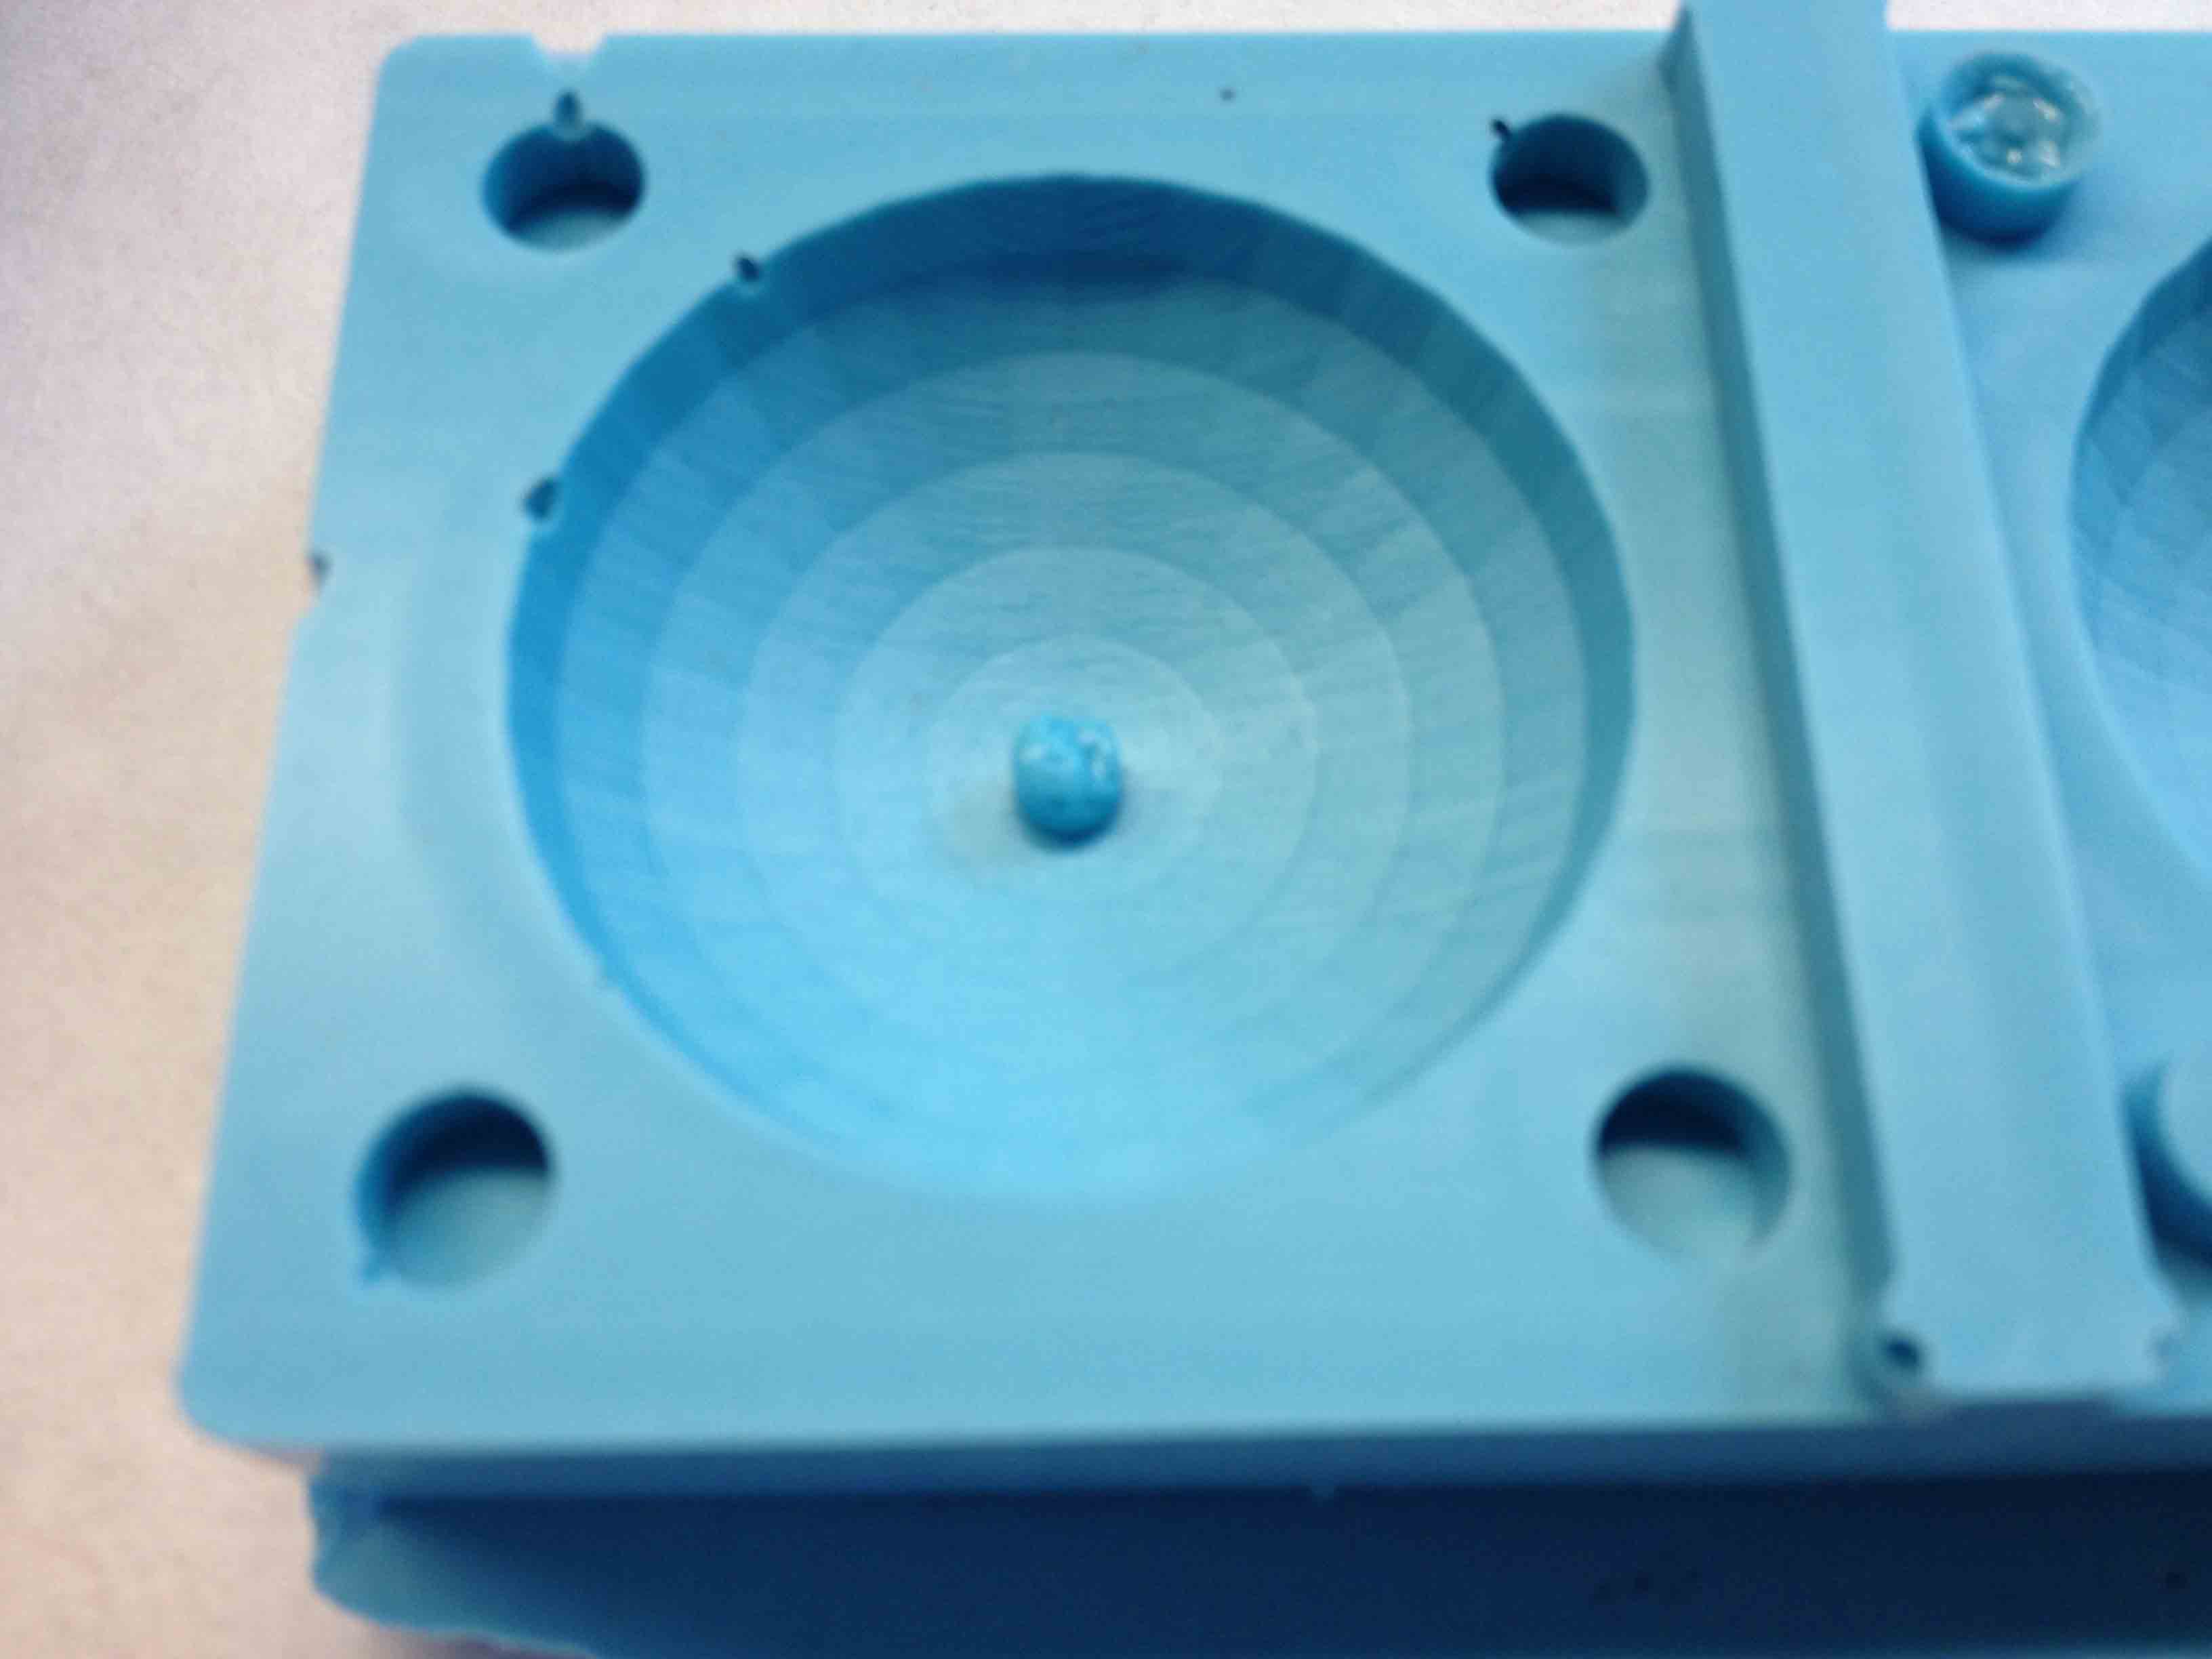
And here's my completed mold!
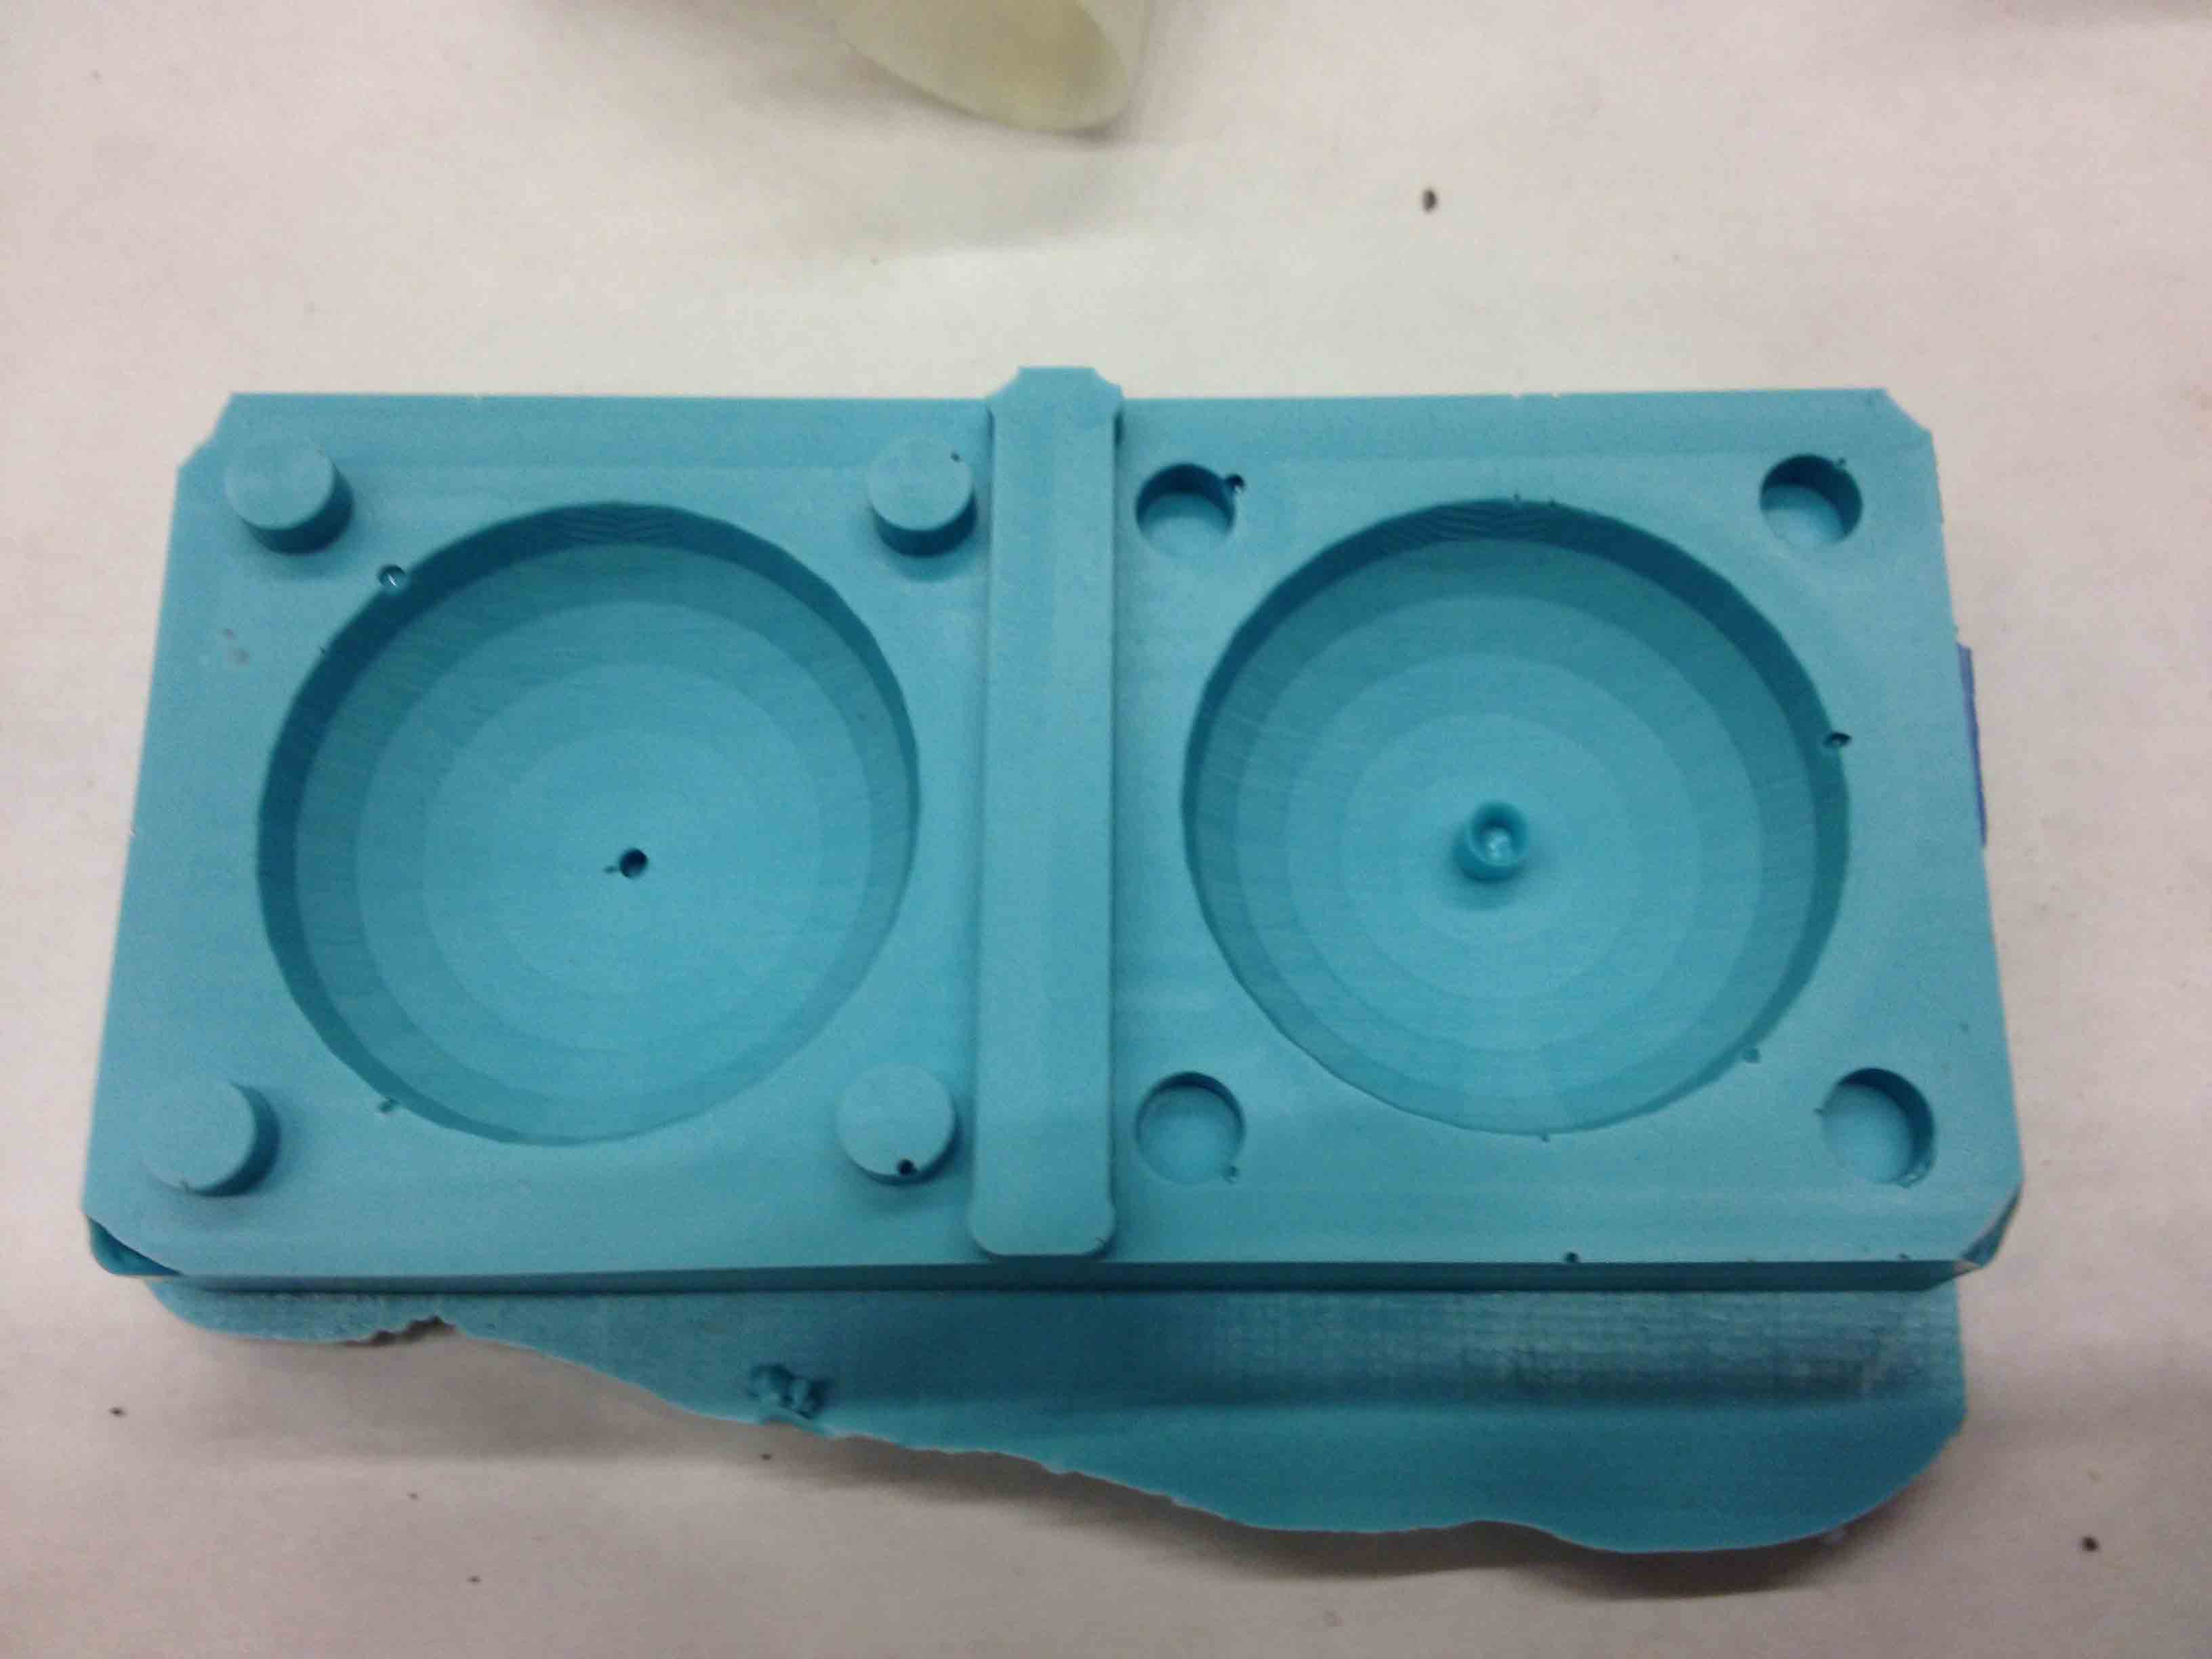
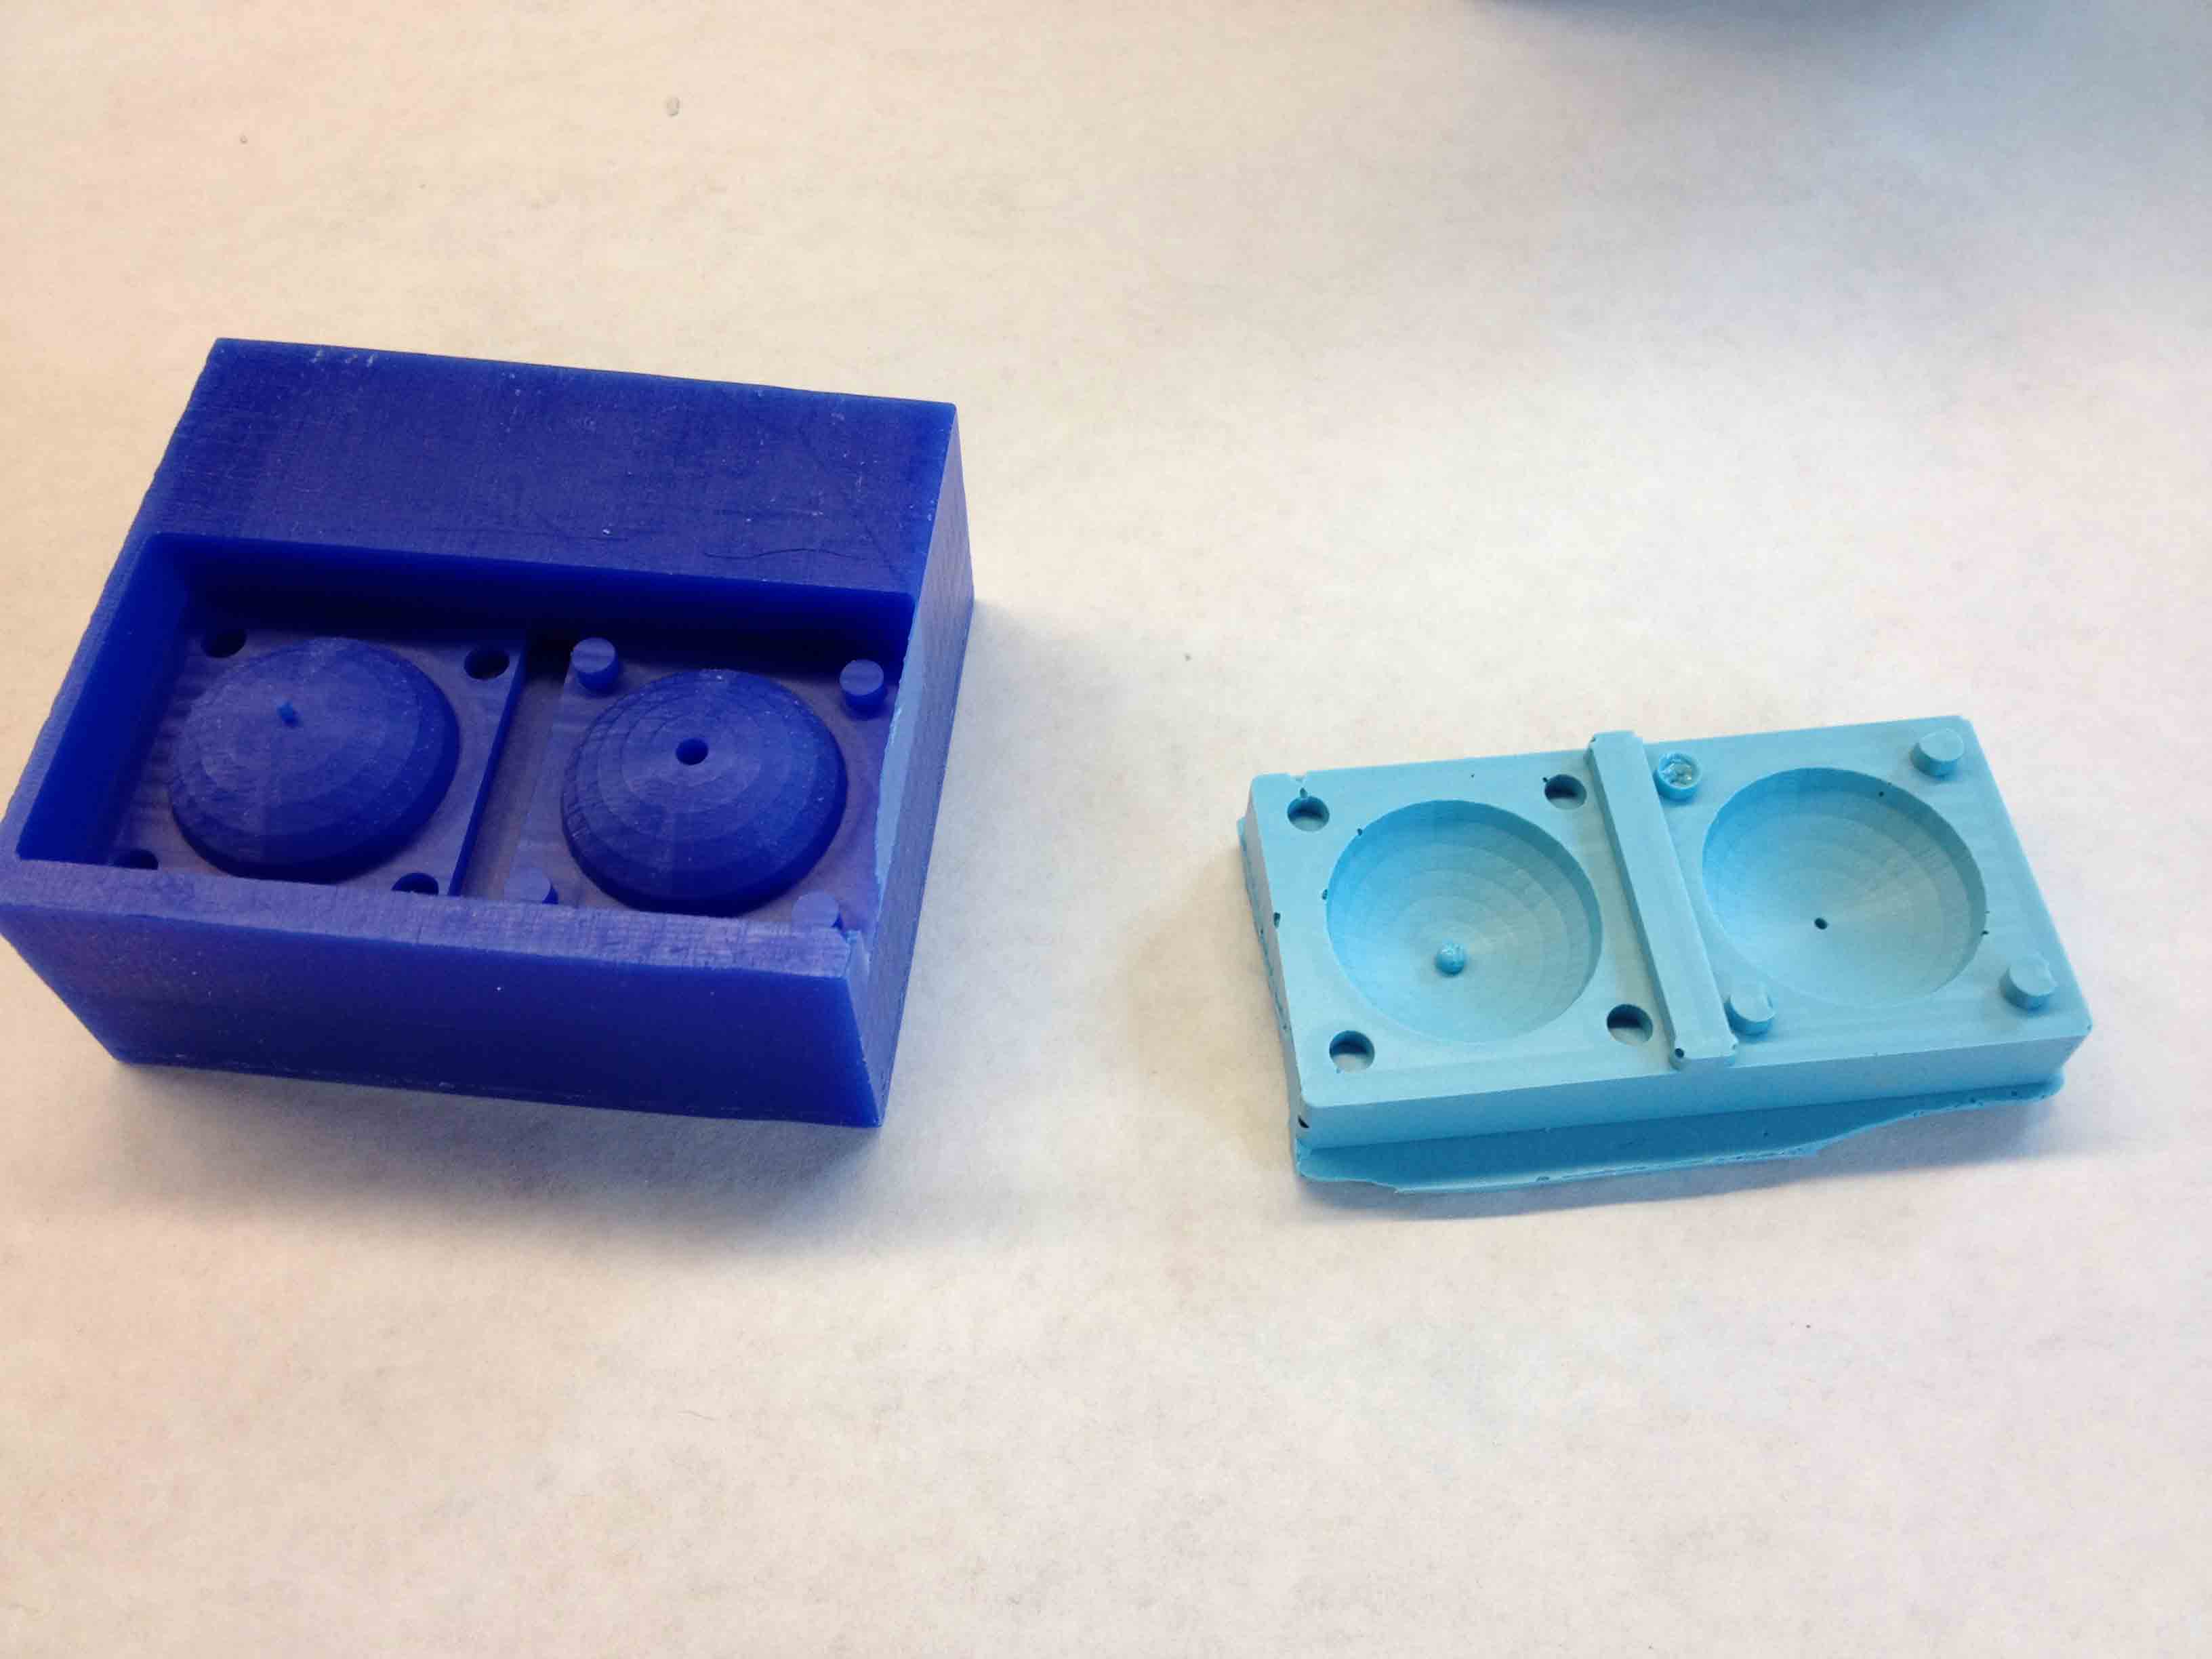
The silicon didn't fill the alignment pegs or the circuit board support peg very well though. I tried making a second mold, being careful to get the silicon into those small crevices this time, but it still didn't work too well. I guess you just need larger holes!
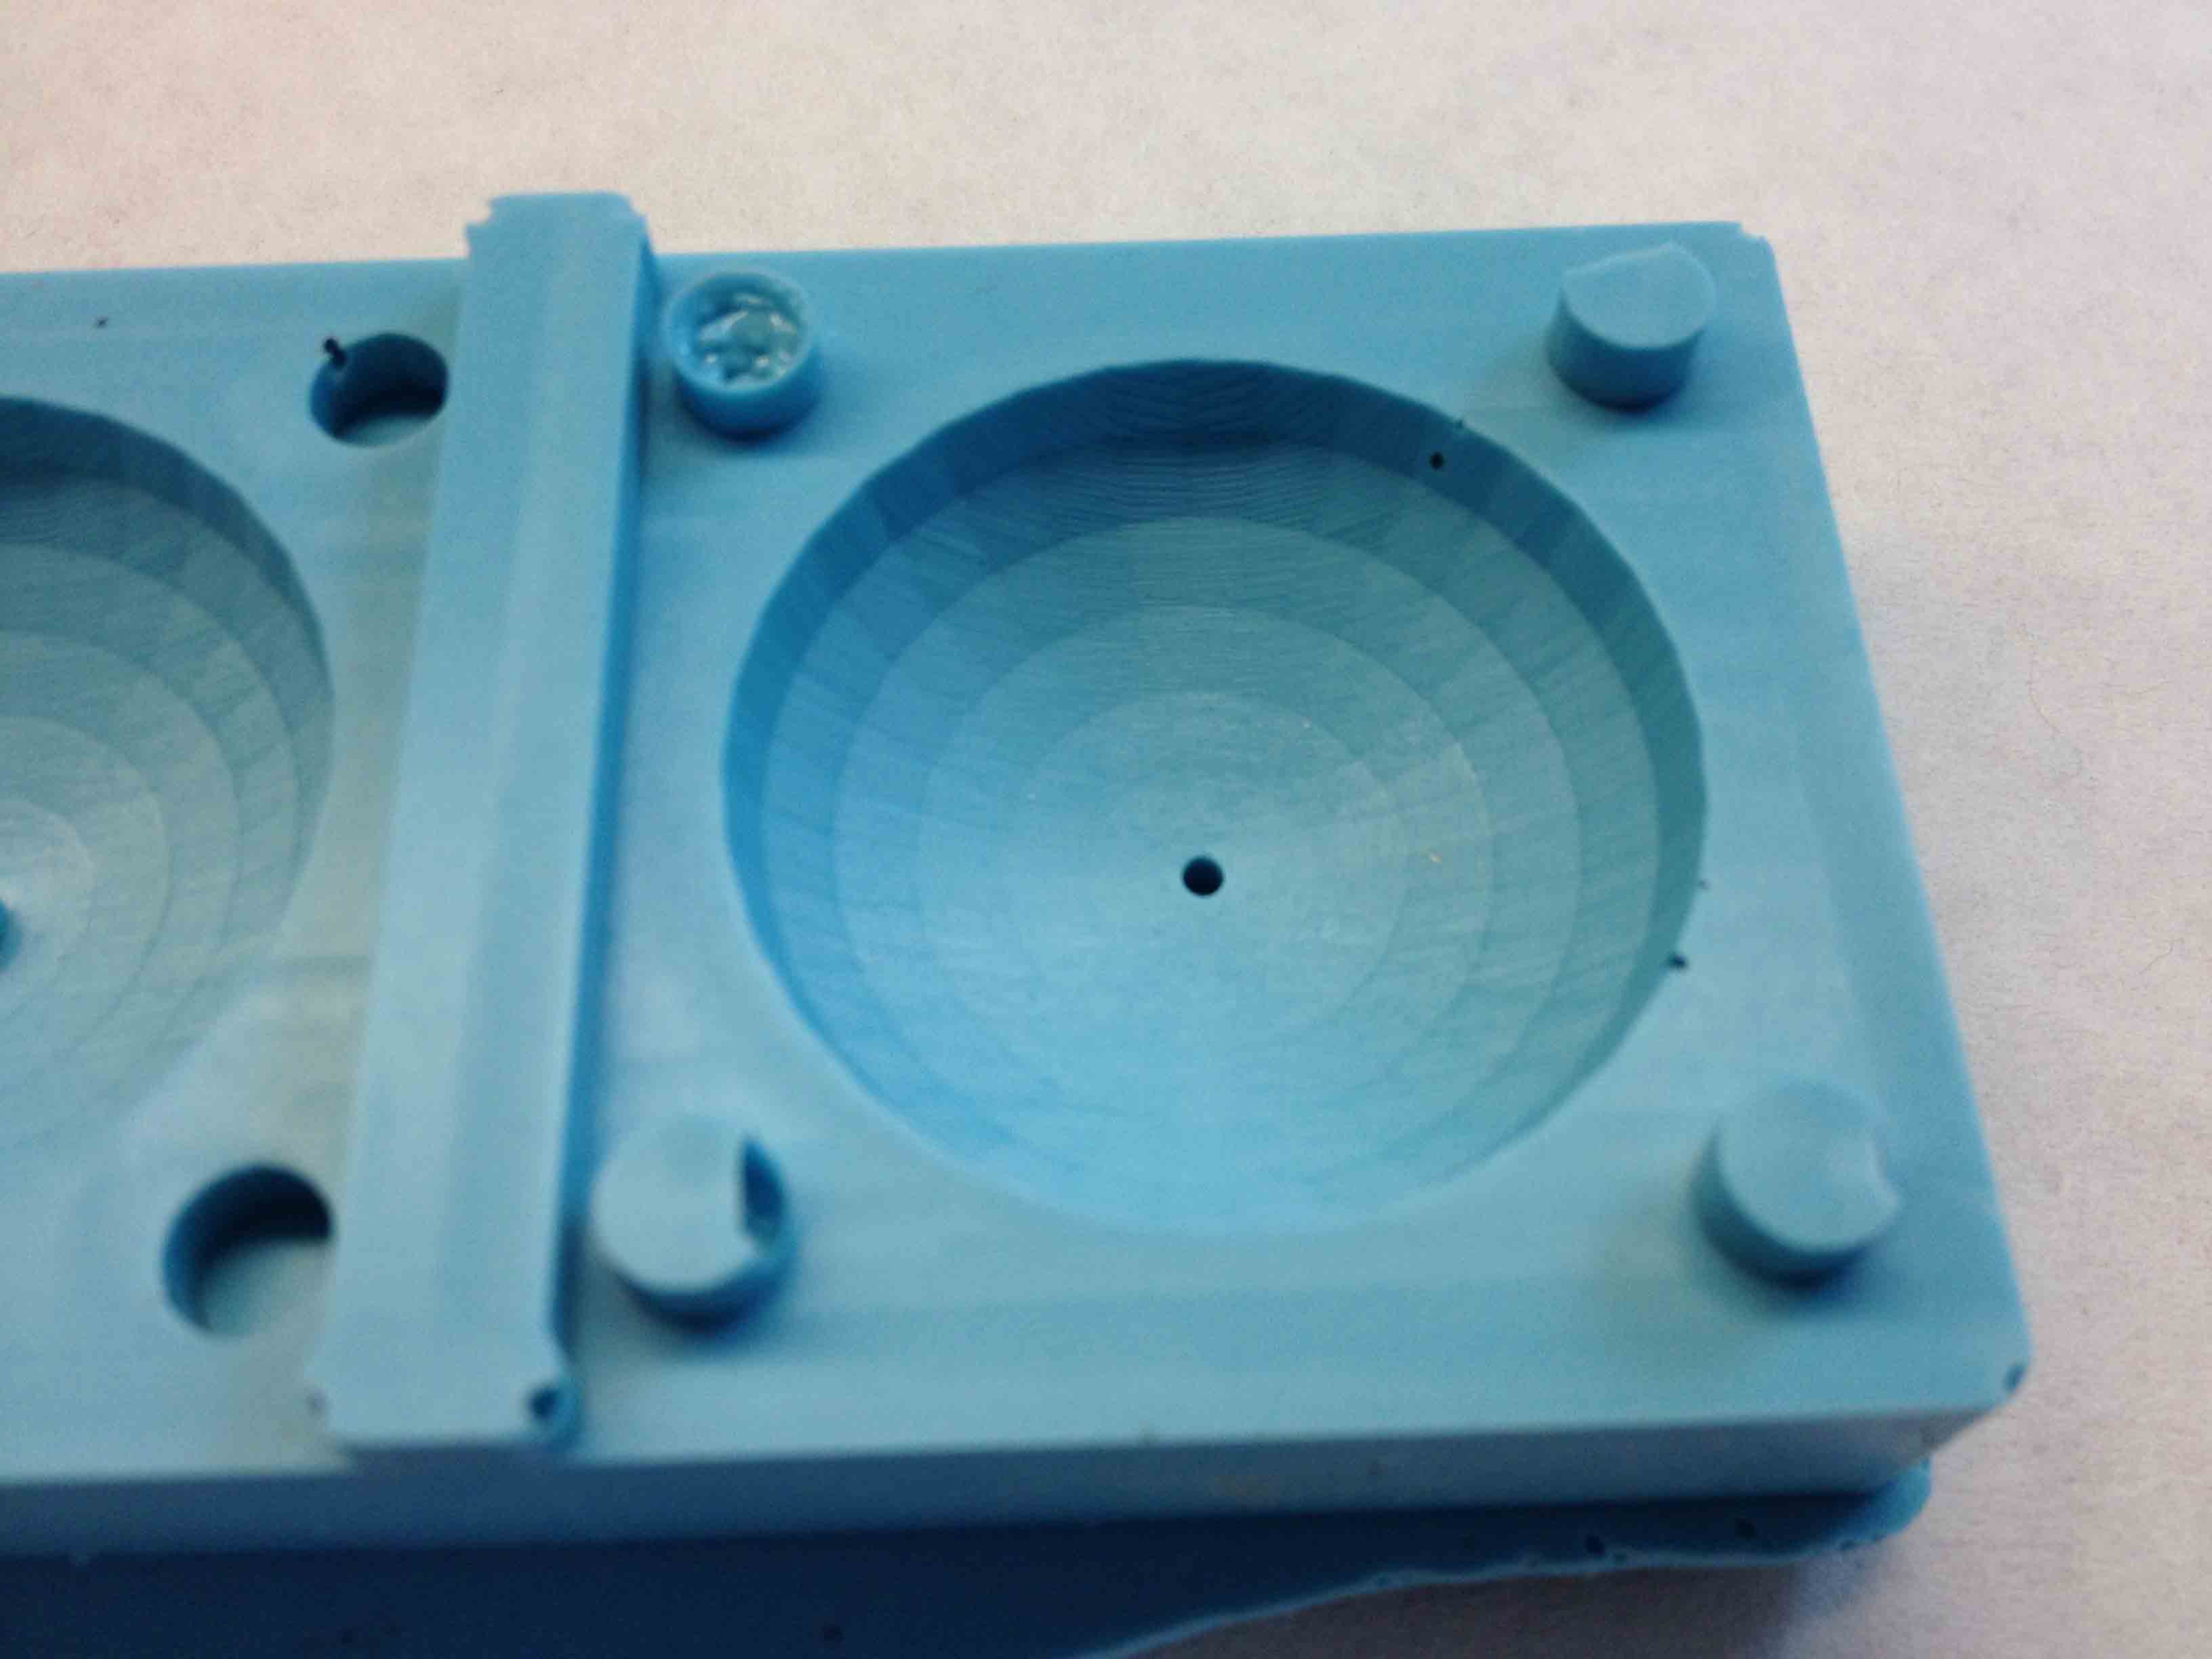
The other problem was that I had put the spout on the top of the mold, so the silicon covered it up. I therefore had to manually drill through the mold to open it back up. Next time I'll put the spout on the side of the mold.
I then crushed a Snapple bottle and a peanut jar to get some glass shards, and mixed it with the Hydrostone with a 1:1 ratio by volume for the glass/hydrostone mixture.
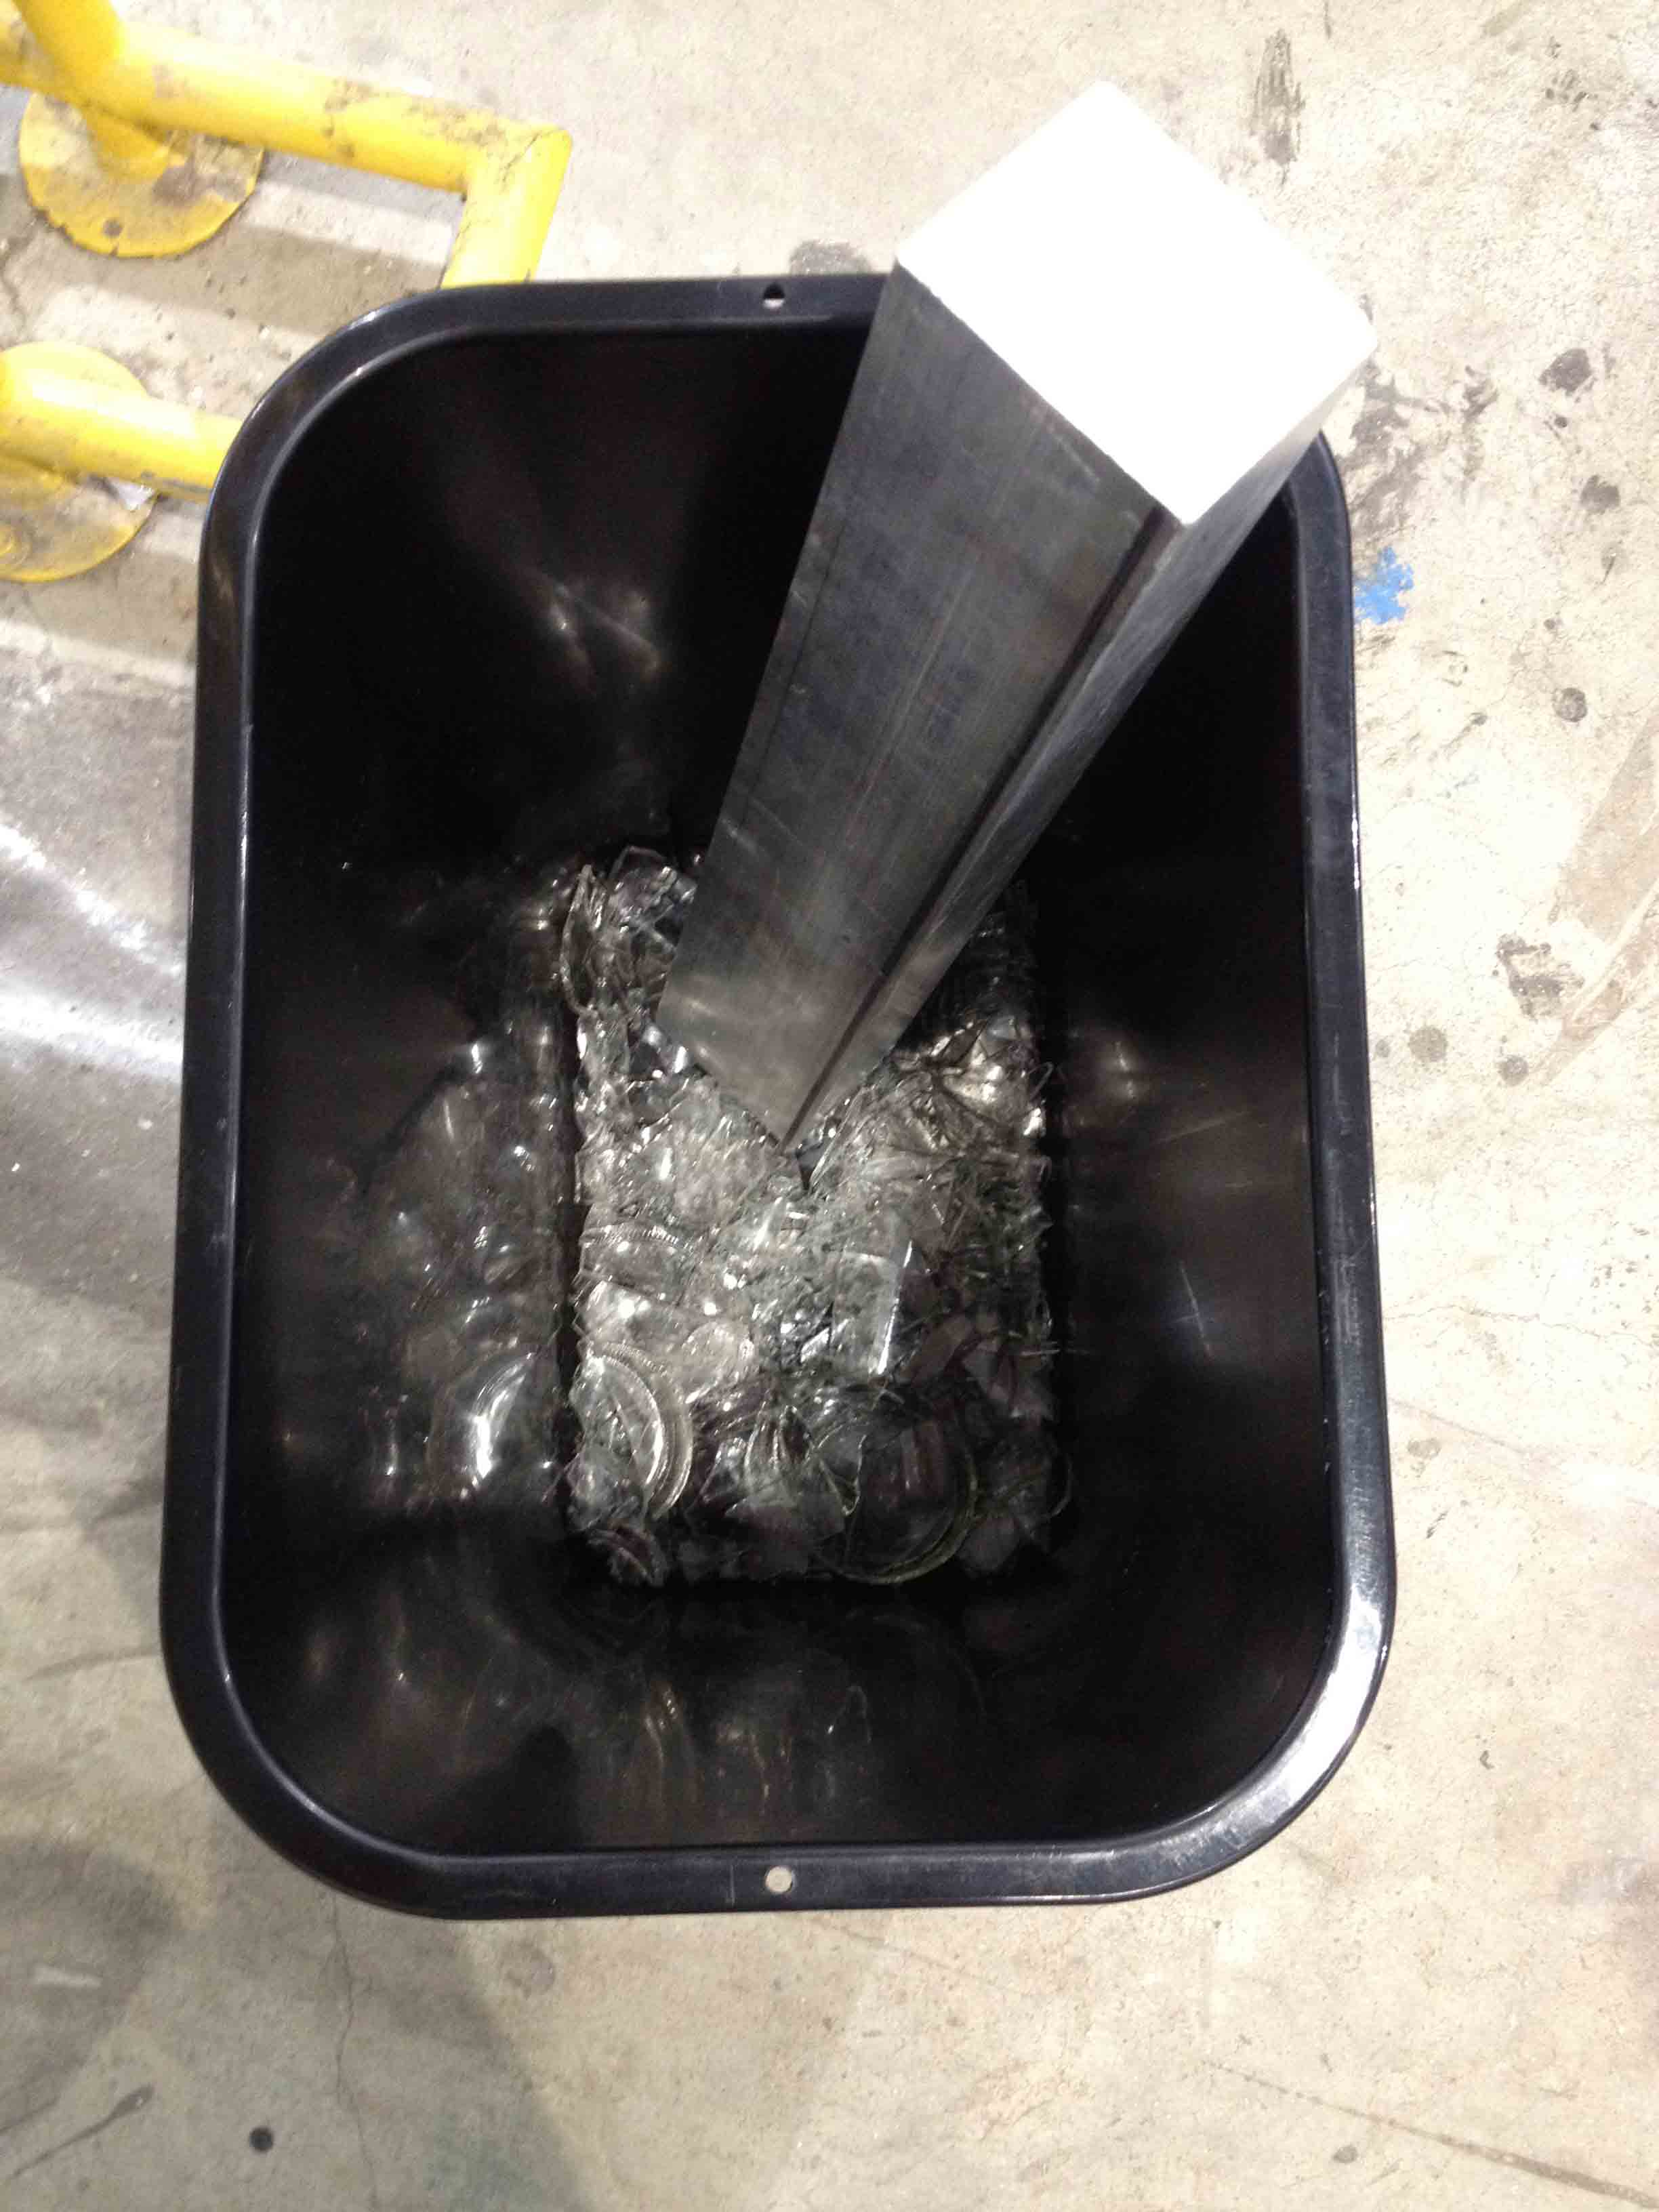
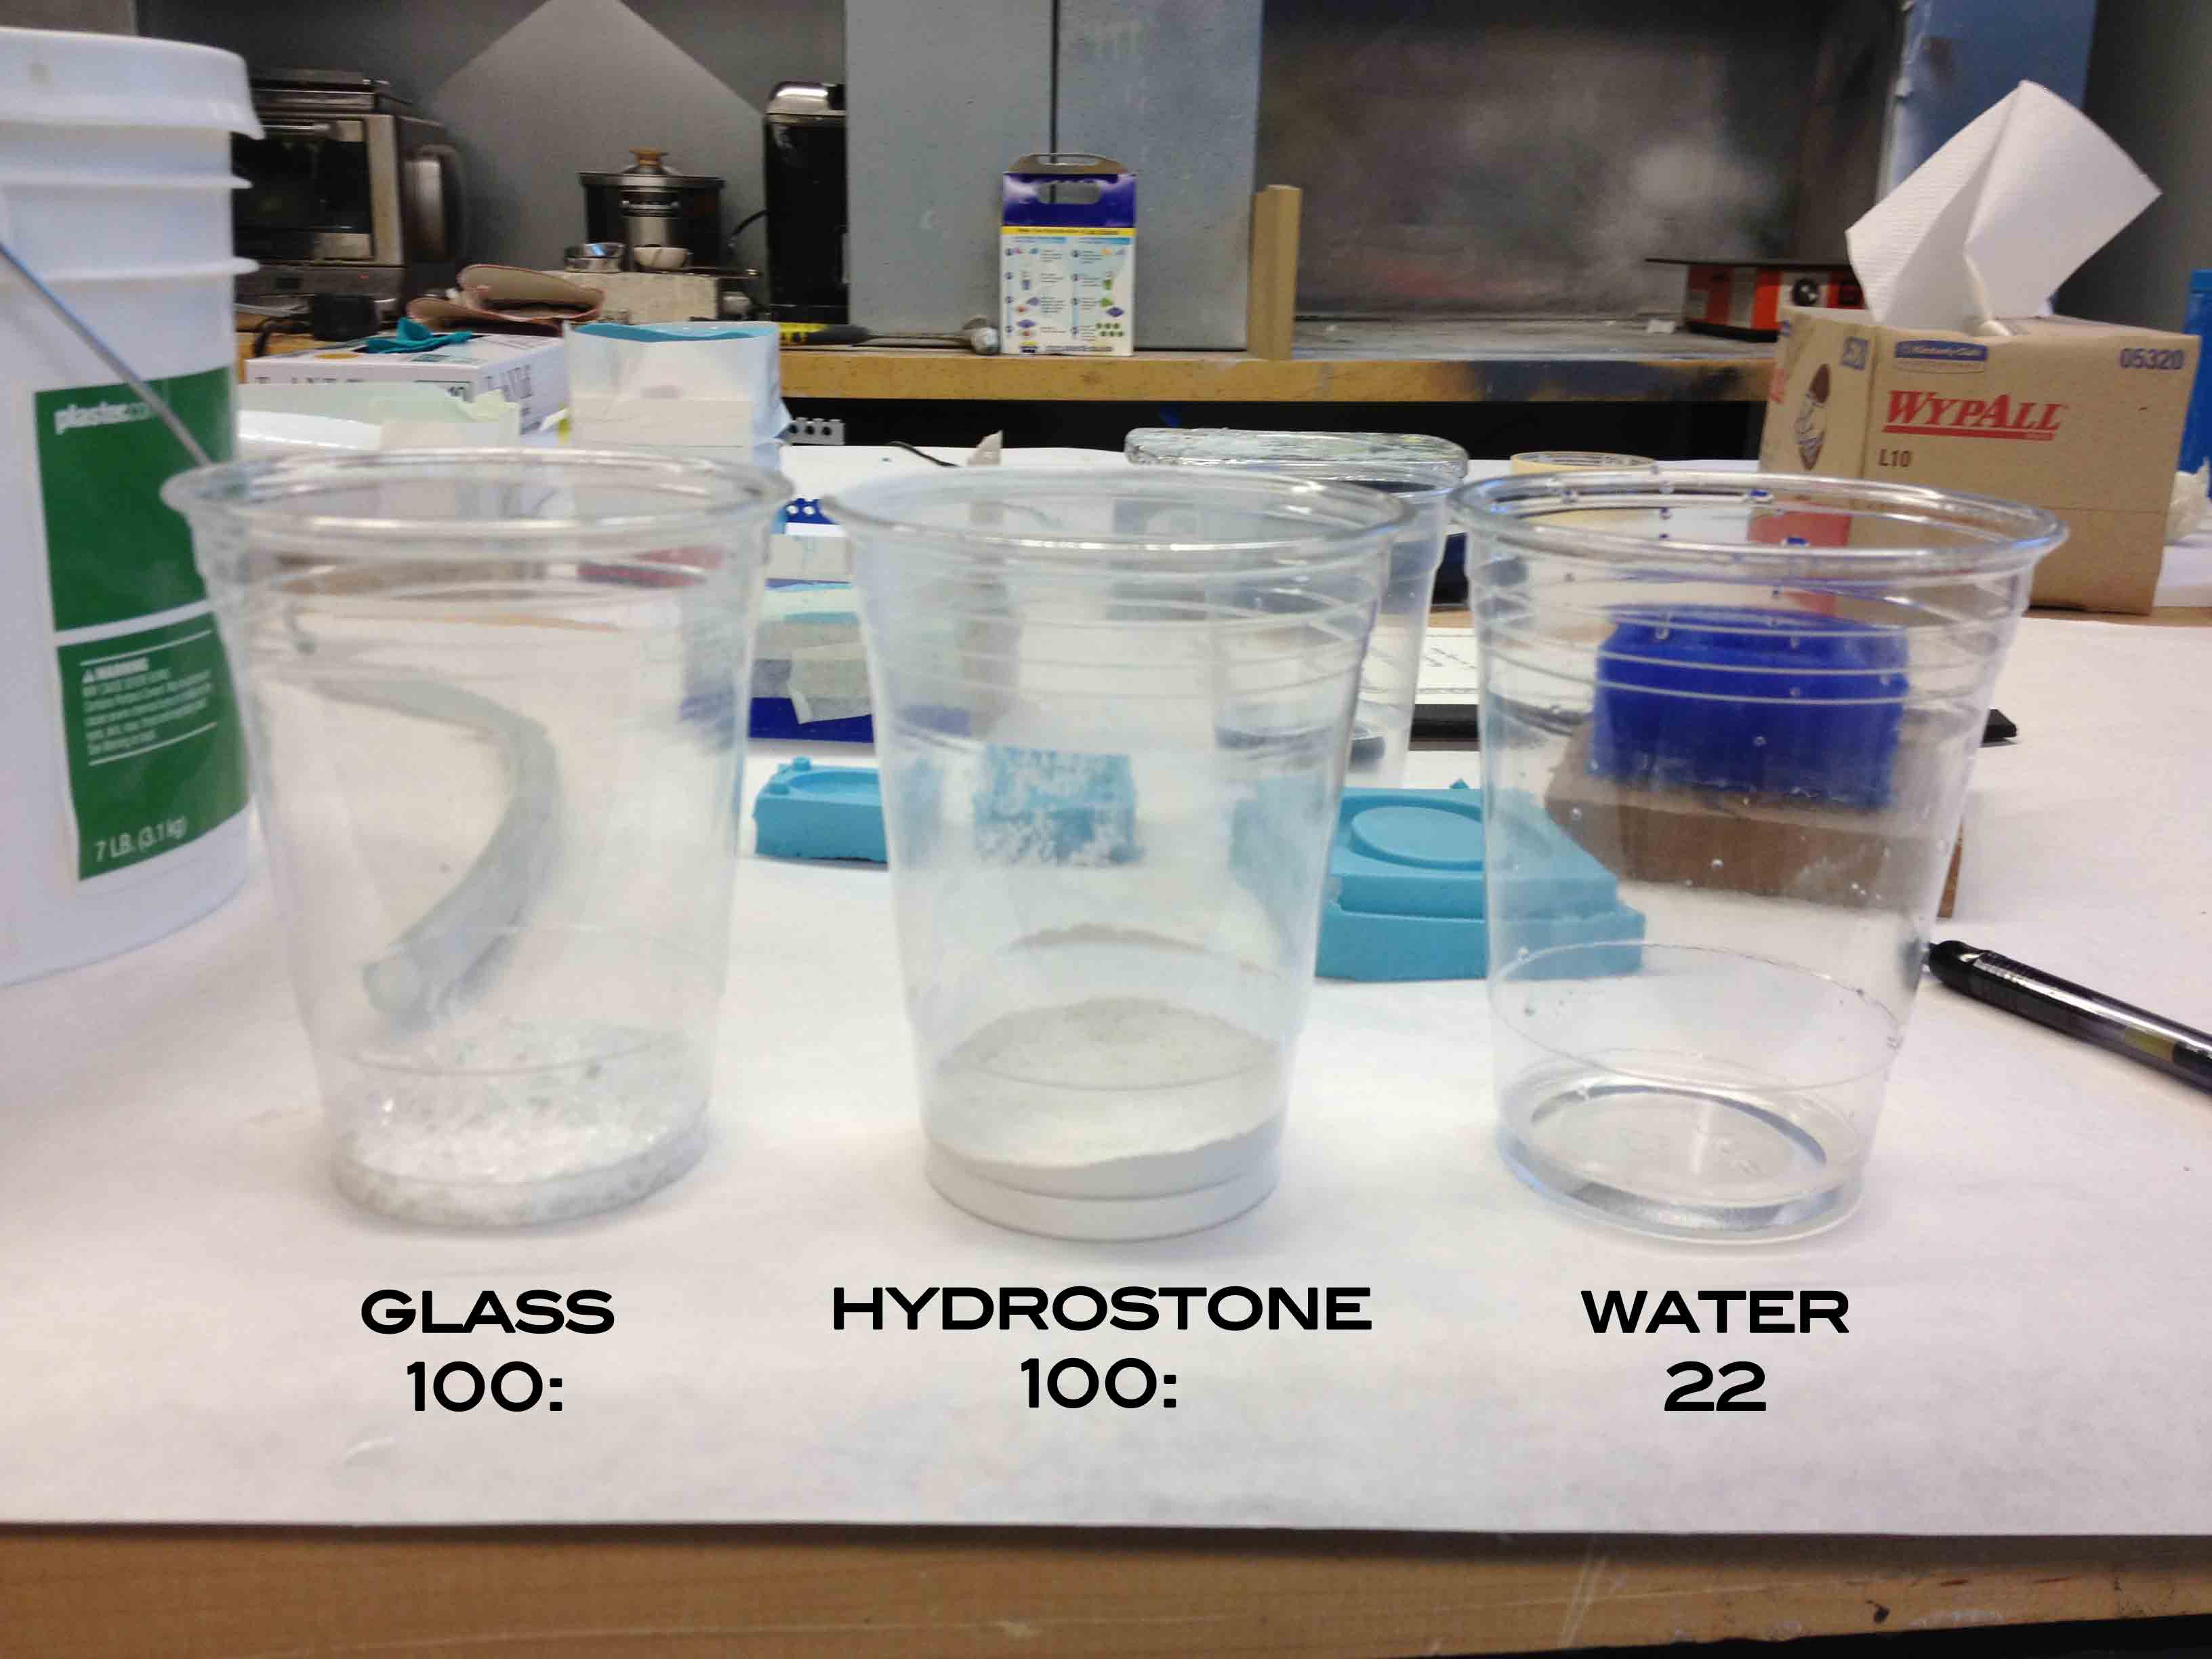
NOTE: If you get inspired by this to crush some glass, wear eye protection and a mask to cover your nose and mouth. There were glass shards flying everywhere, and I produced a bit too much glass dust than I anticipated, which is not great to breathe in. Also, unfortunately I didn't think of this ahead of time, but a good disposal technique is to pour the glass into water so that you don't kick up glass dust when pouring it into a trash can. Hope I don't get Silicosis...
I then cast it!
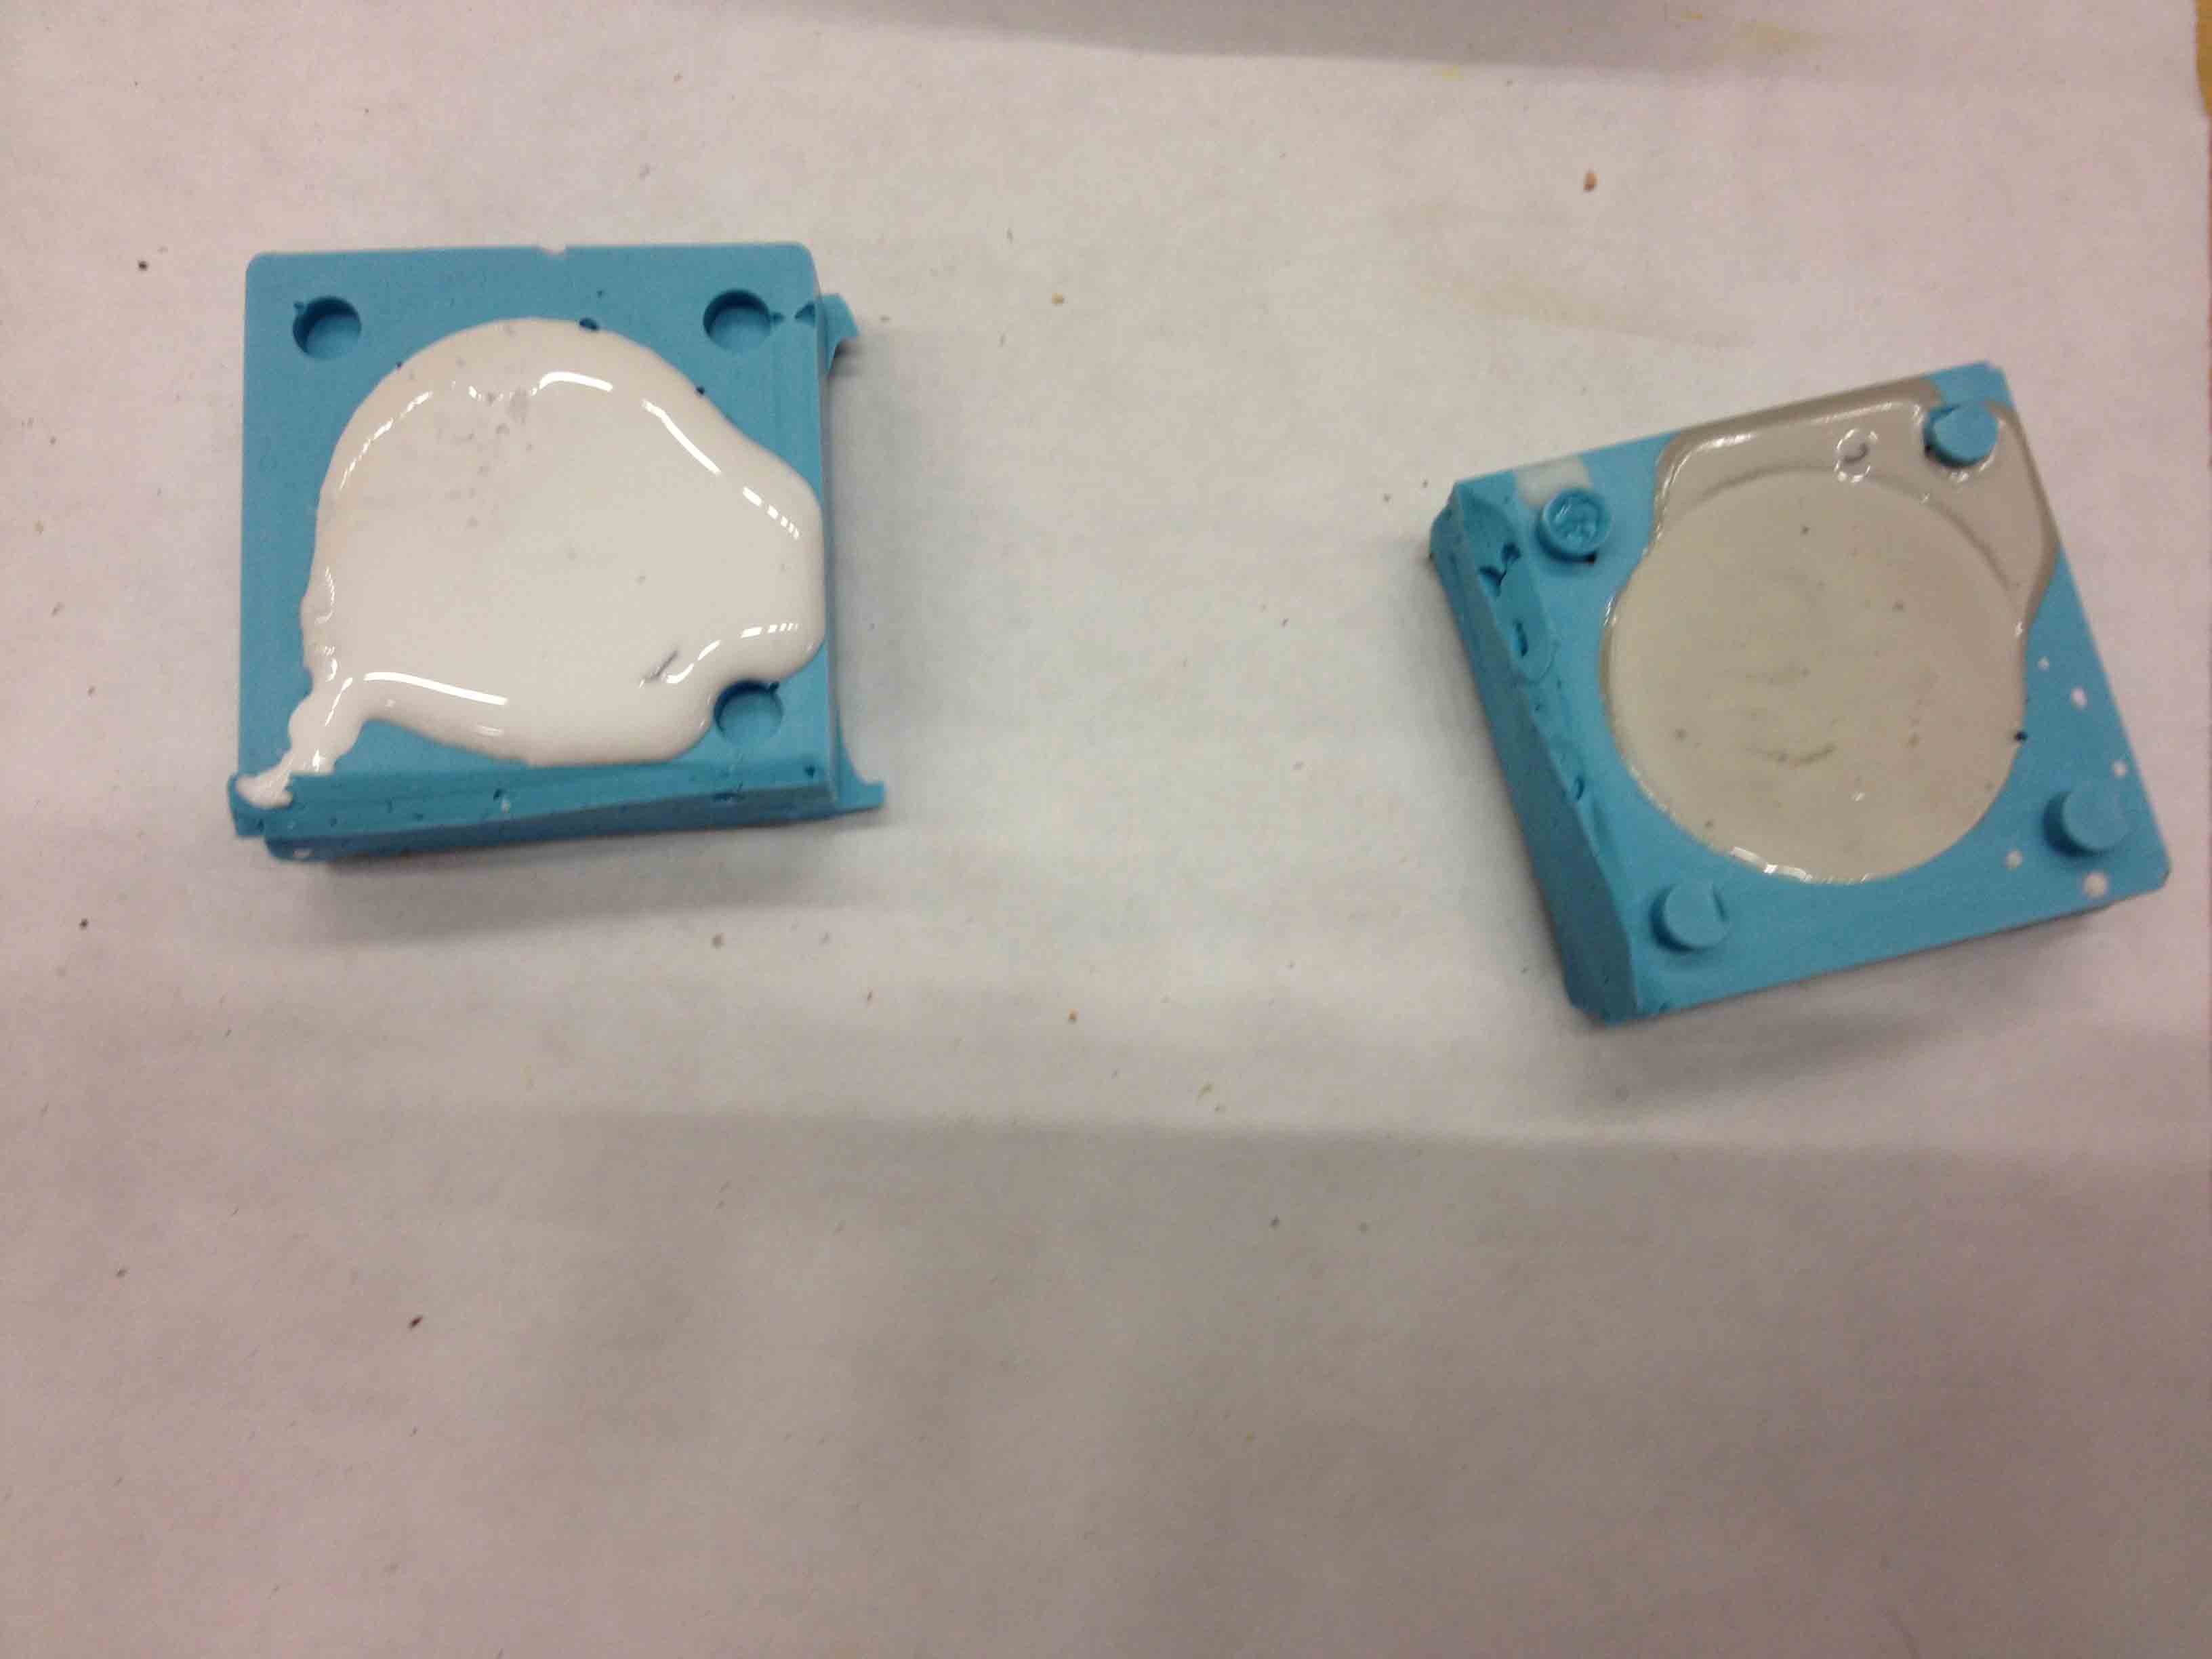
It came nowhere close to working, though, and it didn't transmit light at all. It also had dangerous glass shards sticking out of it.
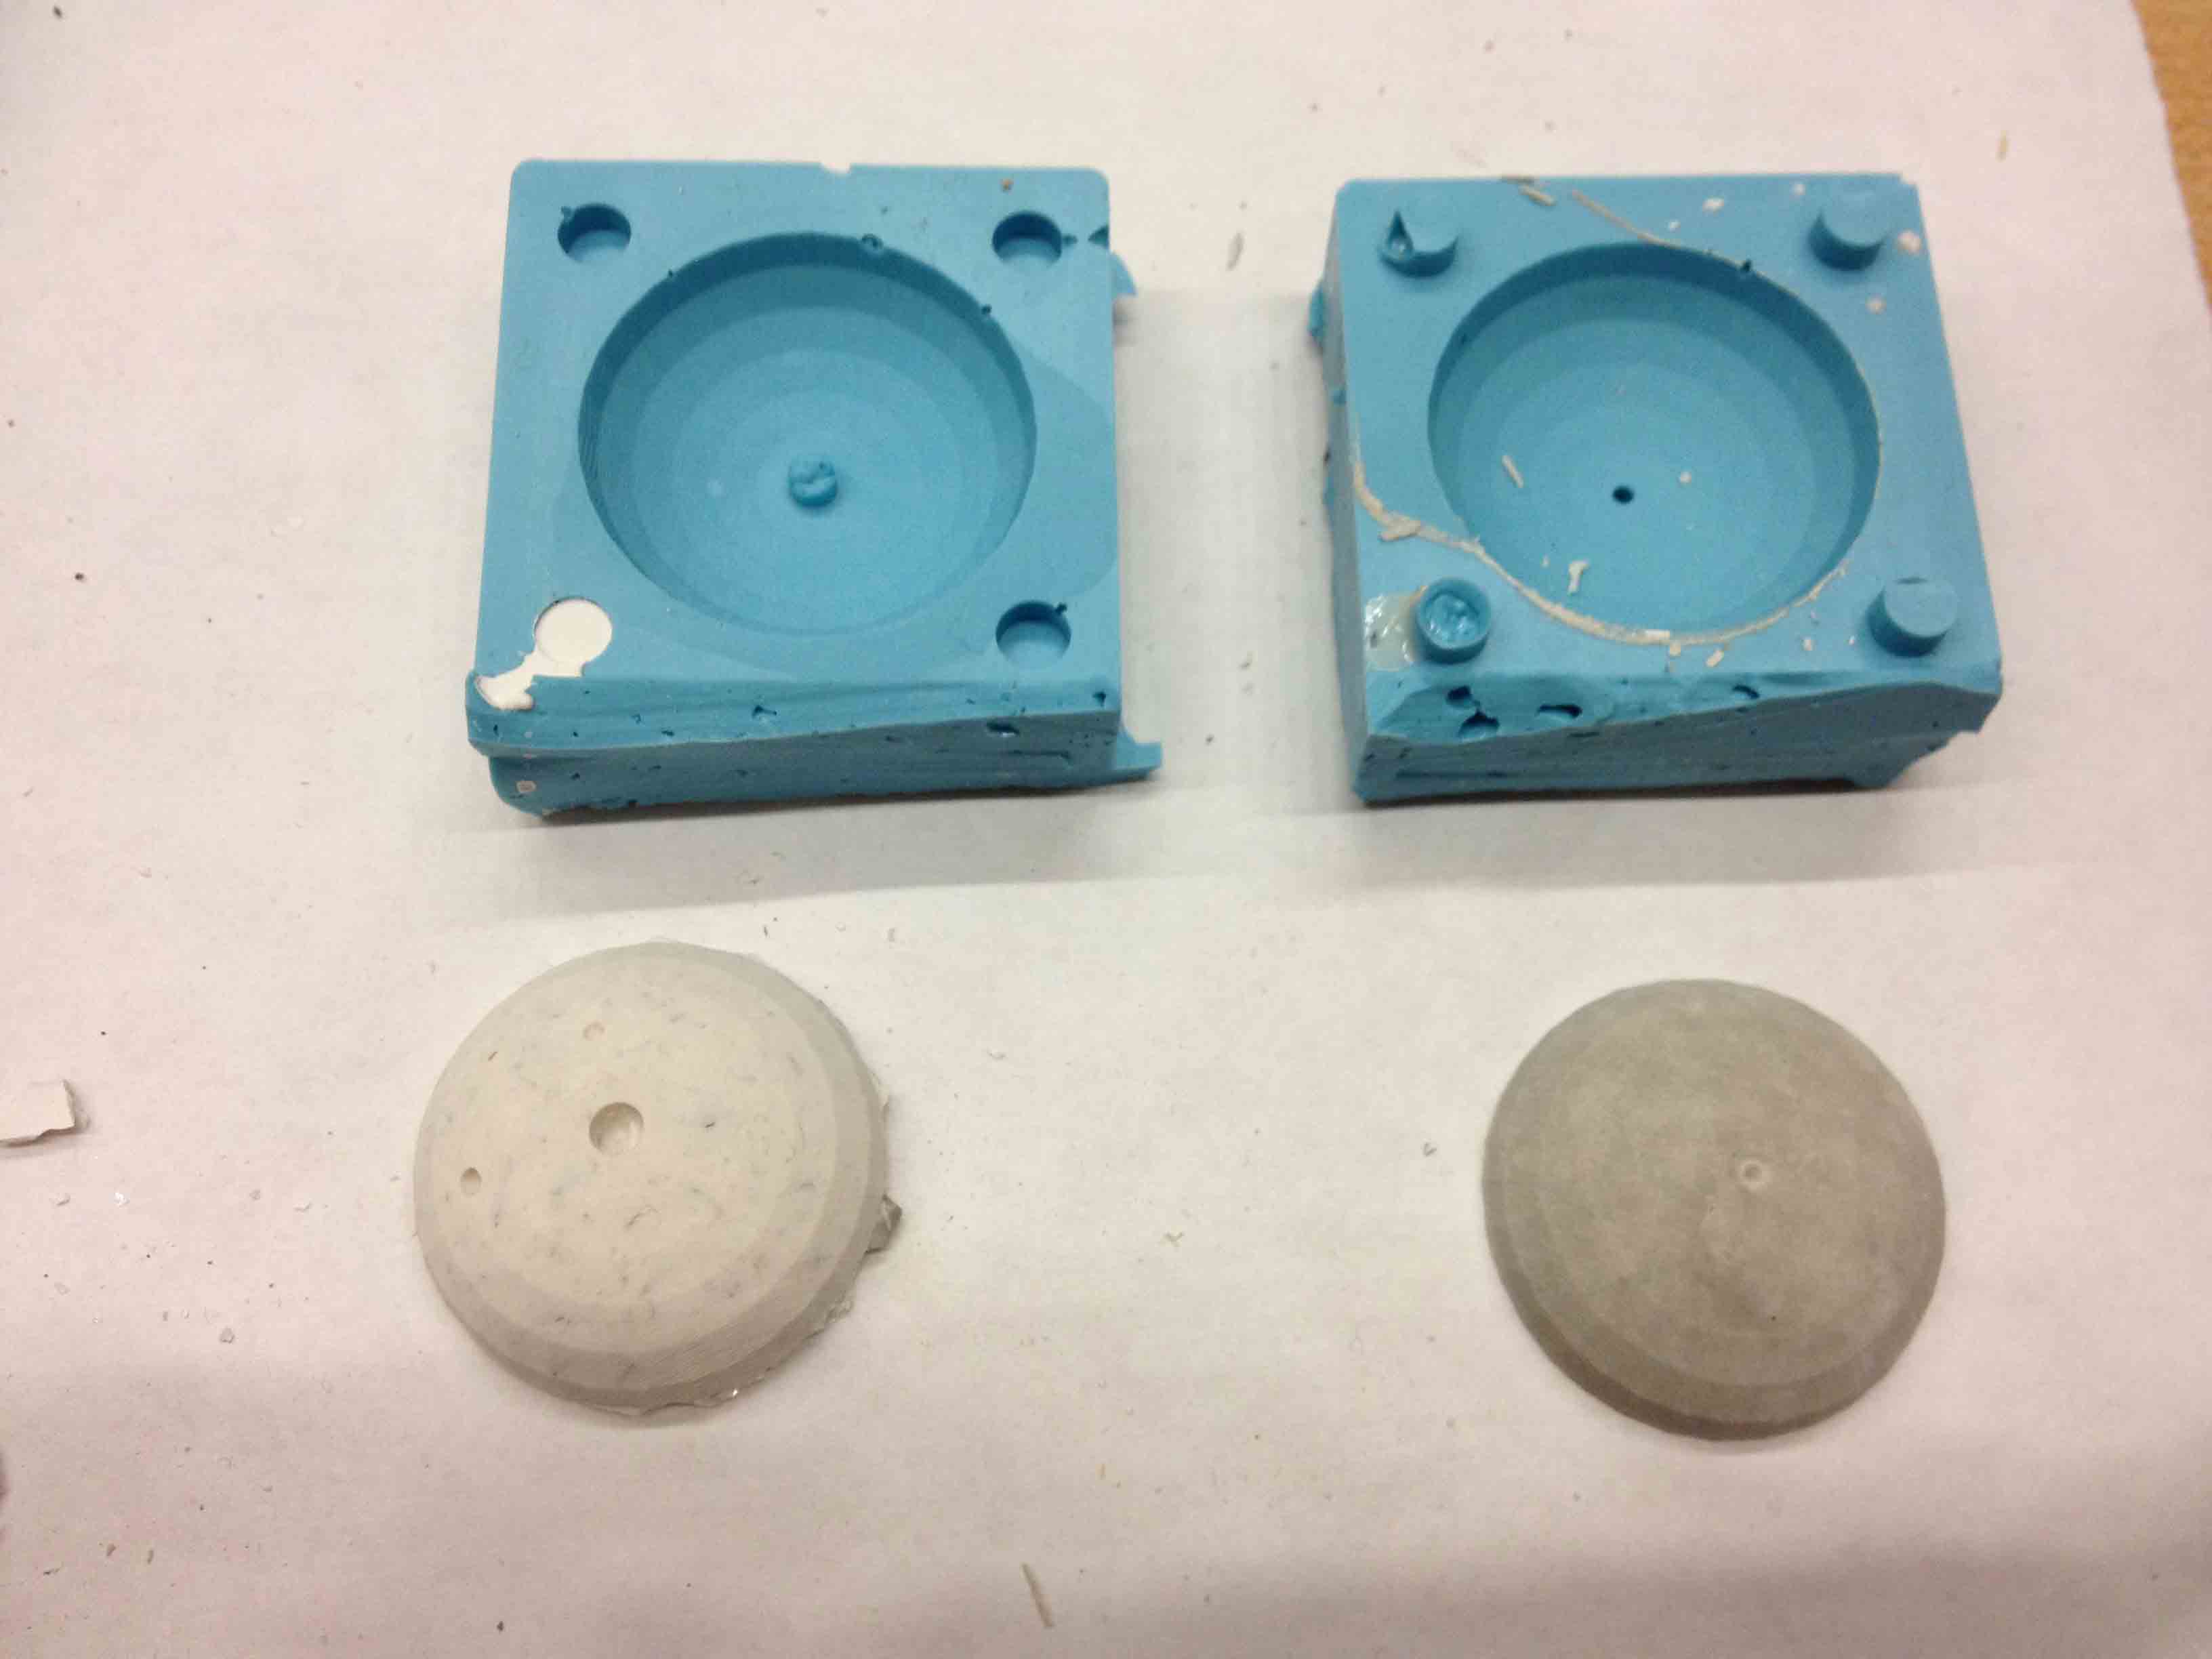
I probably would have been possible to play around with different glass-to-stone mix ratios, but I really didn't like working with crushed glass so I just called it quits and made a plain old Hydrostone stone. The spout was way too small to pour the hydrostone into, though, and my first cast rock came out with weird color and density striations (probably because of the slow speed at which the material got into the mold).
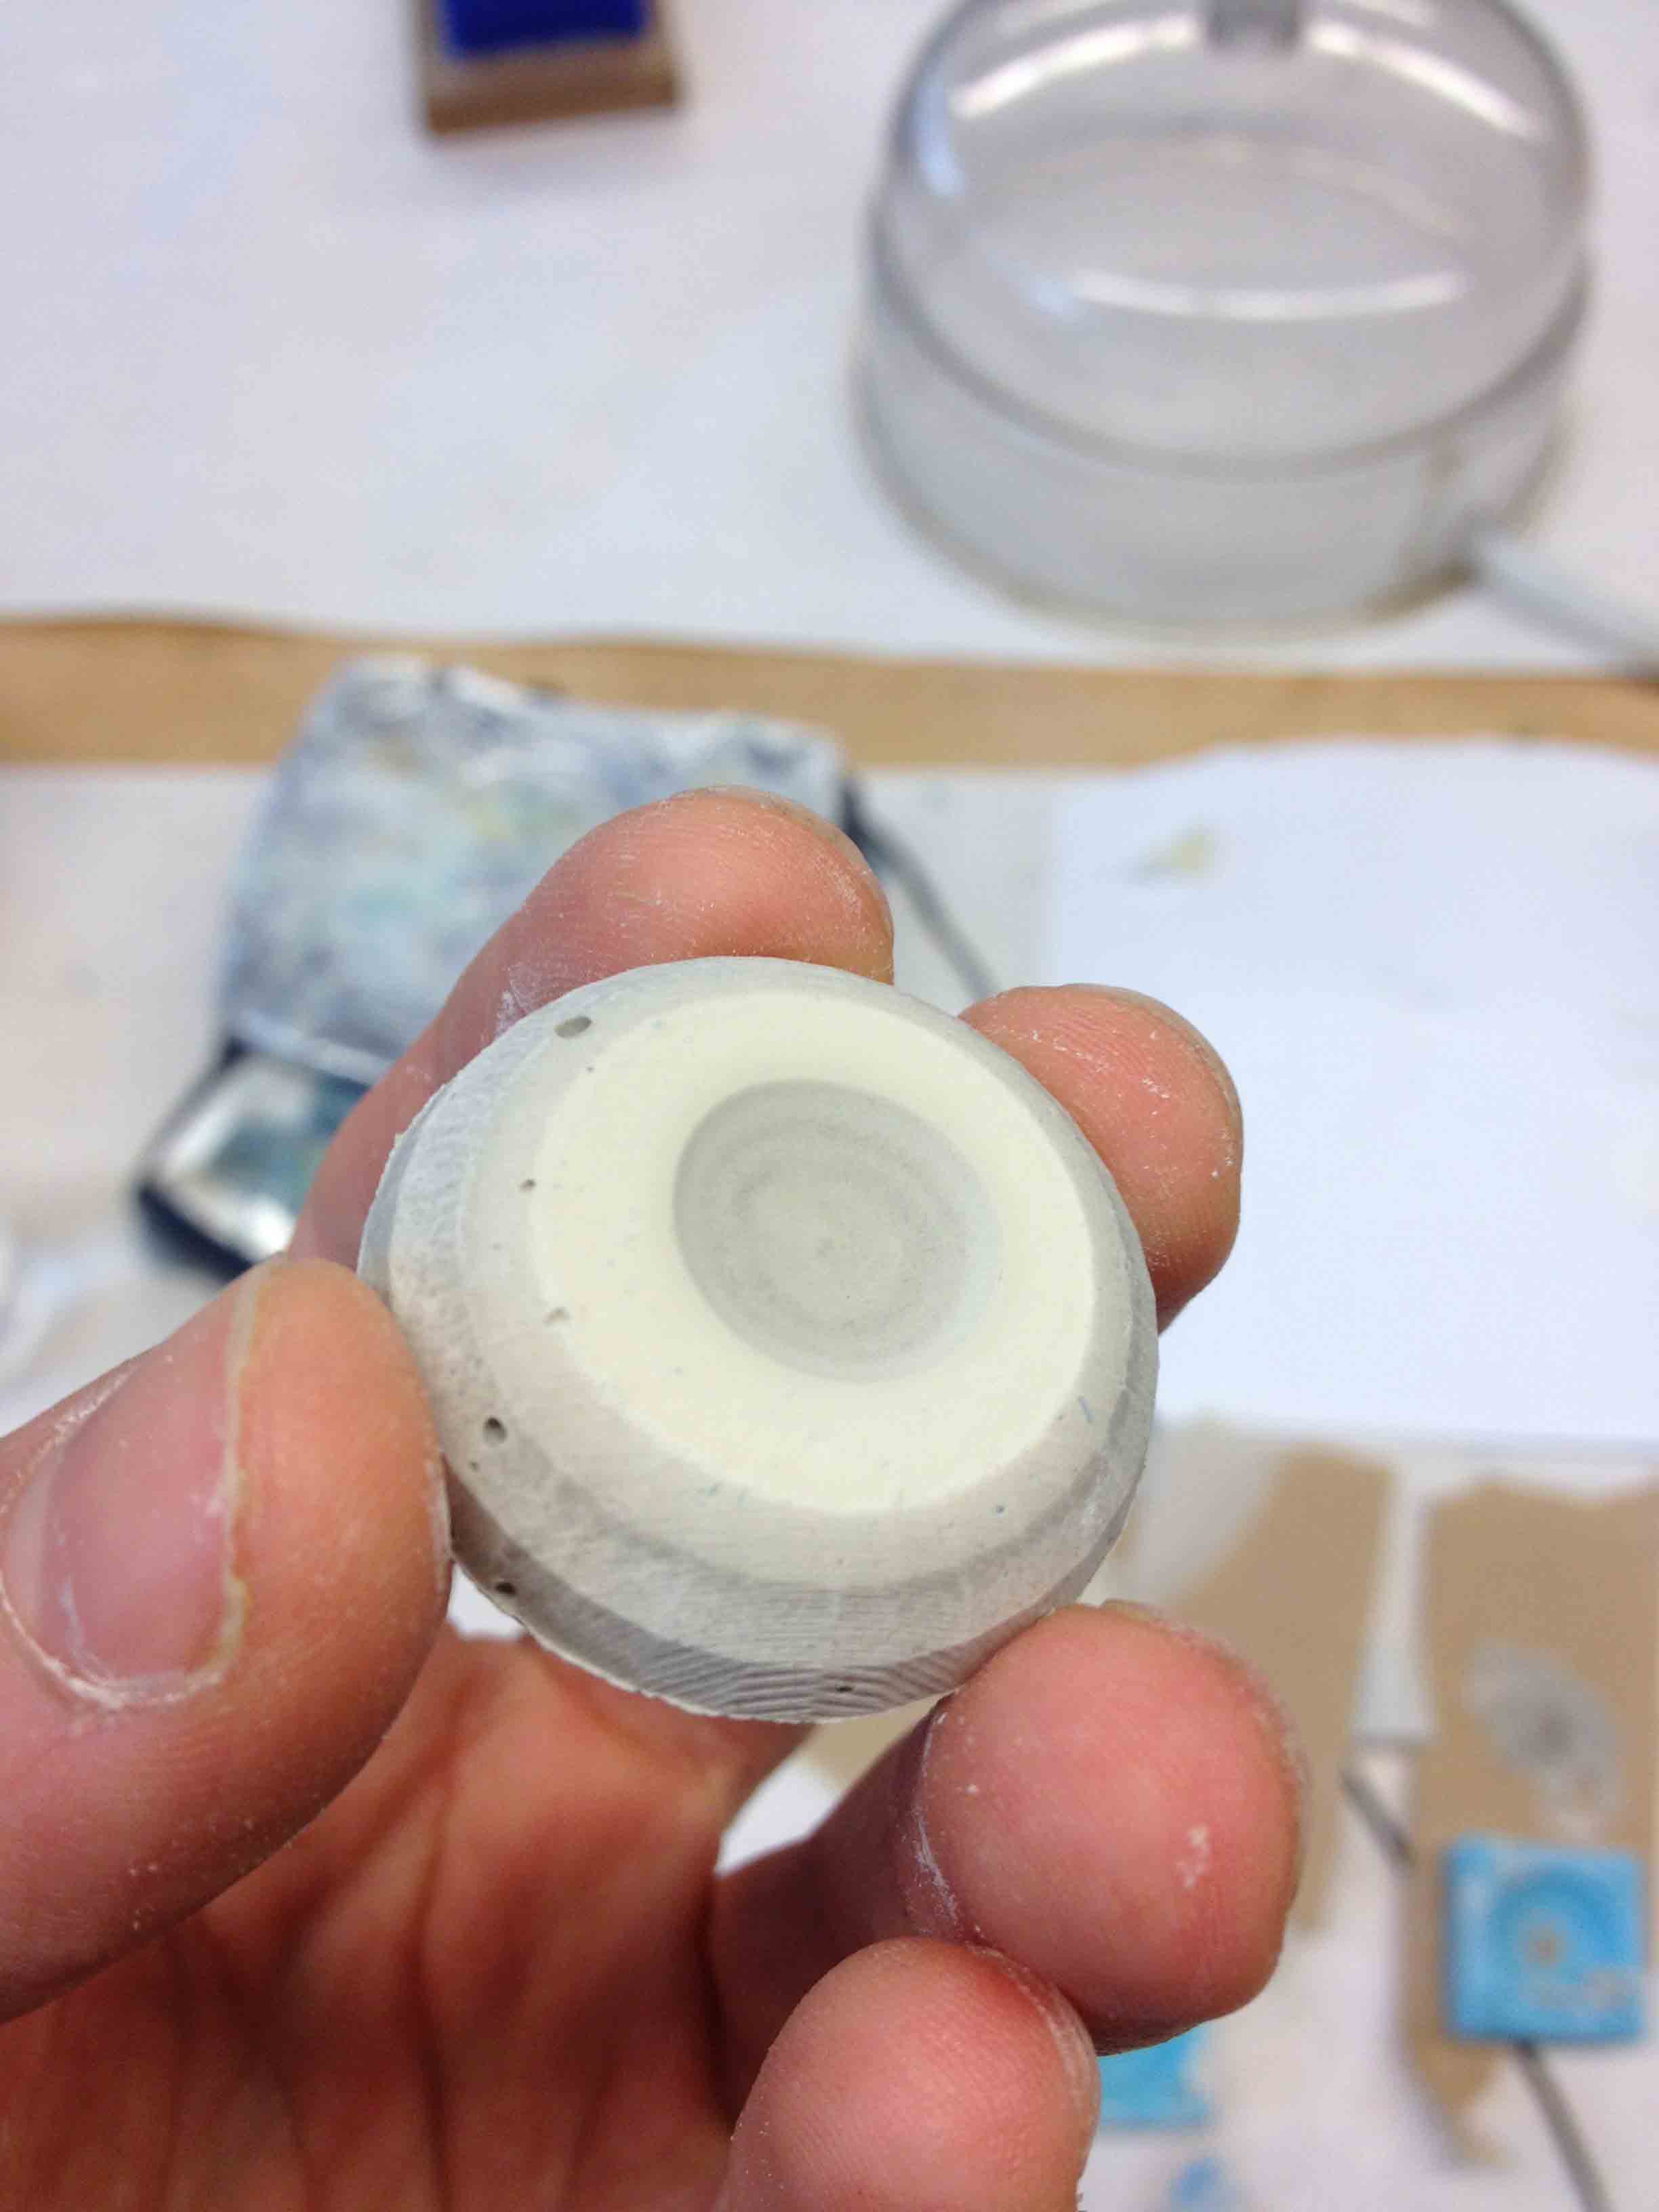
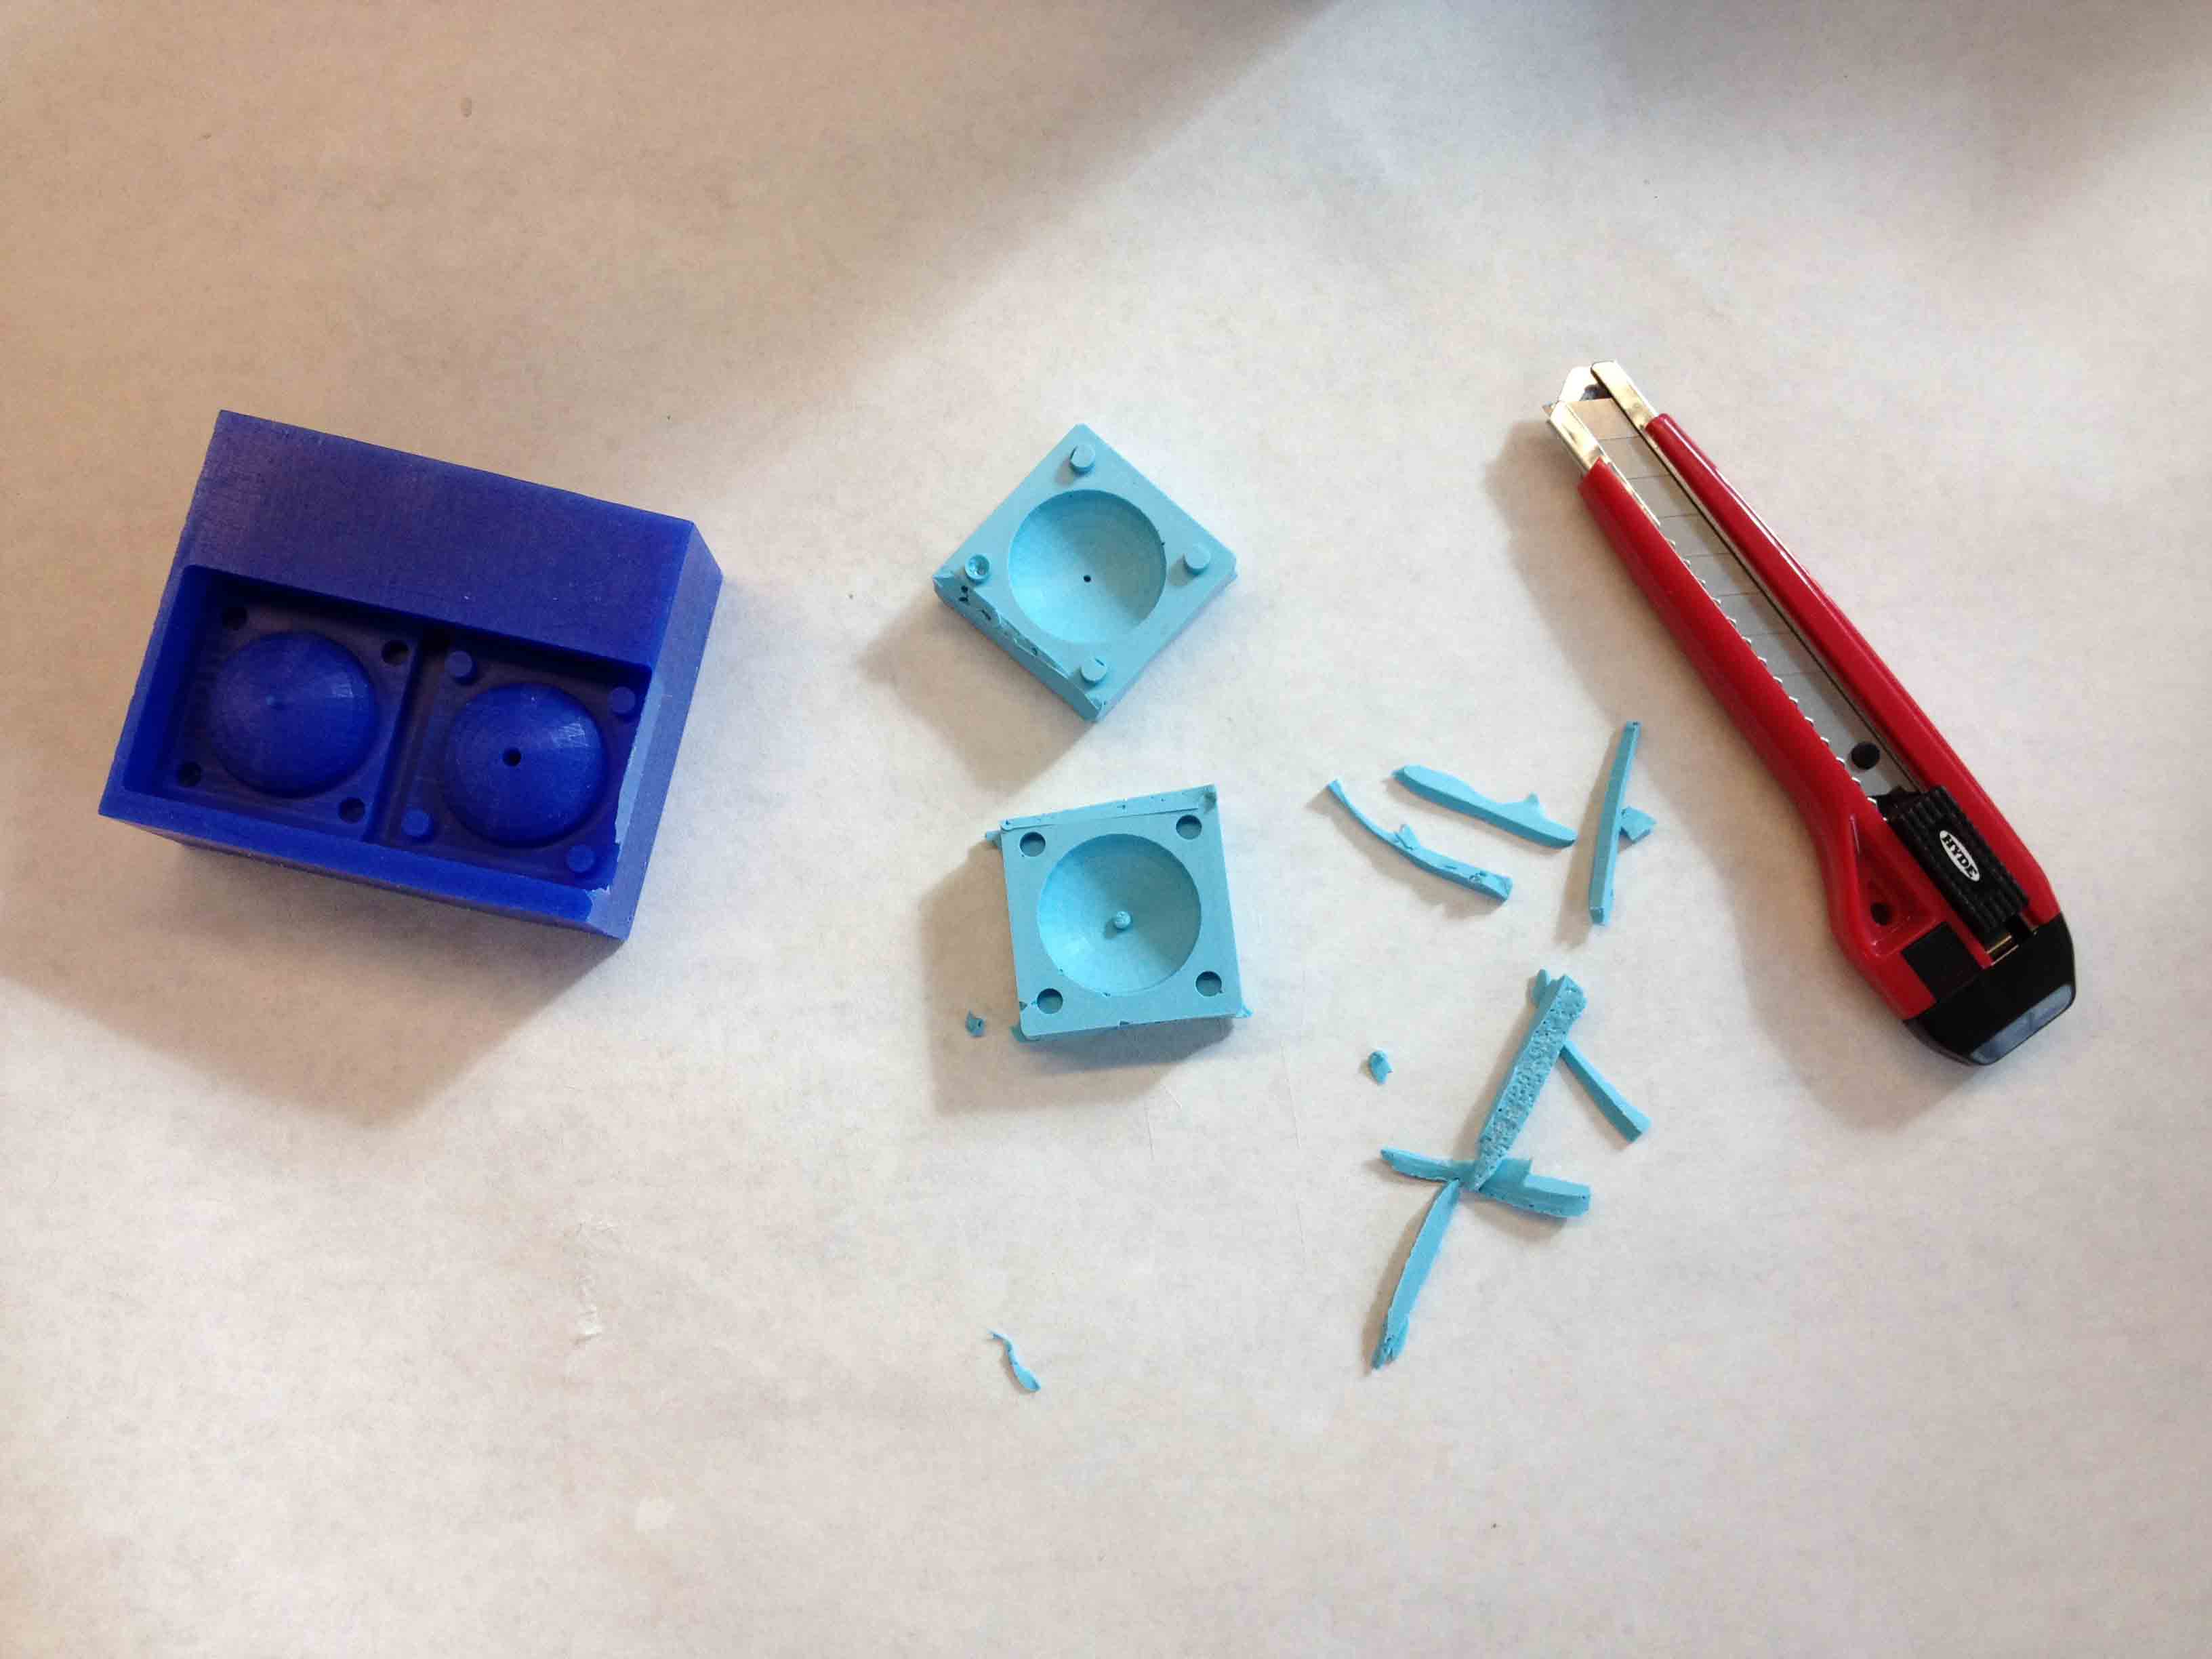
So I to used an exacto knife to open it up and made a new one.
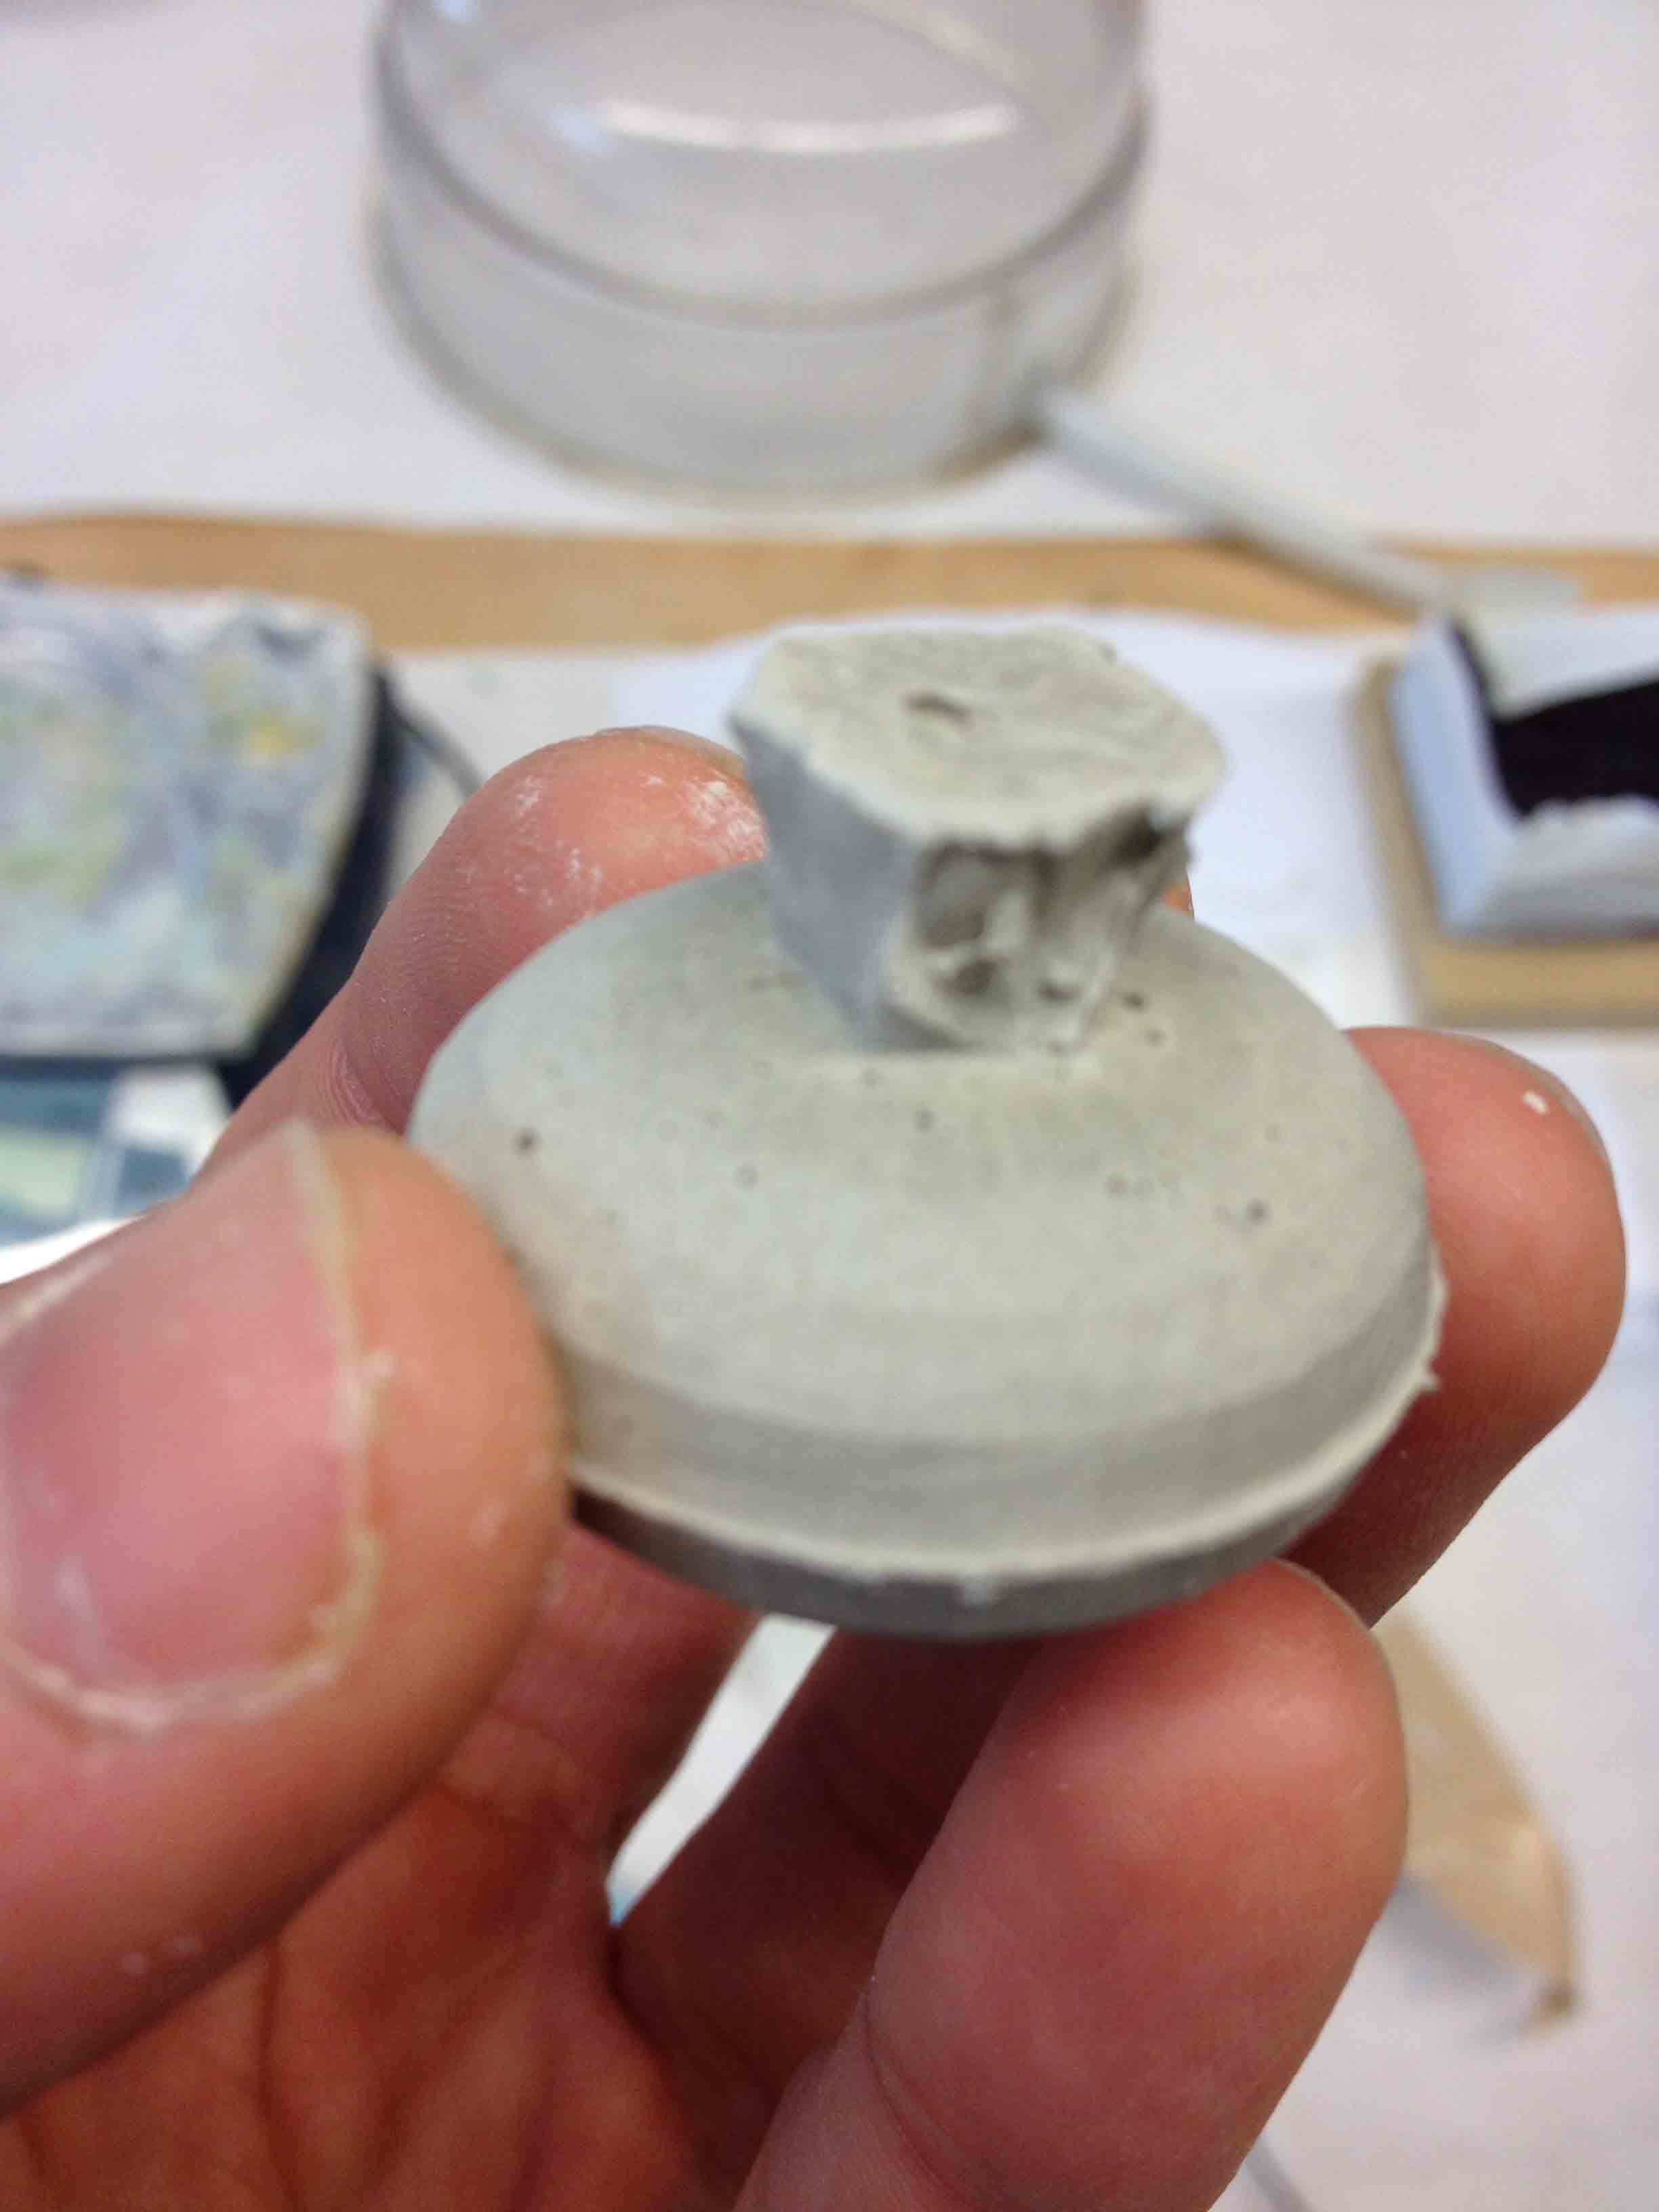
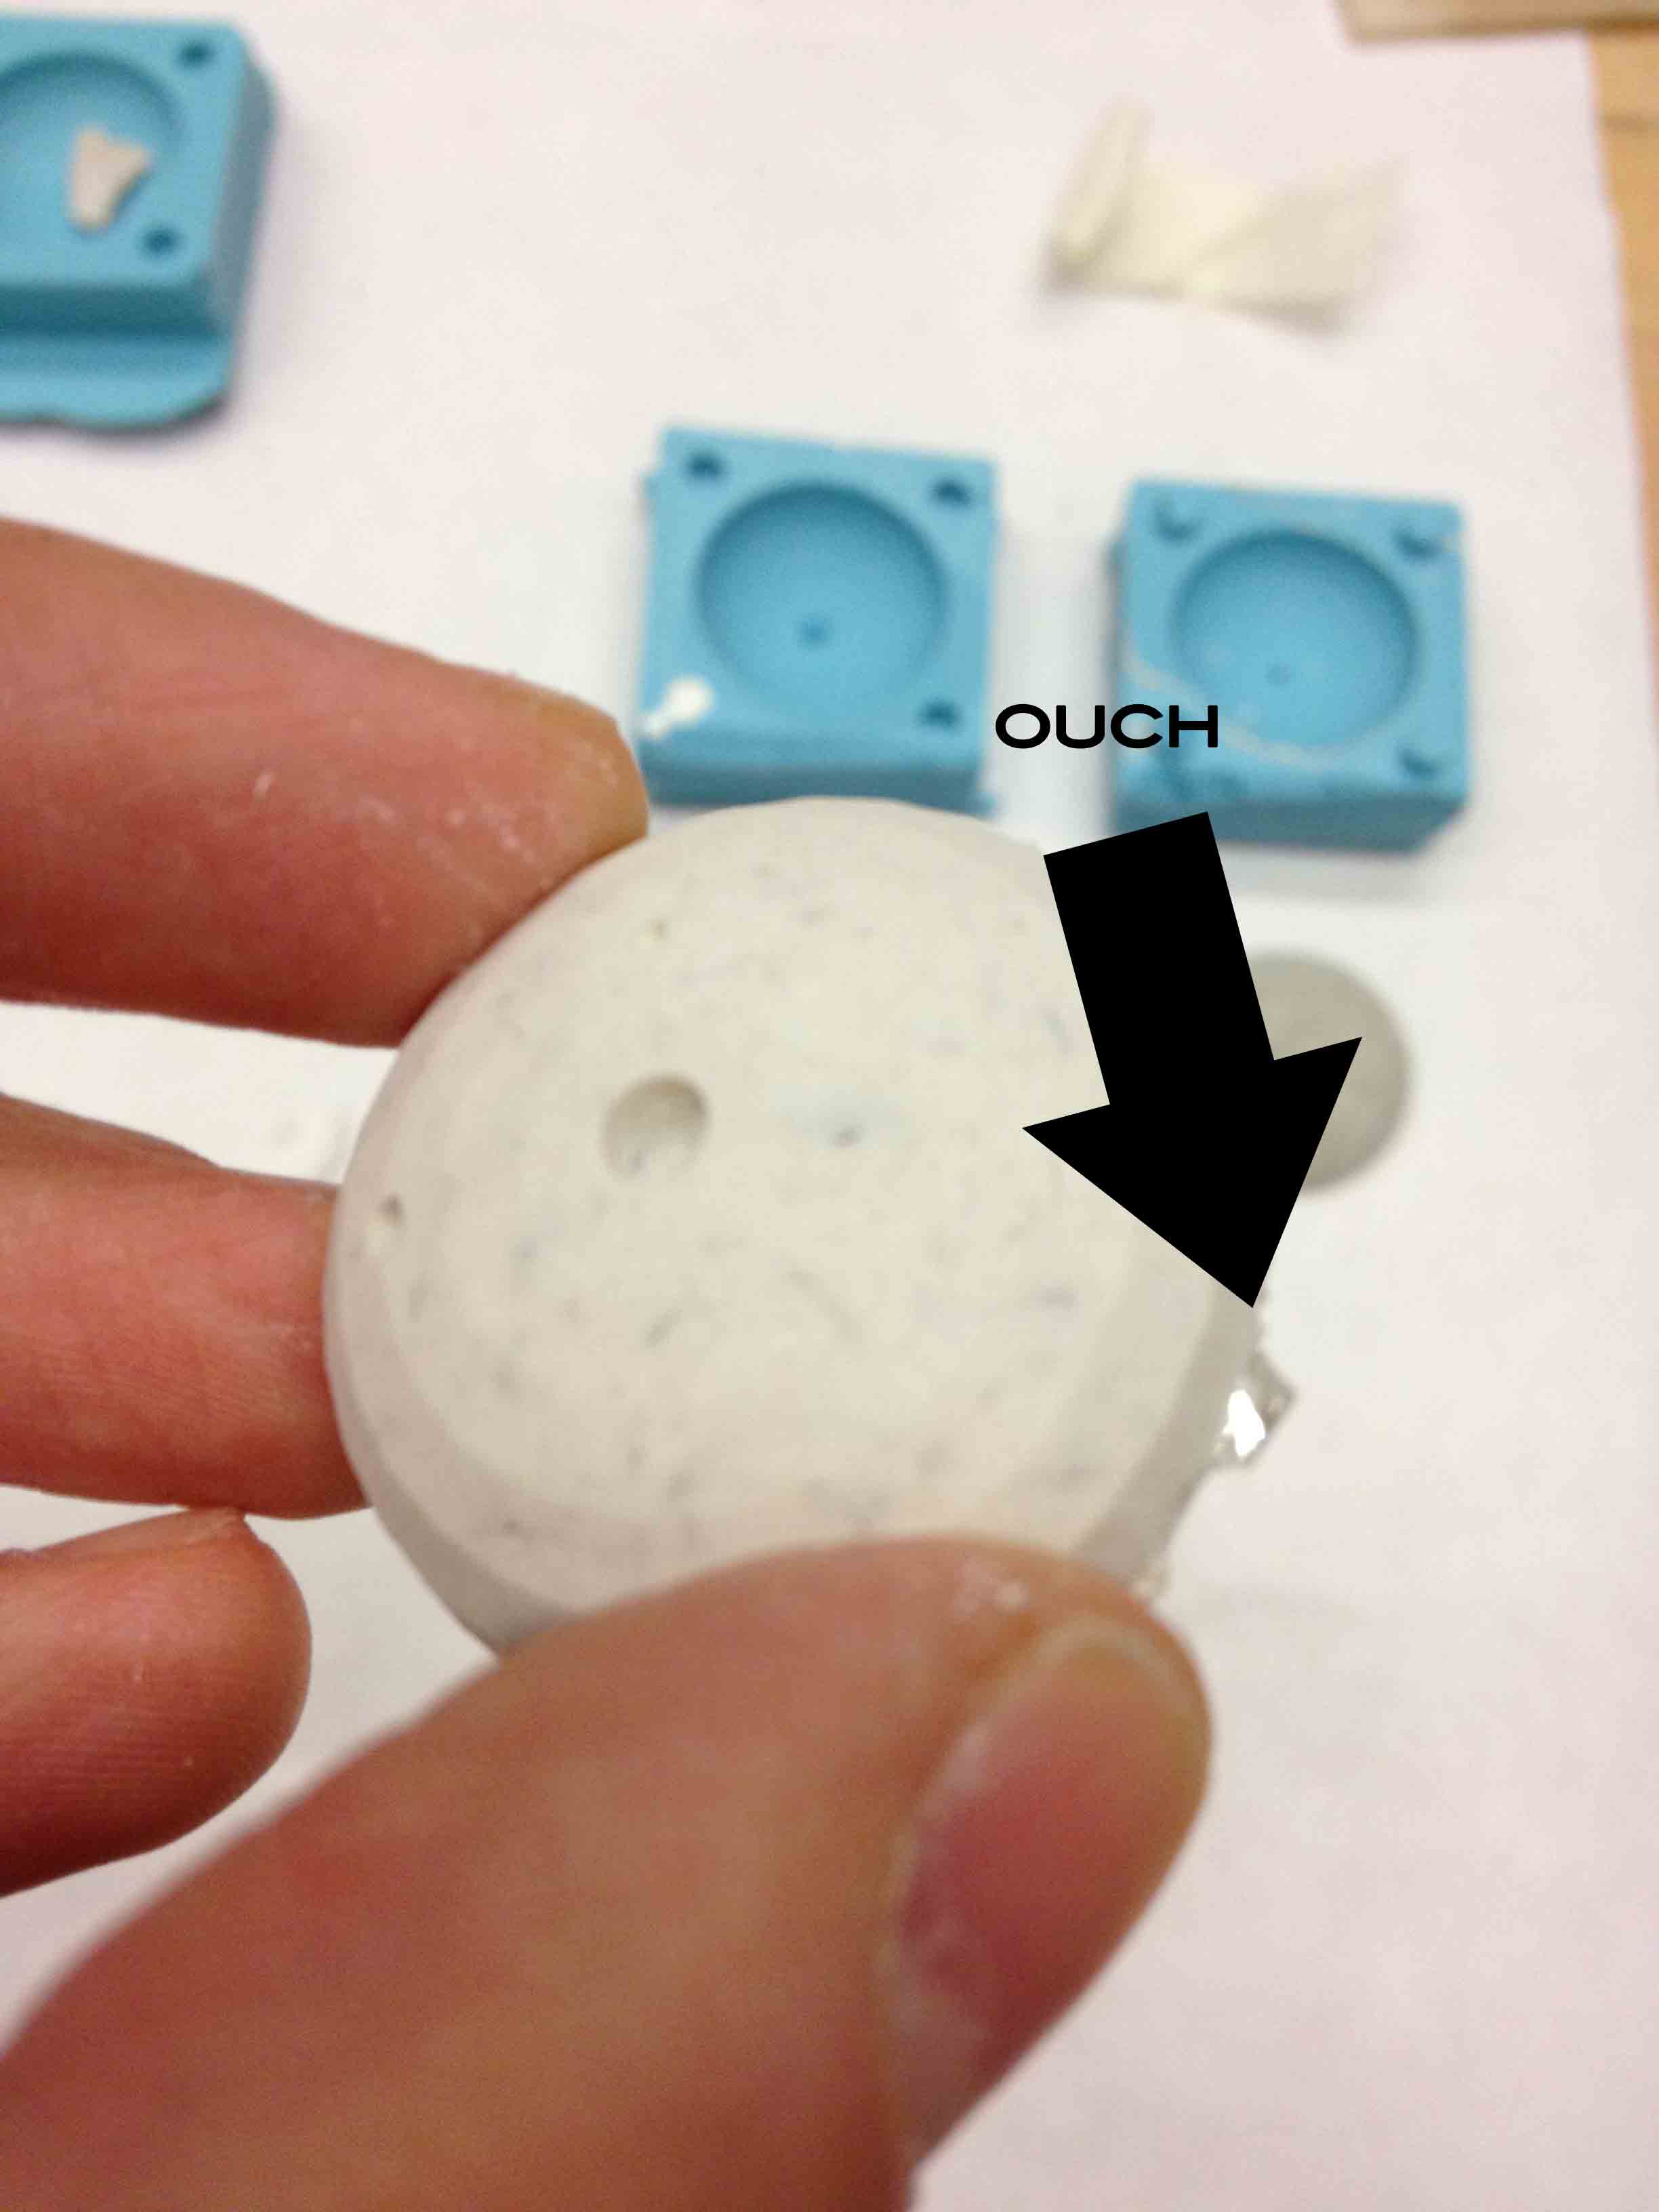
I cut the tab at the spout off with some wire cutters and sanded it down smooth.
I think next time, instead of glass, I'll try use some fiber optics.
Design Files: