This week we learned about CNC milling. I decided to take this opportunity to pursue a pseudo-life-long dream of mine -- to make puzzle furniture. I've always dreamed of designing unique, interactive pieces of furniture that each have a puzzle to solve. In some of my ideas, solving the puzzle (turning knobs, pushing switches, moving panels) reveals a hidden feature (a locked or secret drawer, for example), and in others, solving the puzzle is so fun that its an ends in and of itself.
For my project this week, I designed and built a small end-table with a locked a drawer. When the back panel is pushed up, it unlocks the drawer, which can then be opened. I designed the pieces in Rhino and also rendered it to get a feel for how it would look.
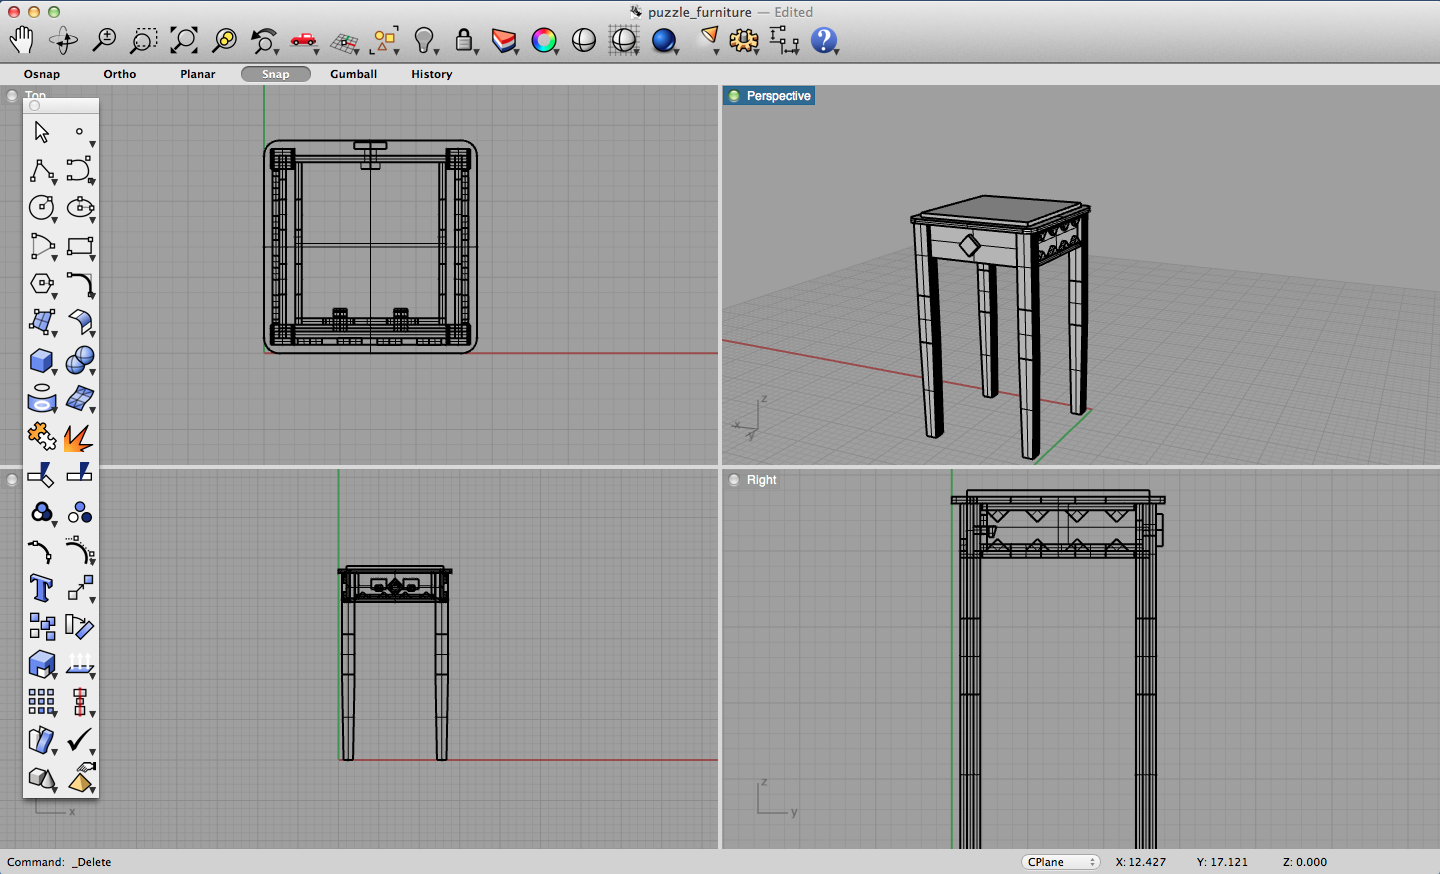
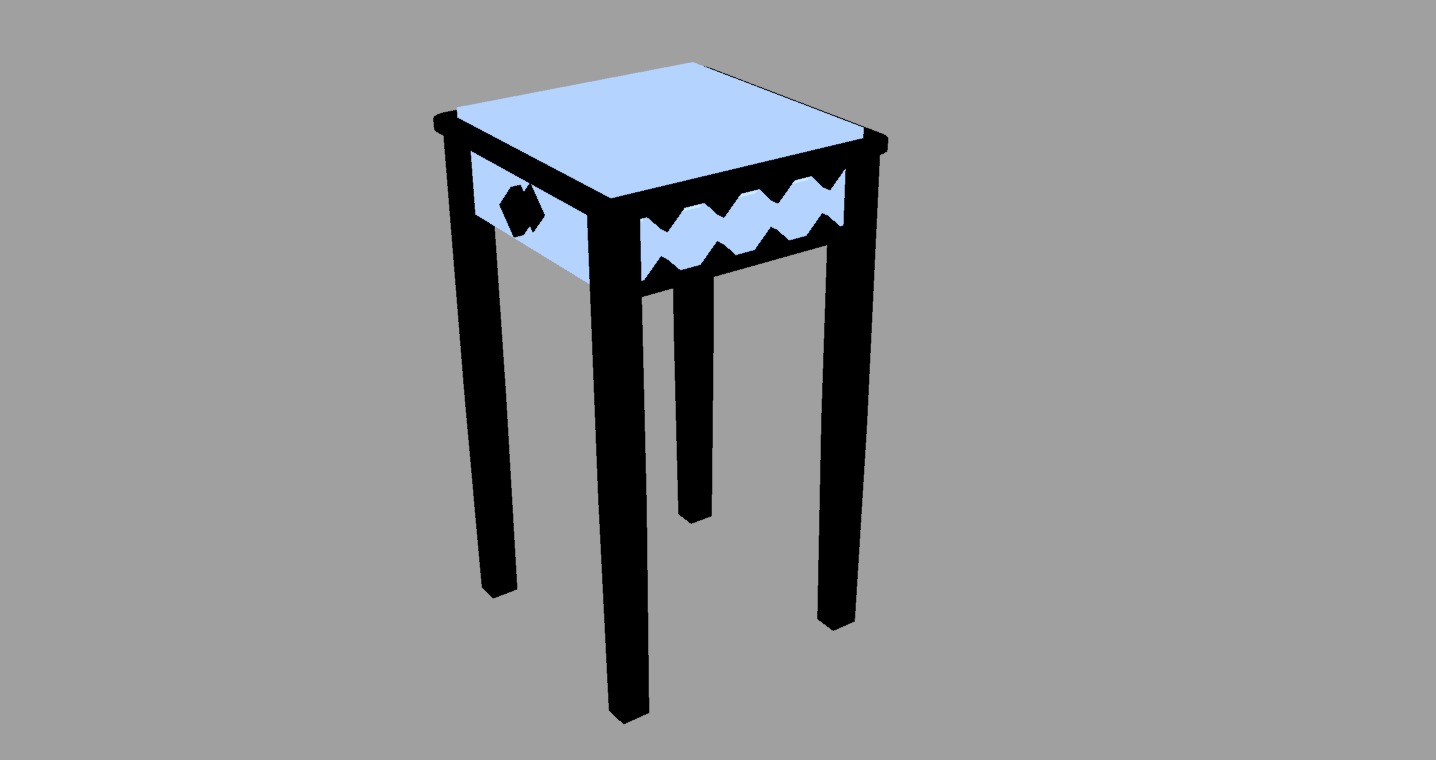
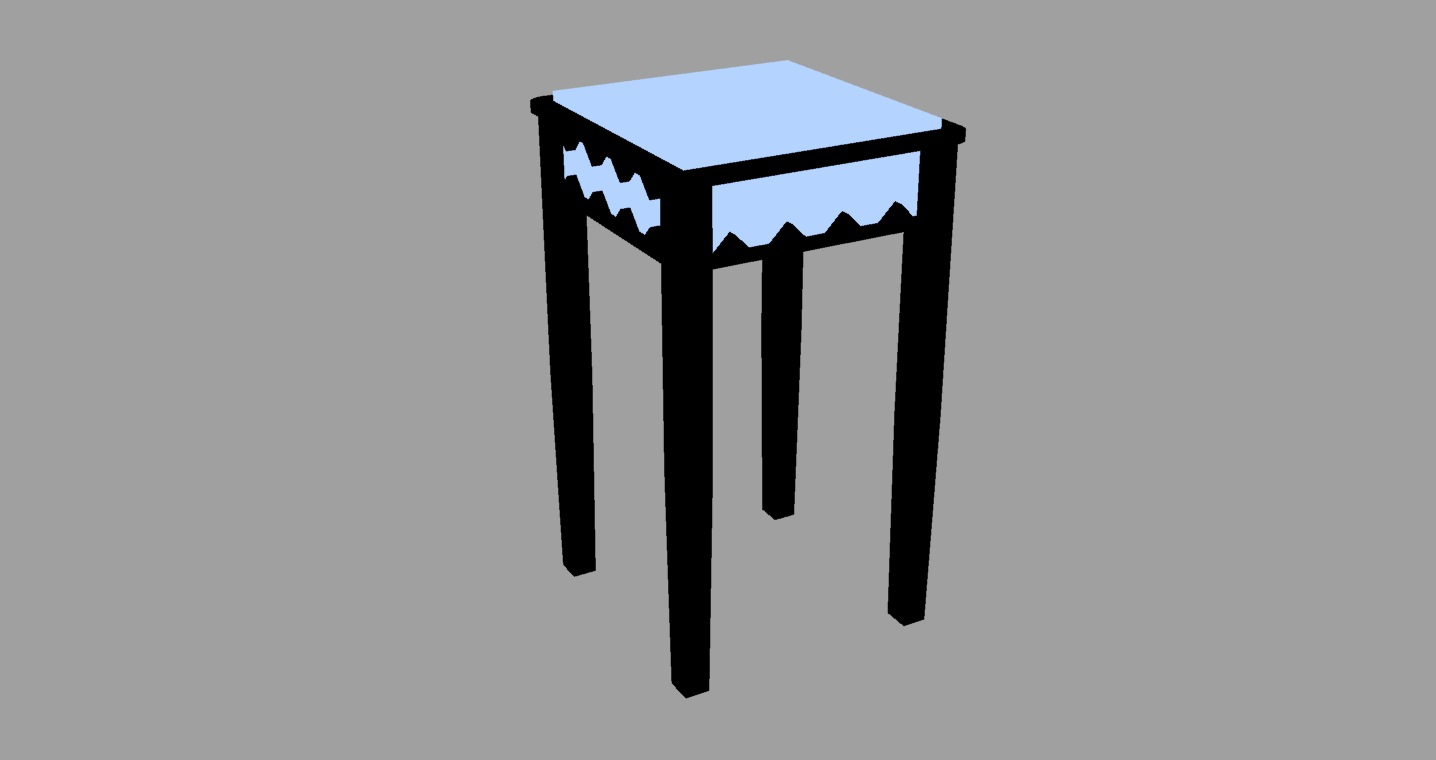
The arrow shaped moldings on the sides and backs (and the absence of the down molding on the back panel) are clues that the back panel needs to be pushed up to "solve" the puzzle. Here's a series of shots showing how the mechanism works.
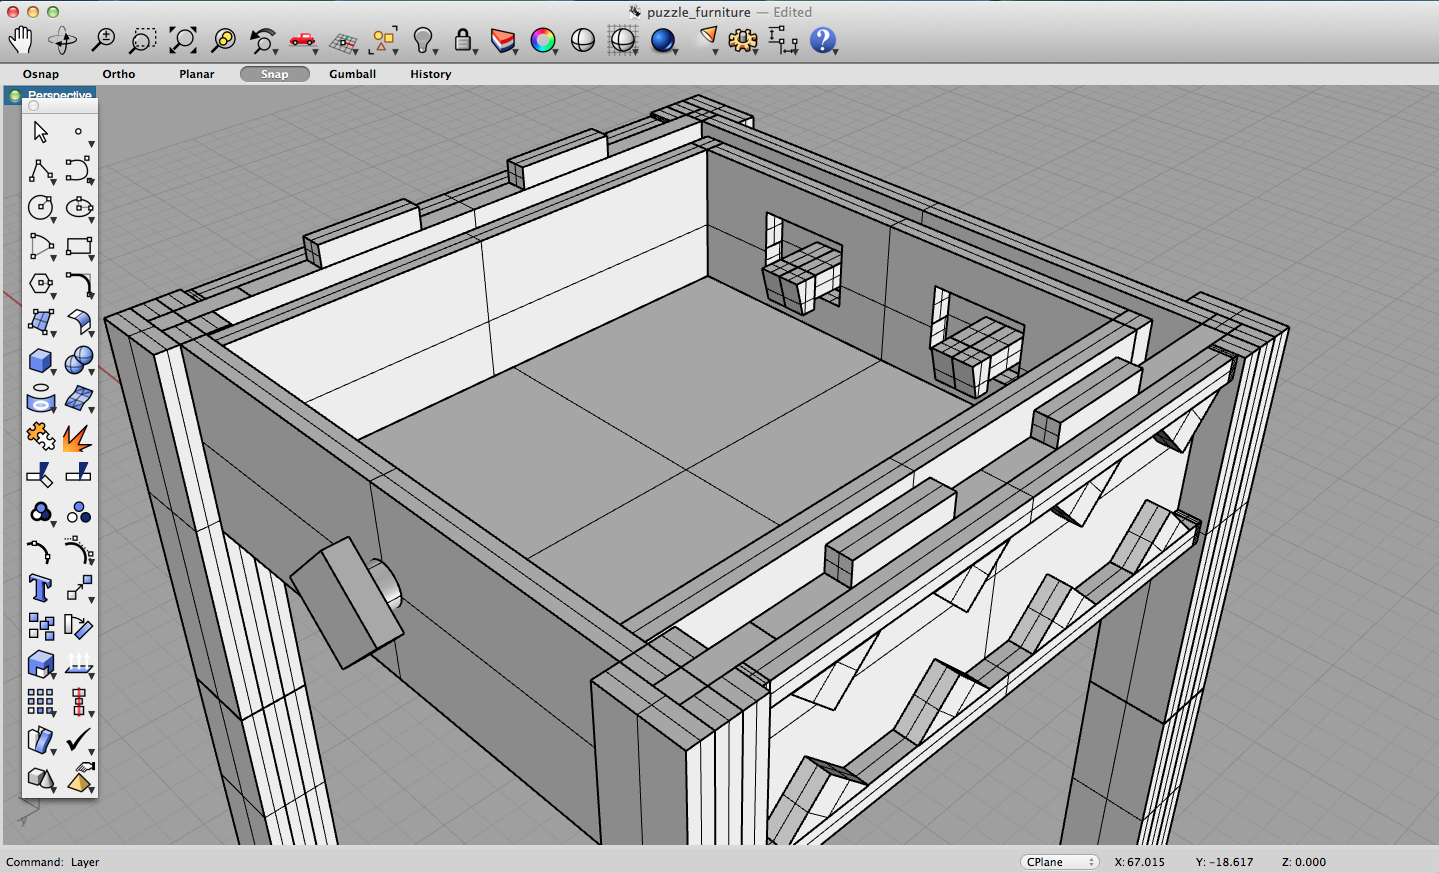
The back panel is down and the drawer is locked.
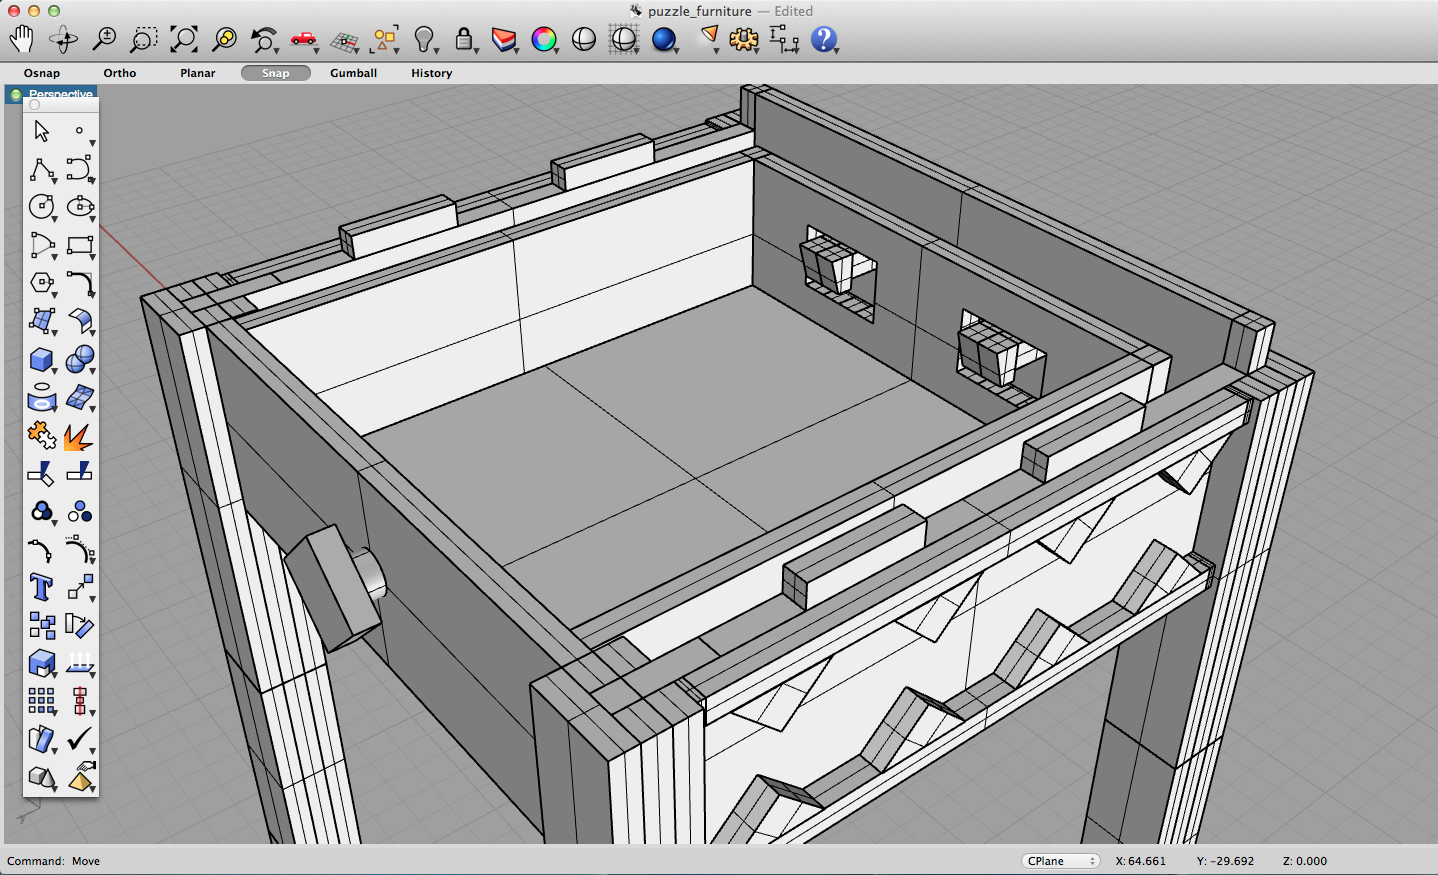
The back panel is now up and the drawer is unlocked.
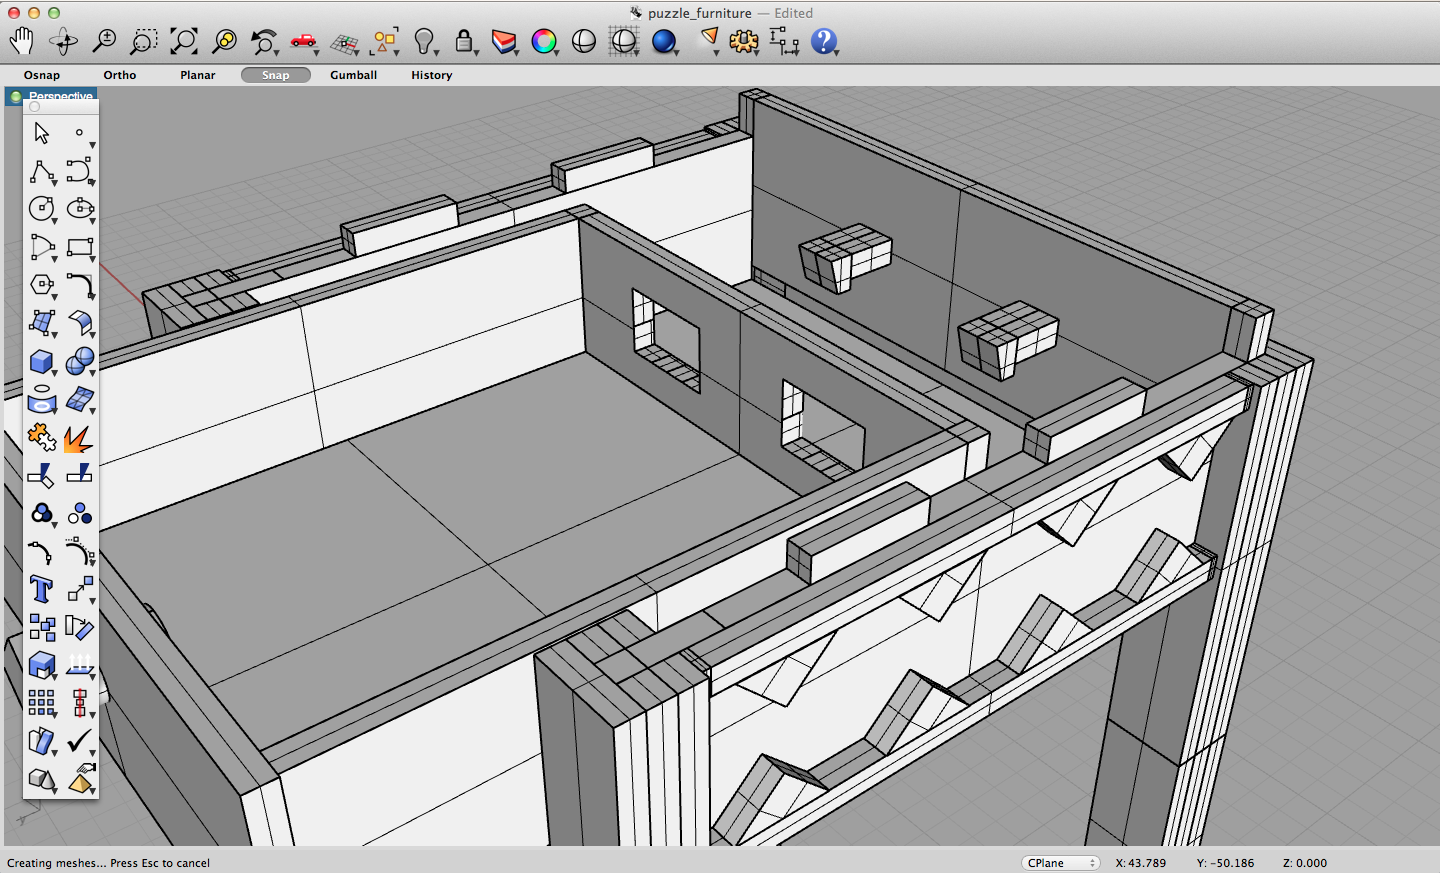
The drawer can now be pulled out.
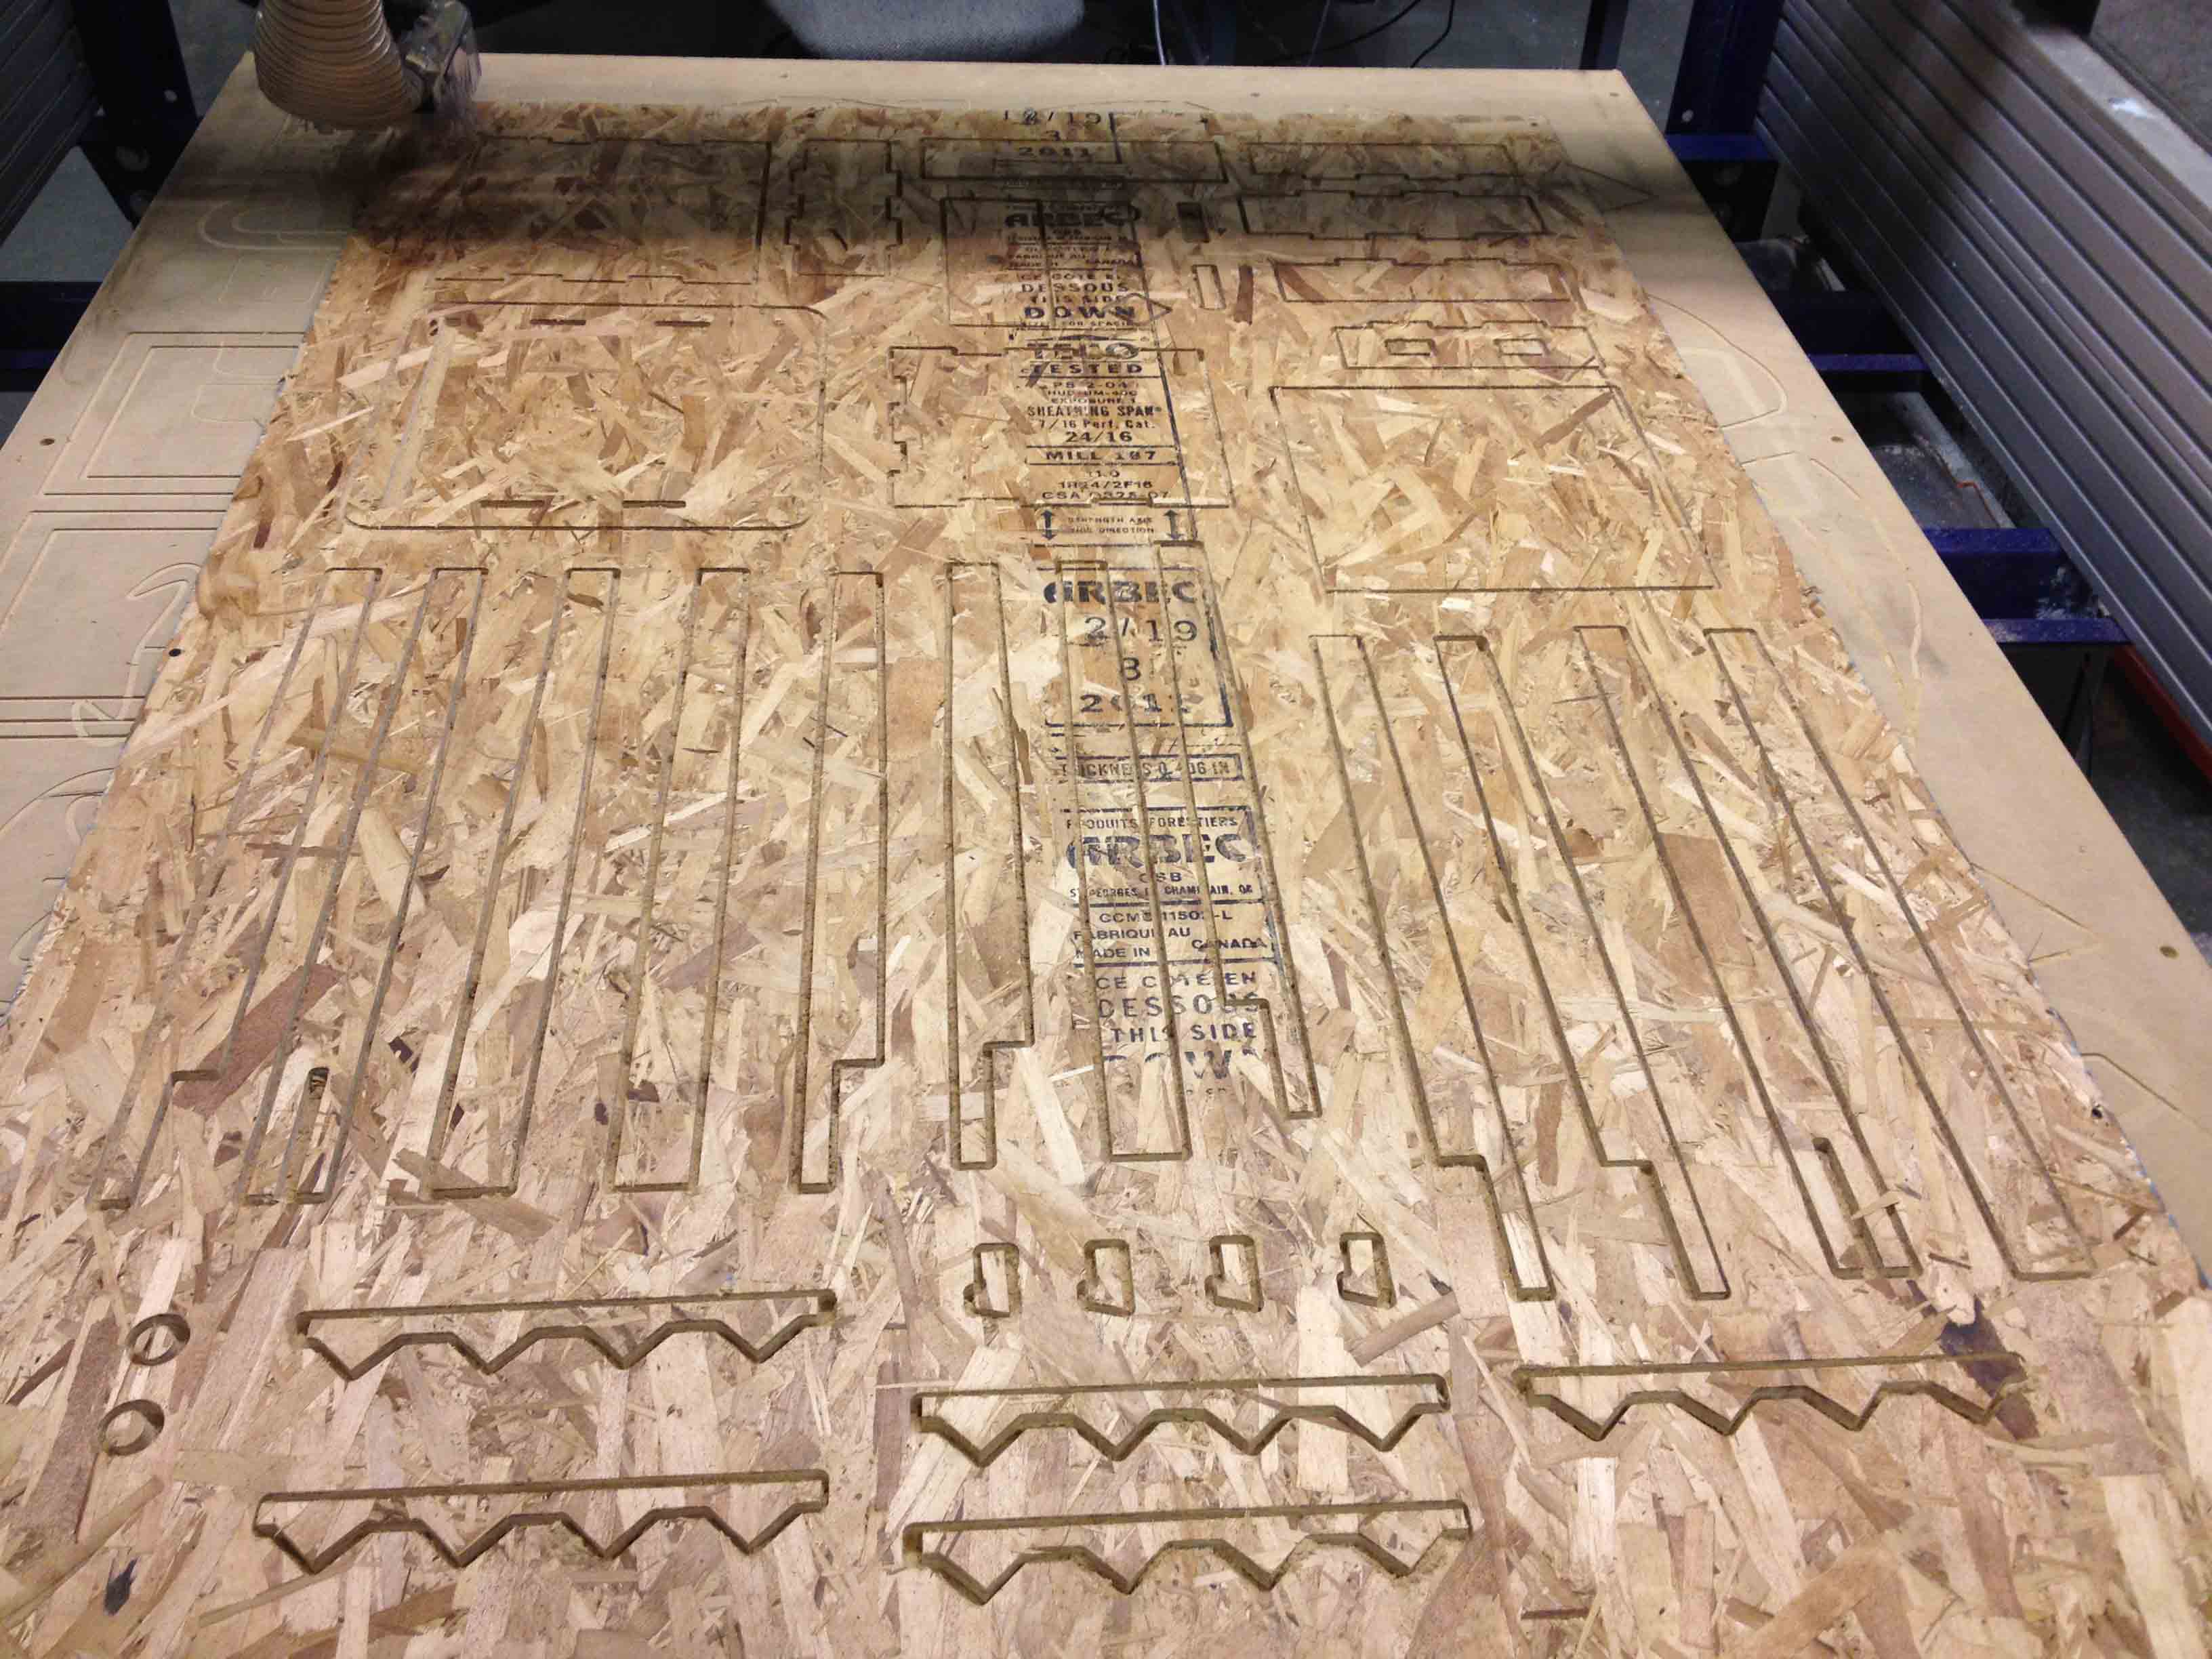
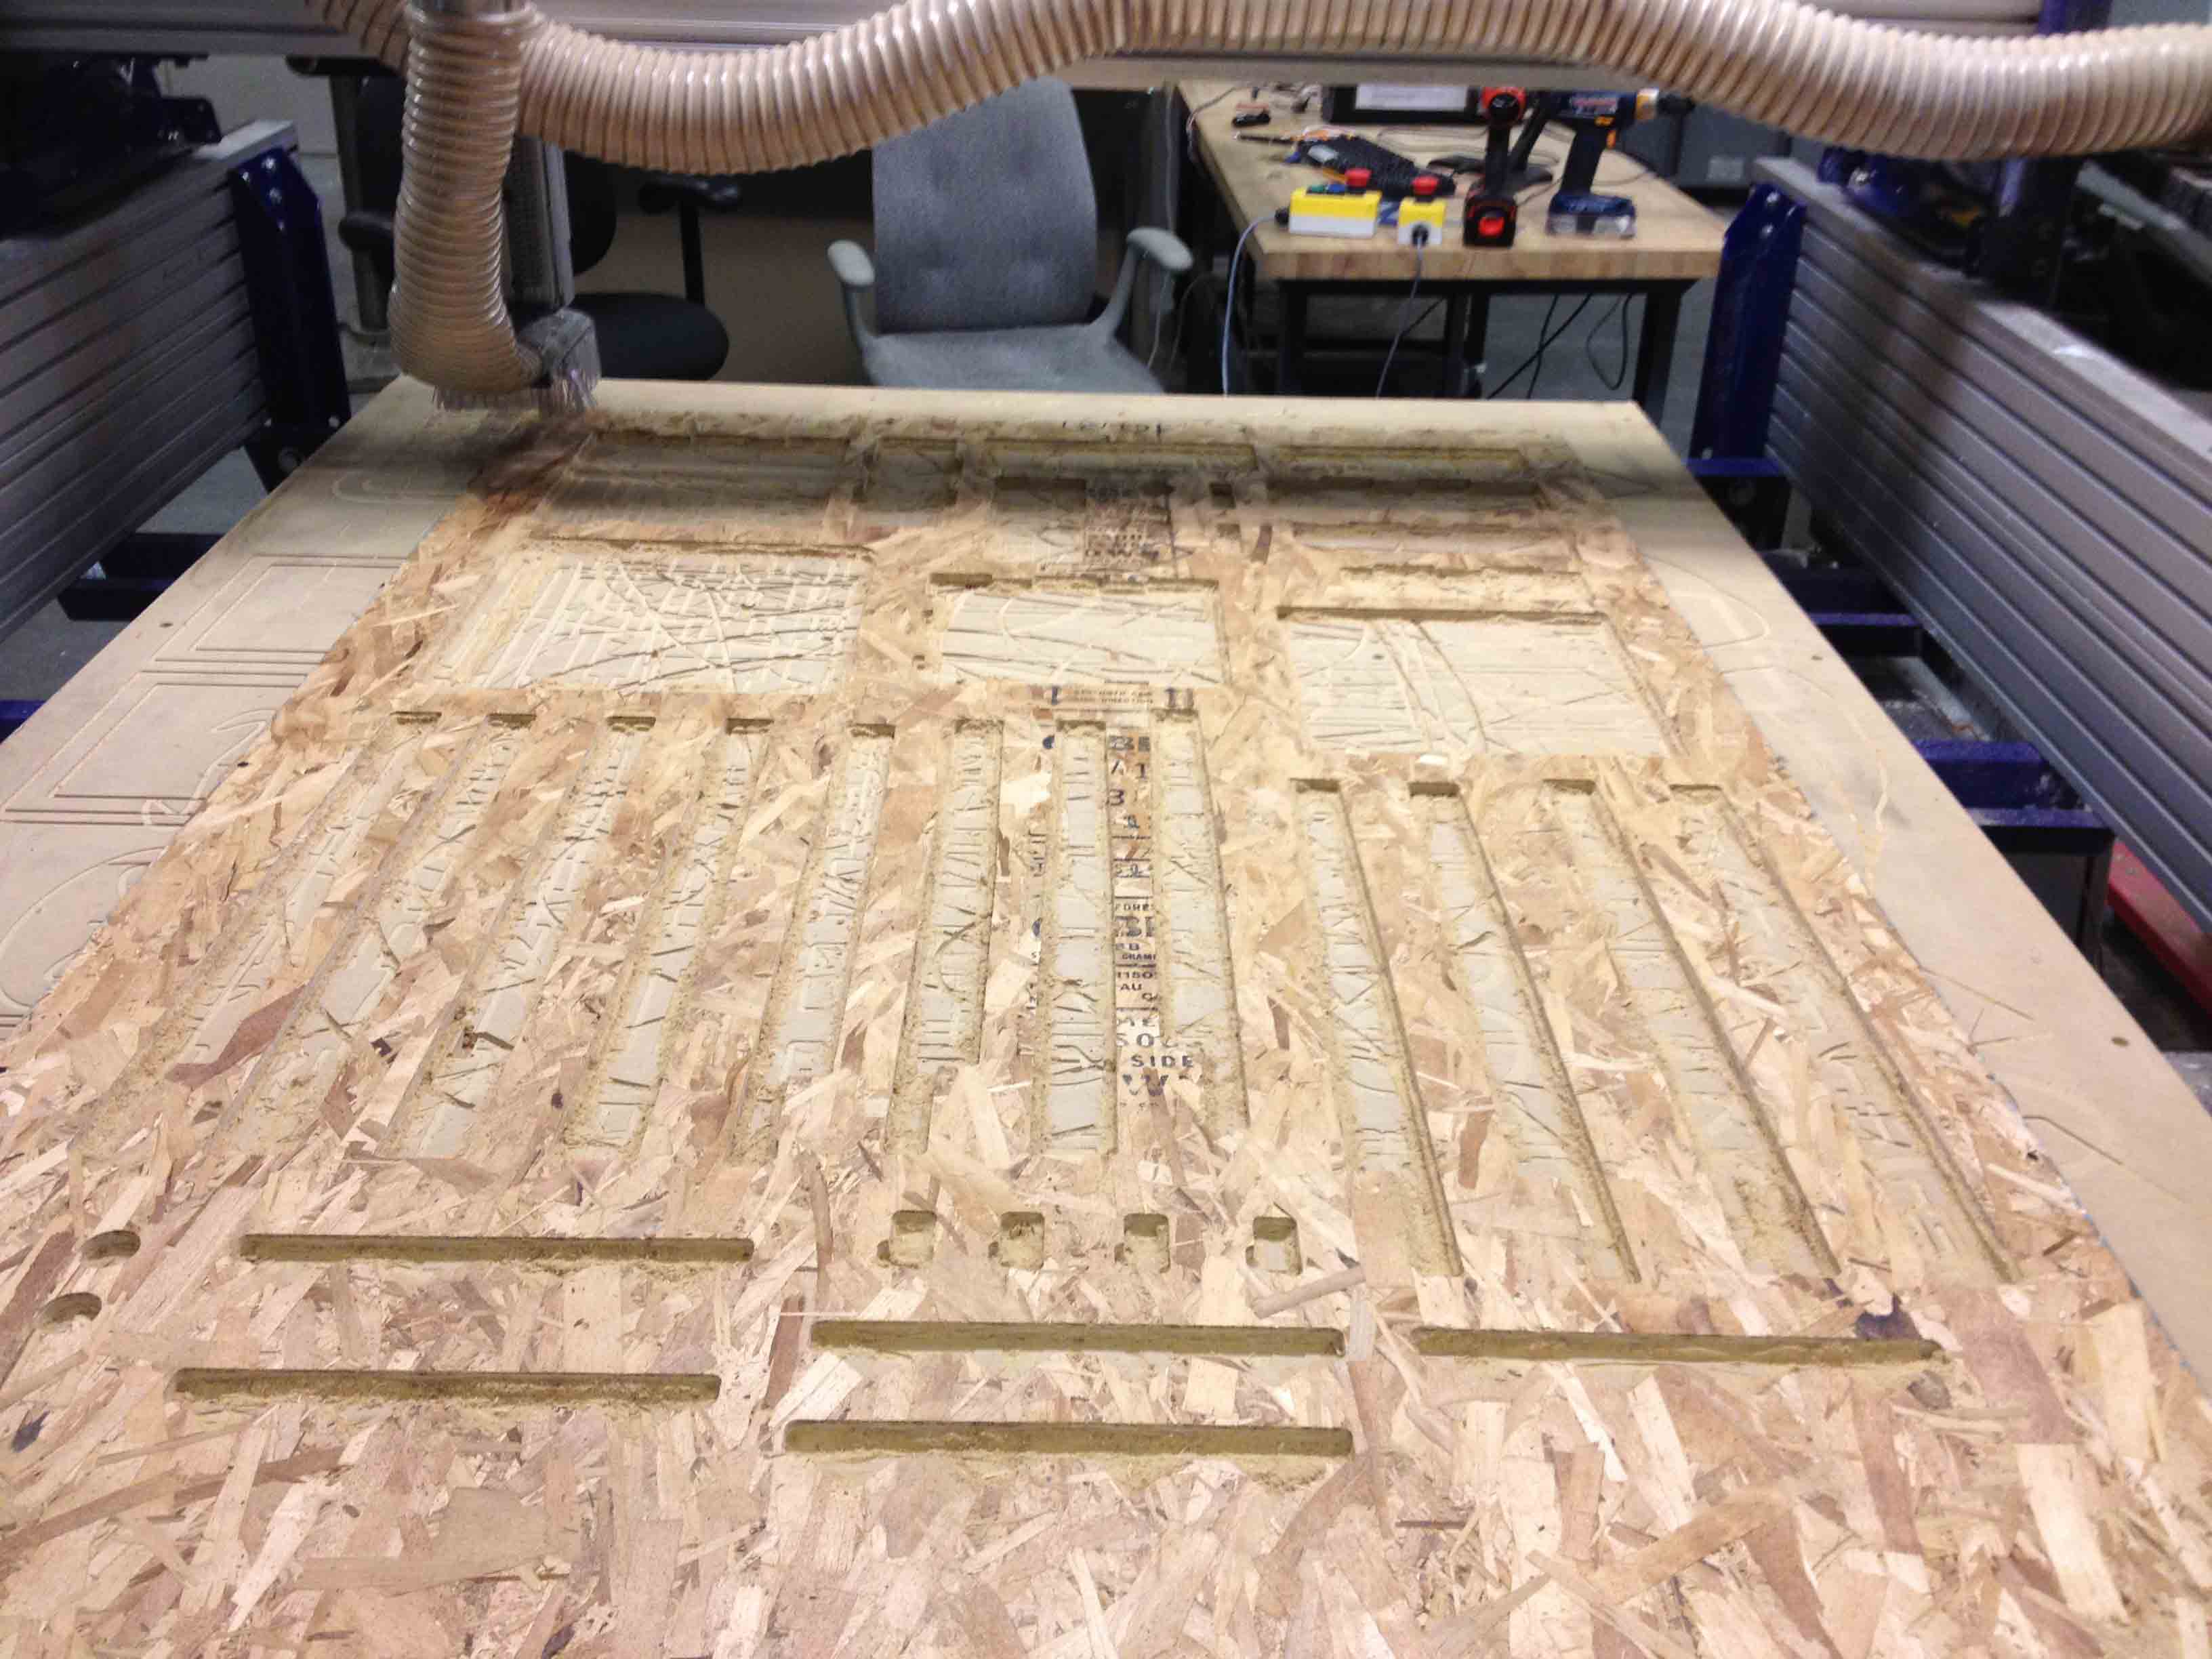
I used PartWorks3.5 to generate the toolpaths for the shopbot, then started cutting!
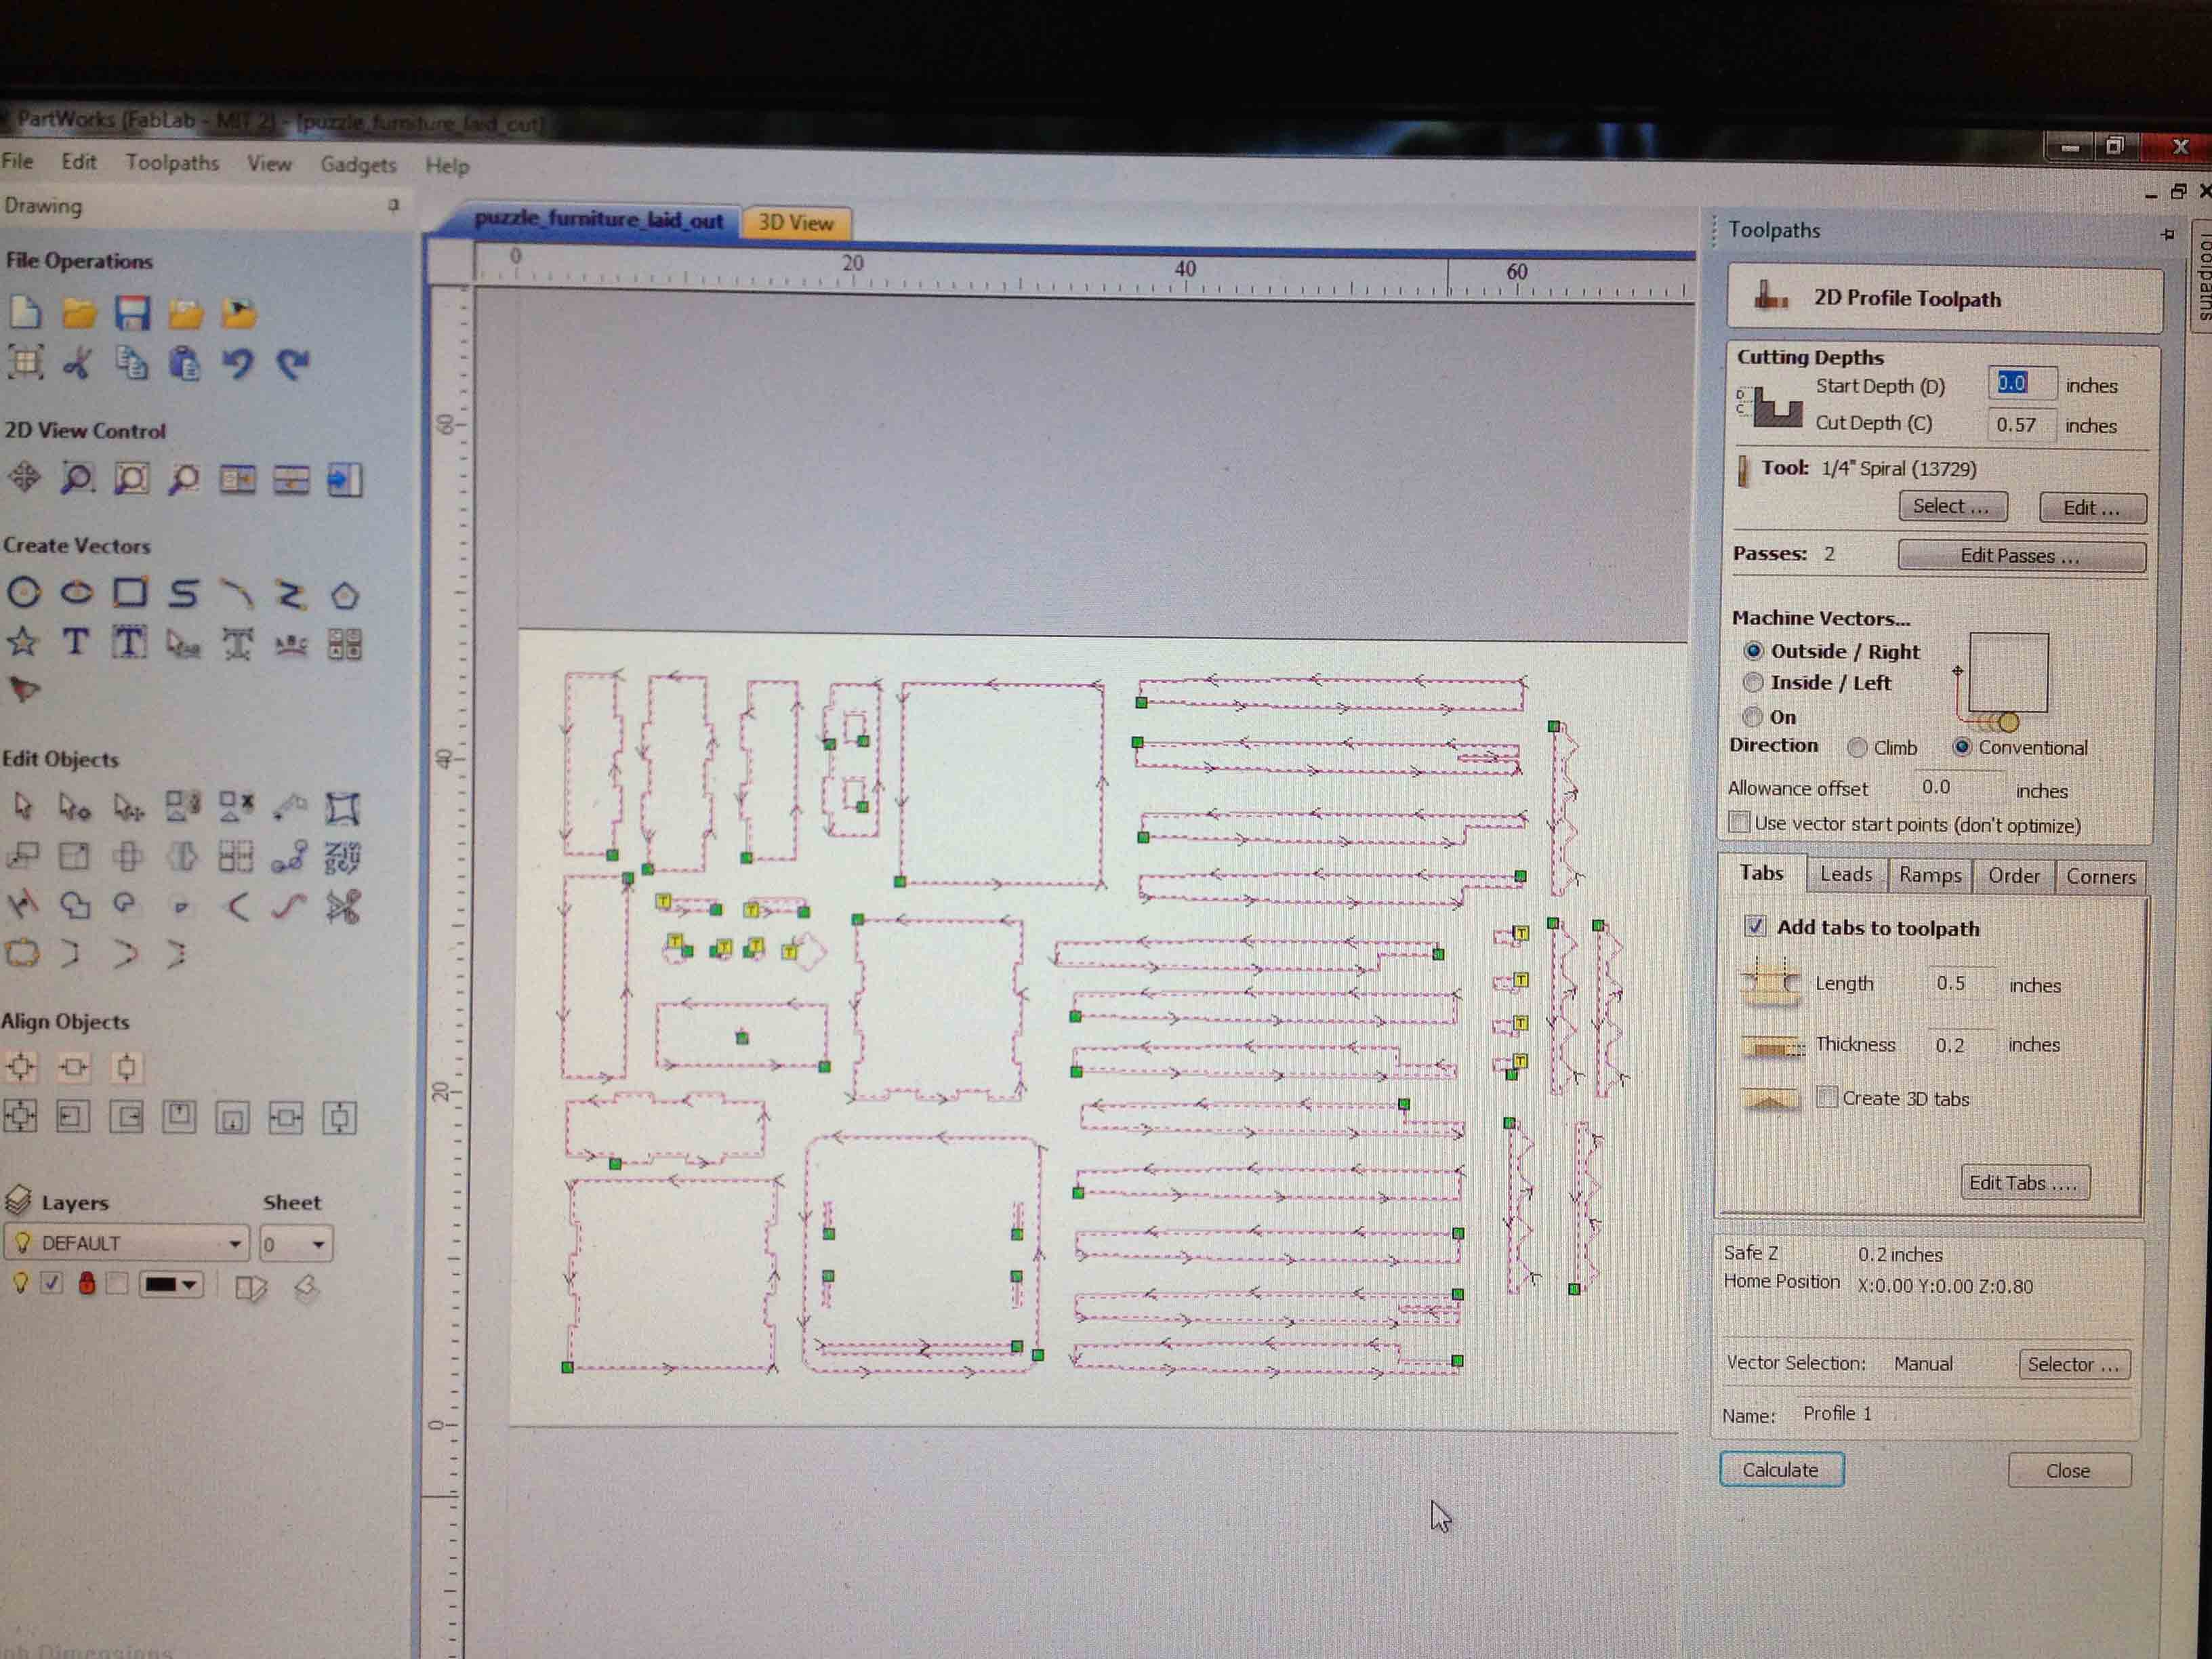
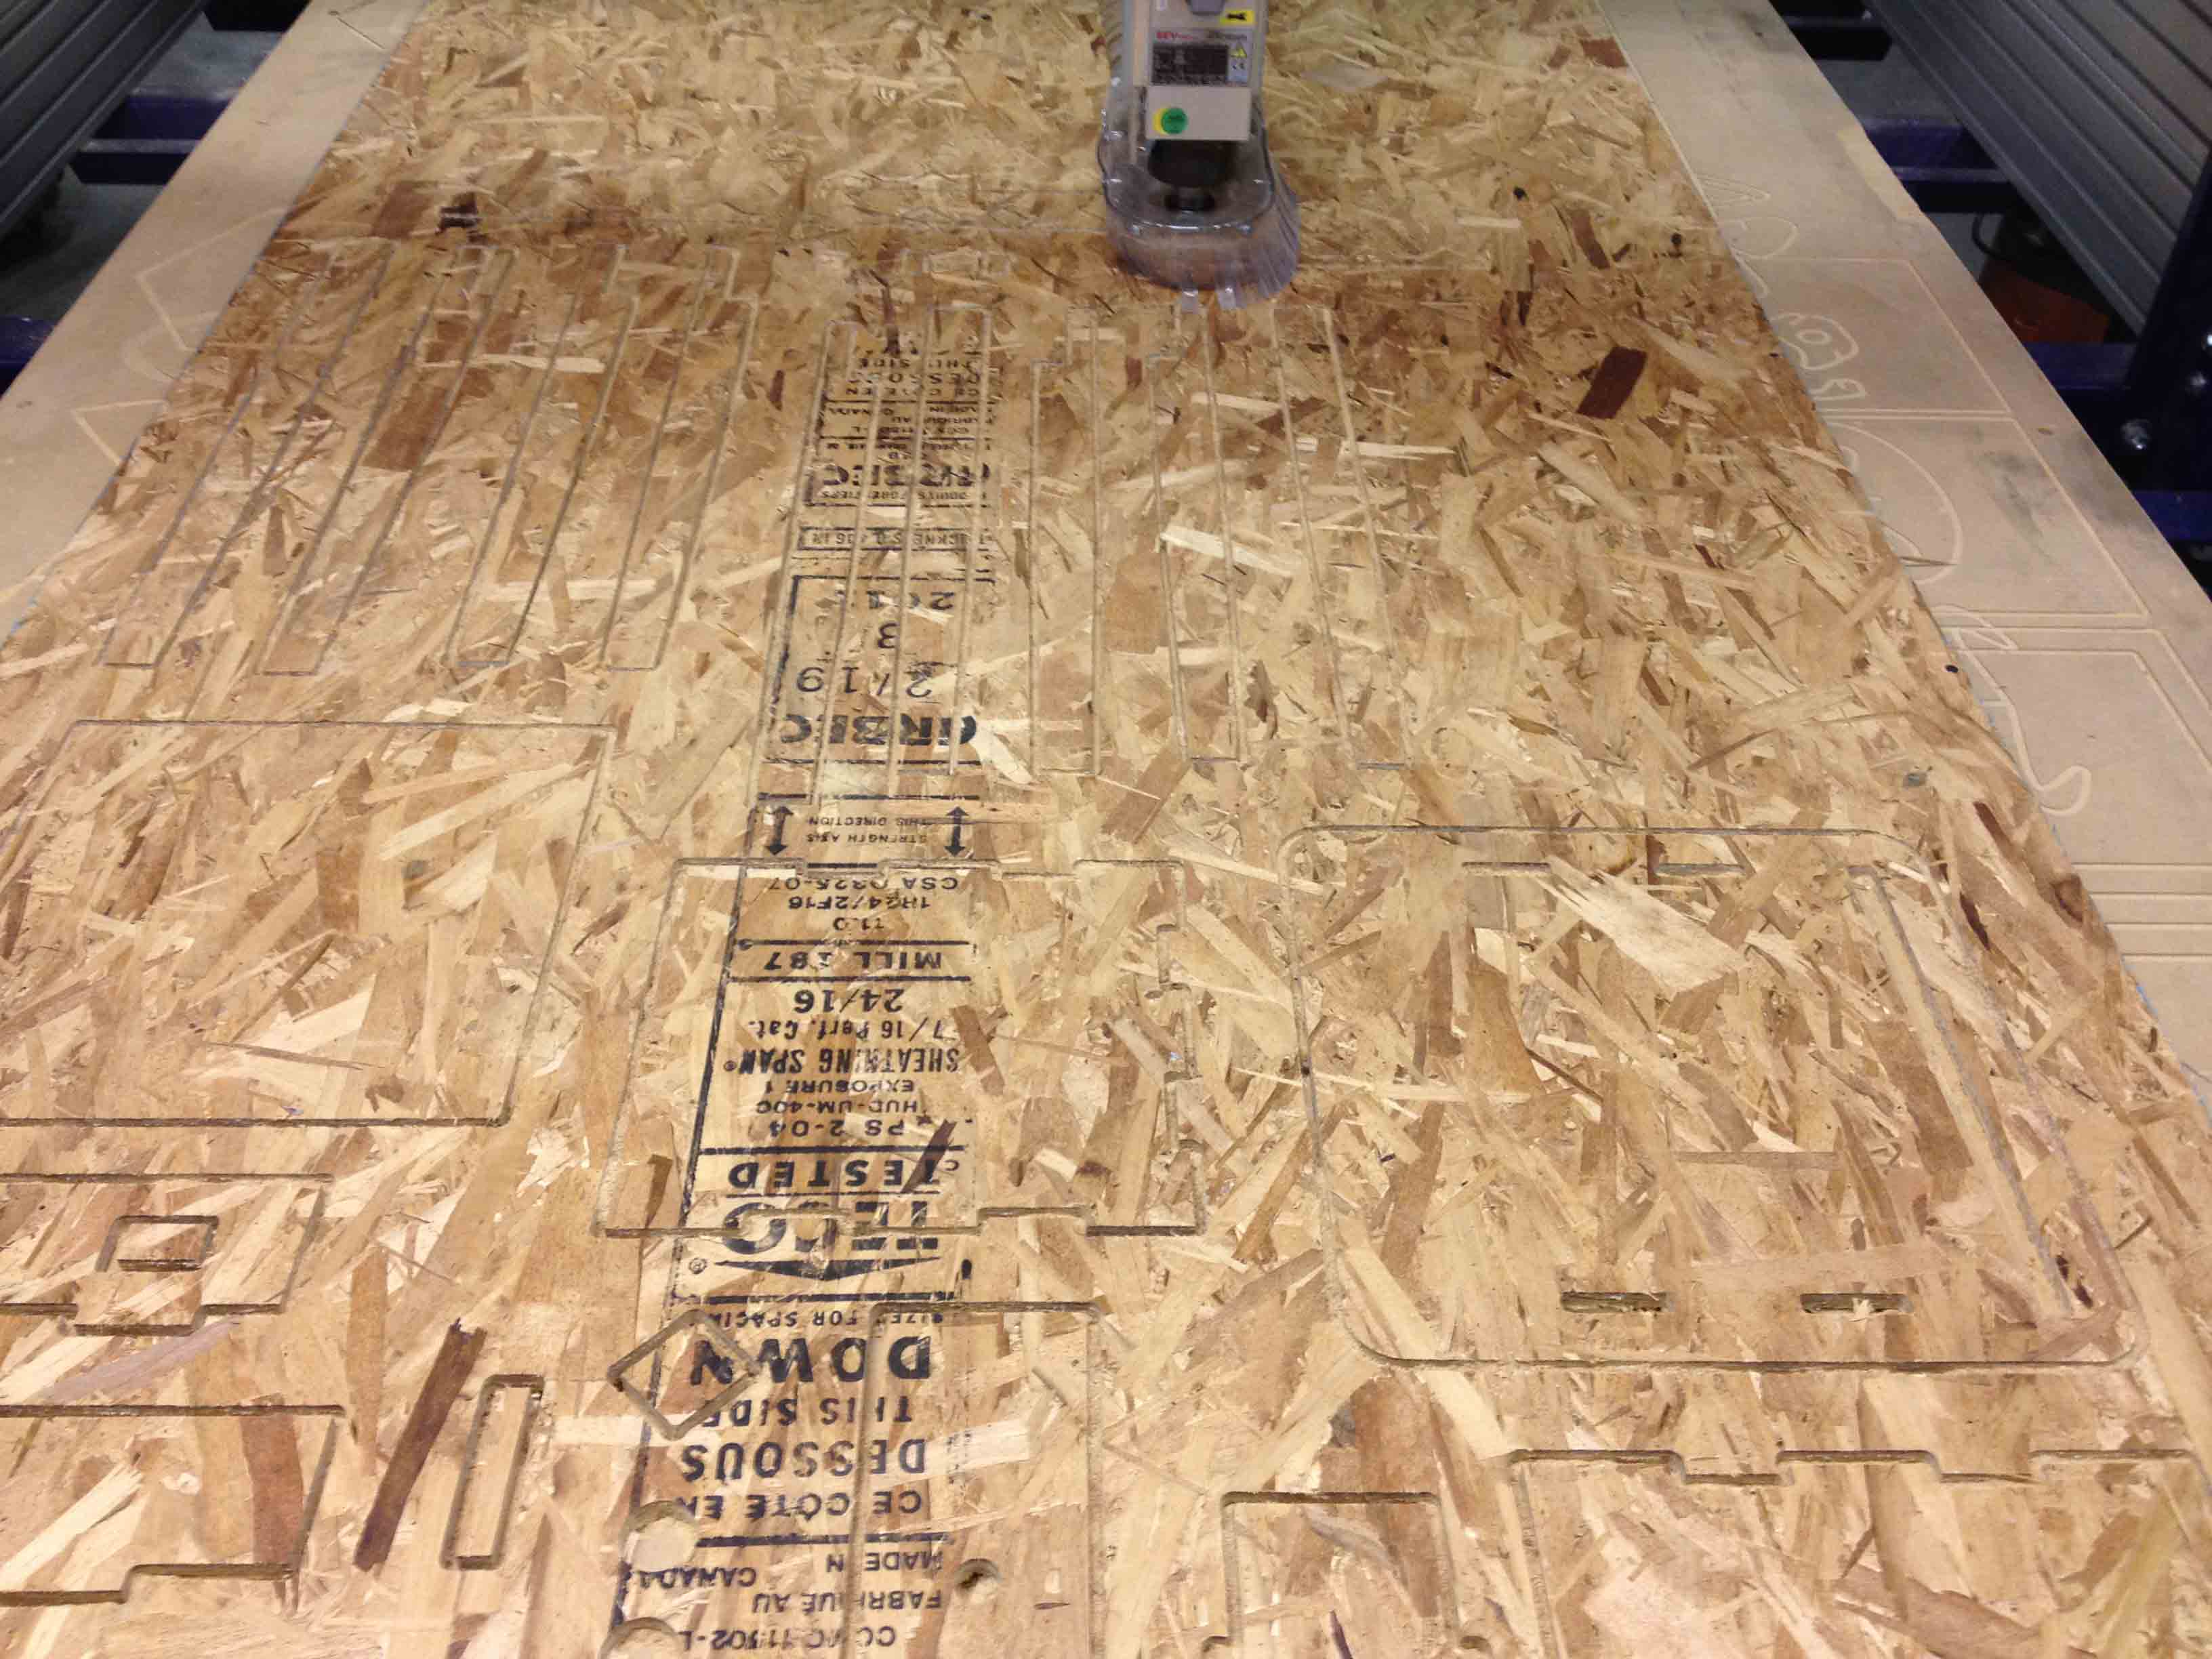
For the small pieces, when generating the toolpath, I left tabs in so that they wouldn't get sucked up by the tool head's vacuum, but I must have set the tab thickness too low because some of them brok off and got sucked up anyway. I had to redo those pieces with a greater tab thickness.
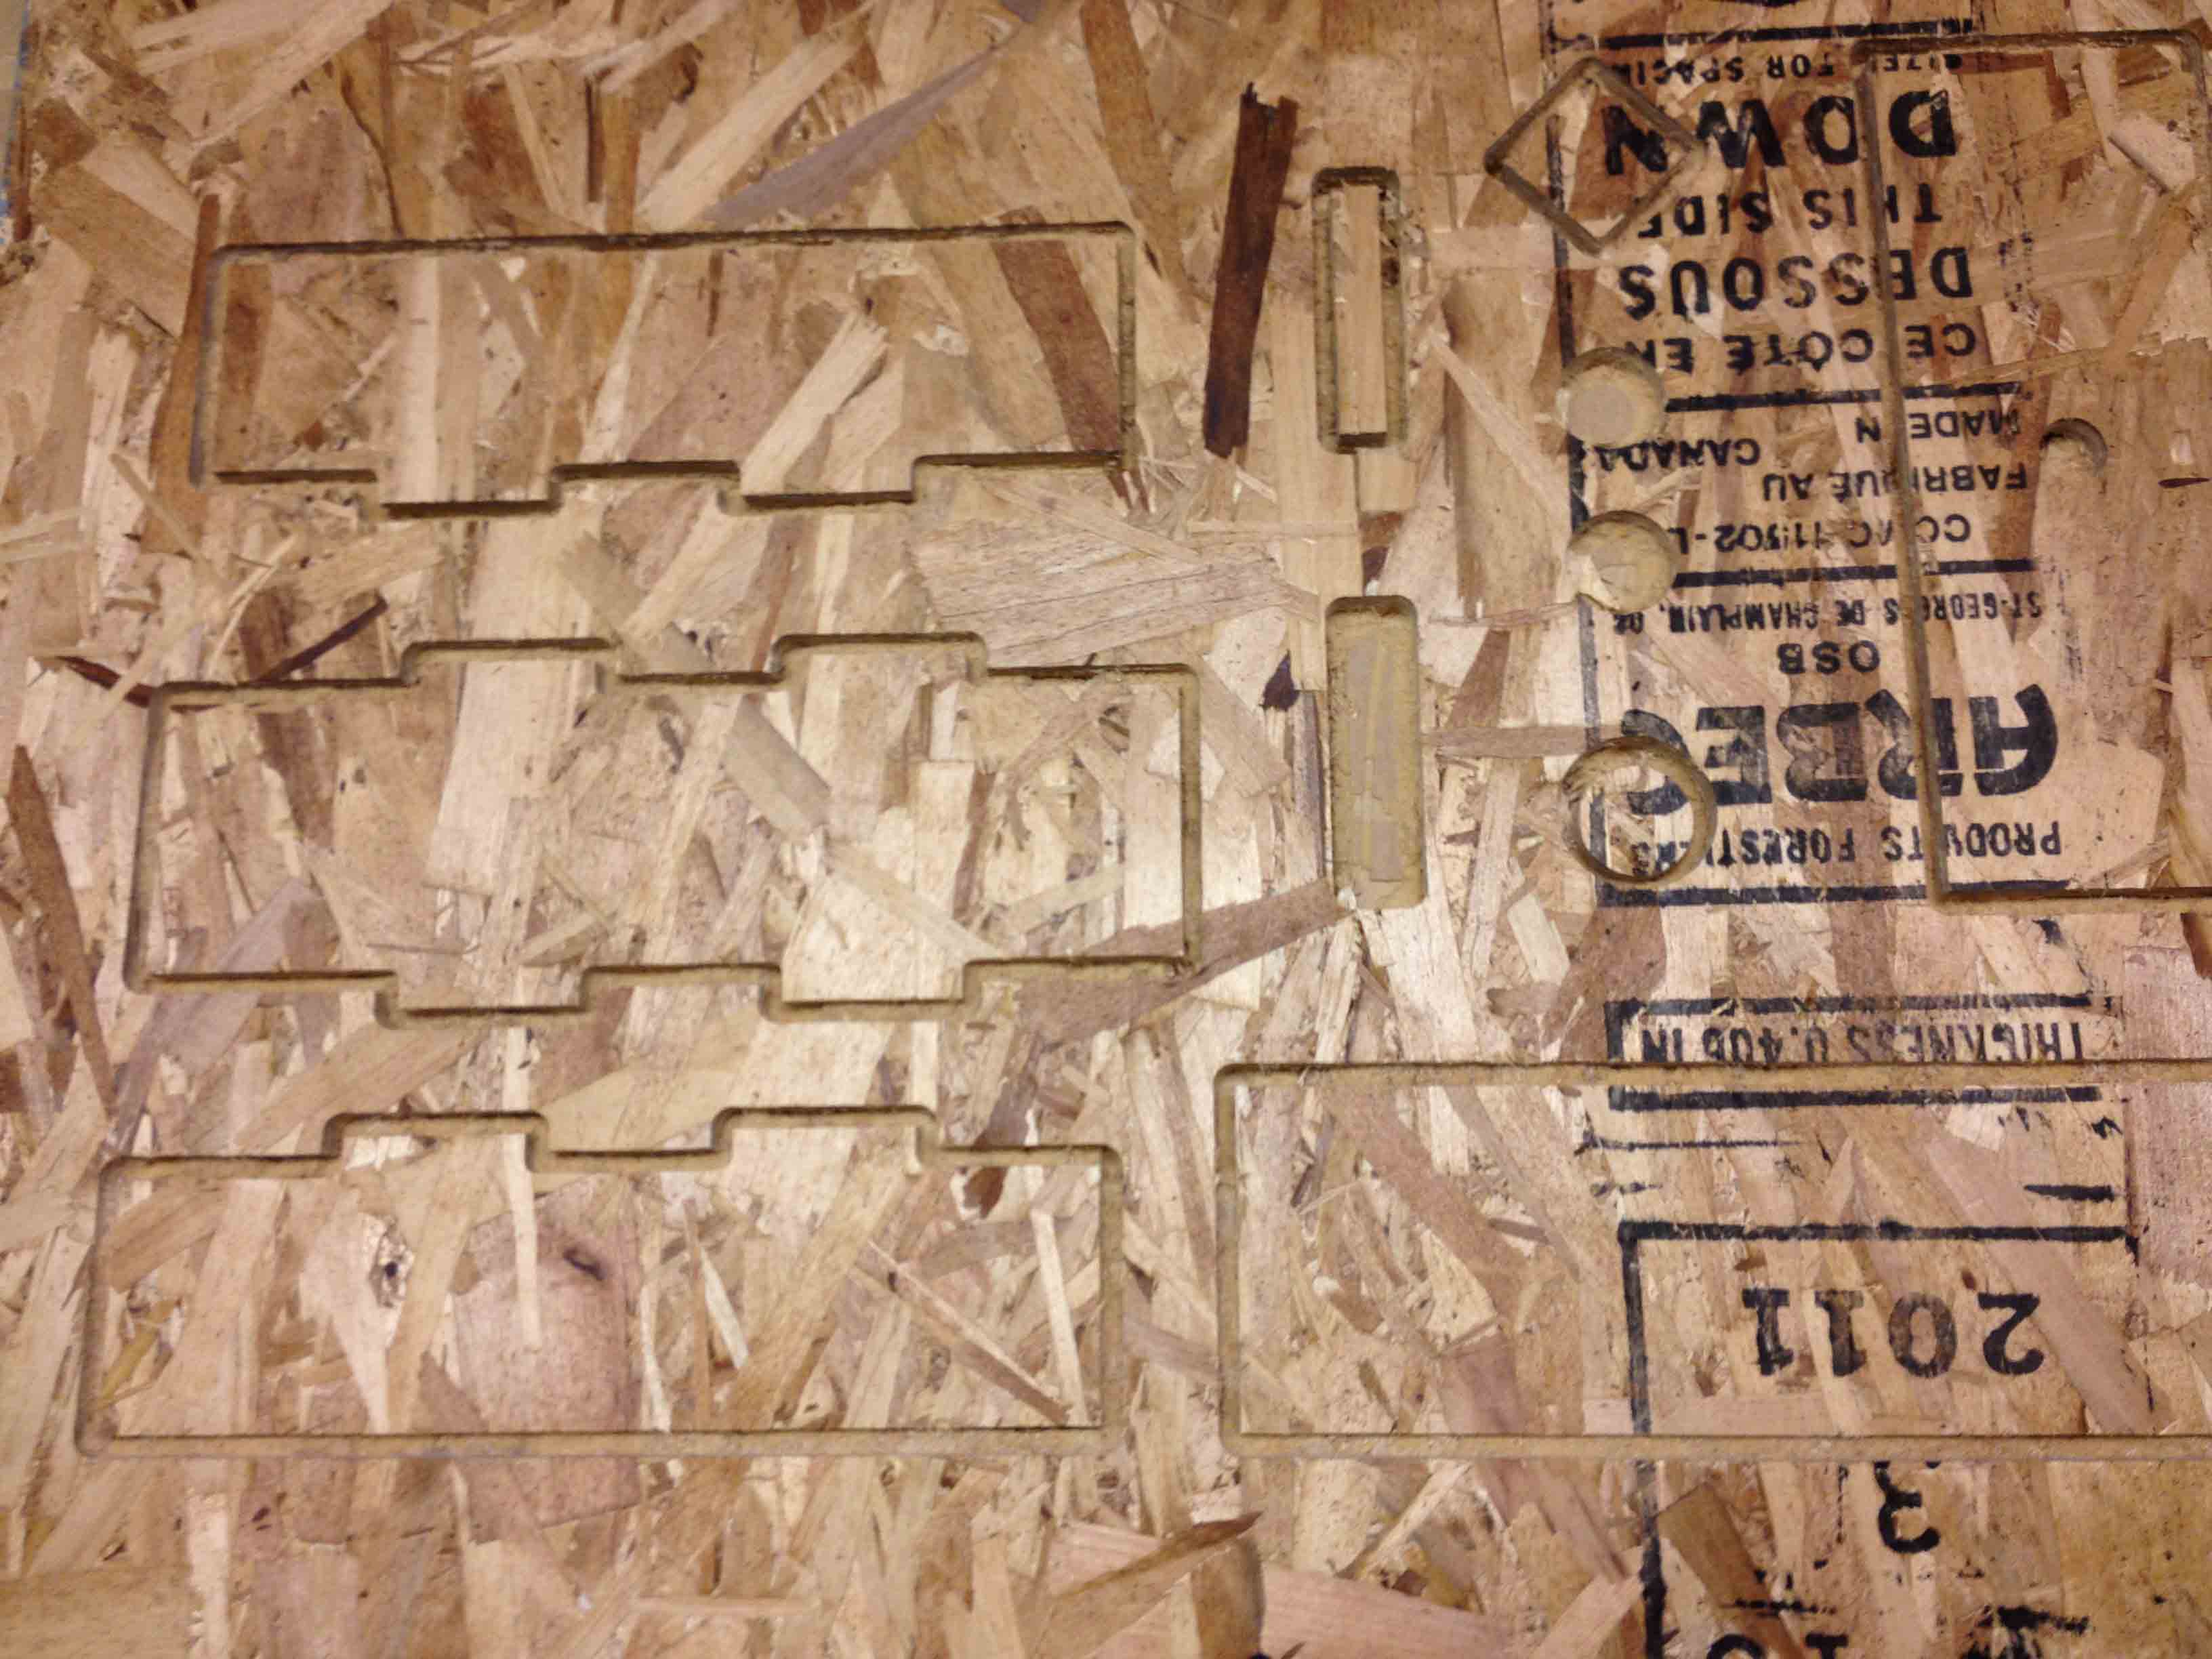
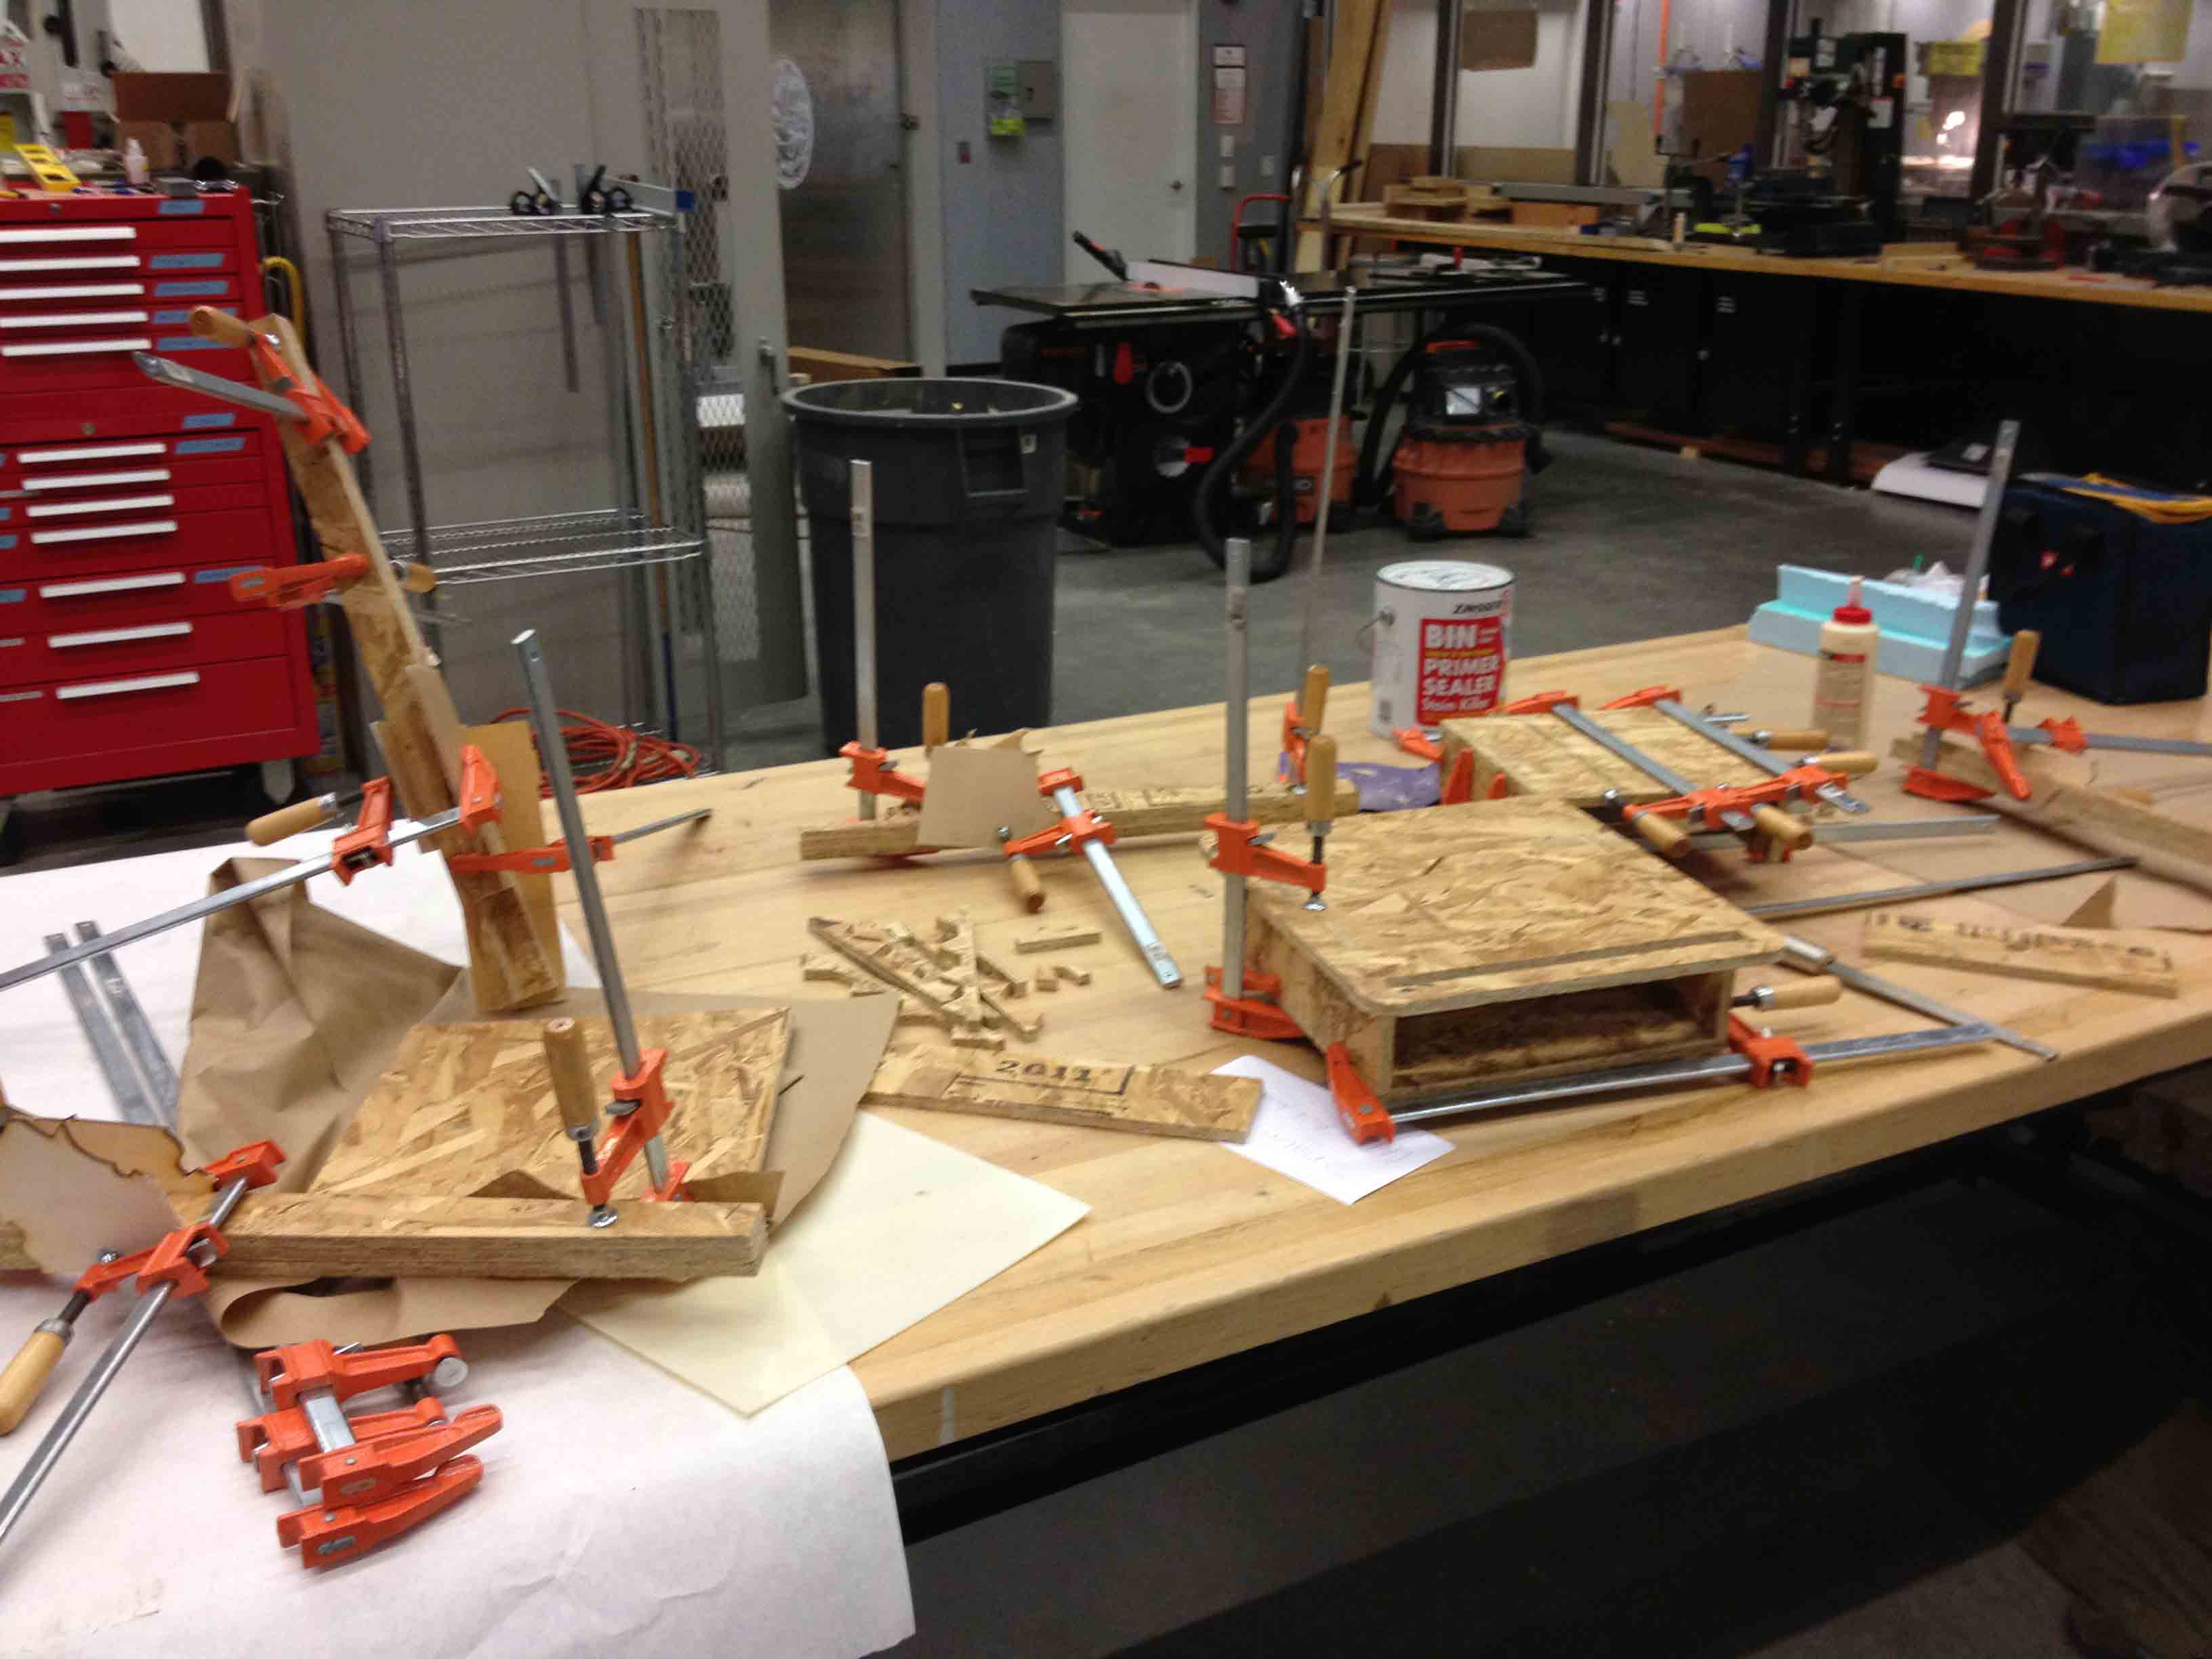
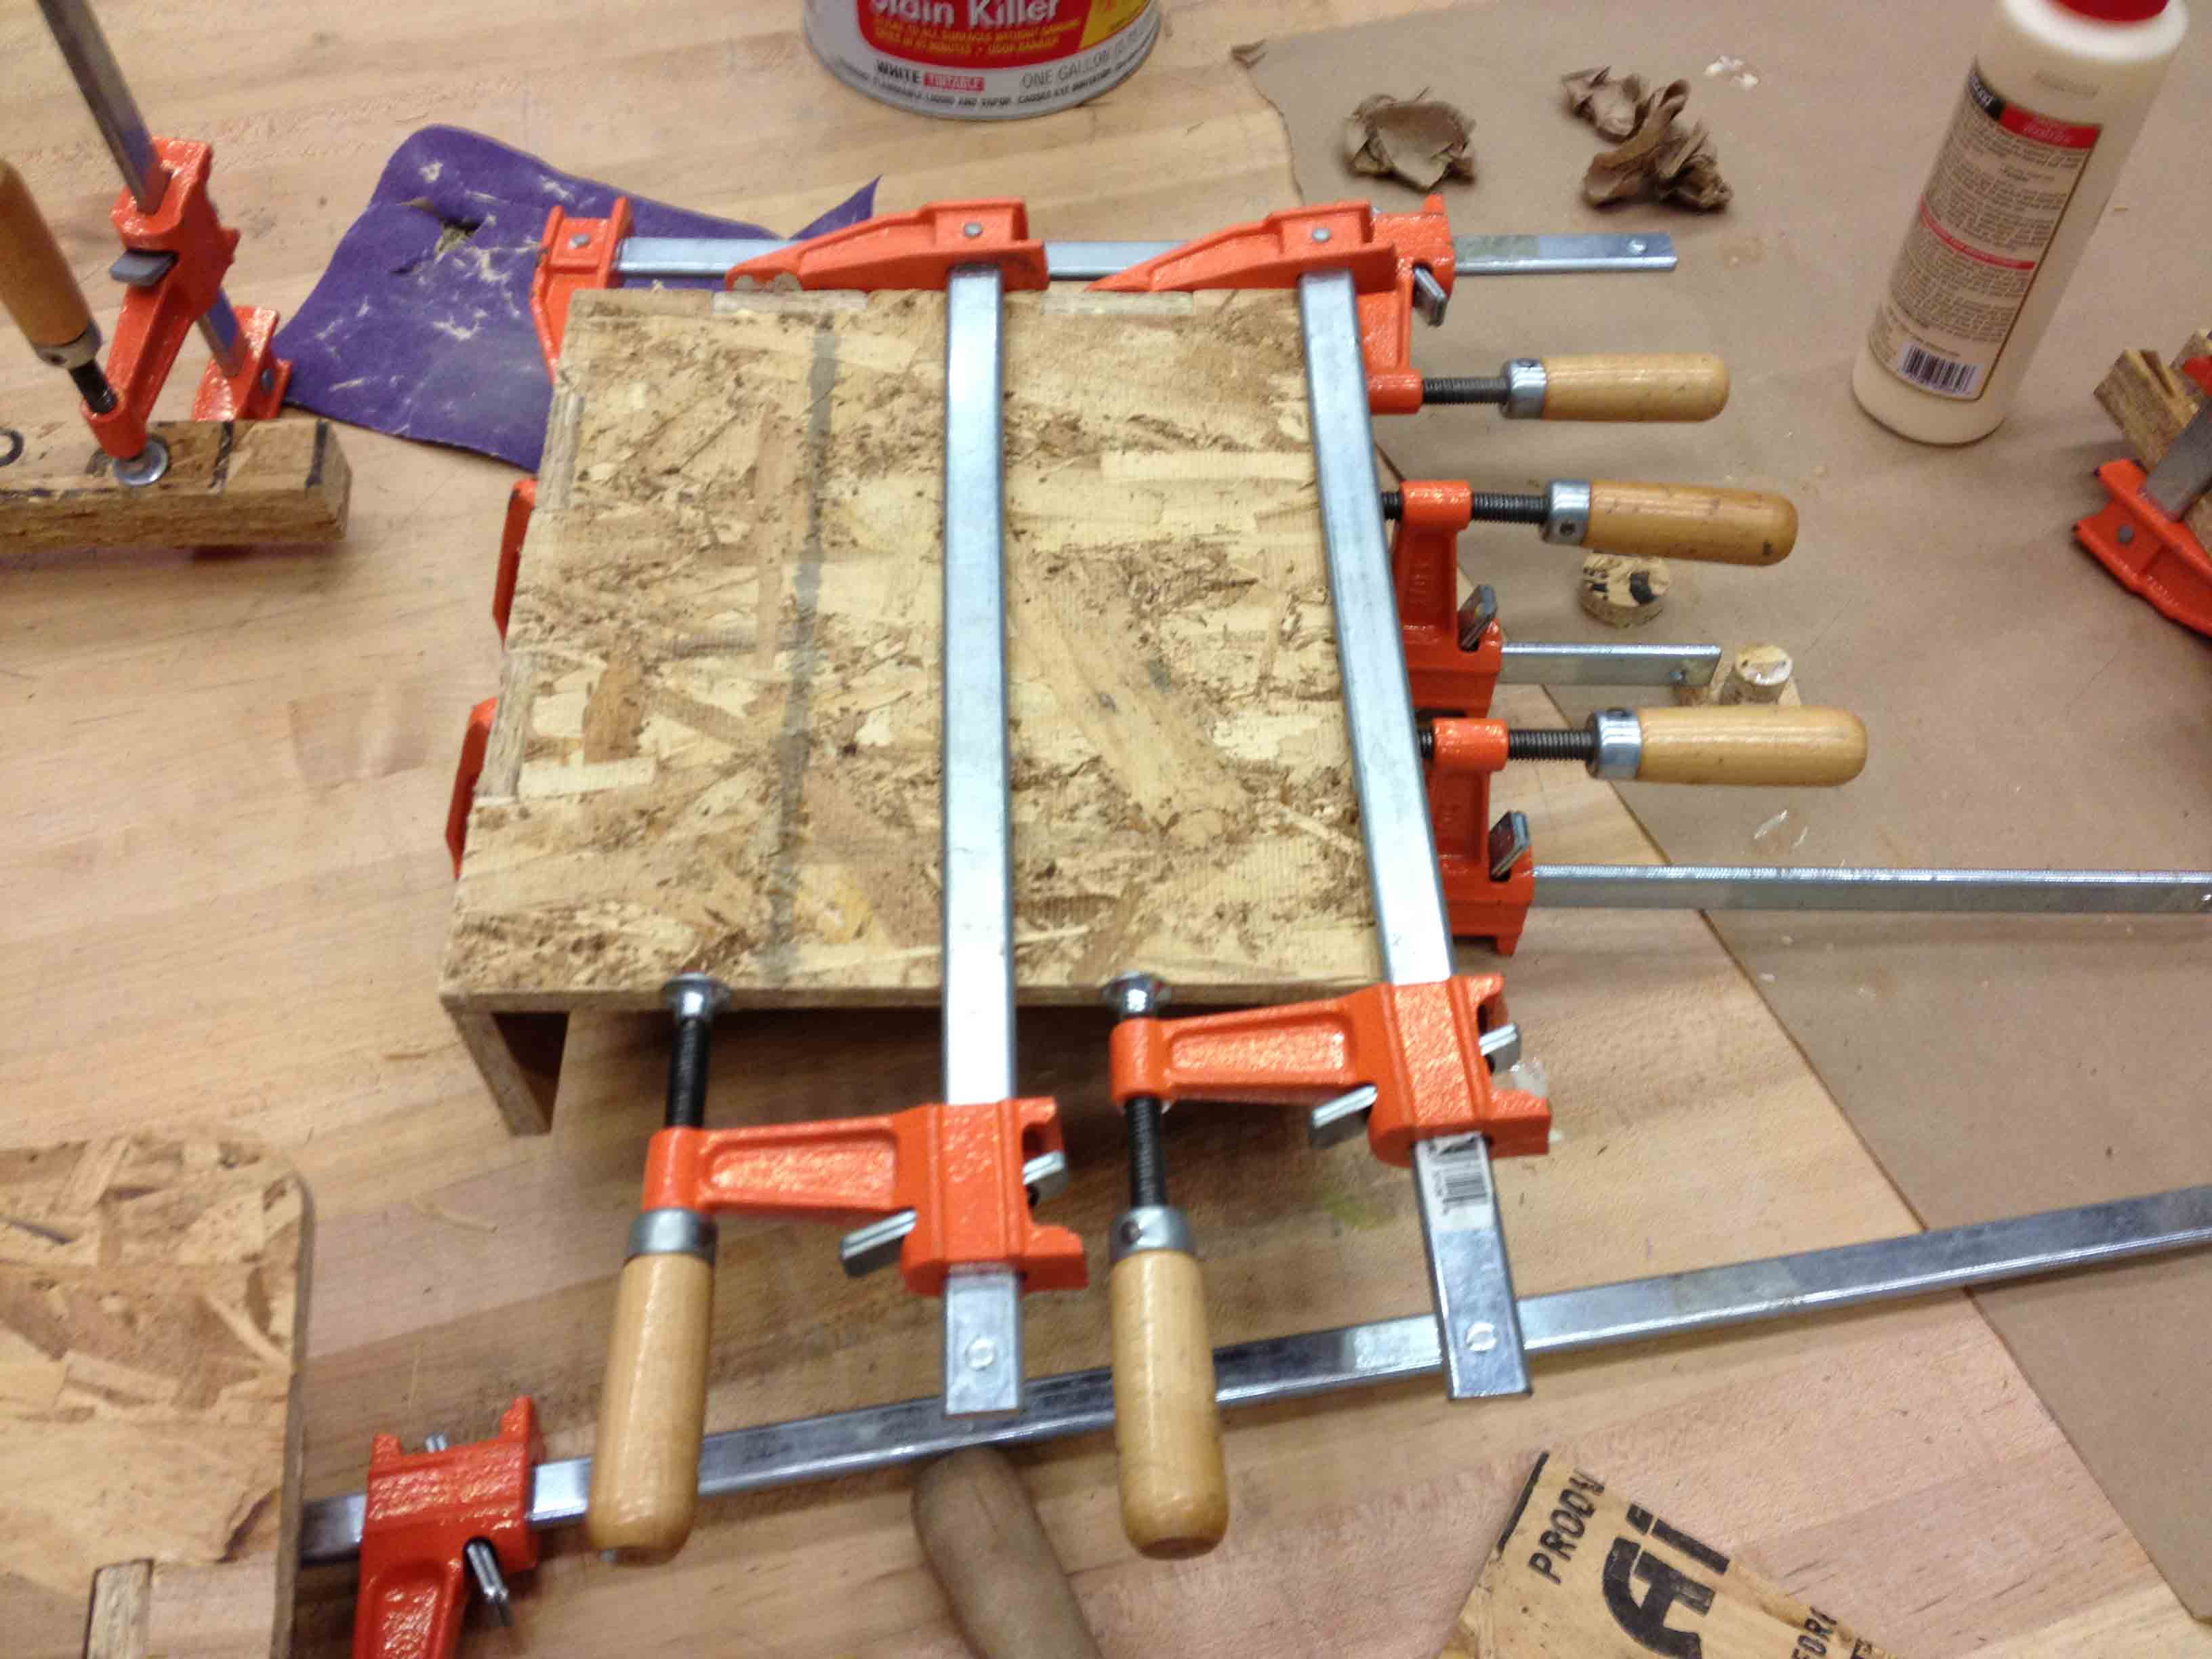
With the pieces cut, I then removed them, and started gluing them together!
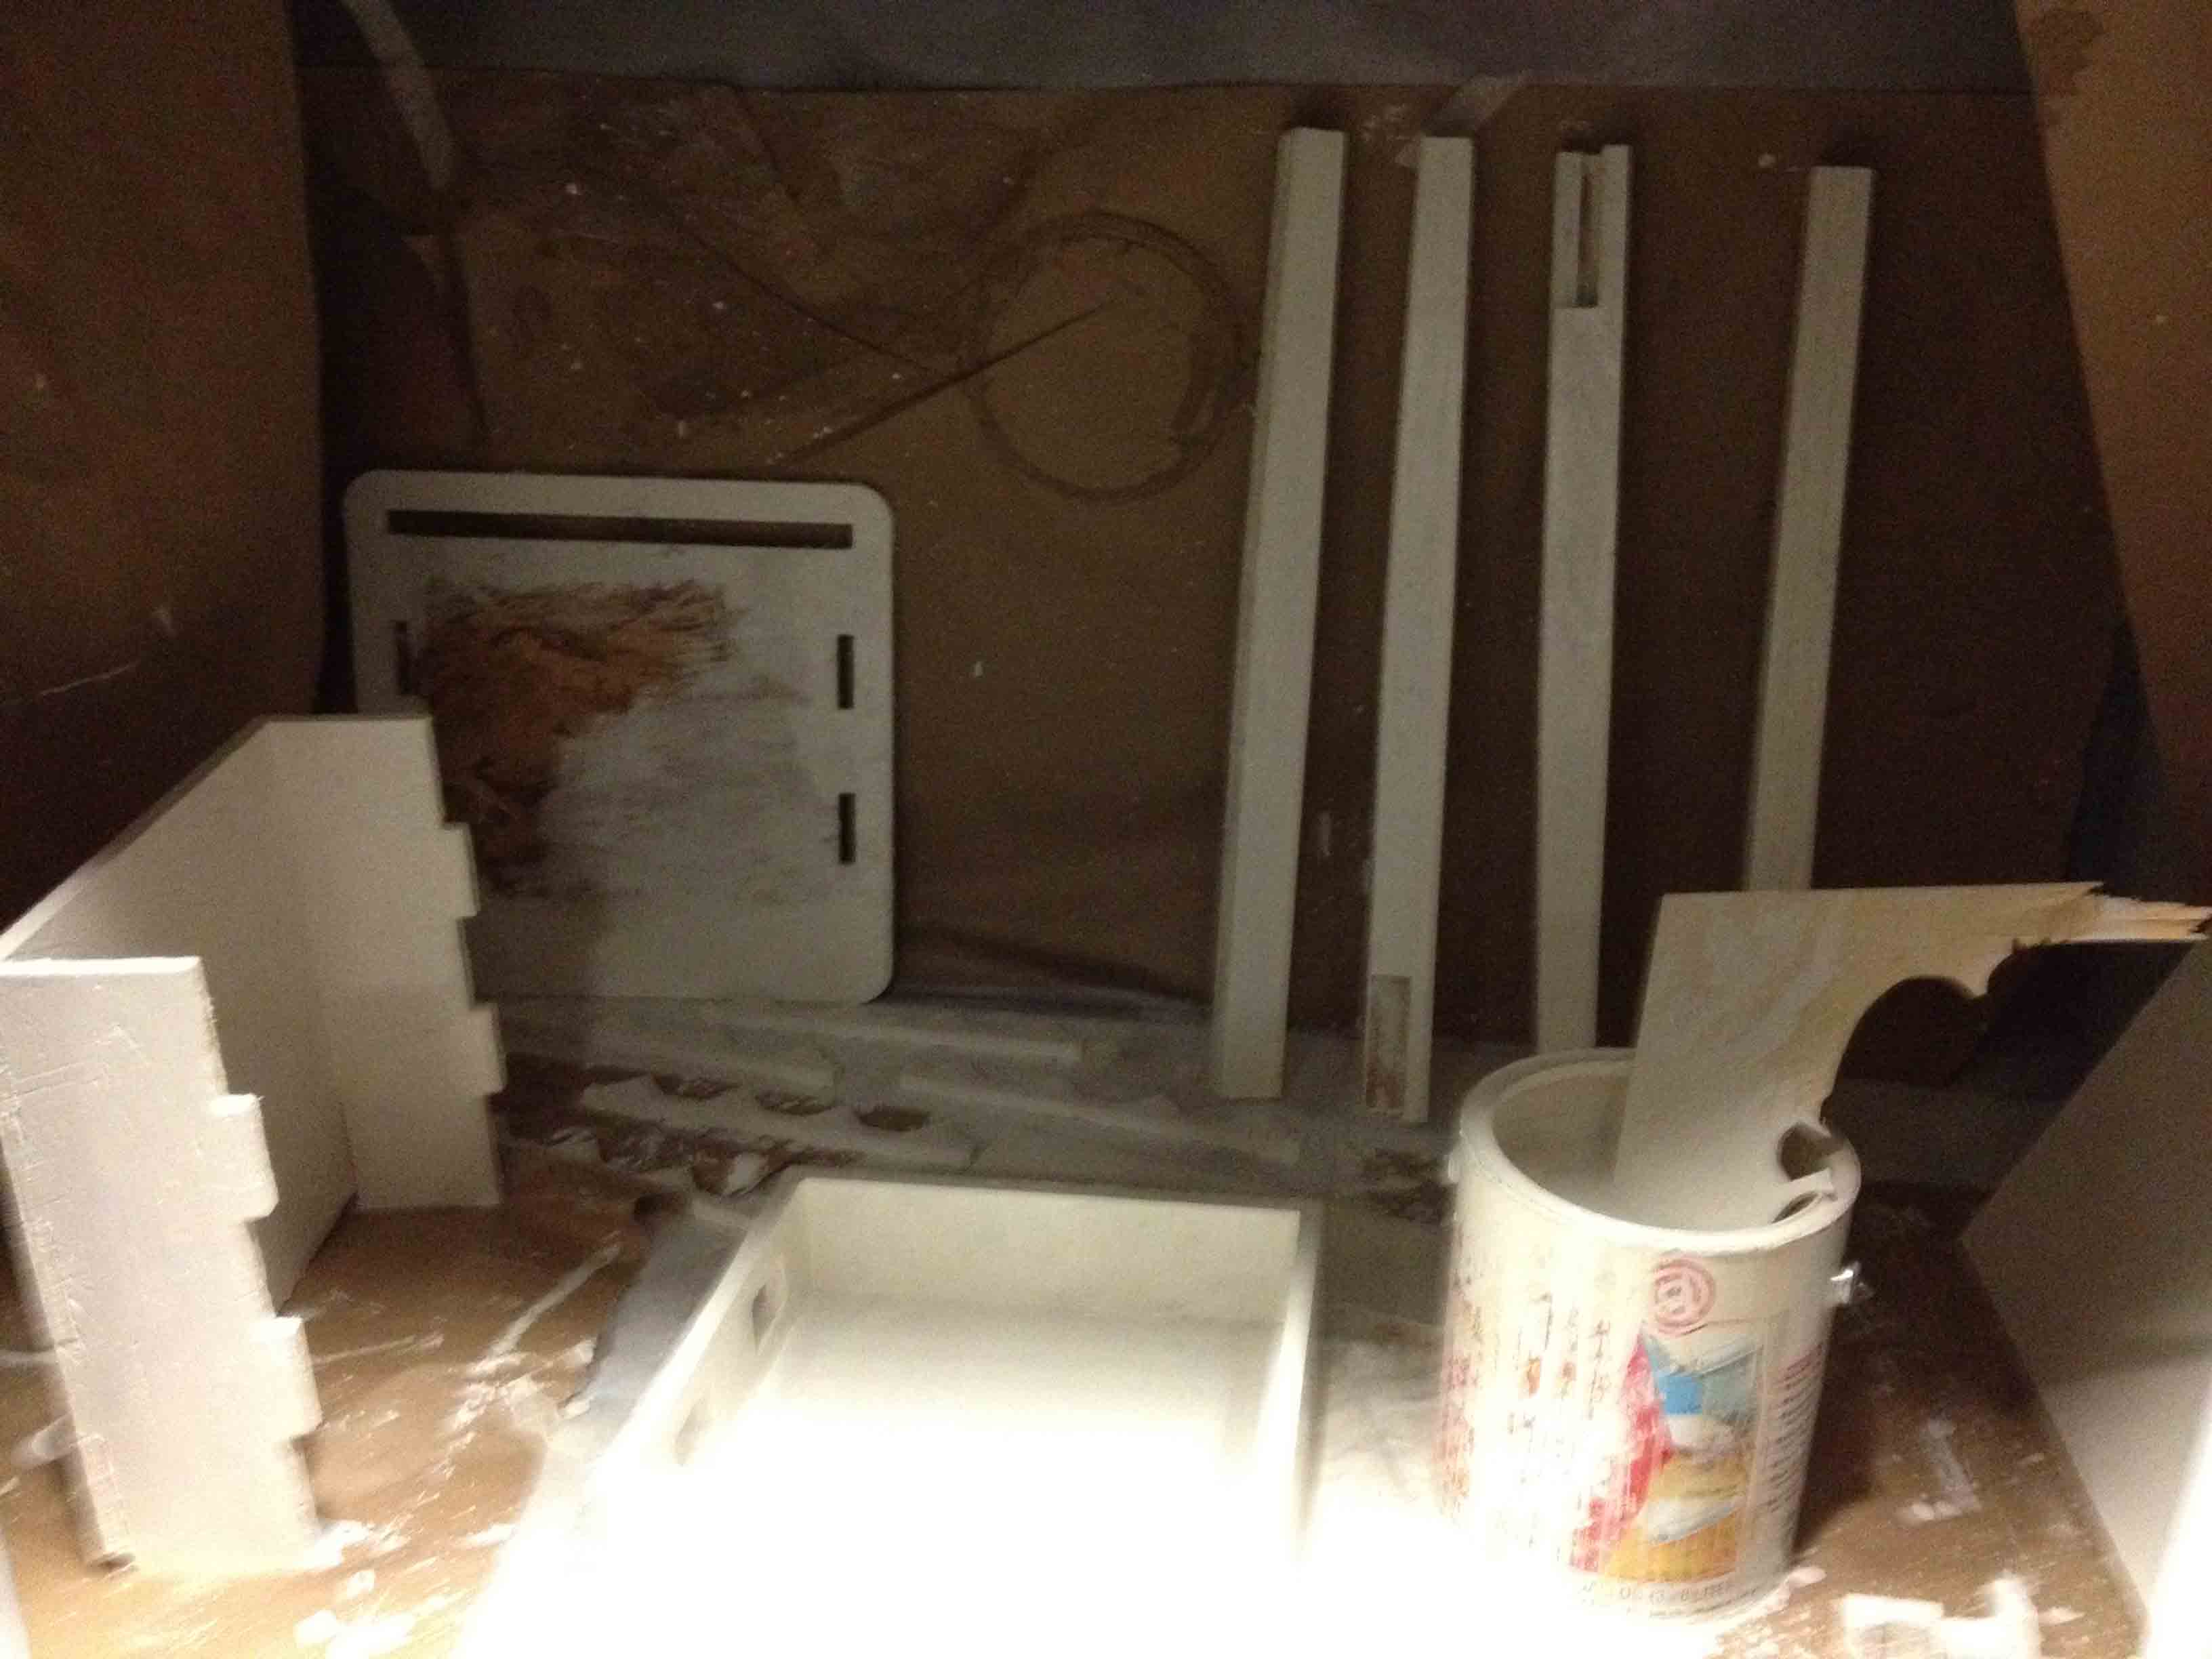
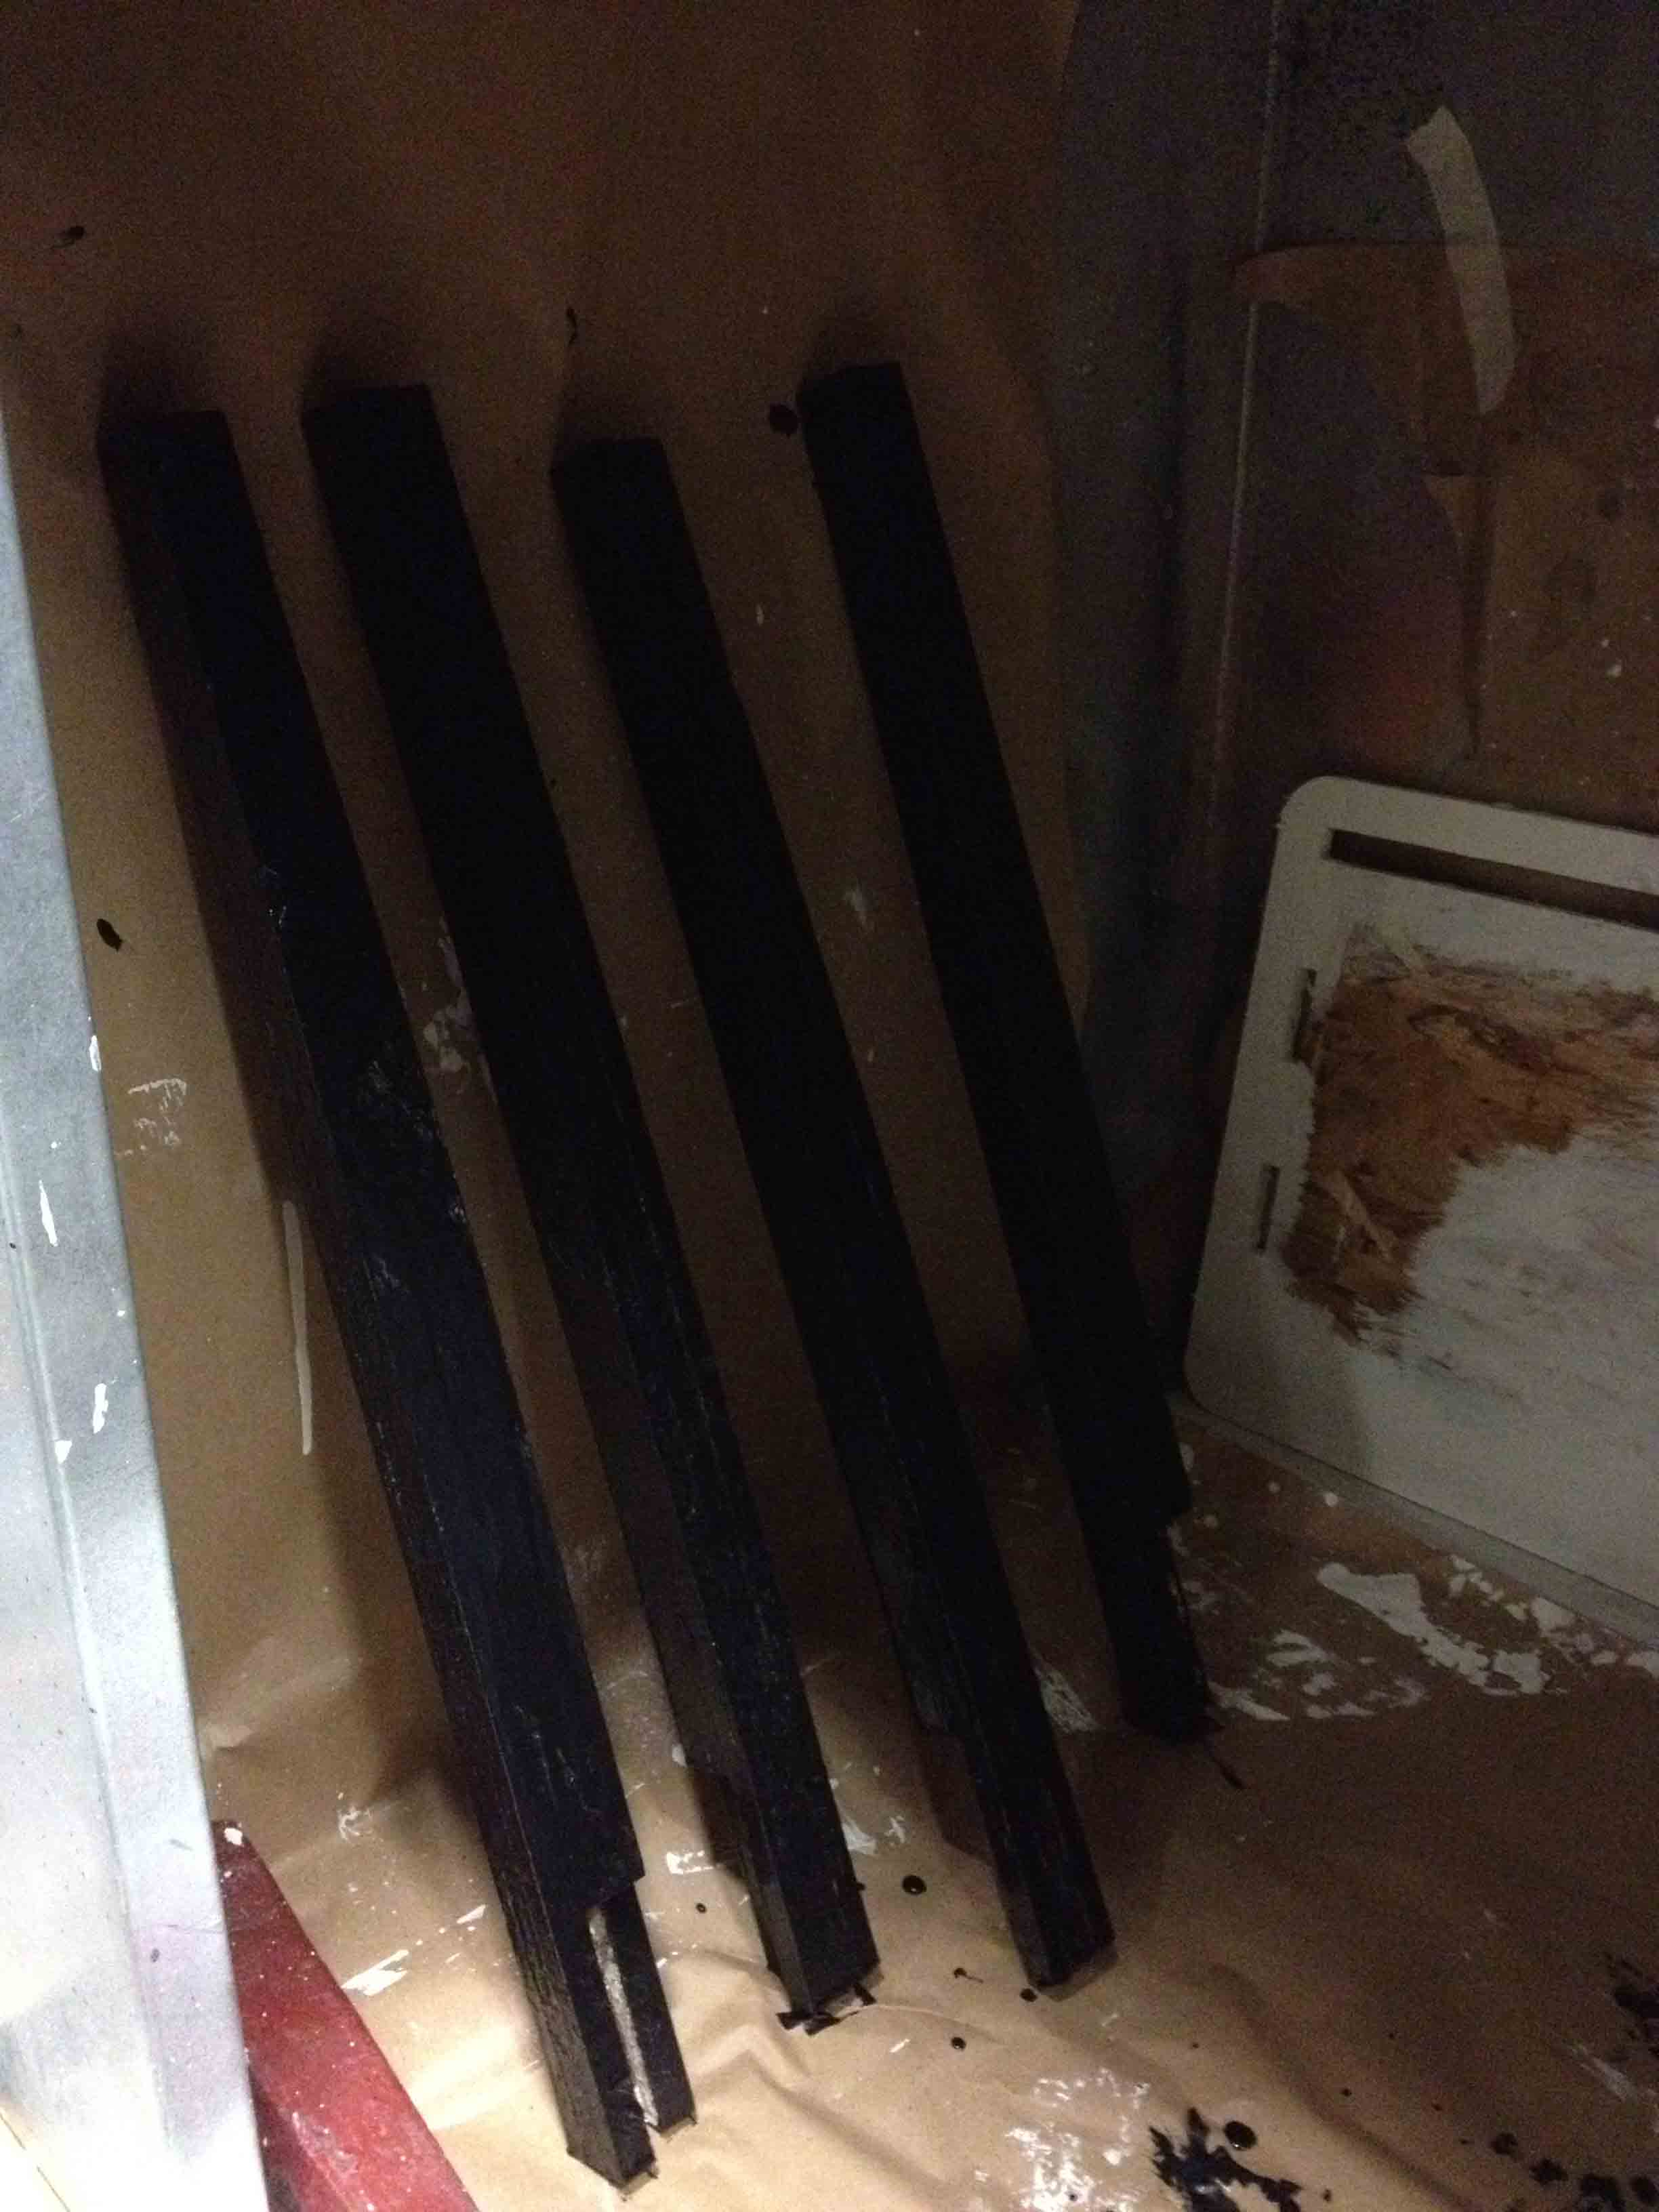
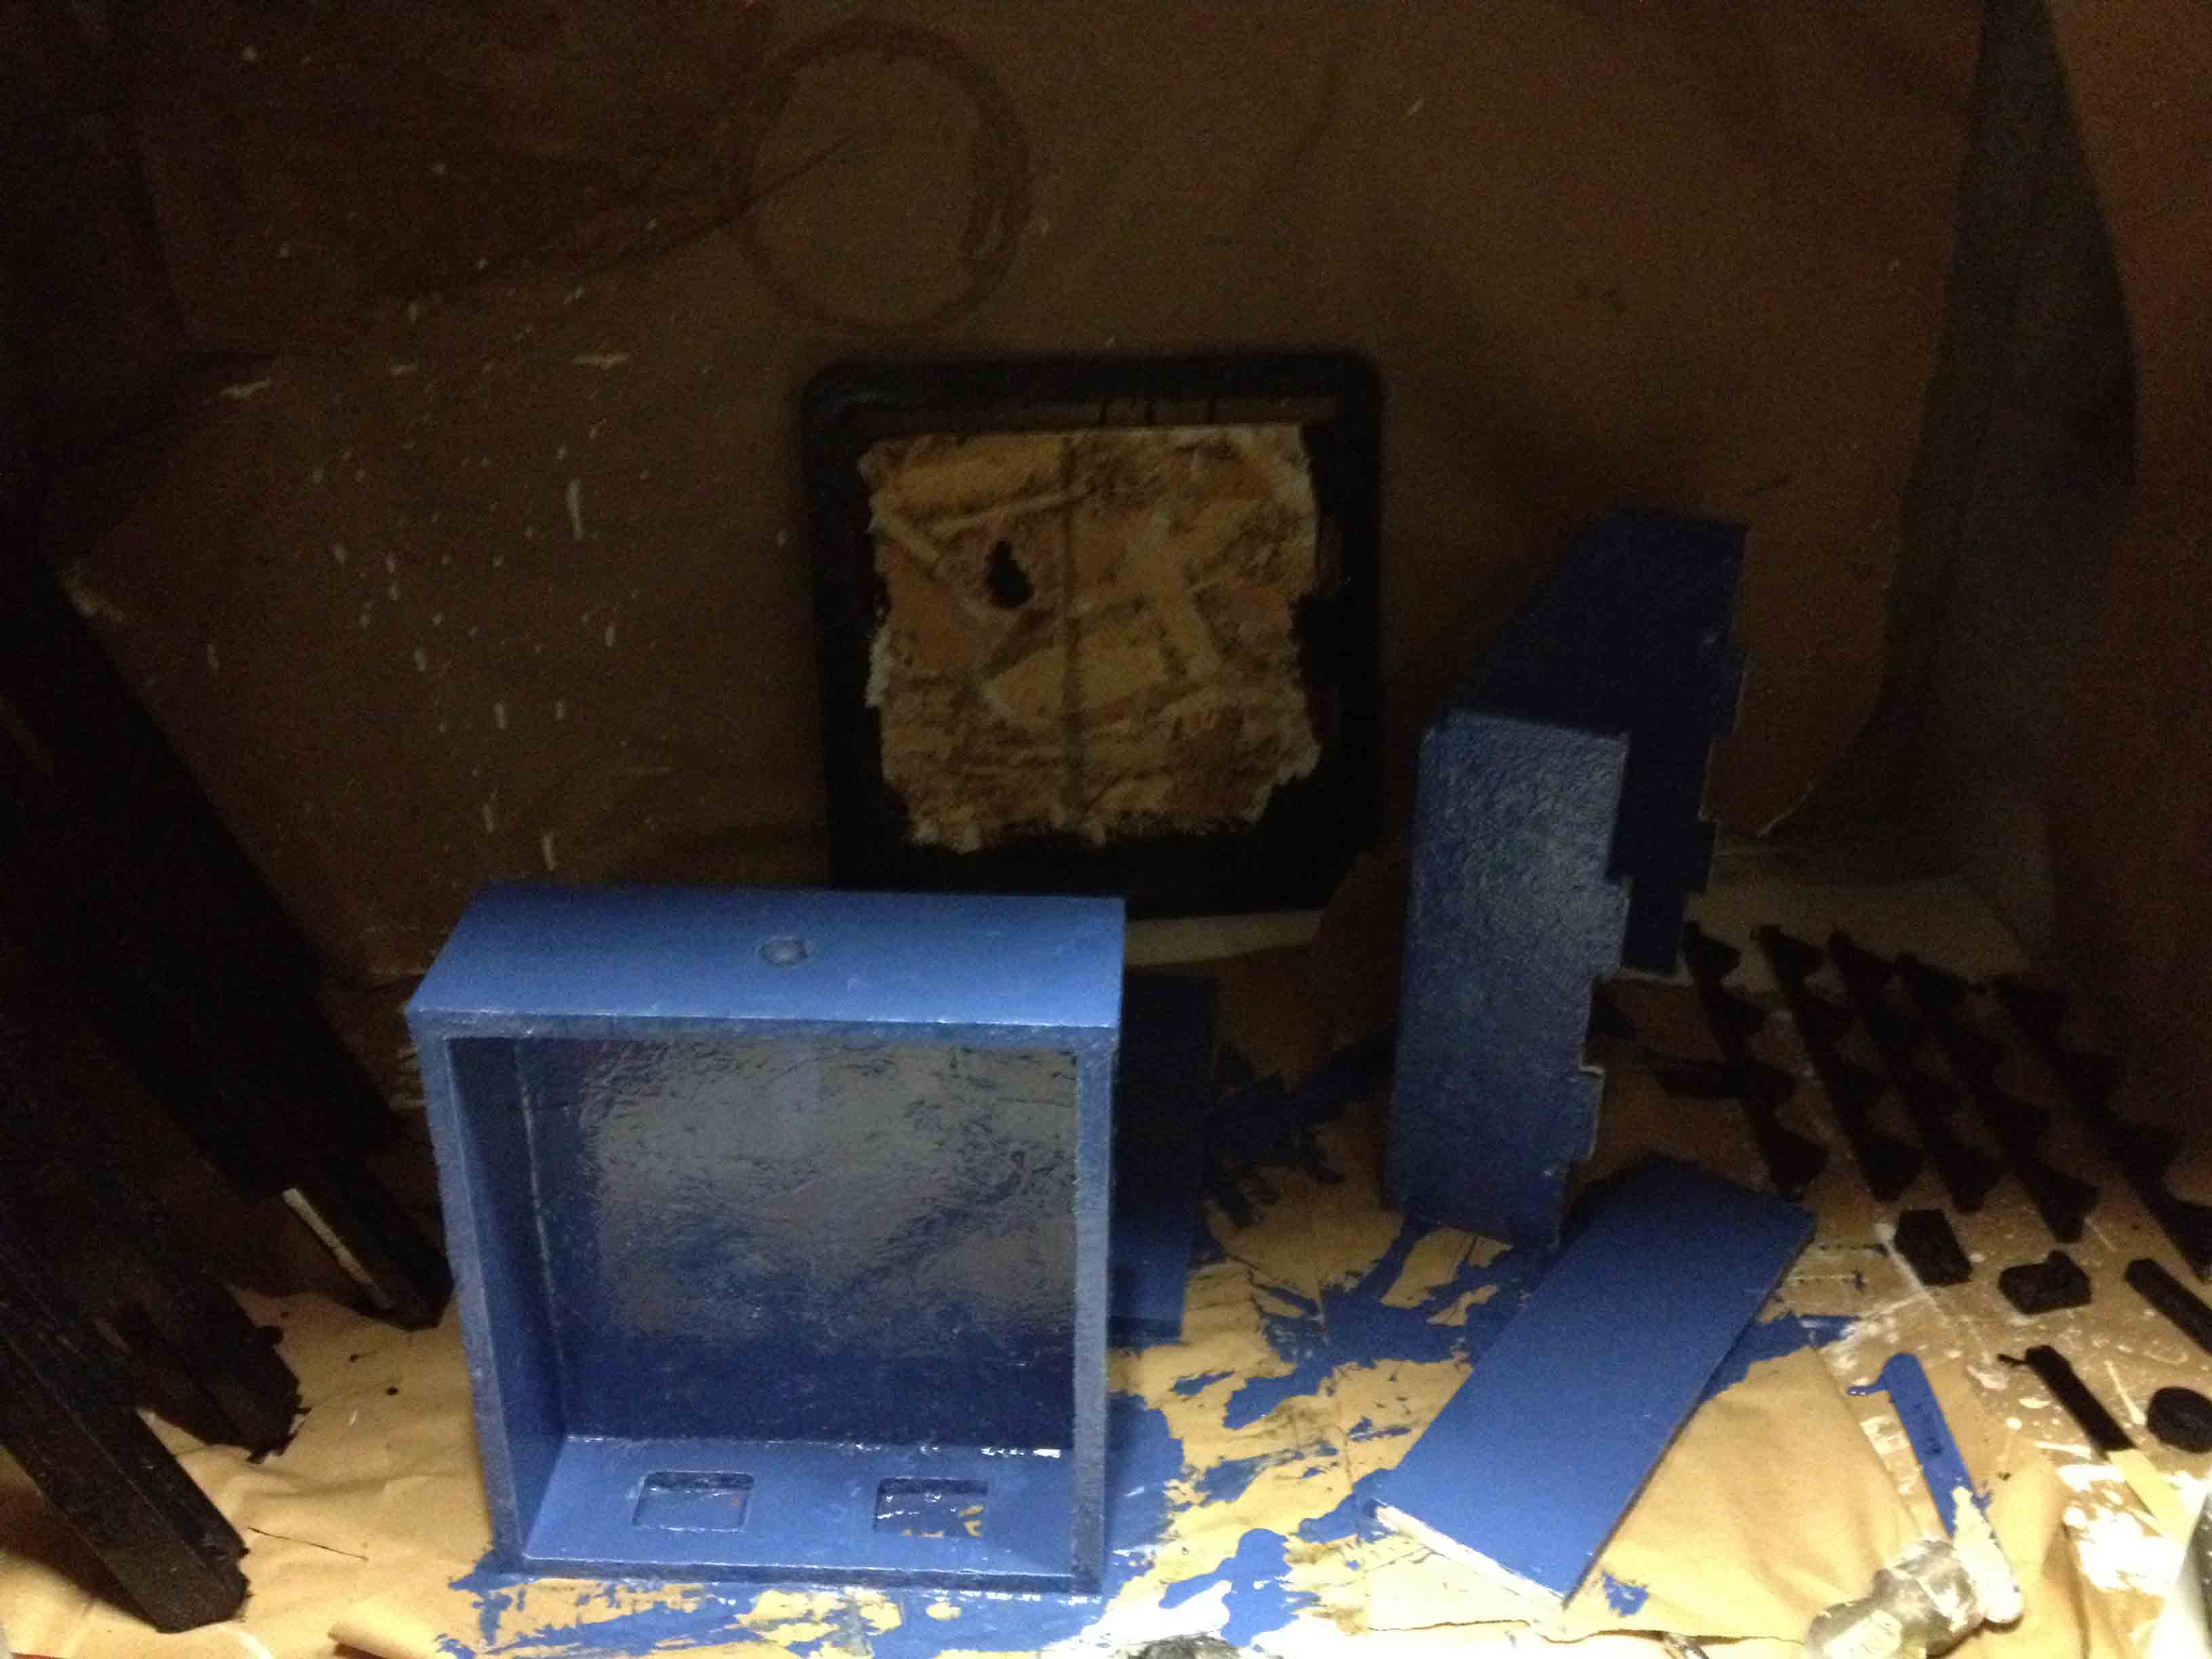
I also decided to paint it, since particle board looks terrible. I used a lot of primer first to make the paint job look nicer.
UPDATE: In the end, this project didn't work out too well, so I don't have a fully completed project to show. There were a few things I did wrong that I'll learn from for next time:
For my project this week, I designed and built a small end-table with a locked a drawer. When the back panel is pushed up, it unlocks the drawer, which can then be opened. I designed the pieces in Rhino and also rendered it to get a feel for how it would look.
The arrow shaped moldings on the sides and backs (and the absence of the down molding on the back panel) are clues that the back panel needs to be pushed up to "solve" the puzzle. Here's a series of shots showing how the mechanism works.
The back panel is down and the drawer is locked.
The back panel is now up and the drawer is unlocked.
The drawer can now be pulled out.
I used PartWorks3.5 to generate the toolpaths for the shopbot, then started cutting!
For the small pieces, when generating the toolpath, I left tabs in so that they wouldn't get sucked up by the tool head's vacuum, but I must have set the tab thickness too low because some of them brok off and got sucked up anyway. I had to redo those pieces with a greater tab thickness.
With the pieces cut, I then removed them, and started gluing them together!
I also decided to paint it, since particle board looks terrible. I used a lot of primer first to make the paint job look nicer.
UPDATE: In the end, this project didn't work out too well, so I don't have a fully completed project to show. There were a few things I did wrong that I'll learn from for next time:
- I made the pieces fit EXACTLY together, and didn't leave any wiggle room for the drawer to move or the panel to slide. Thus, the drawer gets stuck inside the table and the panel won't move to unlock the drawer. Next time I'll need to offset any surfaces that I want to move.
- I painted the pieces before gluing everything together (i.e. the moldings and table top). This made the pieces thicker and stickier and thus even harder to move. Next time I'll assemble everything and then paint later.
- The knob is flimsy and held together with glue, so the force required to pull to open the drawer breaks the handle first. I'll need to come up with a better way to attach the handle.
- I didn't think through how to attach the hooks on the back panel, and resorted to using L-brackets. This ended up reasonably OK, but I'll need a better way to attach them in a future iteration.
- Also the paint job in general is terrible. I think I may try using hardwoods and stains in the future instead of particle board and cheap paint.
Design Files: