This week we learned about sensors and signal processing techniques. For the assignment, I decided to work towards my final project by experimenting with an RFID reader and RFID tags to determine which chess pieces are where on the board. I also experimented further with the molding and casting process that I was going to use to produce the black and white chess pieces themselves.
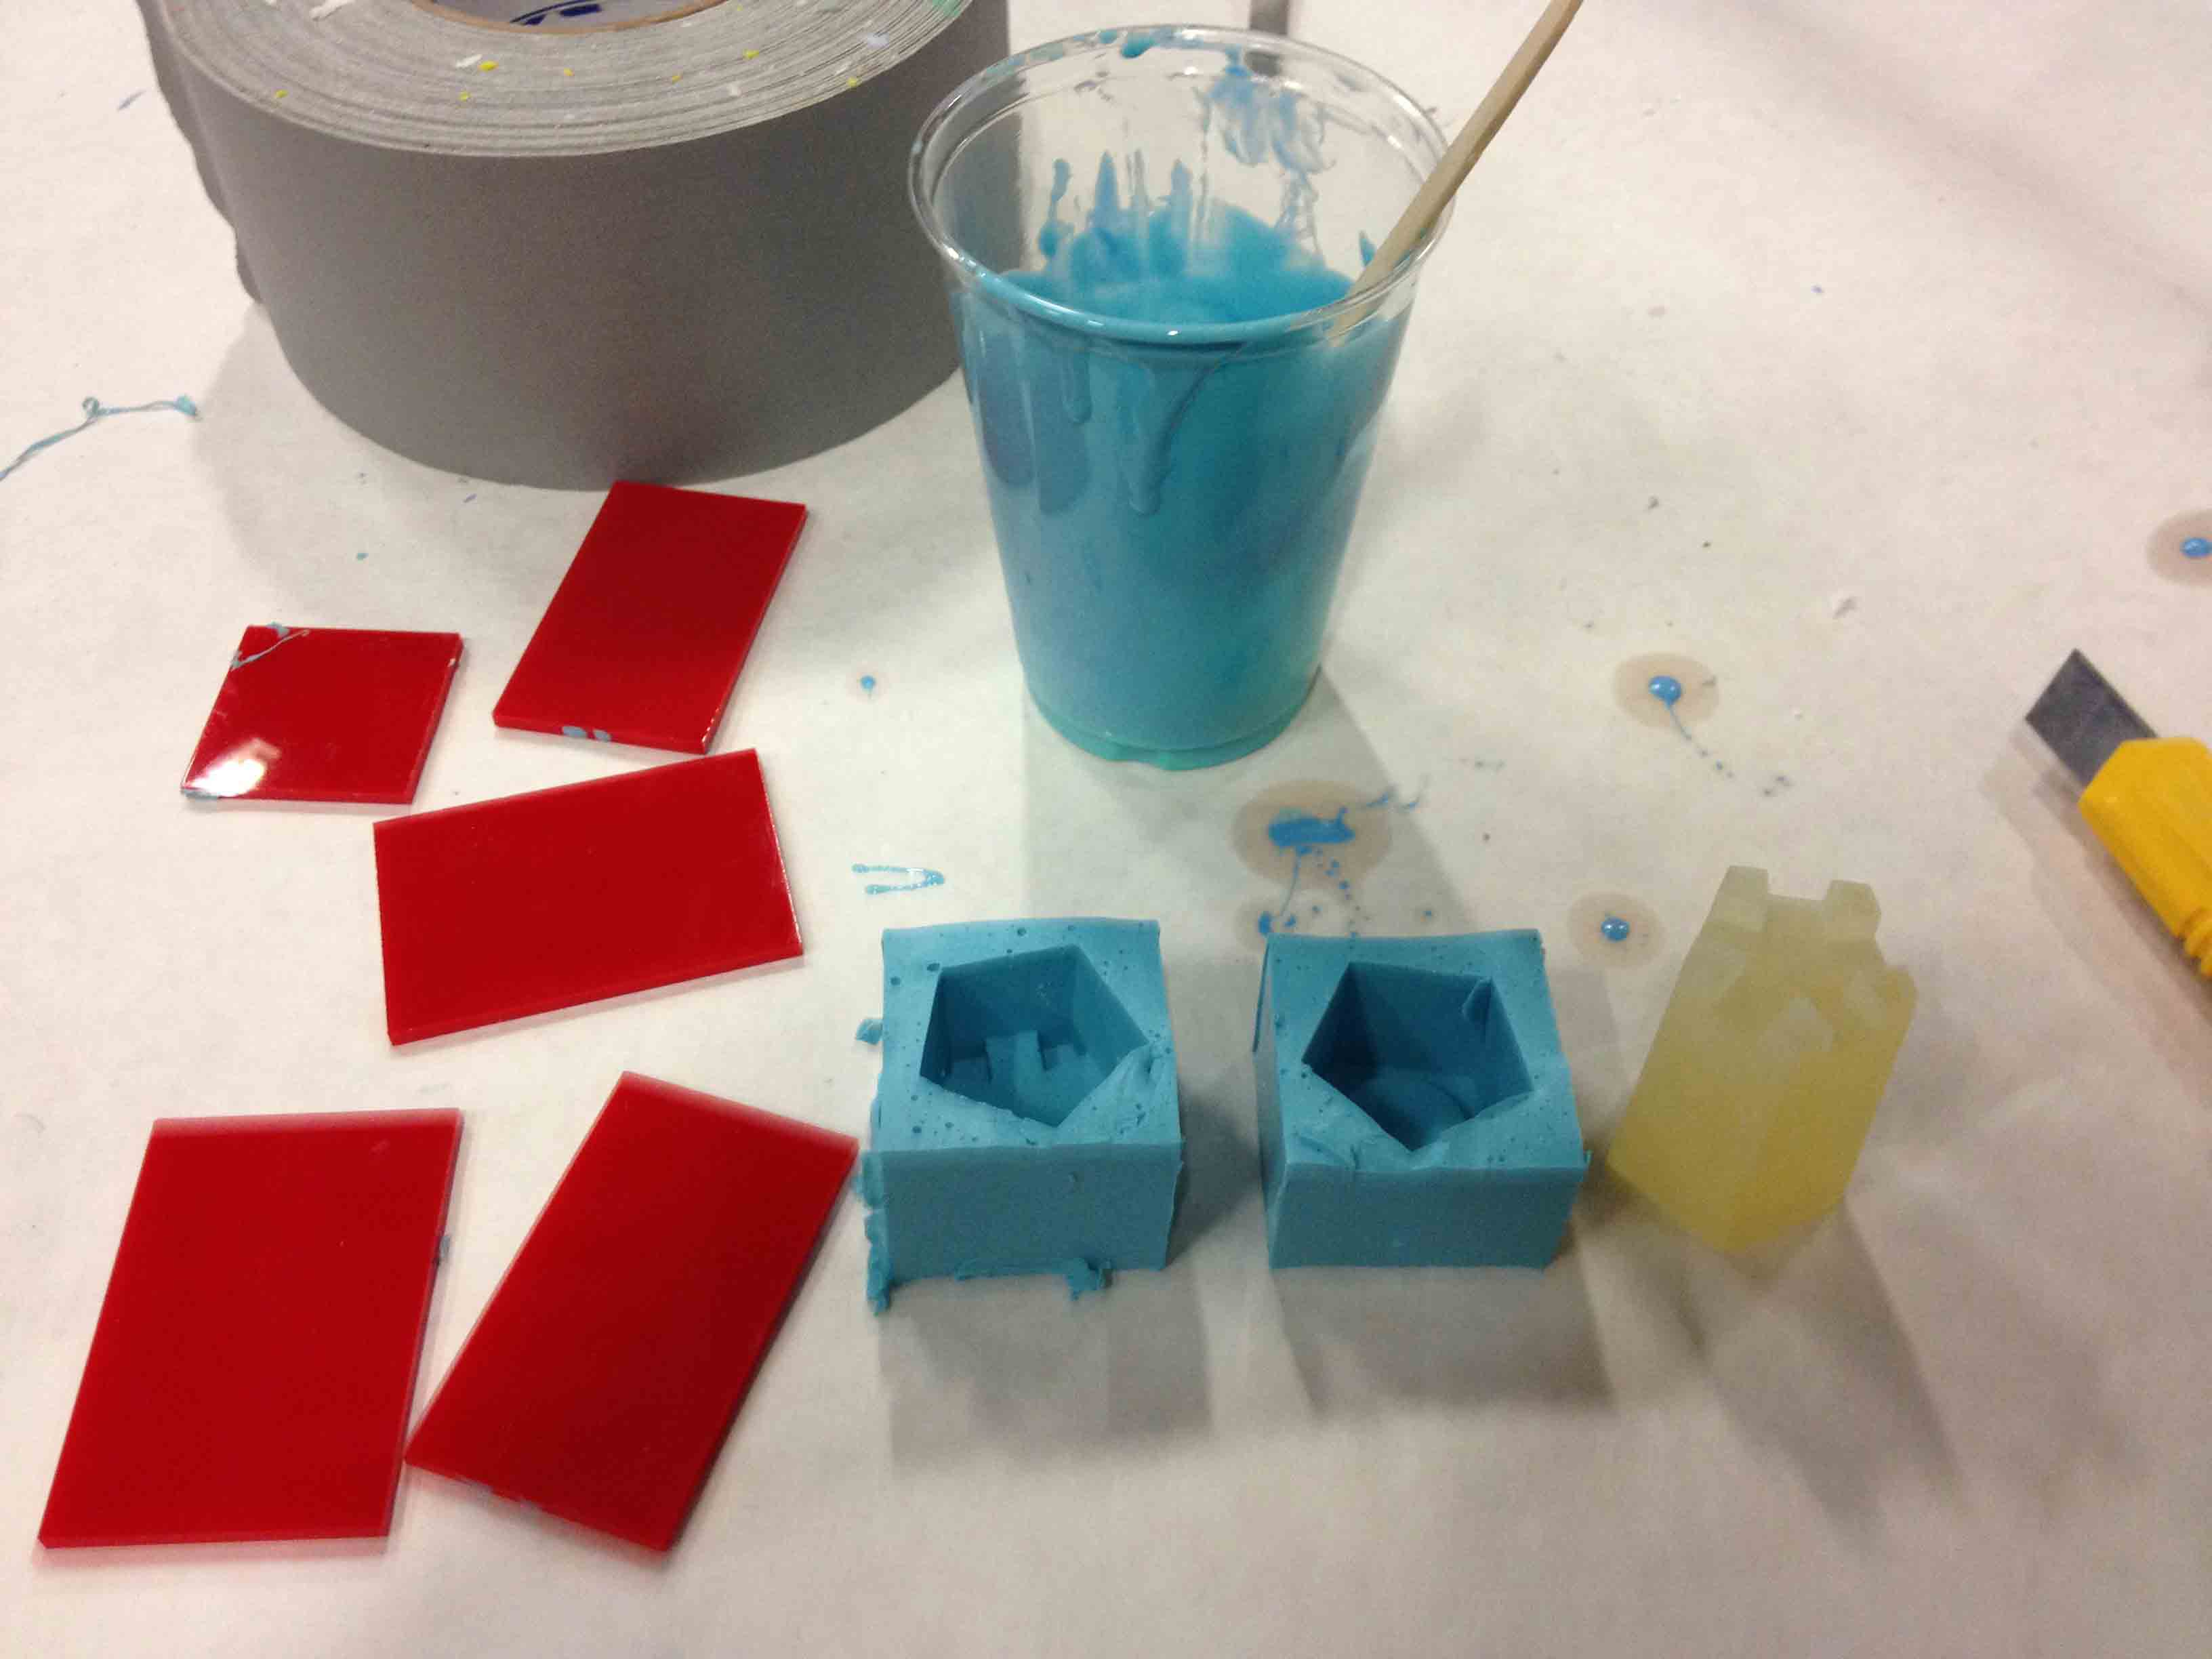
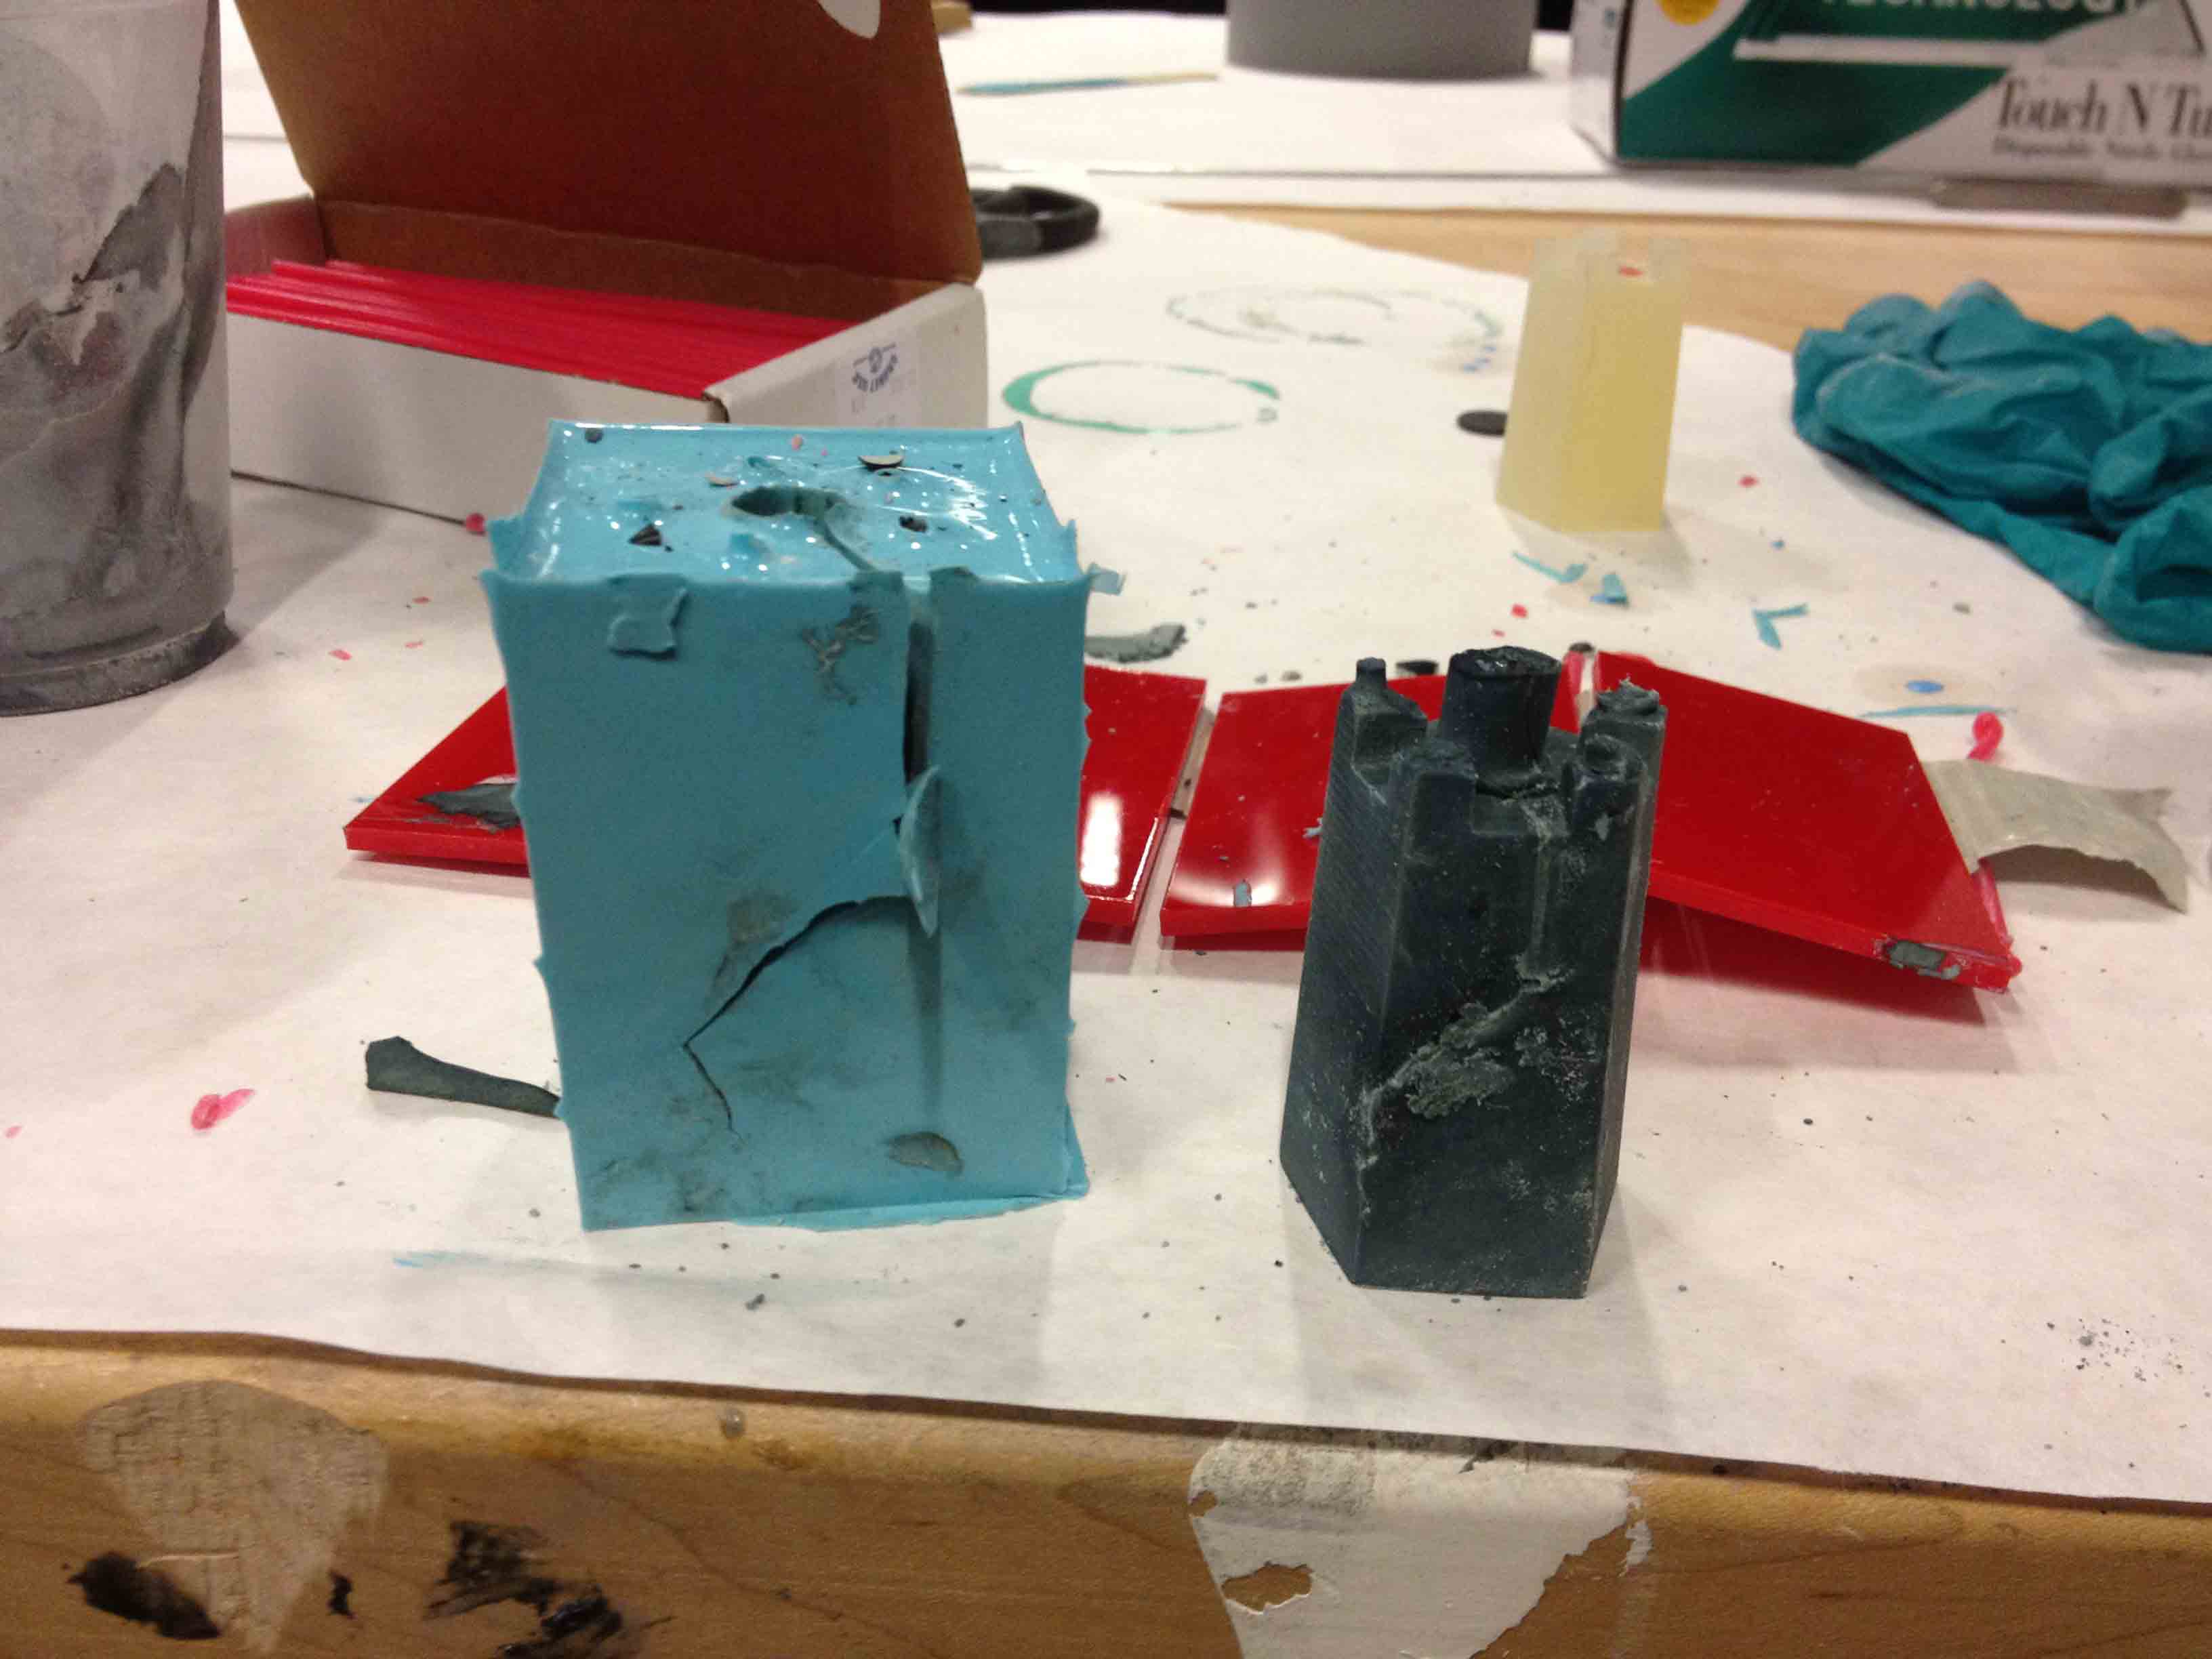
To mold the pieces, I needed to find a way to make the mold, and also to dye them. I figured that milling the piece shapes into wax like during the molding and casting week wouldn't work because my pieces have angles that are too sharp for the endmills to reach. I then decided to 3D print the pieces, then submerge them in the oomoo mix to make a silicon mold. My first attempt at this proved disastrous, because:
- I didn't wait long enough for the oomoo to try so it was still sticky when I took it out.
- I cut the mold completely in half to get the piece out instead of just cutting a small hole and stretching the mold to get the piece out. This made registration of the halves very difficult, and I ended up having to cast the piece in two halves then gluing them together.
- I didn't add any sprues or air holes to the mold, so to fill the mold with Hydrostone, I had to submerge the mold completely, which was very messy and not very accurate.
During this initial process, I also experimented with a black powdered dye.
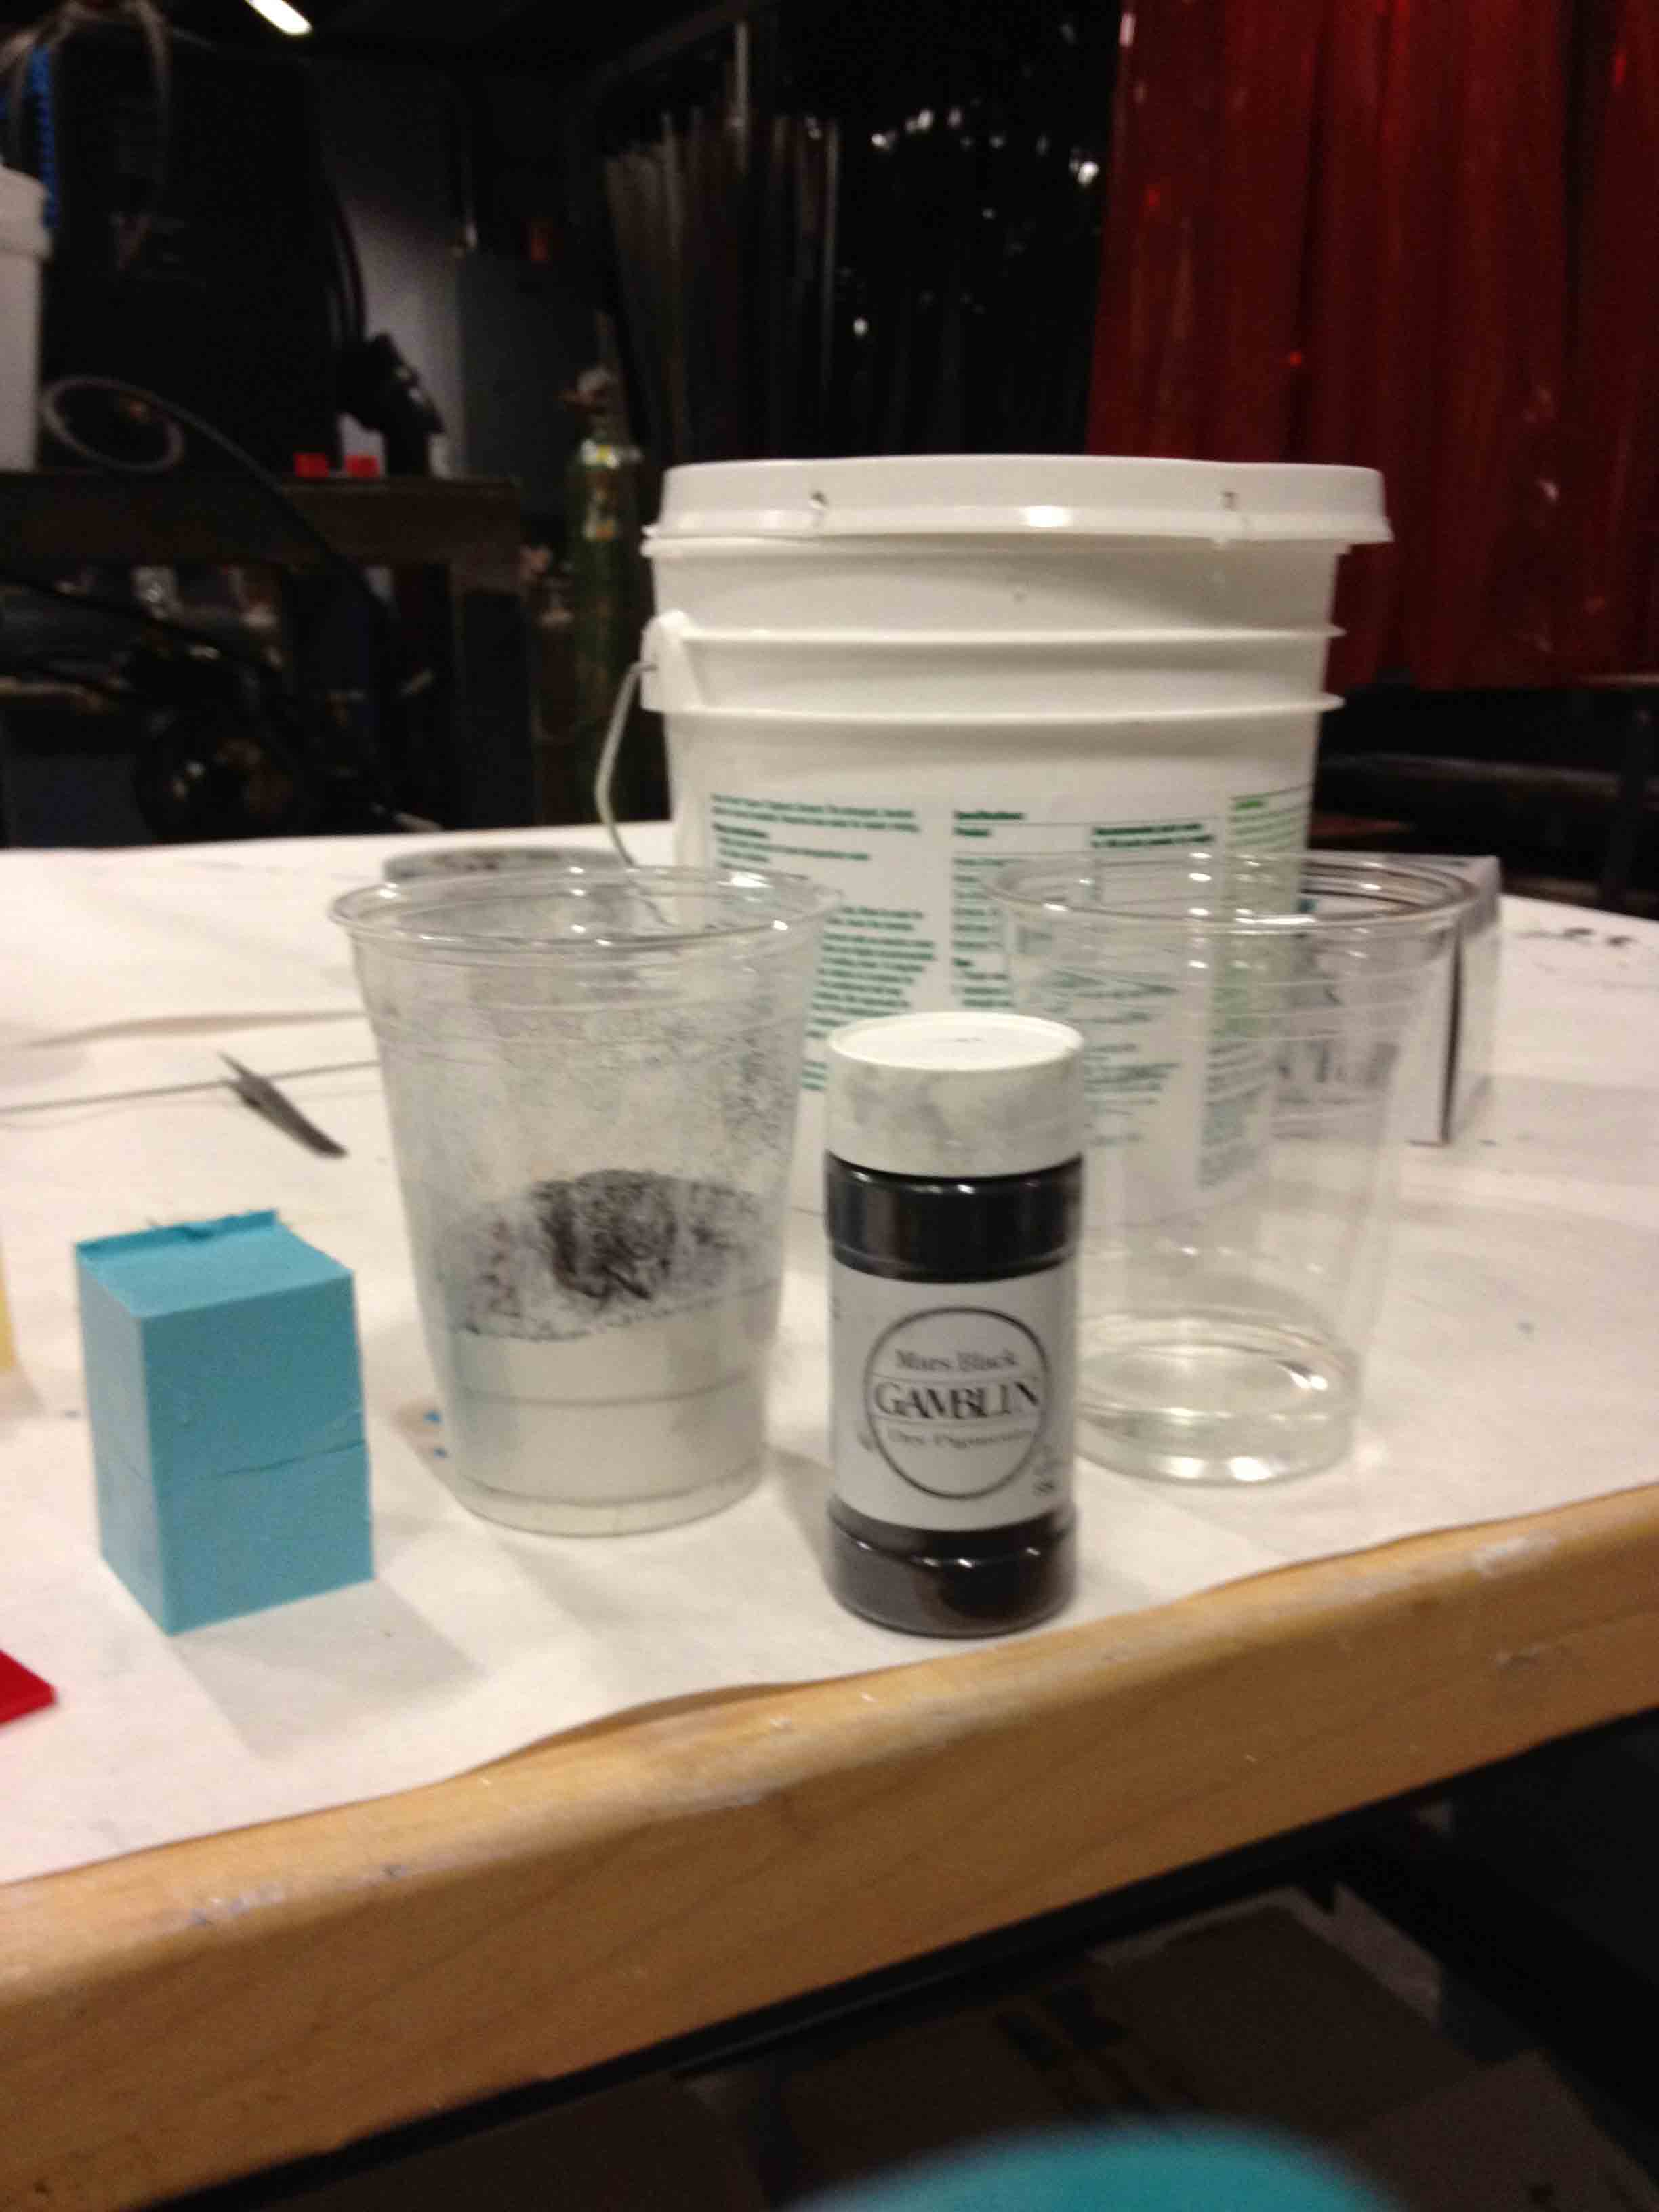
I mixed it with the Hydrostone before mixing in the water, and poured it into the mold halves. The dye for some reason didn't mix well, and there was a large amount of separation between the water, stone, and dye. The piece actually ended up coming out a fairly nice shade of black, but the dye rubs off on your fingers when you touch the piece.
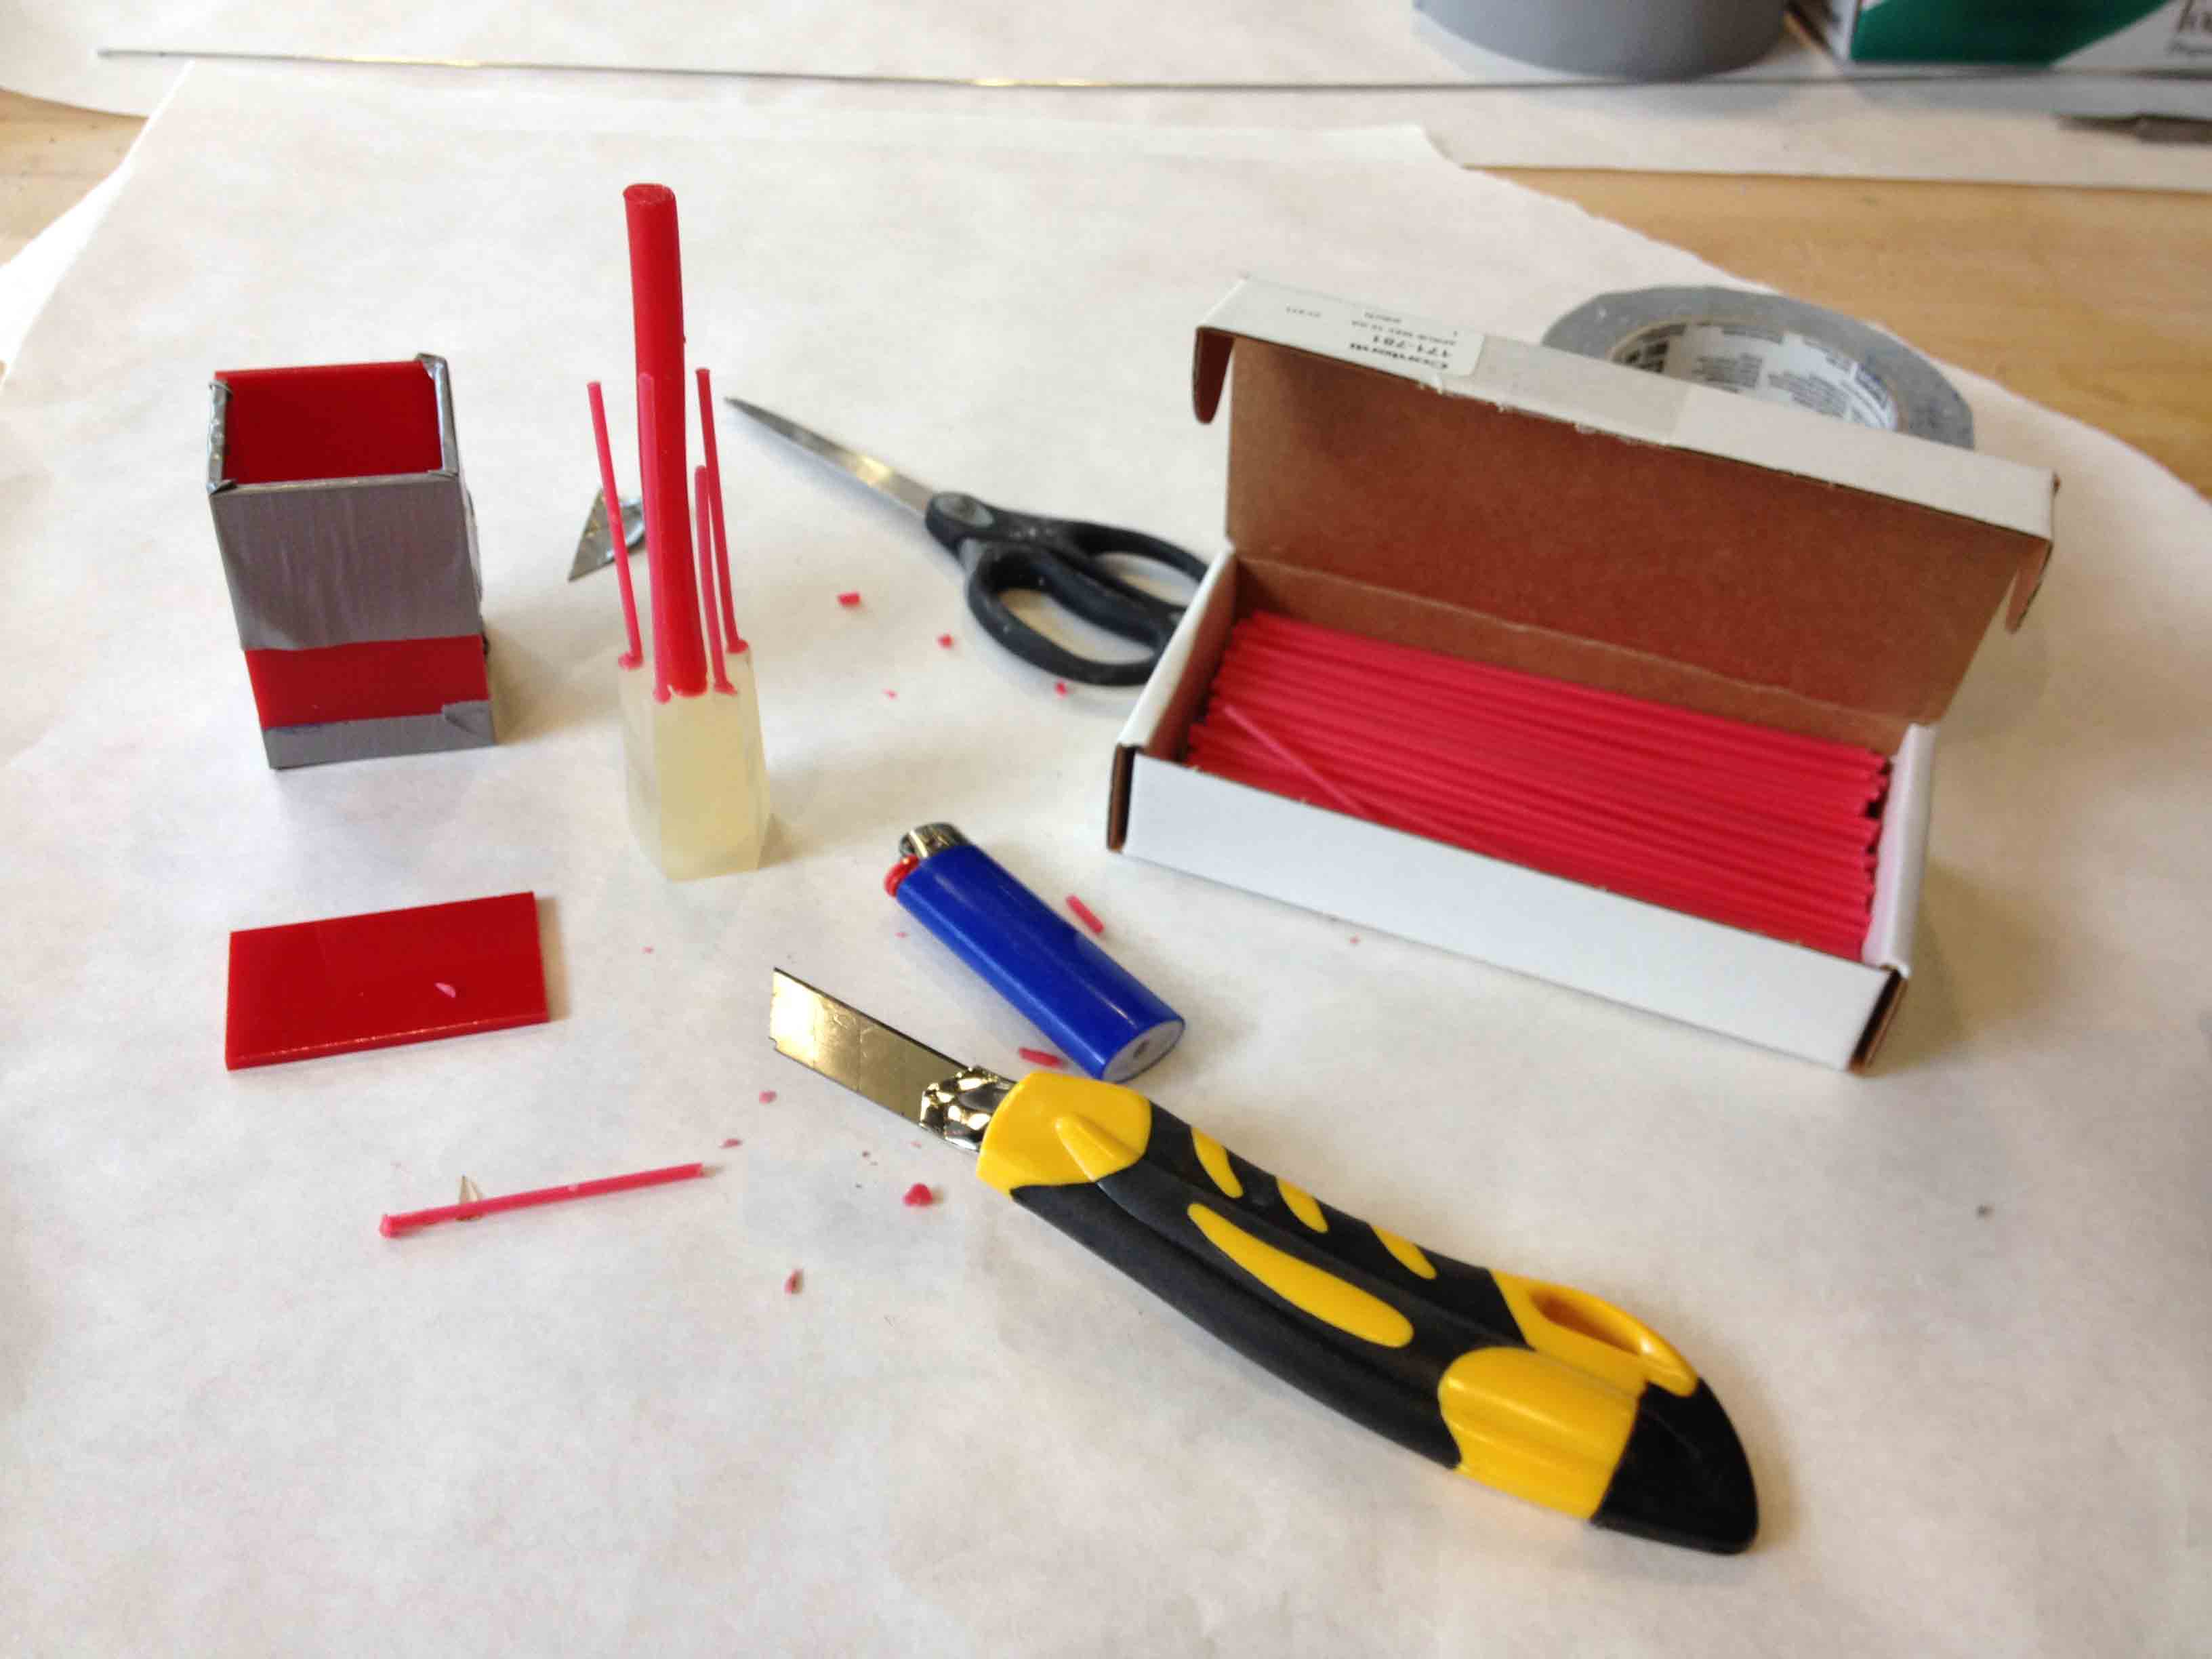
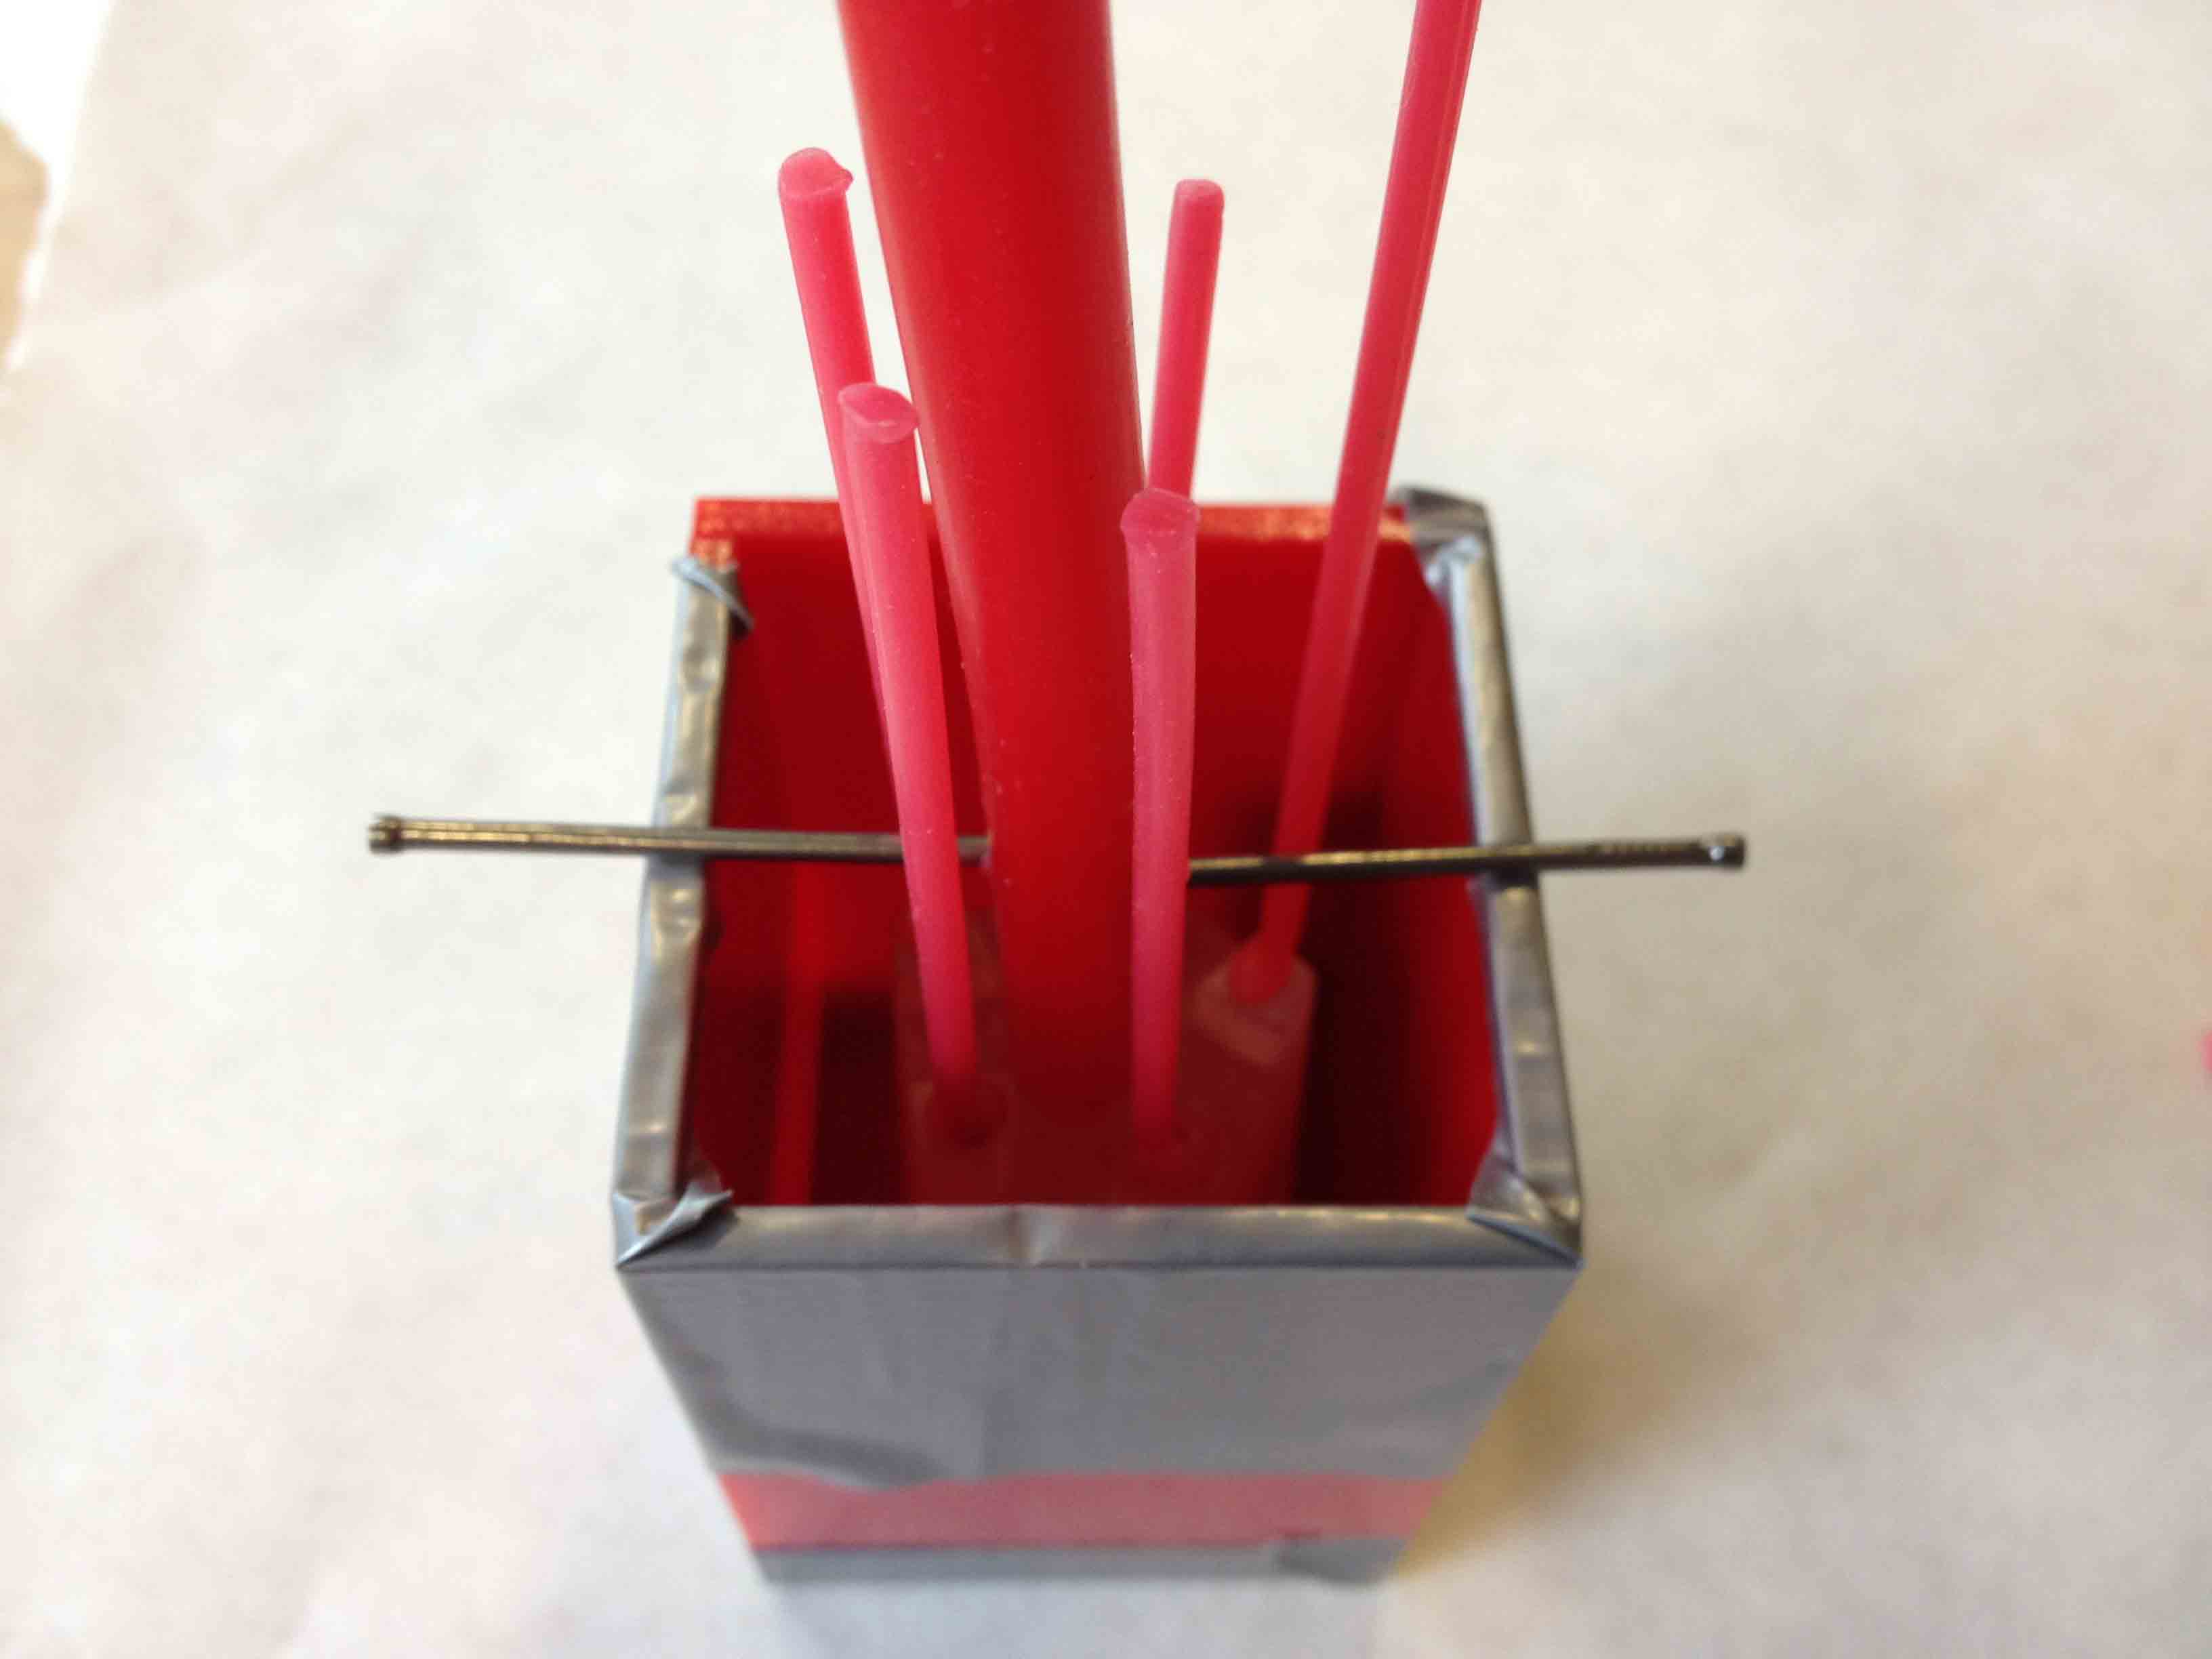
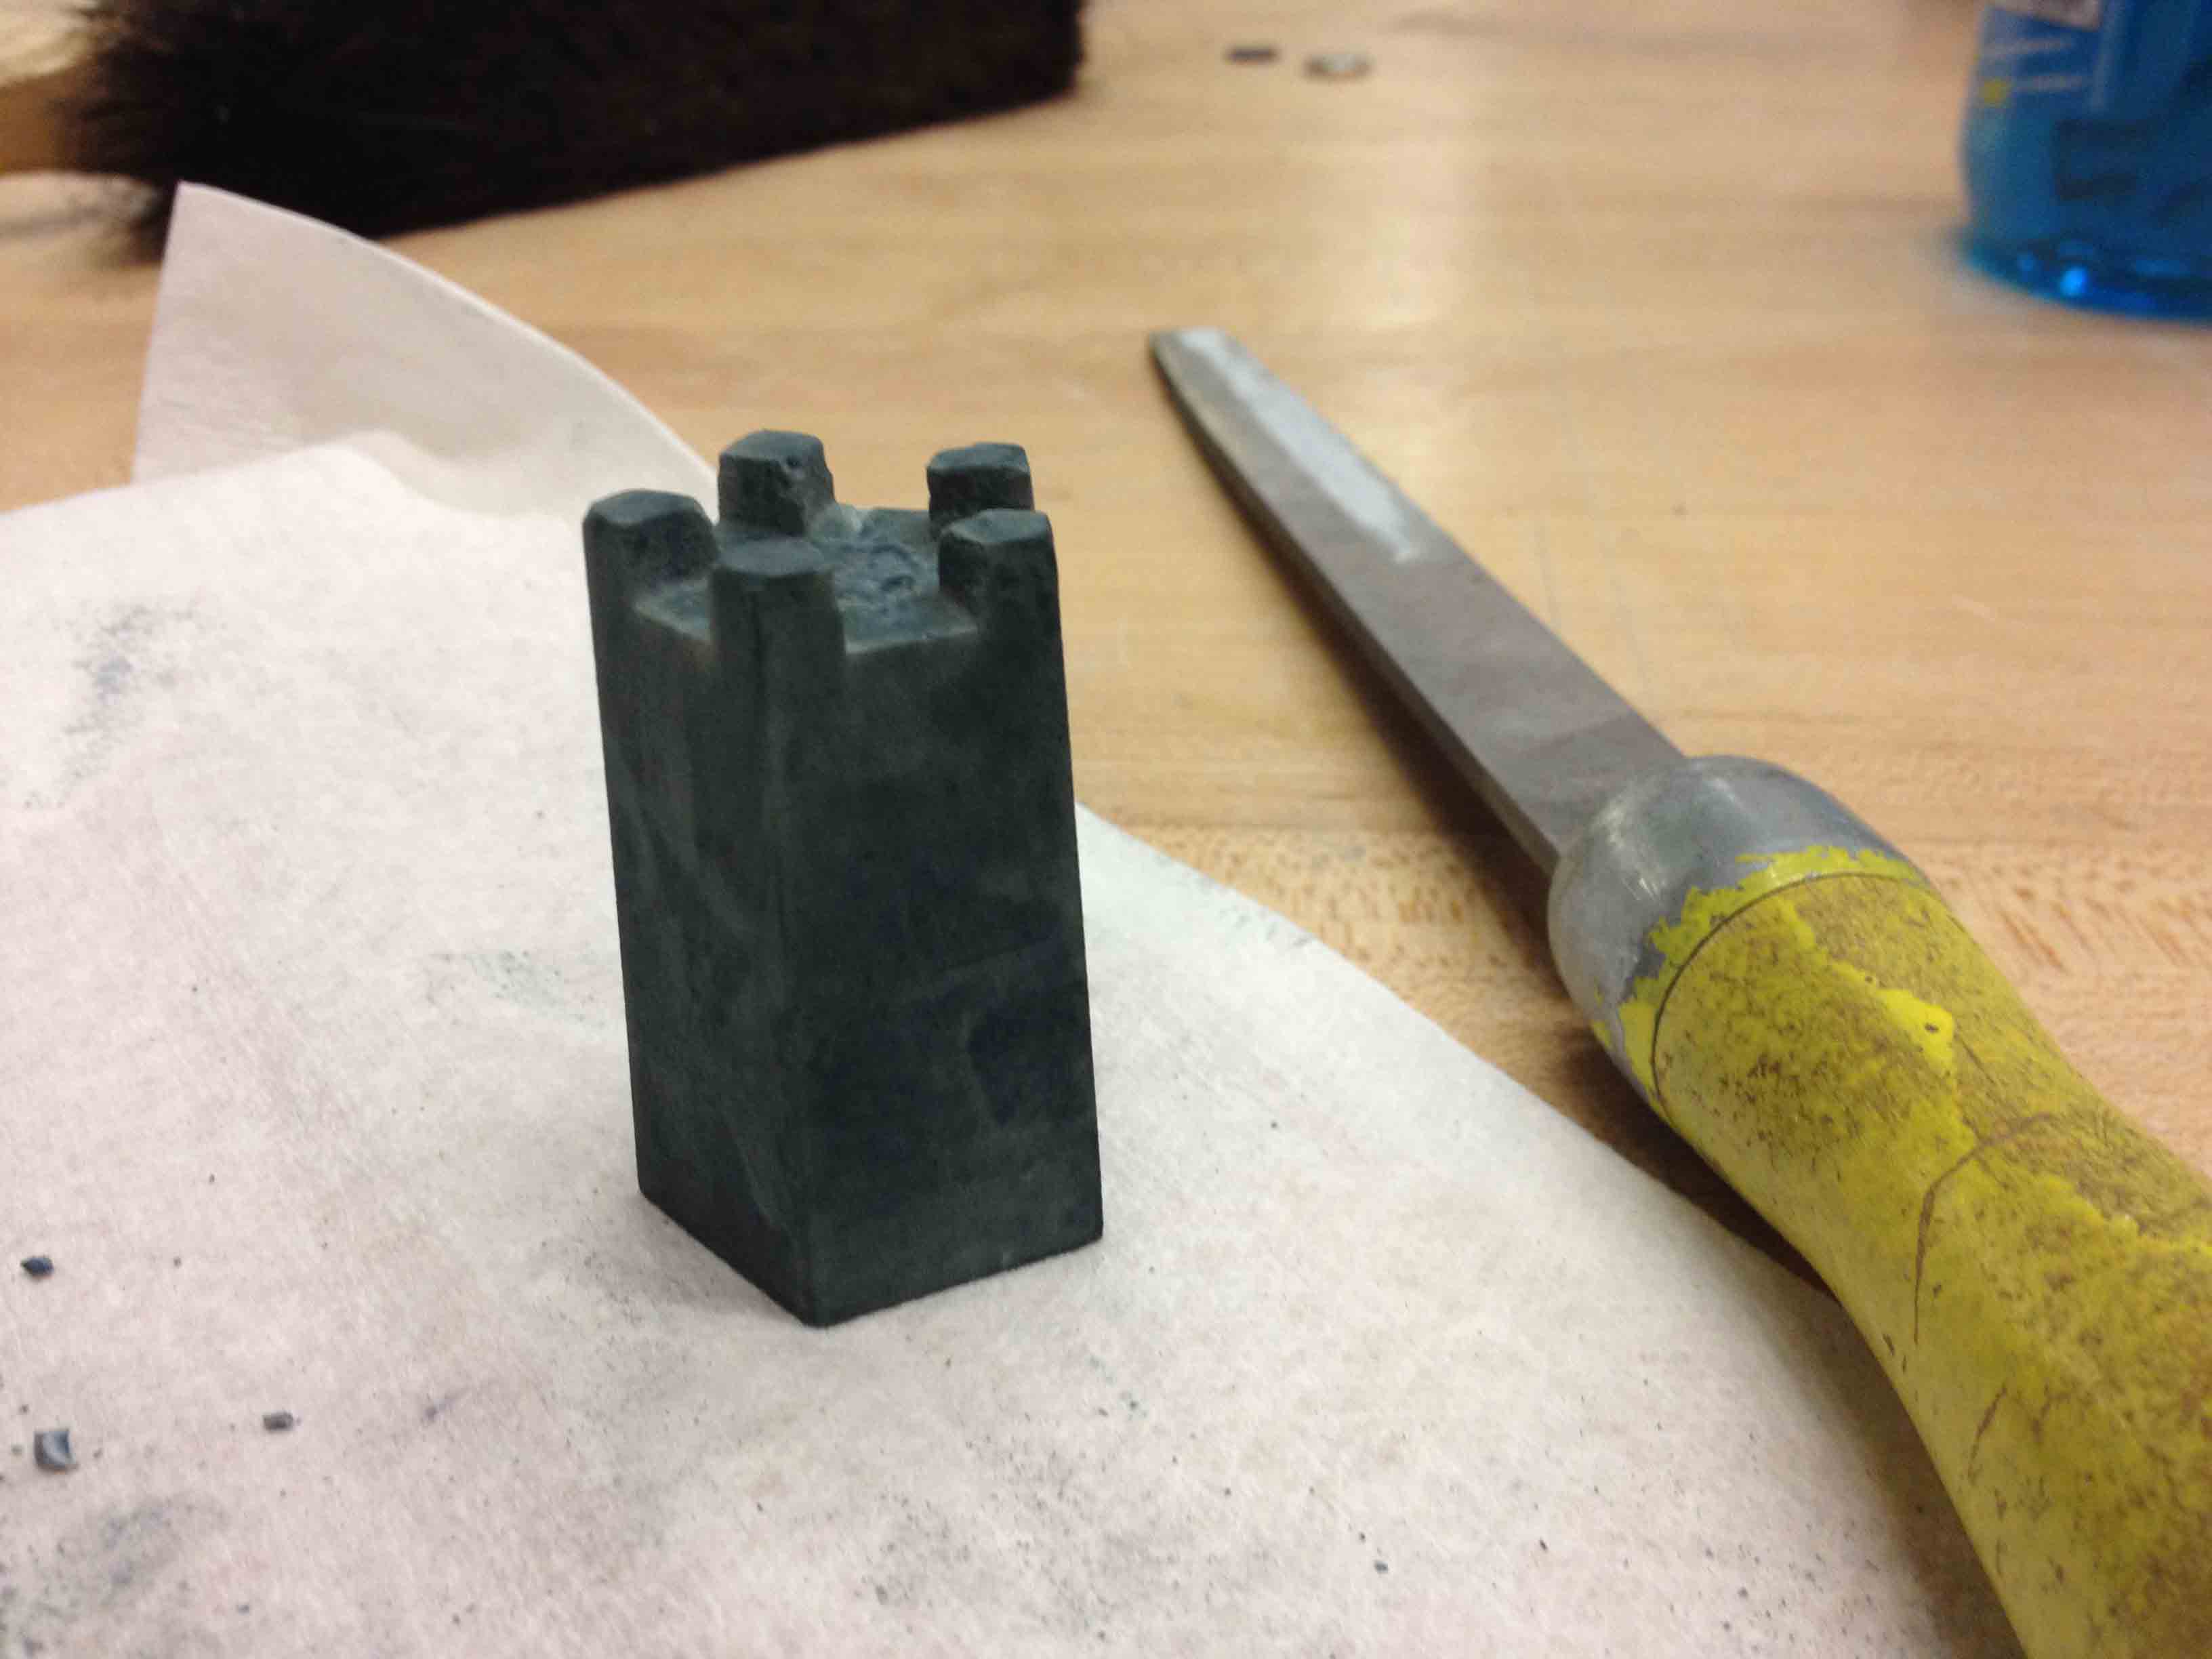
My next attempt was to add some wax sprues to the 3D printed piece before molding, and also to use a liquid dye instead of a powdered dye. I melted the sprues on with a lighter and suspended it in the middle of the box with nails. It was fairly difficult to get the sprues to stay in place, and if possible I would really like to find a better way to do this in the future.
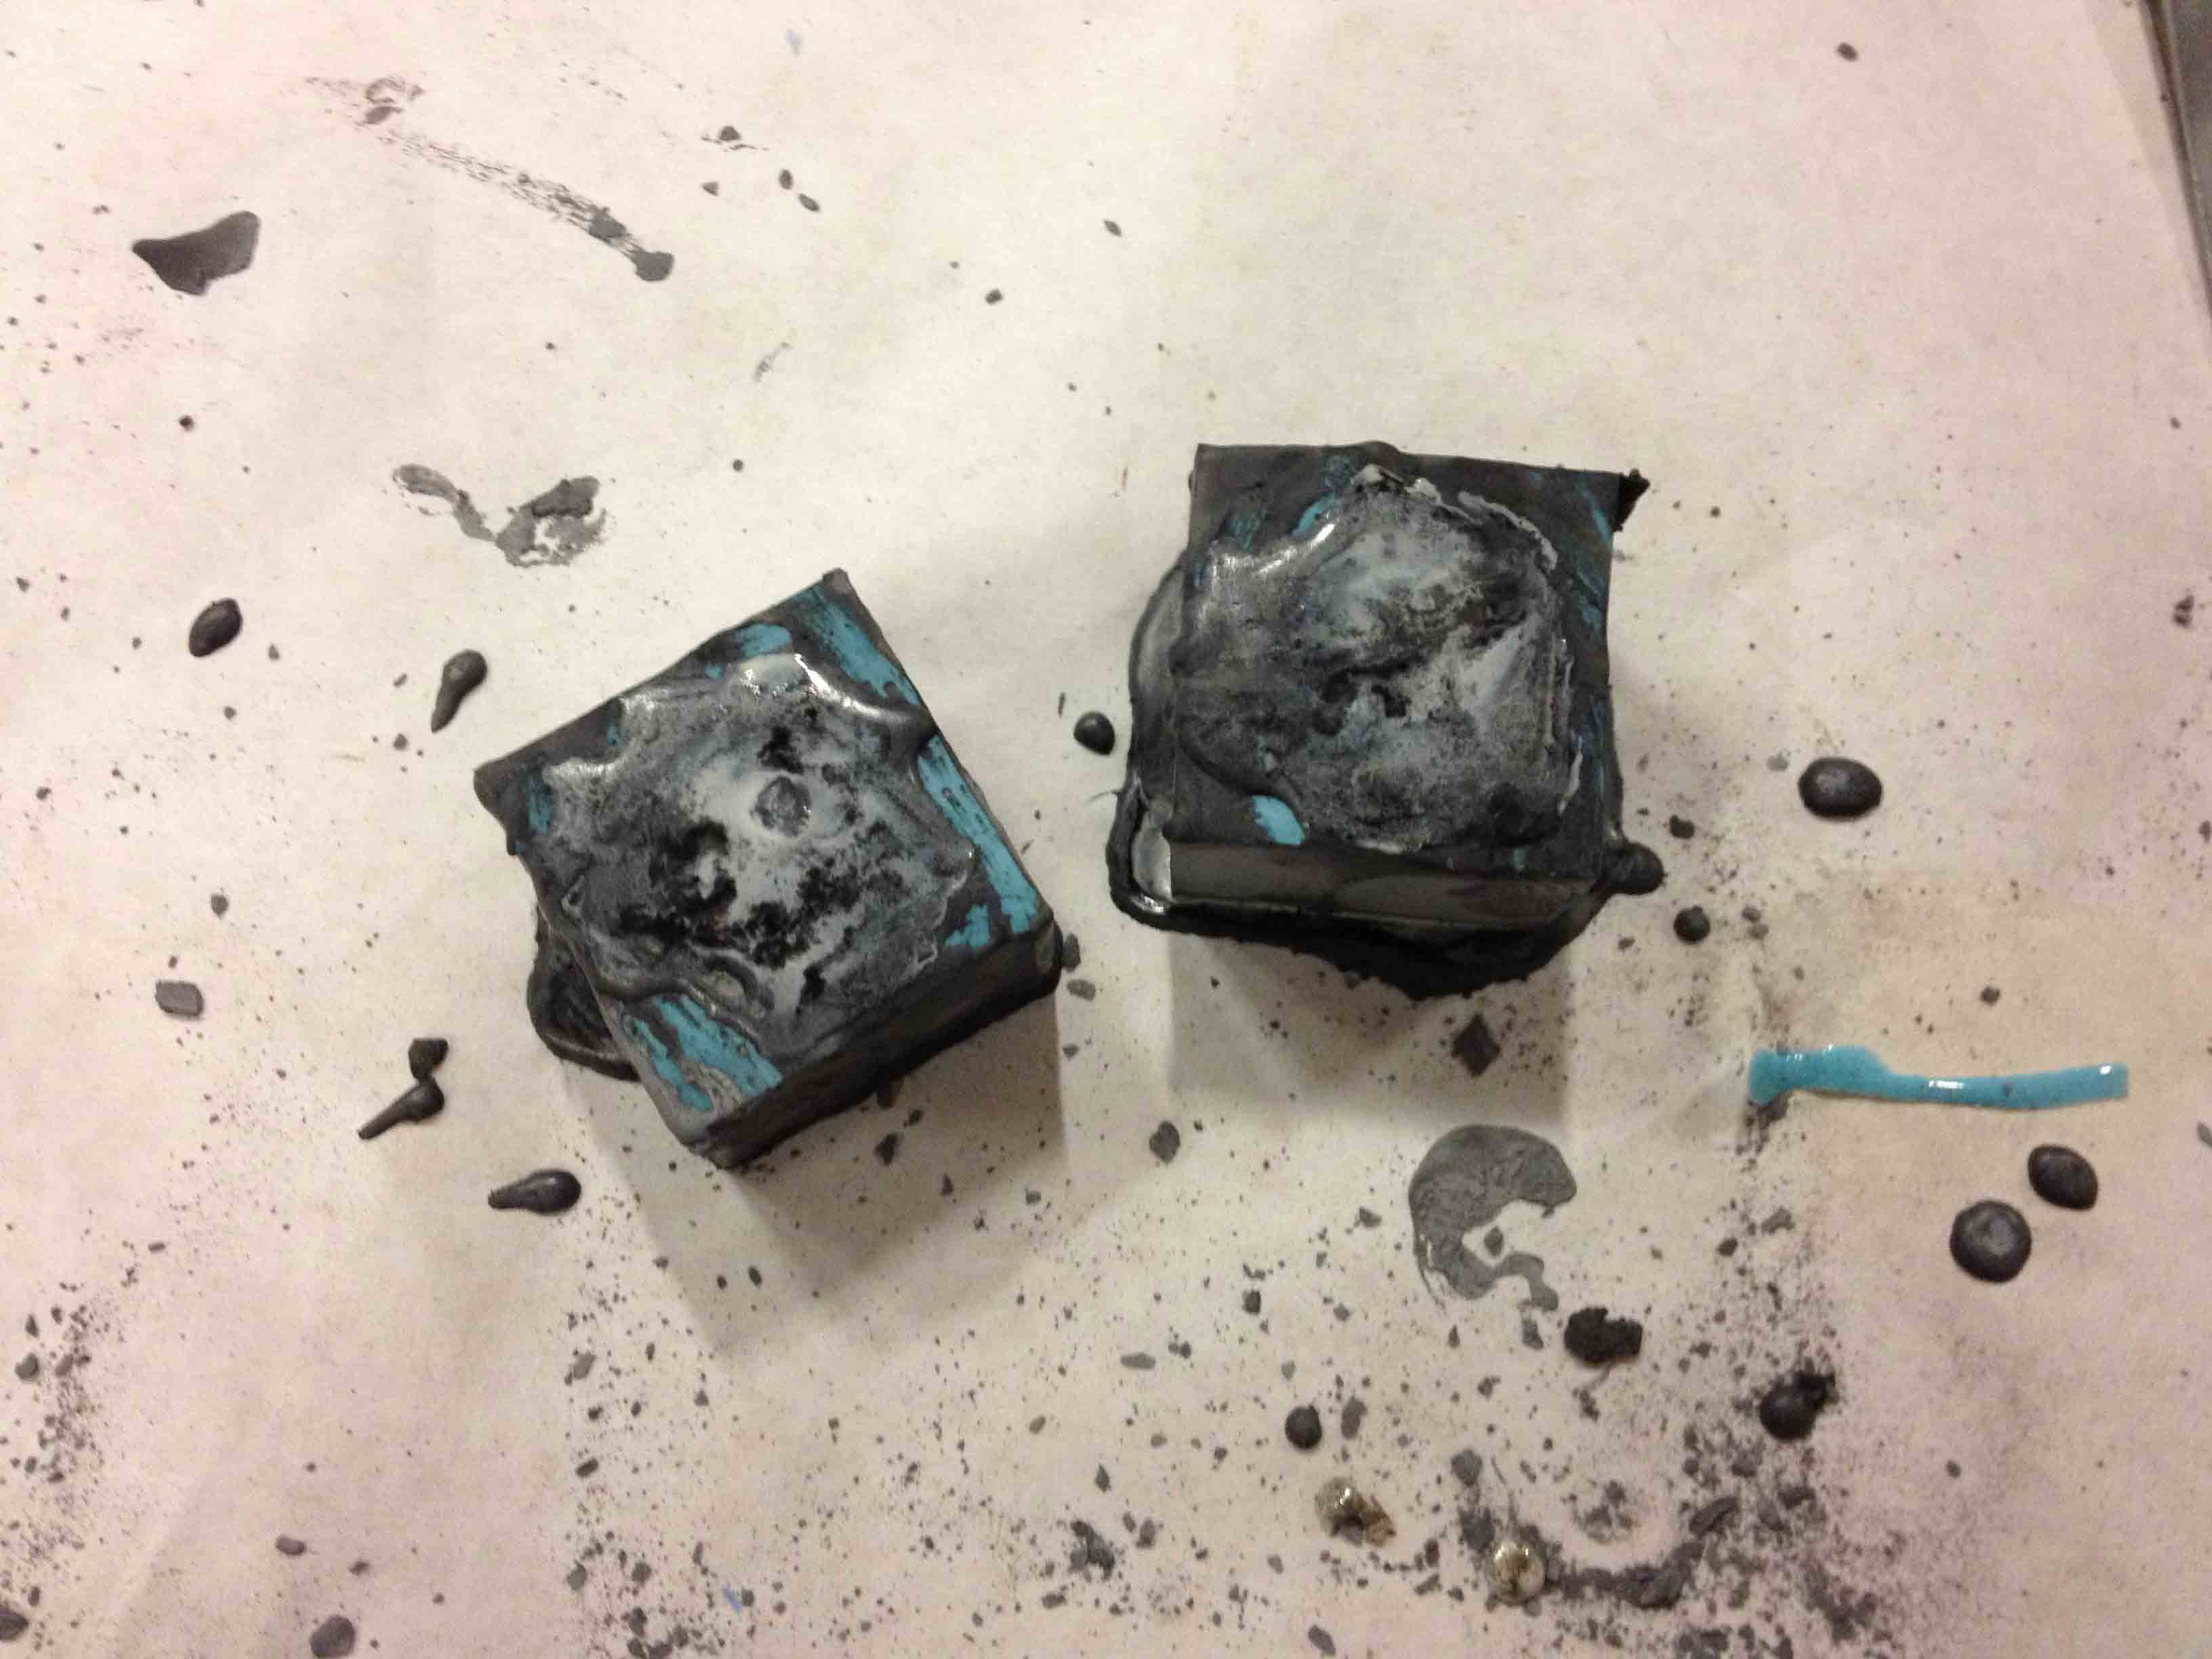
The casting process itself was much easier this time around, but because of the sprues I had to spend a lot of time filing the piece down, which ended up creating ugly scratches and dark-and-light patches of color on the final piece. Also, the piece didn't come out black! It came out a weird greenish color for some reason with the liquid dye.
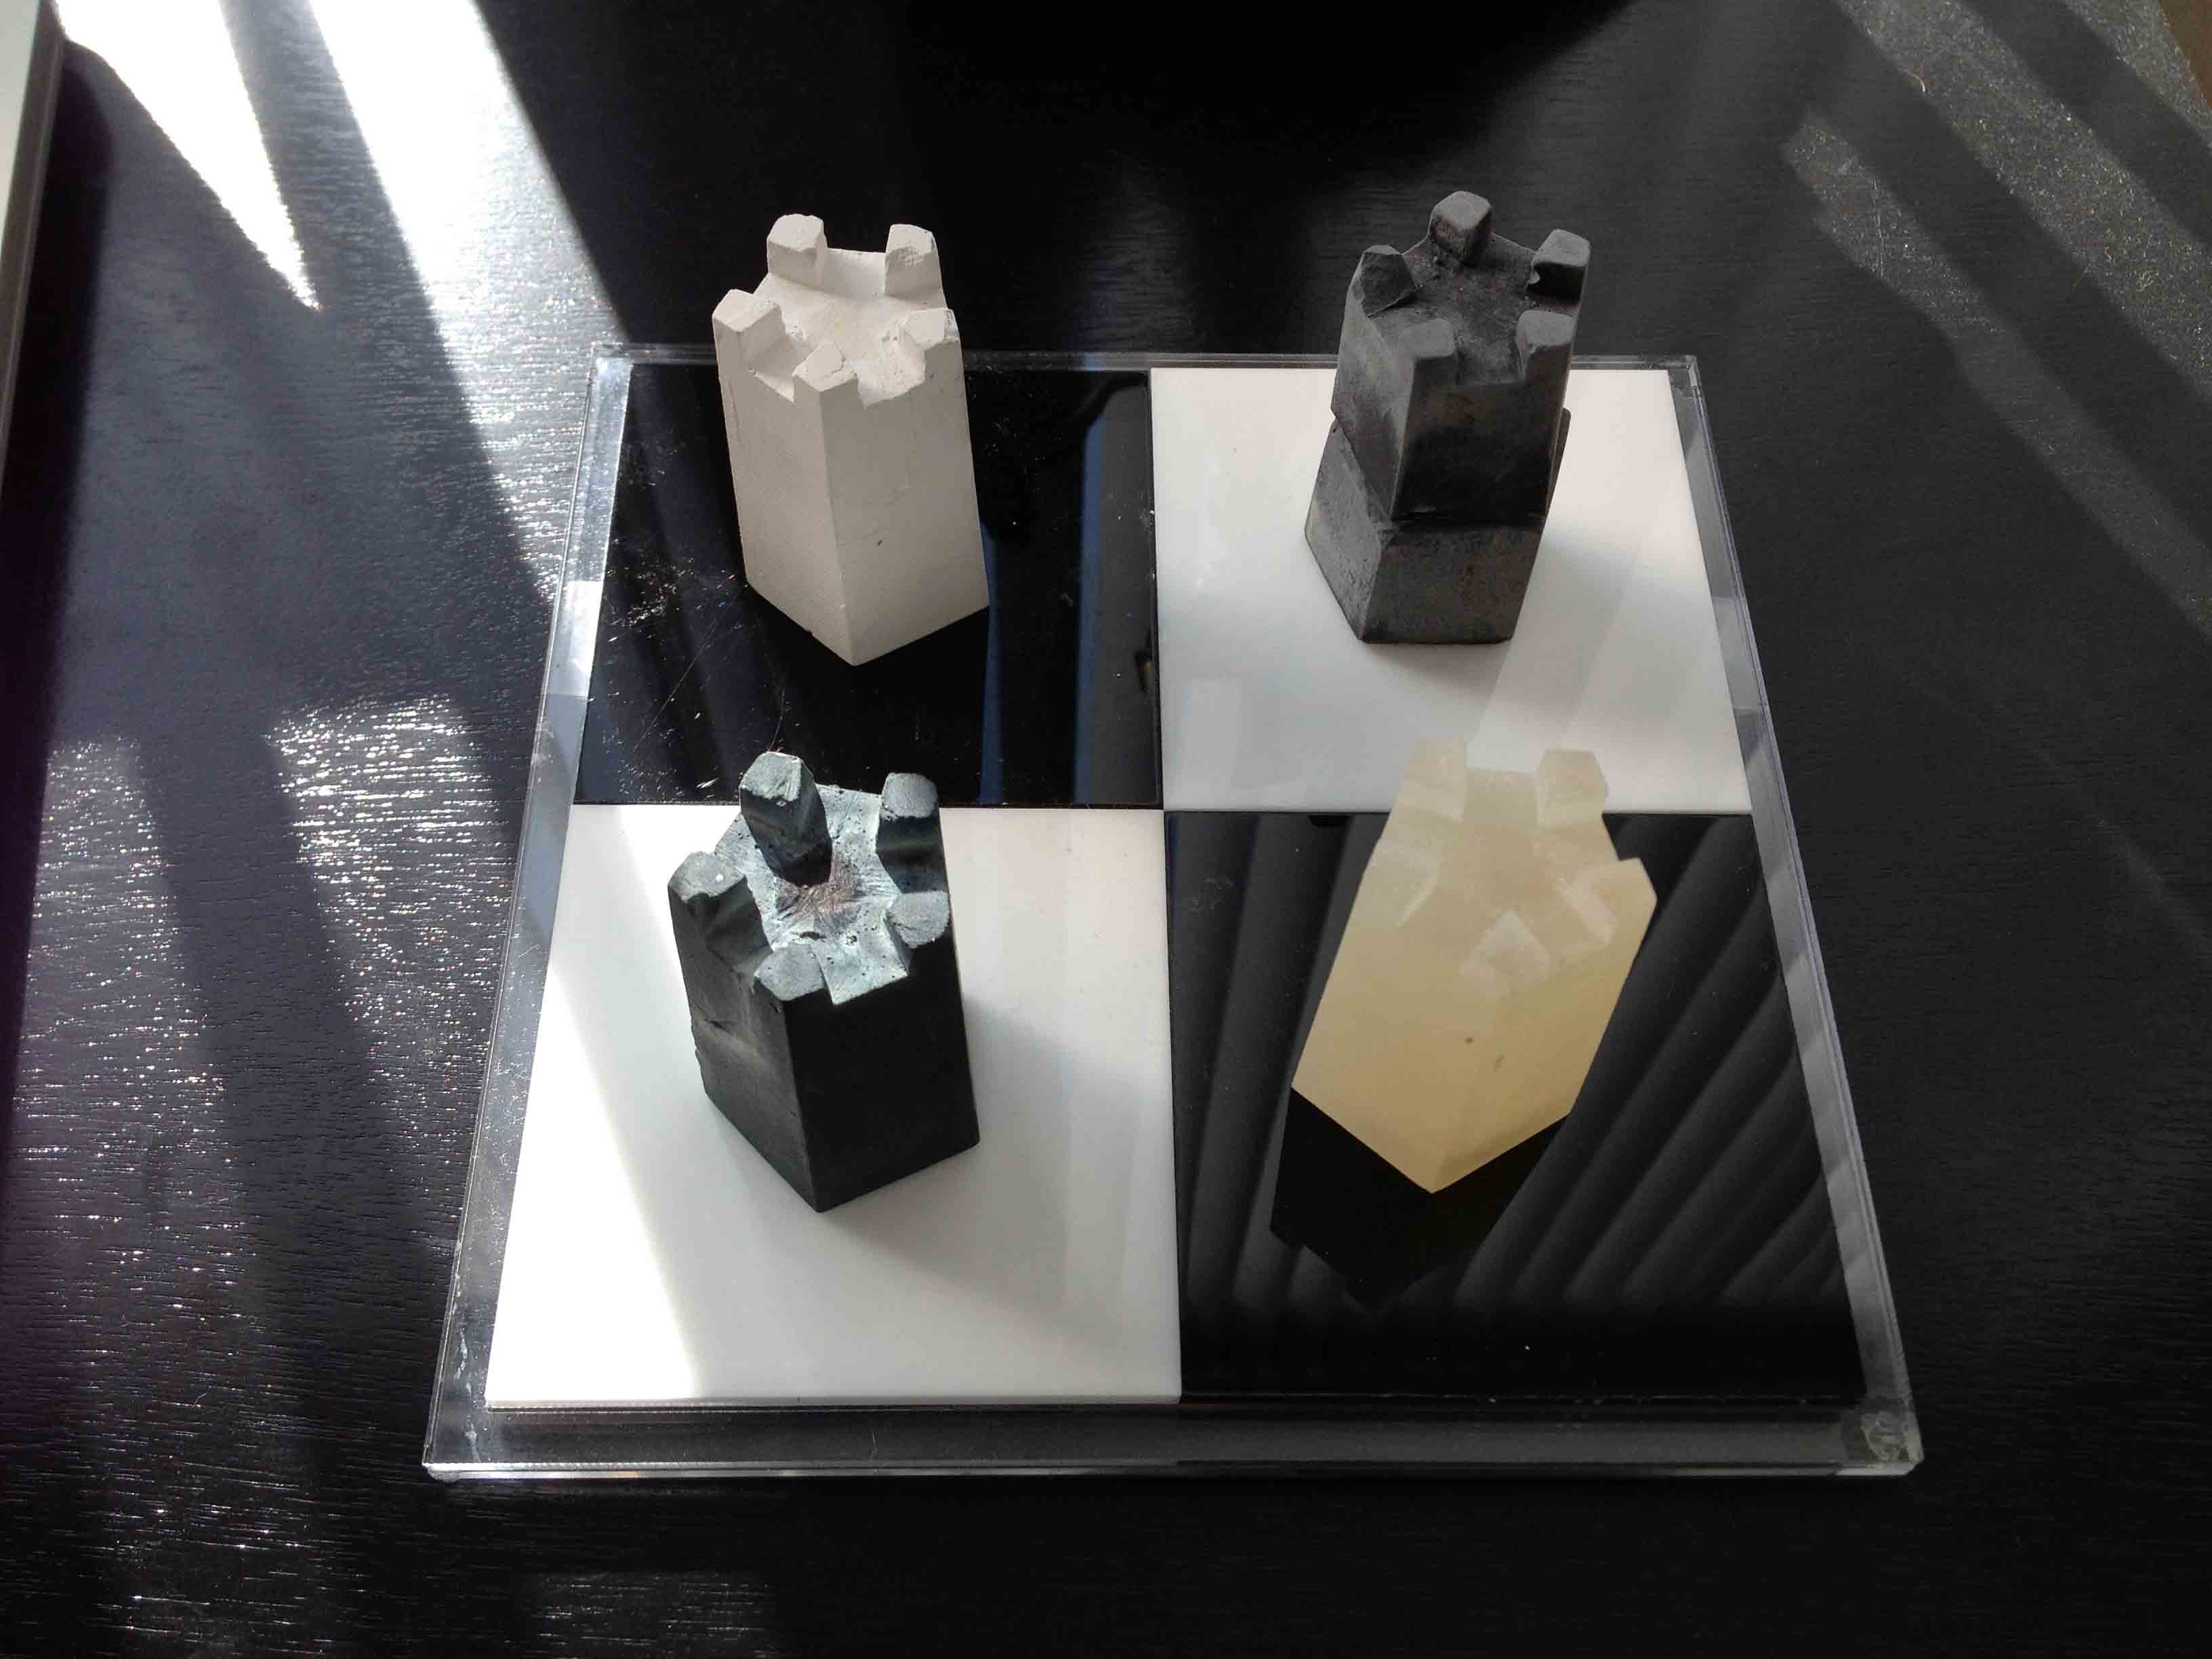
I also attempted this process with drystone, to see if the dye would mix better with the pure white powder, but it still came out green. I think in the end I'll just cast all the pieces in drystone without dye, and just spray paint the black ones.
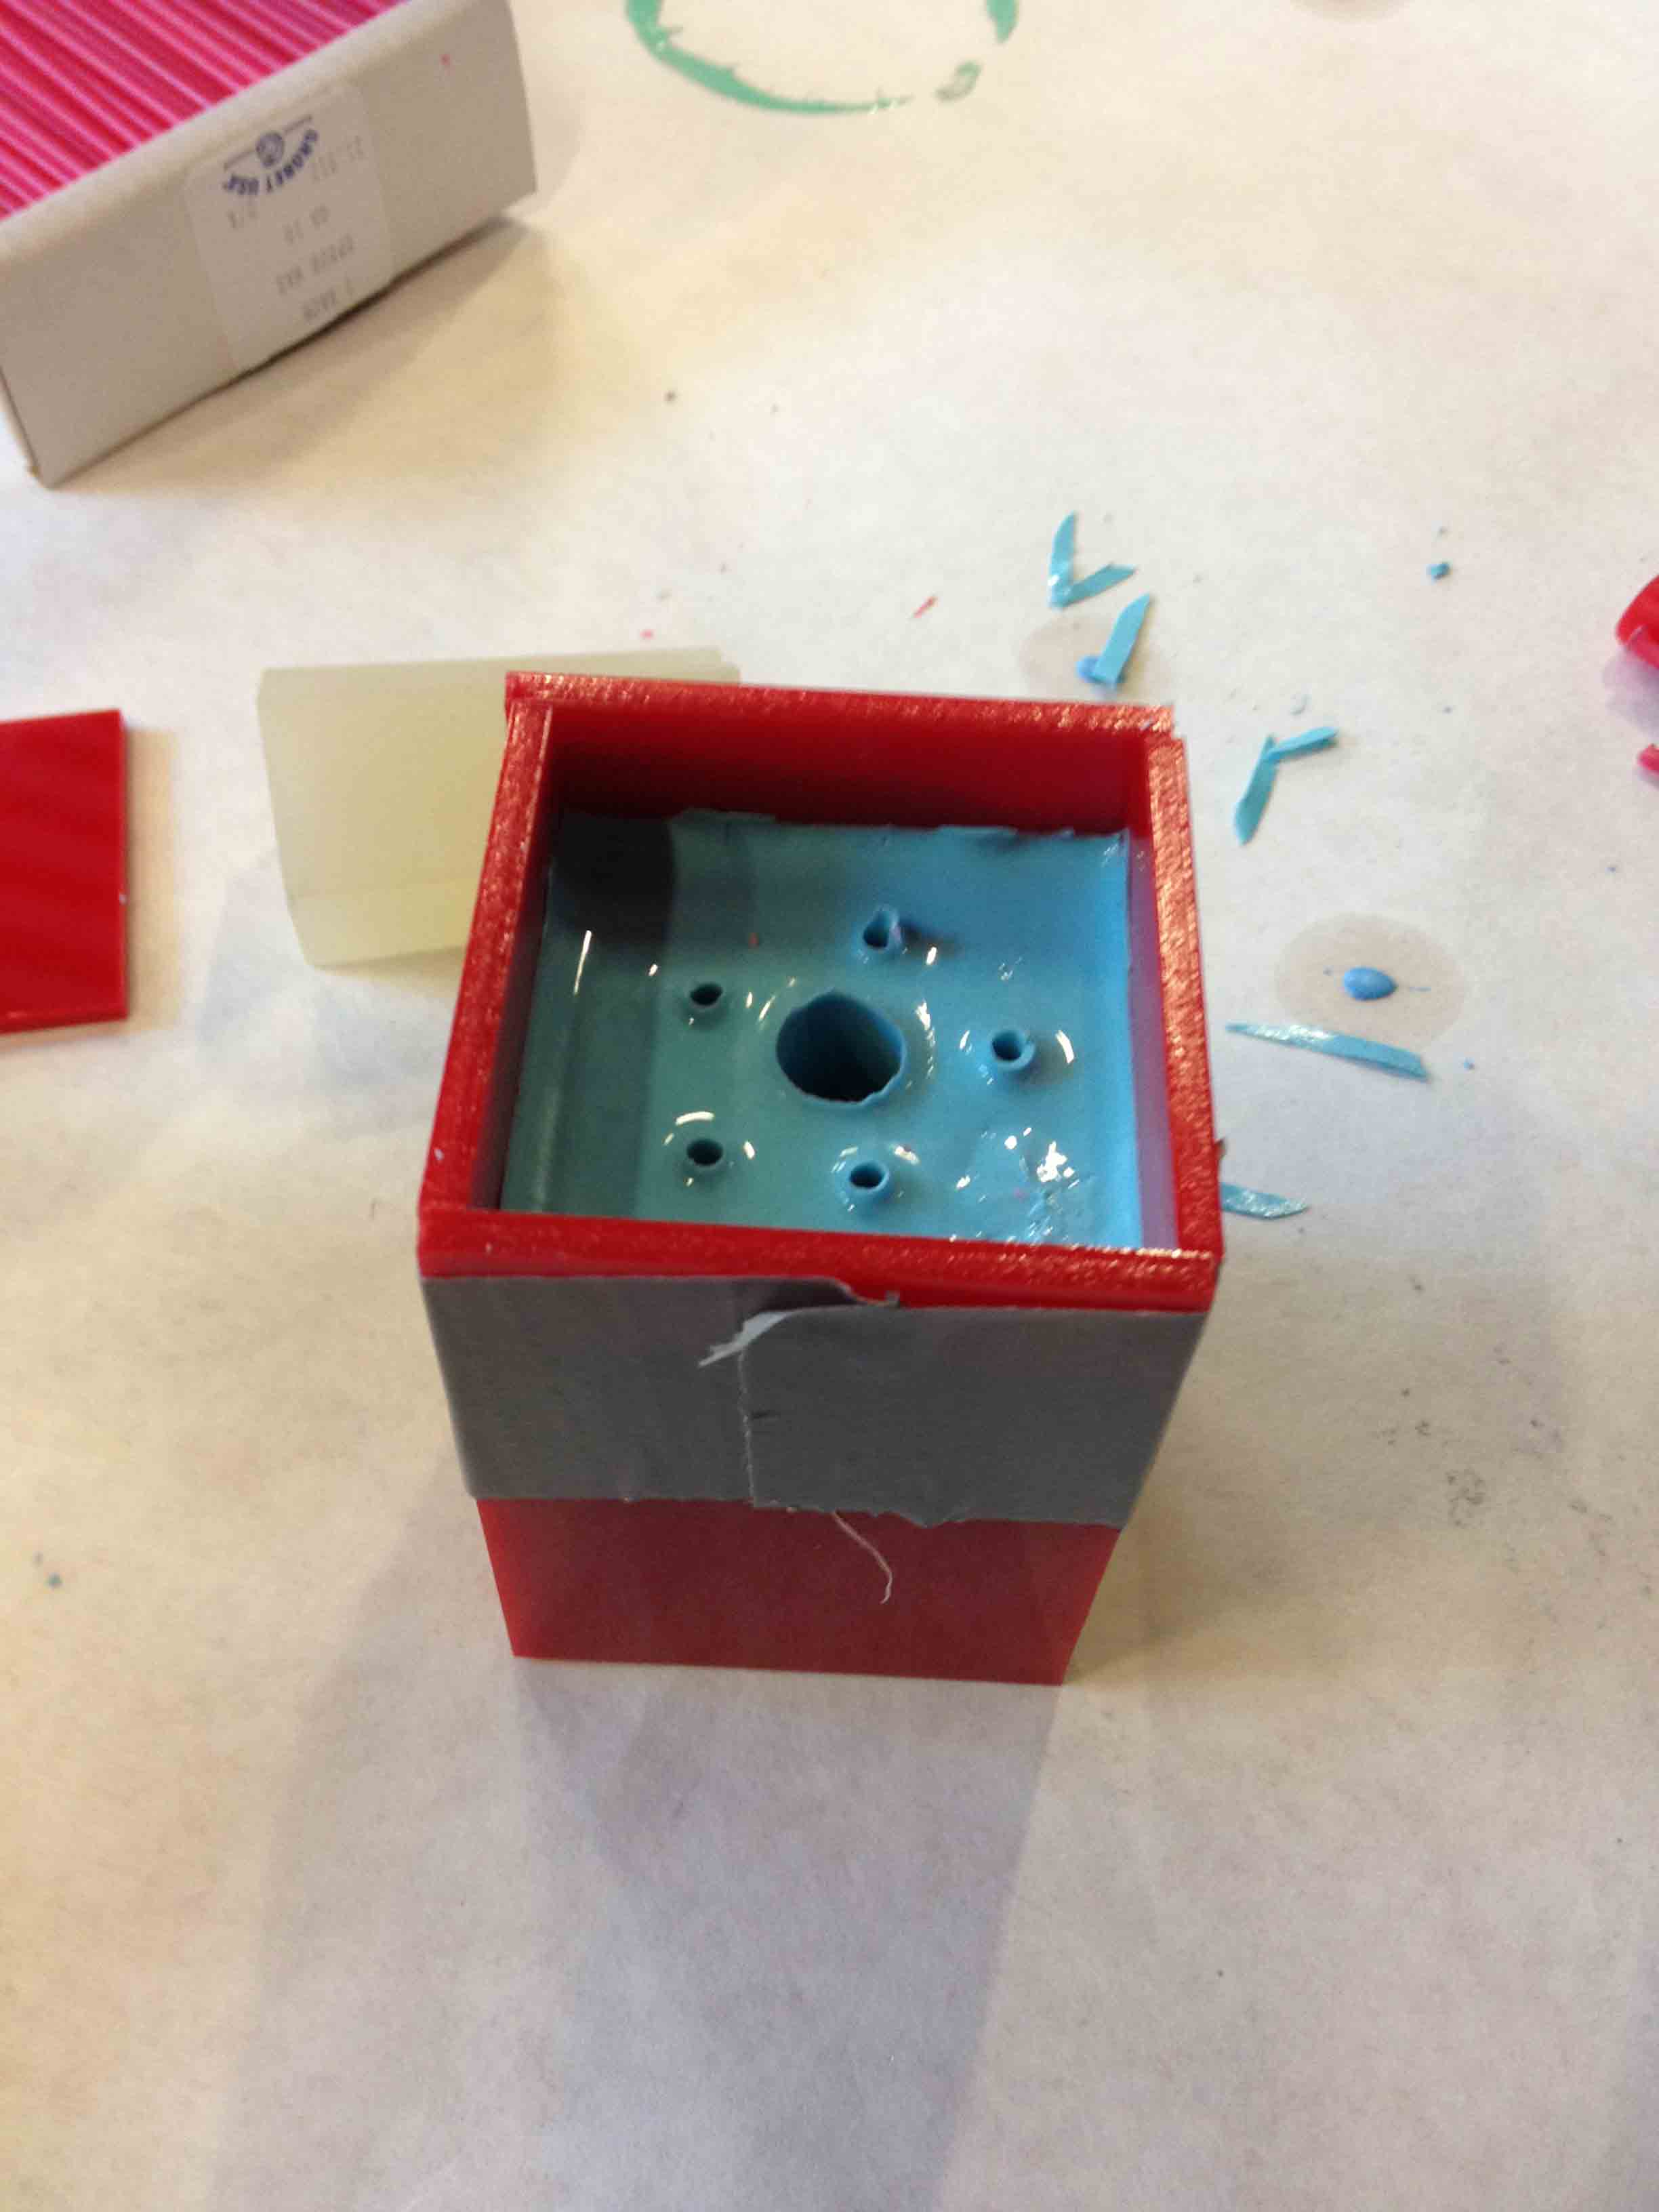
The bottoms of each piece have a hole in them that are perfectly sized to fit a magnet and an RFID tag. I needed to figure out if:
- the RFID reader I had could read the tag through 3/8" thick acrylic as well as through the magnet, and
- another magnet below the board could move the pieces around reliably without interfering with nearby pieces.
Design Files: