The gazebo was too hard to do well in the time I have left, and the materials would have cost a lot. I decided to postpone that project until I have more time, maybe over IAP.
Instead, I decided to make a sculpture inspired by Magritte's painting, The False Mirror.
I planned to make a shell where I would project from the back using my pico projector. I wanted to incorporate some code that I've been working on in Cinder (C++) which uses shaders to make generative sound/video compositions from YouTube videos of skies, moons, and stars.
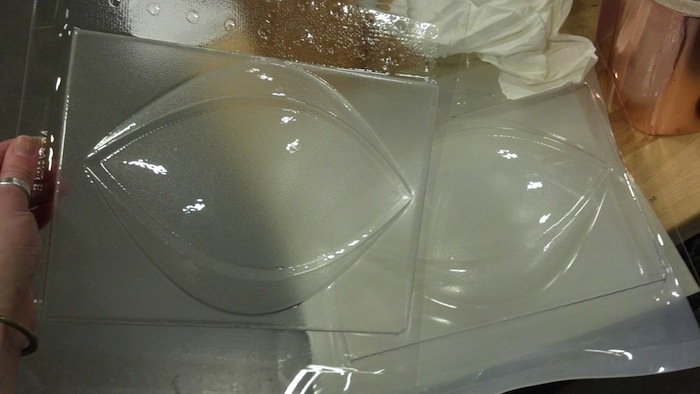
The biggest question was how to make a transluscent shell which would work with projection. I decided to try two approaches to see which would work better: molding/casting and vacuum forming.
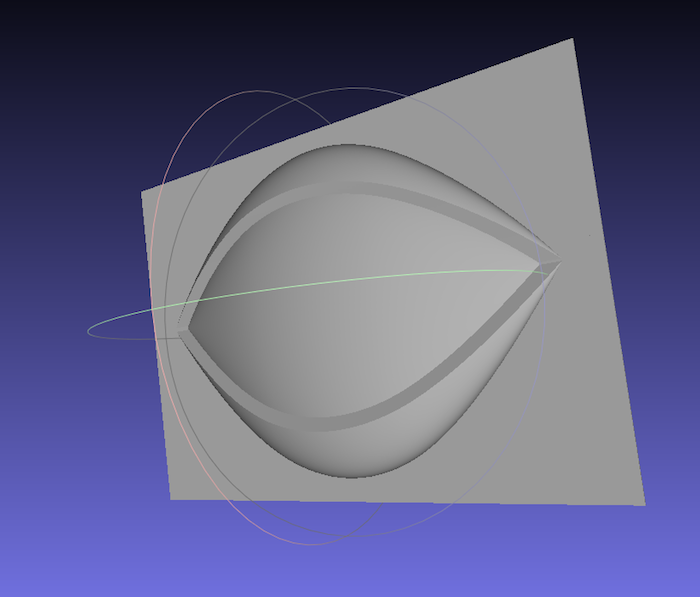
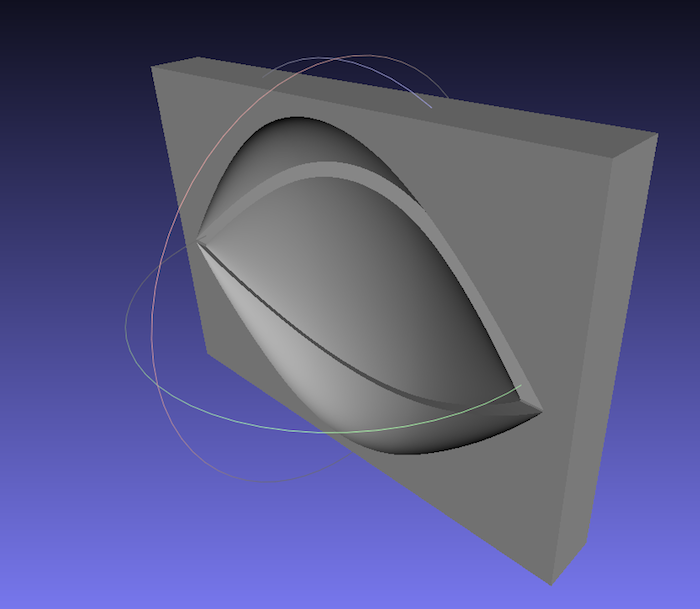
Both of these methods required me to make a mold, so, after much struggling, I managed to model an eye in Rhino. I had been drawing the profiles for my 3d object in Illustrator, importing them into Rhino, and then manipulated them to make solids up until this point. This method ended up not working for designing my eye because it created lots of holes and weird issues in corners. So, I finally learned how to do everything within Rhino itself.
In order to cast a shell, I needed to make a positive and a negative mold (the positive must be slightly smaller than the negative in order to create space. Here are screenshots of my two stl files:
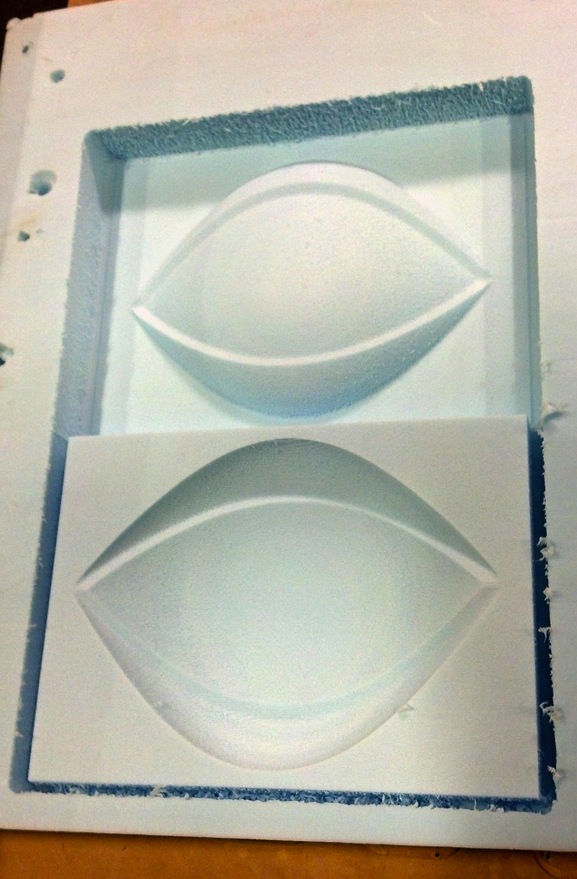
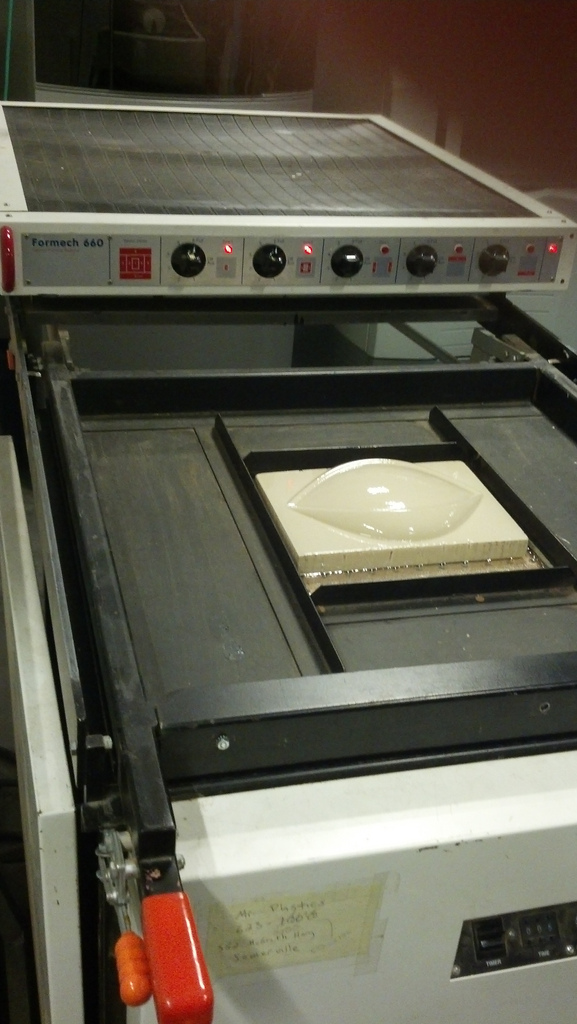
I then milled 3 molds on the shopbot, 2 for molding/casting and 1 for vacuum forming:
I milled my 2-sded mold from the blue building foam.
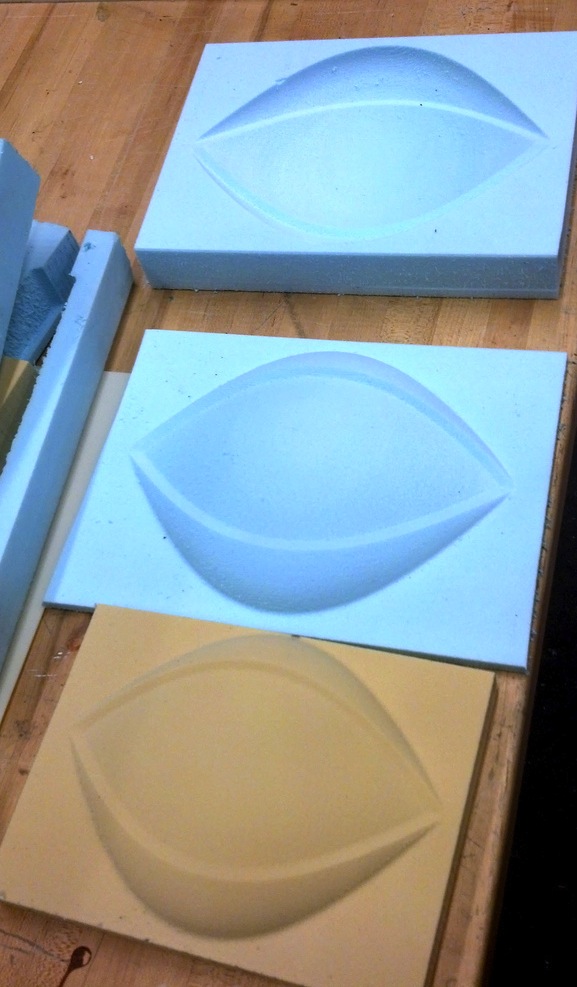
I milled a smaller mold (so it can fit on a 12 x 12" piece of plastic in the vacuum former) out of this yellow prototyping foam, which is much harder. Whatever material you want to vacuum form must be porous so air can get through when under vacuum and rigid enough to not get compressed by the vacuum. Ideally you would also like to be able to reuse your mold, and I was able to reuse this yellow foam mold many times (supposedly MDF is also good for this).
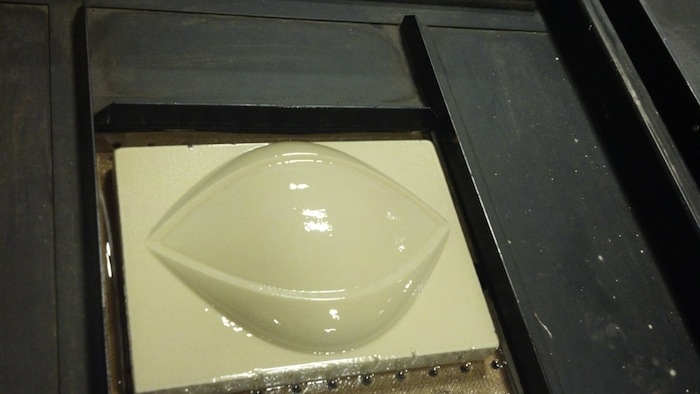
I then carefully cut out my molds on the band saw and ended up with these 3 beautiful molds:
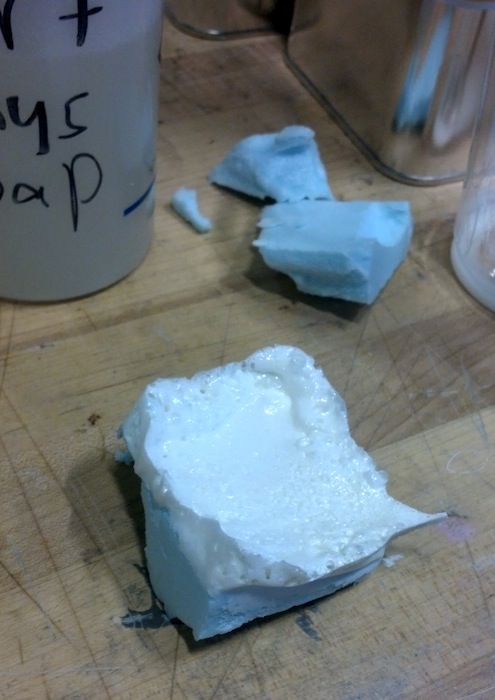
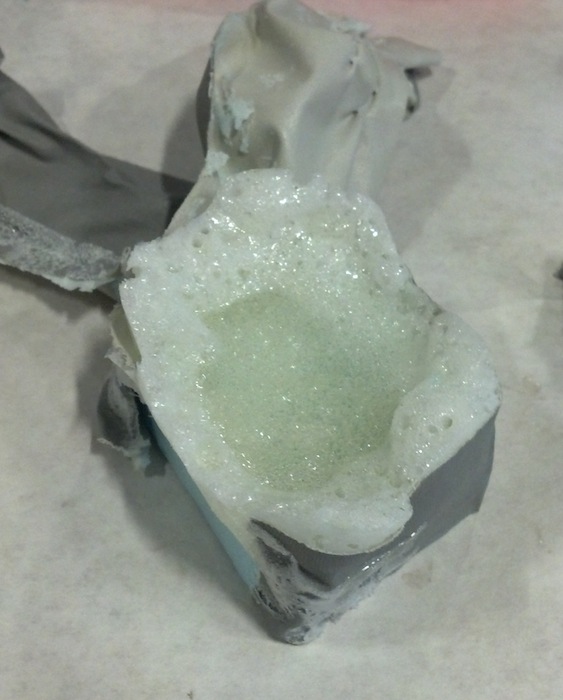
I tried some tests with blue foam and smoothcast 326 resin with and without white pigment. It foamed like crazy and looked terrible! I finally realized it was because I used murphy's oil soap and water as my demolding agent, and water reacts with the resin. I realized this a bit too late in the week to continue with it, and I ended up going with vacuum forming instead. I'd still like to make this cast later.
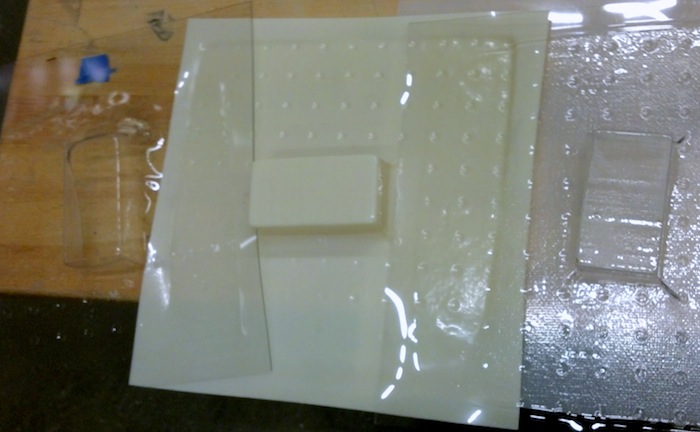
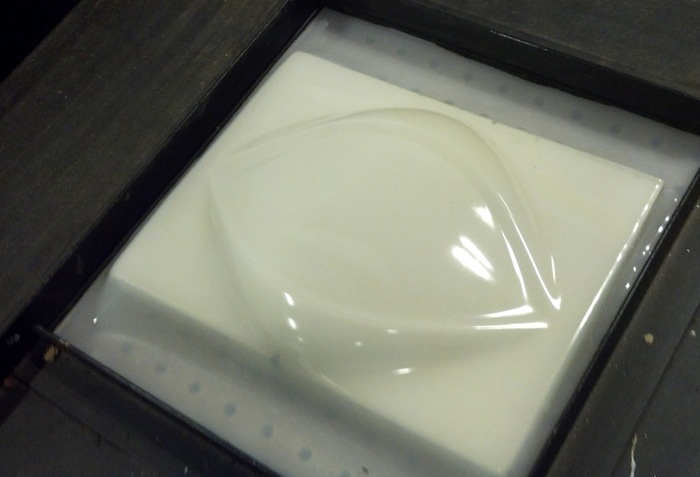
Vacuum forming was surprisingly consistent and wonderful once you get the hang of it. I tried a bunch of tests using a piece of yellow foam and various types of plastic. I tried some white semi-transparent plastic I found, but it didn't work well. Clear PEDT worked beautifully every time, so that is what I ended up using.
Testing:
Semi transluscent plastic that didn't work well:
I only used zones 1 and 2 on the machine for the 12 x 12" piece, which supposedly works better. Heat your plastic until it starts to sag but no longer, move your mold upwards quickly while turning on the vacuum, wait a bit for it to cool, turn of the vacuum, wait for it to cool longer, and then take your mold out.
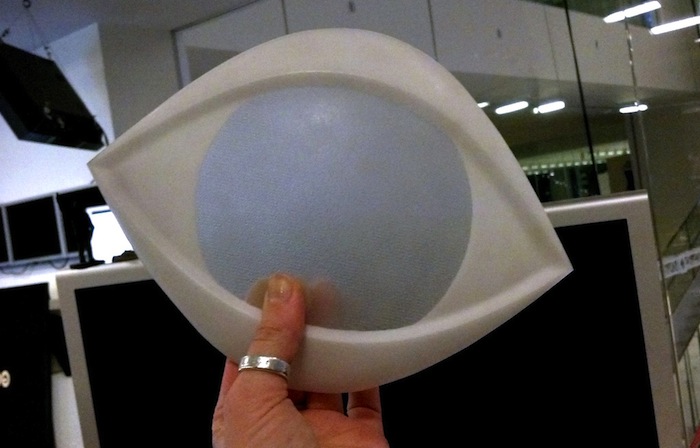
I was able to pry out my mold using a screw driver. My mold remained in tact so I made 5 more shells. I loved this process!
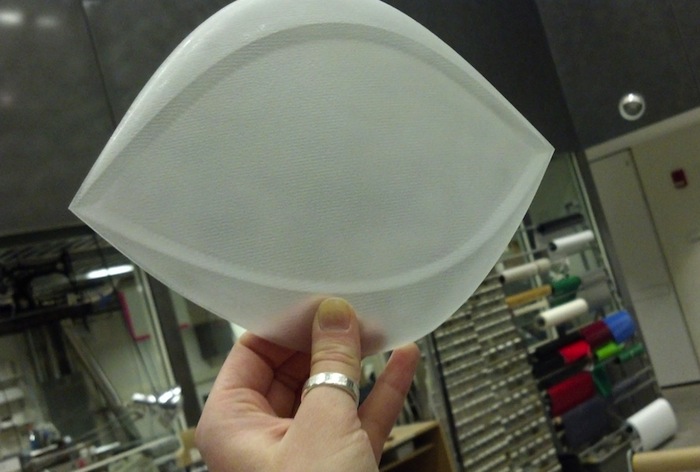
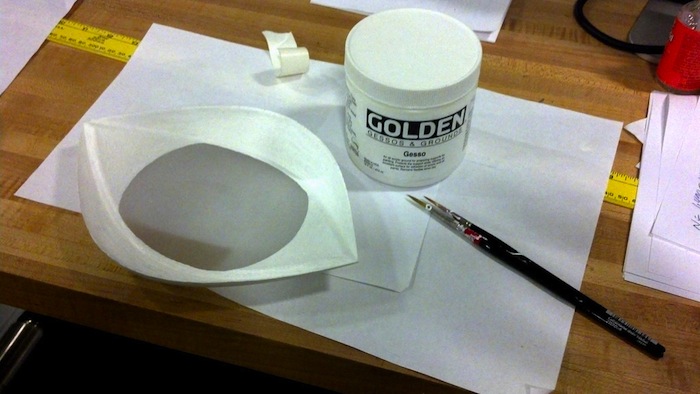
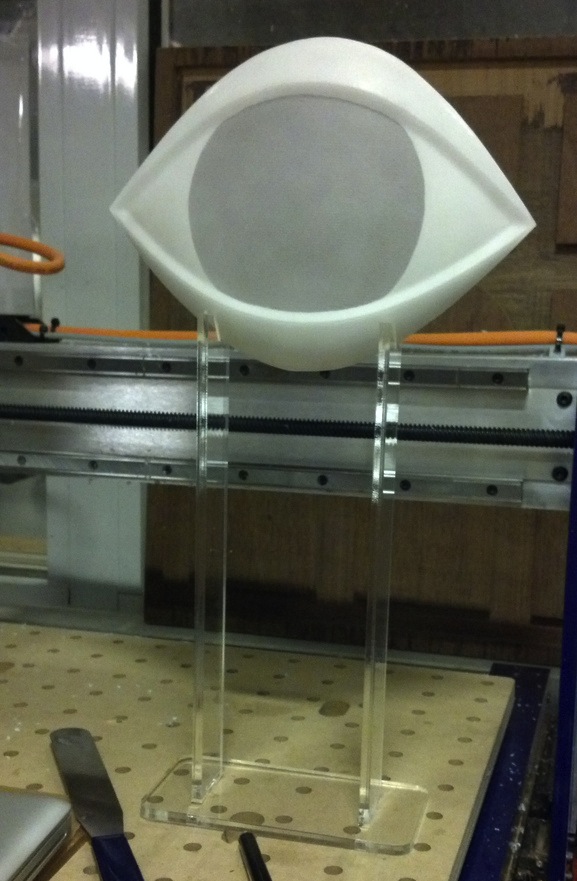
I carefully did a rough cut on the bandsaw to remove the excess plastic. I then used the sanding machine to remove the rest and did the final clean up sanding by hand.
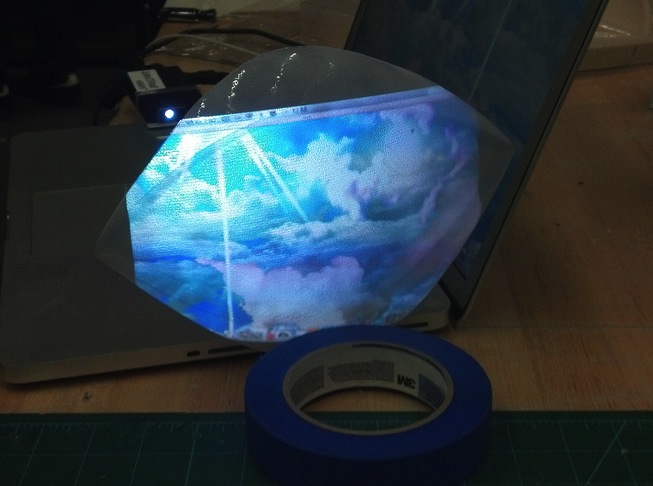
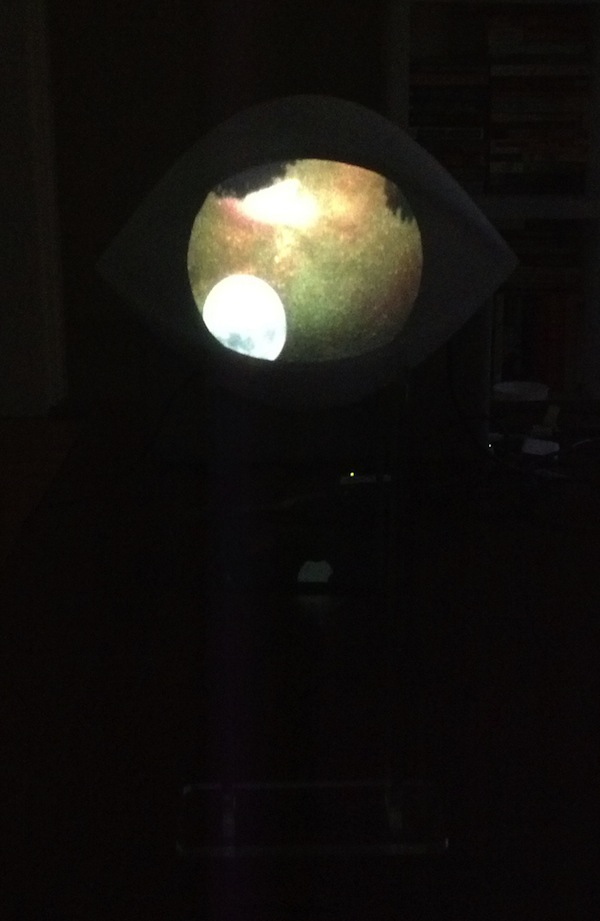
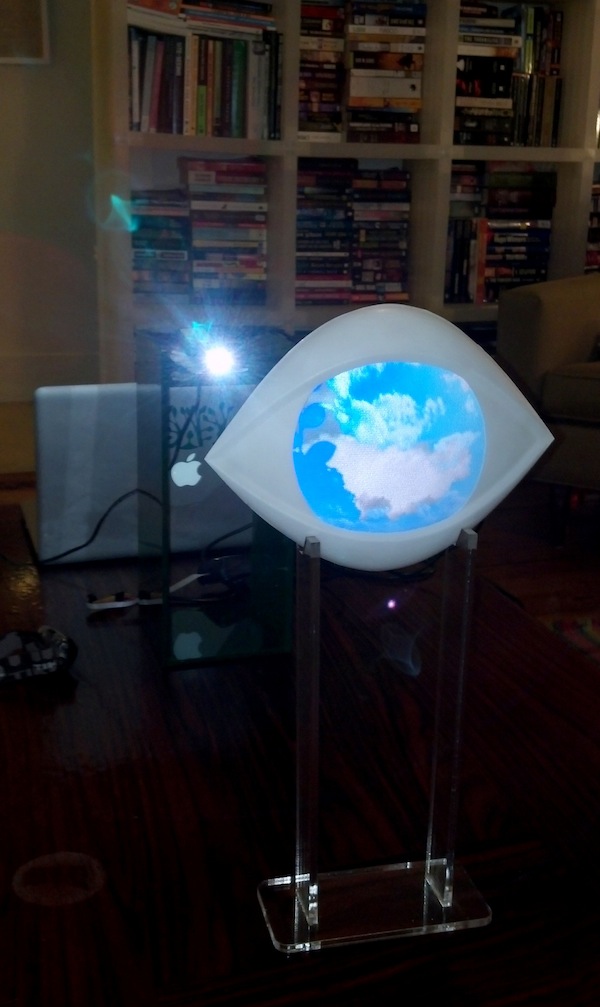
The sandblasted plastic works very well for projection.
I only wanted the projection to show up on the iris of the eye, so I carefully painted the rest of the back with a few coats of gesso. I had done some tests with this earlier and found that gesso and even thick white acrylic paint were not opaque enough for this, so I did a few layers of gesso to create a matte, white surface and then covered that with layers of white artist's tape.
The gesso underneath the sanblasted plastic looks beautiful!
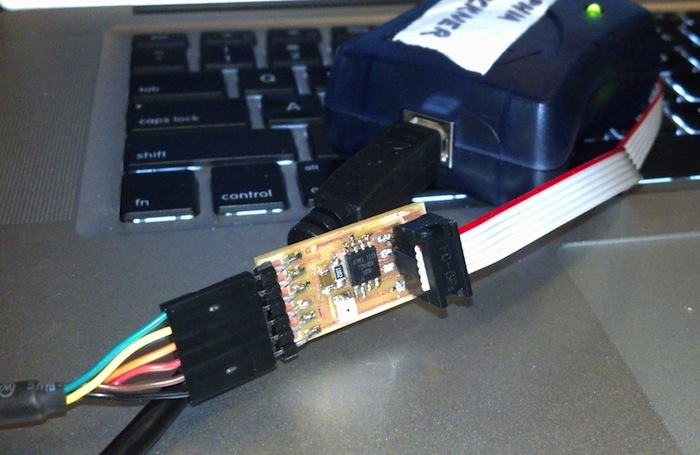
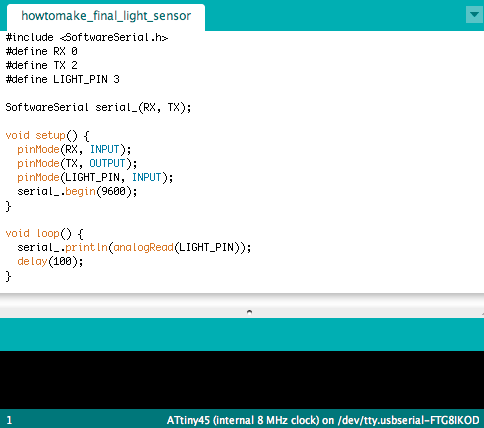
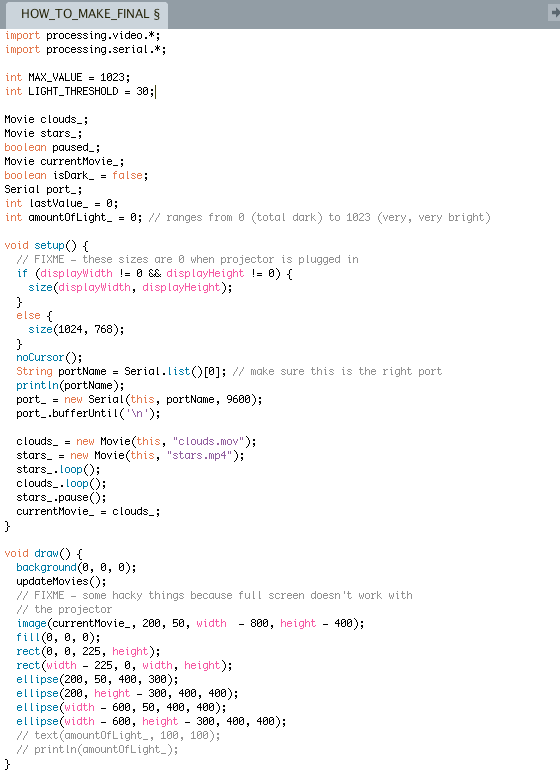
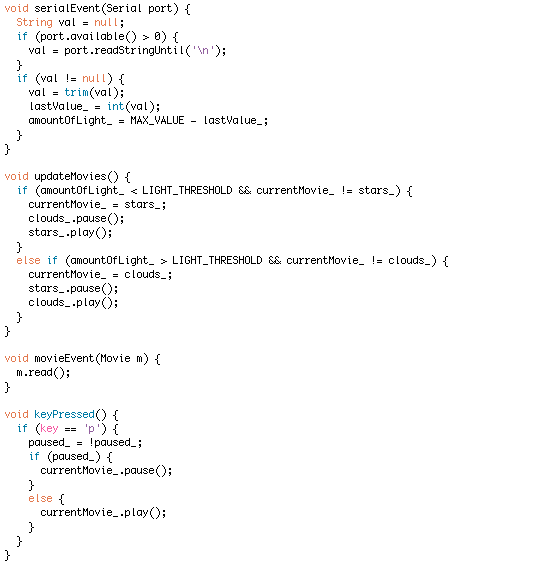
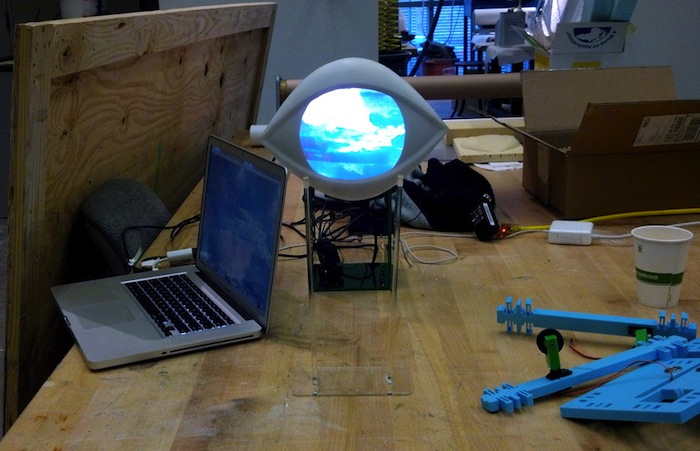
I then worked on the electronics for my sculpture. I used a simple board I milled on the Modela with a phototransistor on it as a light sensor. I used the Arduino environment, and then I wrote a Processing program which reads the light data from serial.
The Processing program switches between two videos depending on the amount of light. If it is dark, it will show stars and moons. If it is light, it will show clouds.
Arduino code:
Processing code:
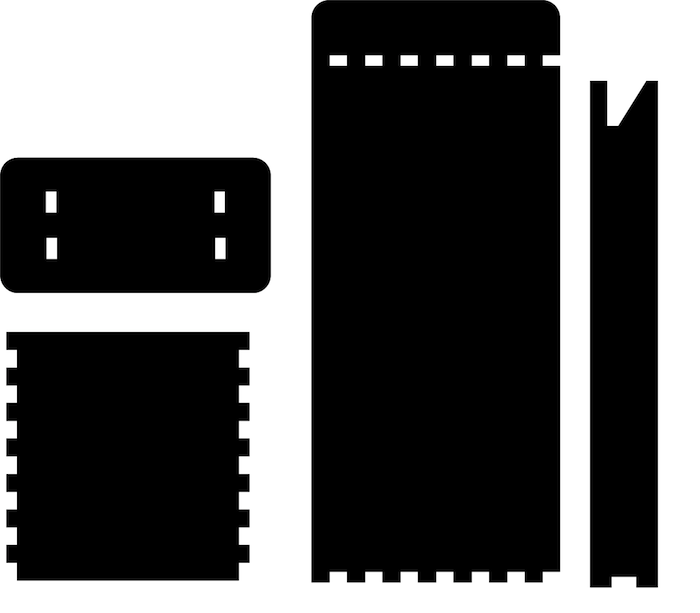
I laser cut an acrylic stand for the eye, which I designed in Illustrator. I found that substracting .2 mm from the slots gives a good press fit.
I also laser cut another stand for the projector:
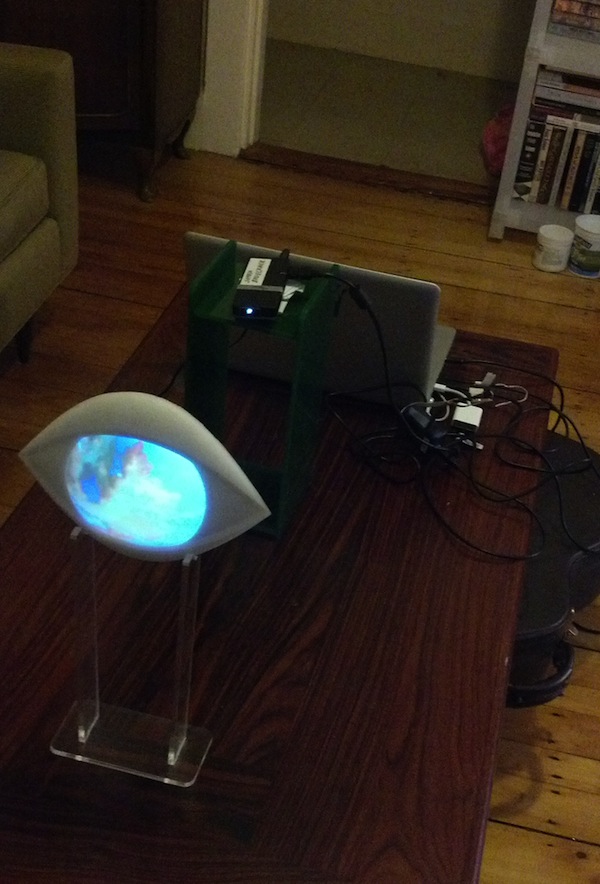
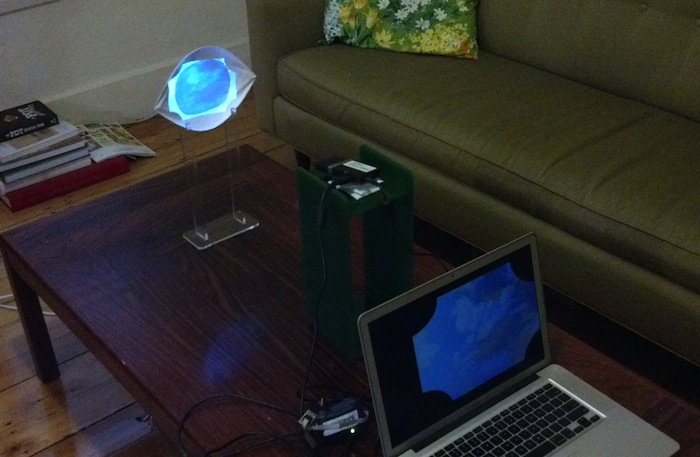
Finally, after a lot of tweaking things, here is everything working together!
I had problems with the screen size in Processing, so I had to do some hacky things to get it to line up right with the eye. If I had more time, I would rewrite this all in openFrameworks or Cinder, which handles video and full screen better.