- Electronics:
- Microcontroller - Arduino (ATMEGA328)
- Stepper motors
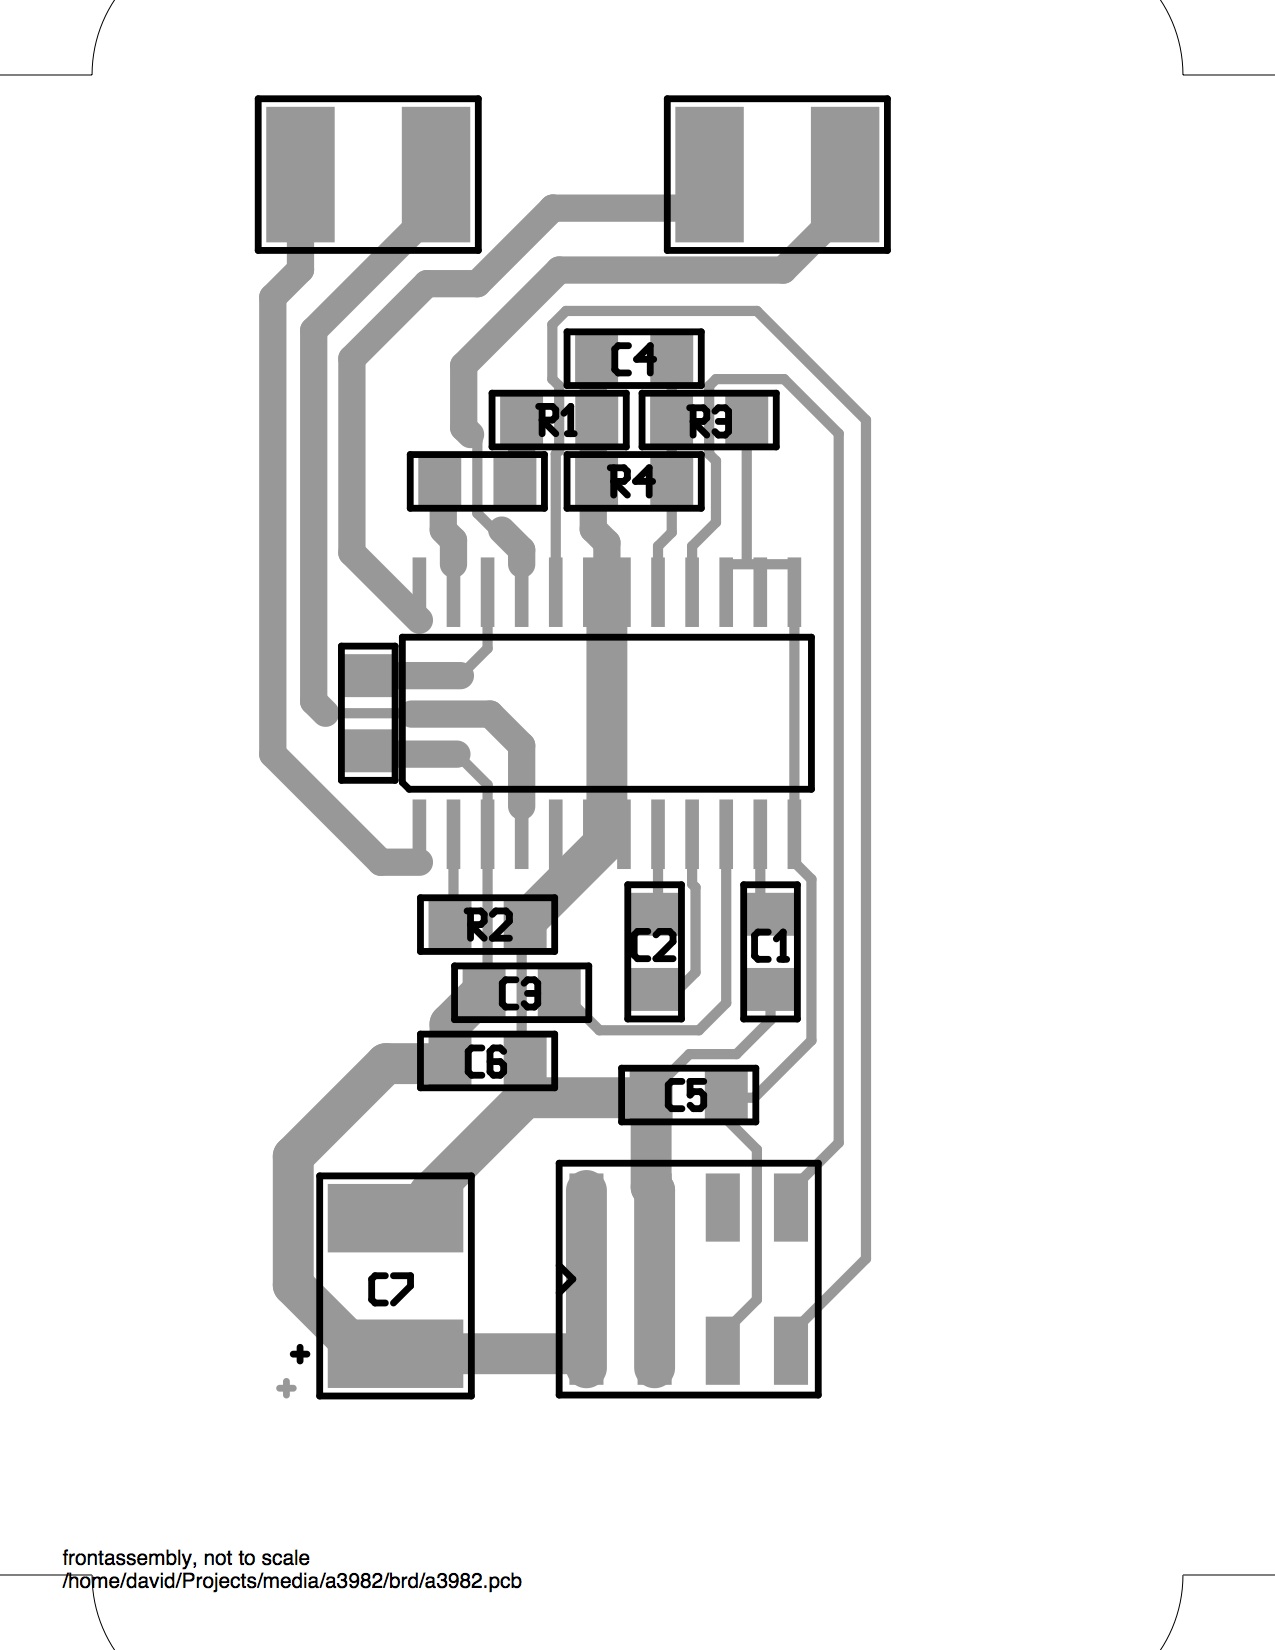
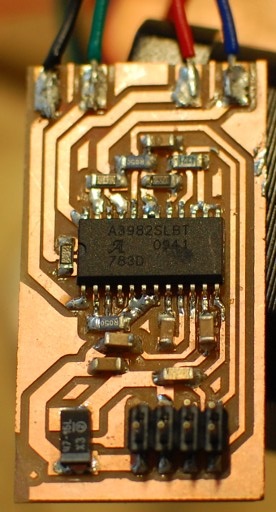
- Motor drivers - David Carr's design
- Power supply, 12V DC power supply
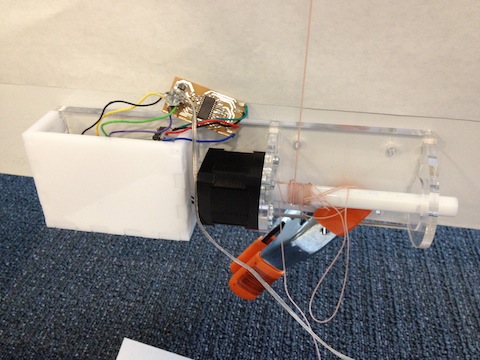
- Motor housings:
- Laser cut housing and wall mounting for motors, with housing for attaching spindle to motor
- Gondola i.e. the pen holder:
- Laser cut pen holder
- Running gear:
- String
- Pulleys with some sort of wall attachment
1: MAKE MOTOR HOLDERS WITH SPINDLES, PULLEYS AND A PEN GONDOLA
- Laser cut frames to hold the motors and attach a spindle for the string which controls the pen gondola (see example patterns below)
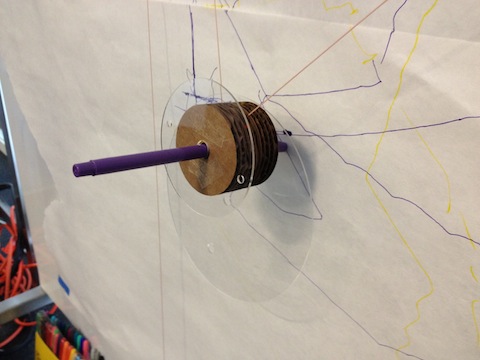
- Make spindles to attach to the motor by milling out a centre hole in a plastic rod on the lathe
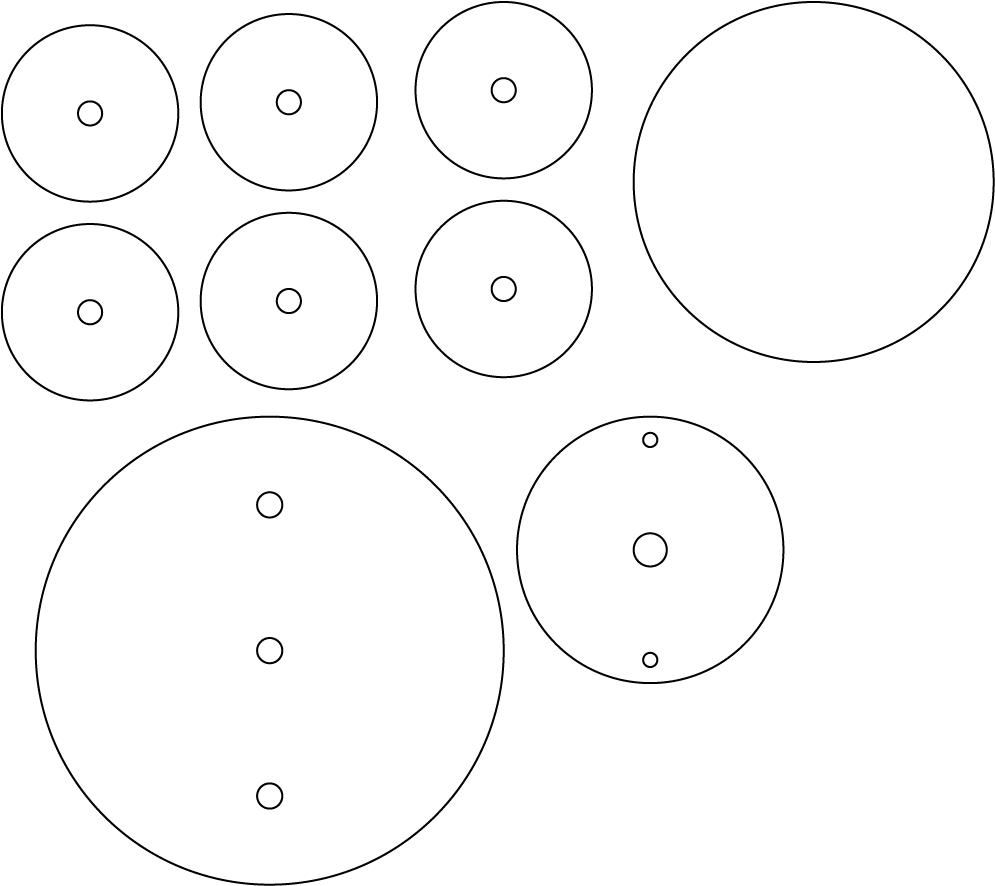
- Lathe metal pulleys around some bearings for the string to run around, and make wall bracket (laser cut)
- Make a gondola for the pen bu laser cutting card and plastic to hold the pen securely, weight it enough so that it rests against the page, but not too much so that the motors can't move it
Motor housing and pulley mount:
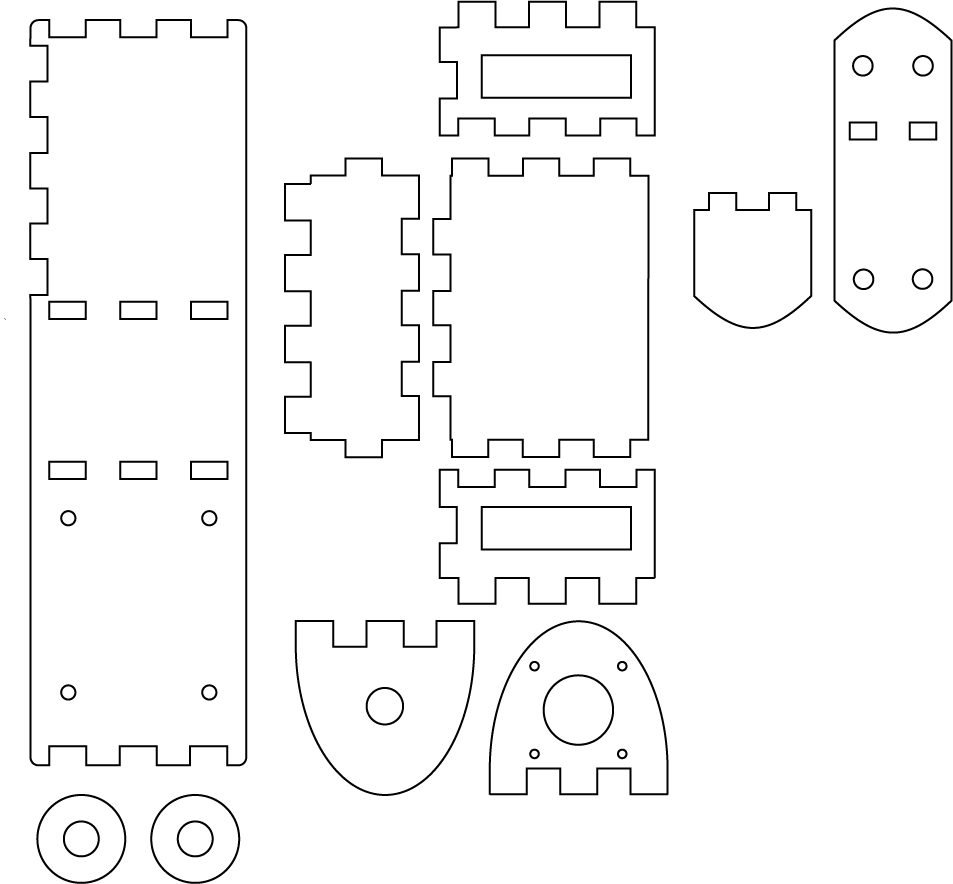
Pen gondola:
4: HOOK UP THE HARDWARE
The motor driver we used was David Carr's design as we had some of the motor driver boards spare. Here is the schematic.
Pip focused mainly on understanding this design and writing Arduino code to run the motors using these boards.
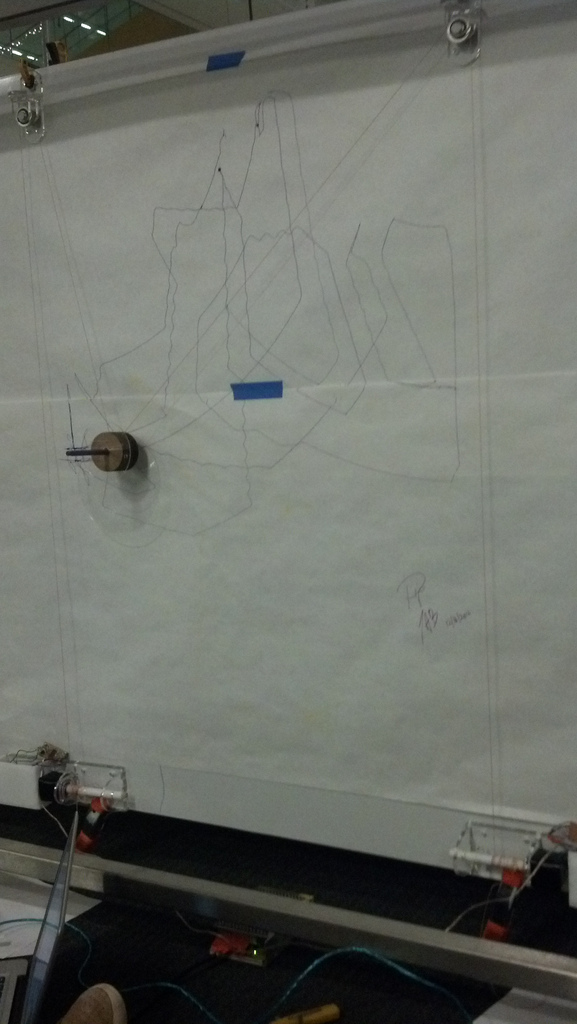
5: MAKEA PROGRAM TO MAKE IT DRAW SOMETHING!
Once Pip had got the motors talking to the computer through the hardware, I wrote a program in Processing to make it move either motor with the arrow keys which, once you assemble the motors, pulleys and gondola with string on a wall to draw on, can create a very simple hand-controlled drawing!