2013 How to Make almost Anything


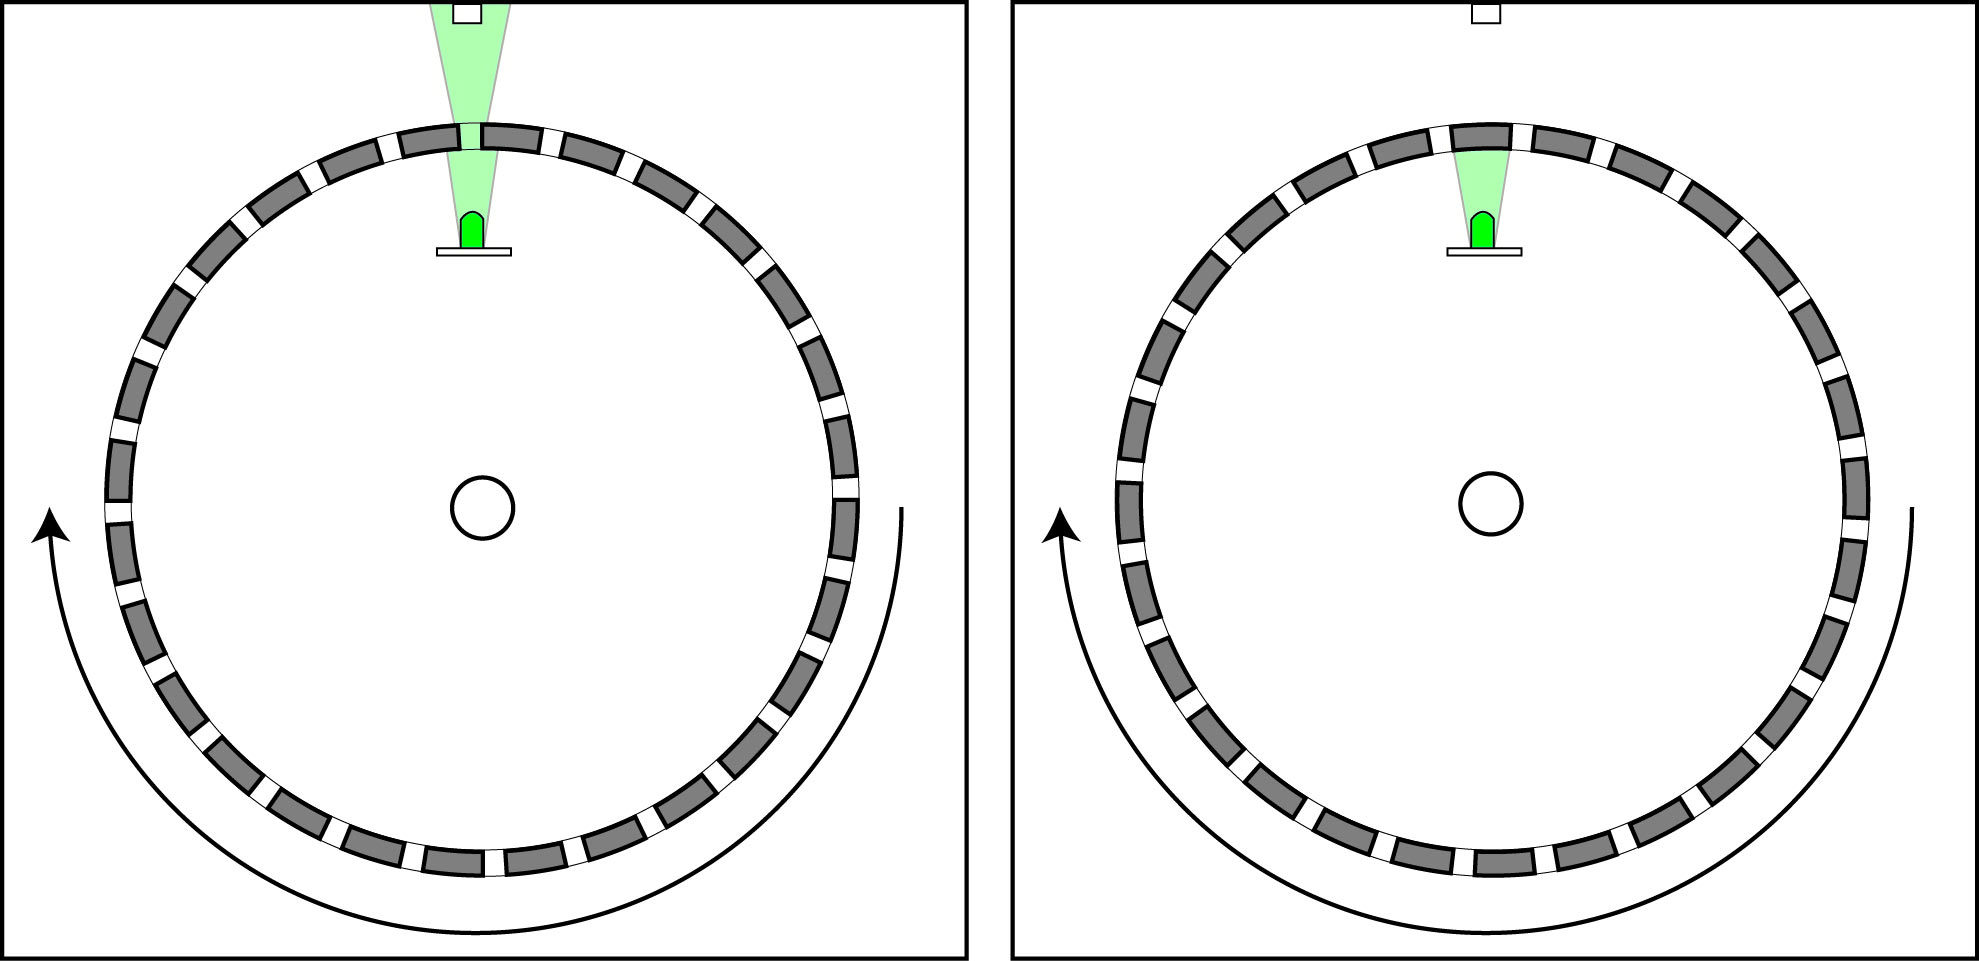
SHADOW SENSING / SERIAL OUTPUT
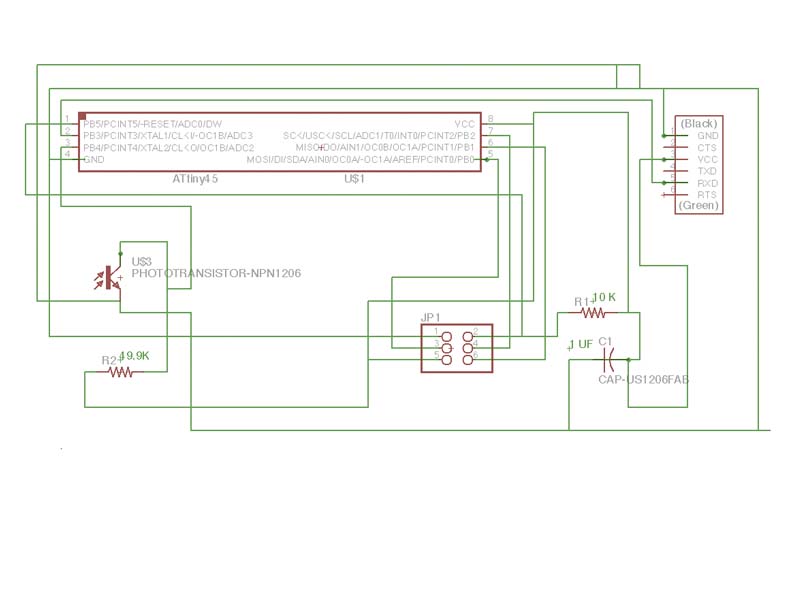
The schematic for the light sensor consists of two resistors a photostransitor a capacitor, ftdi and 2x3 pins and the Atiny45. This is the first time I have used the 45 and I still need to do more research to learn more about it.

The traces were designed with he phototransistor to be far away from all of the other components. this helped with soldering, but it also allowed me to ensure that i could map the light that moved onto the board when sensing. For the final project I will have to learn how to have the phototransistor seperate from the board. Possibly attached with wires? This needs furthur exploring

The Milling went smooth. The traces were a little thin in some areas, but it worked out just fine. I think making the pads for the tiny45 would make it much easier to solder. Also I have had much luck with changing the speed of the modela in the fab module from 4.0 to 3.75. it mills cleaner traces so that the thinness will not be a problem. Also the FTDI pins does not have quite enough room to rest on the board. Add 1/8" to the outline to ensure success.
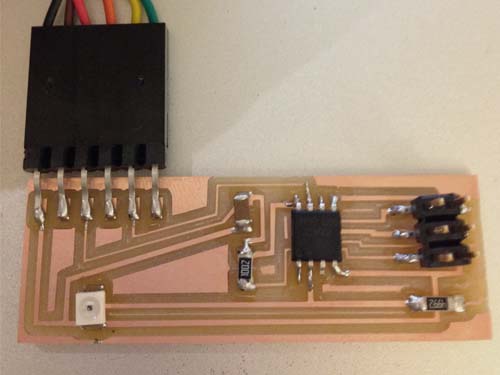
The final board went very well, with a few minor difficulties with soldering based on the size of my traces. The only variable components are the and the capacitors and resistors. There is 1 uf capacitor and a 49.9K and 10K respectively.
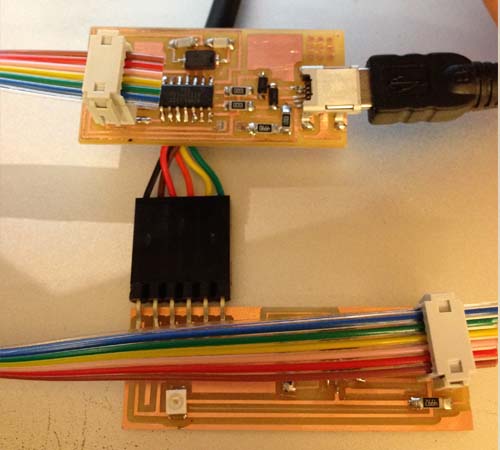
The attachement method of the cables are important to ensure that the fabisp can correctly write to the new Light sensor.

The tiny45 and the phototransistor have a correct orientation so be sure to line up the dot on the microprocessor and the chamfer on the transistor.
When programming the board use the files found on the fab website located here.
once downloaded navigate to that folder in a terminal window and type in the commands:
make -f hello.light.45.make
sudo make -f hello.light.45.make program-usbtiny
python hello.light.45.py /dev/tty.usbserial-********
The asterisks correspond to the specific serial that your computer has. For reference on how to find this look here.
make sure that you download pyserial, find it here, and then install it with the terminal. The install package has the install directions inside. If you do recieve a "no module named serial" error it means that you do not have the pyserial installed correctly.
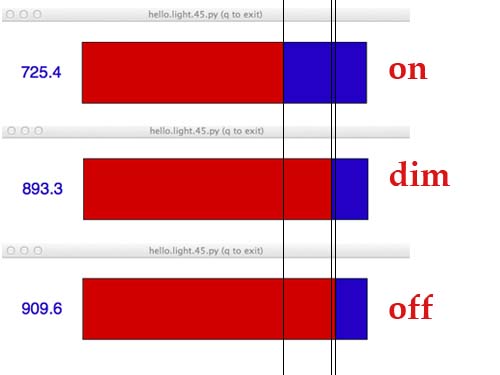
Here is the correct read out for the pyserial. I had three main concerns to test, one with the light on, one with it dim, and one with the light off. I was please with the Fidelity that the sensor has and i think it will be a viable option for my music box. I think i need to think about the timing issue though and ensure that it is sensing as fast as i need it.