2012 How to Make almost Anything
FINAL PRINT
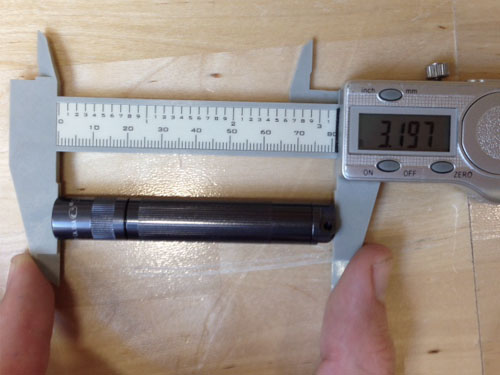
The 3d object relied on the accurate measure of the flashlight that it would sit atop. A digital caliper ensures that the measurement stay precise.
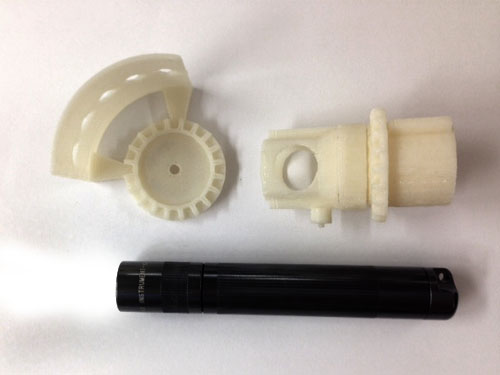
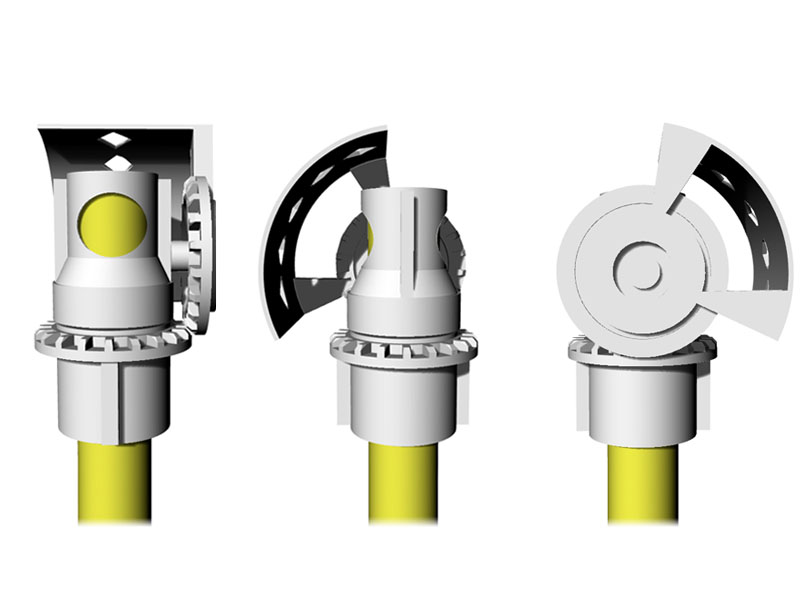
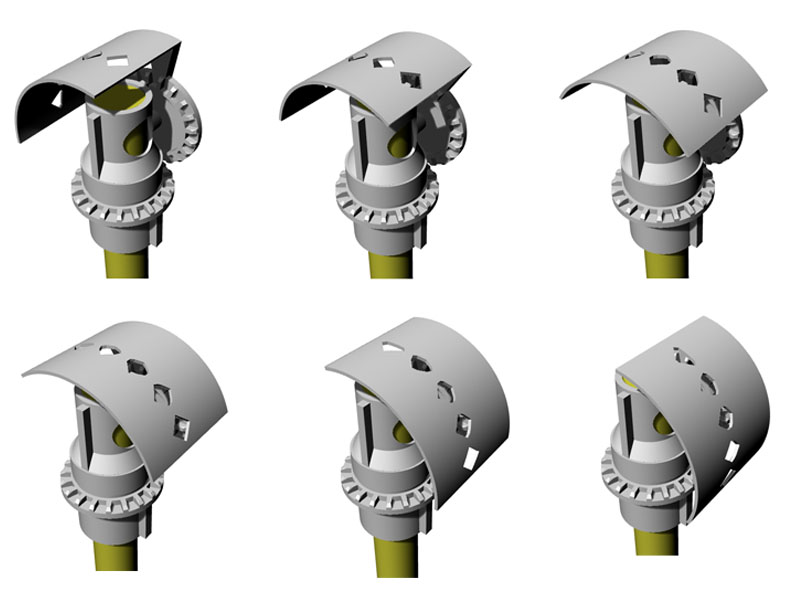
The design was to be printed as one unit however one small axel was too think and the part brok in two. It was still functional although you had to manipulate with one two hands instead of one. Next time i should take the thickness of the print extrusion thickness into account to wnsure all the parts stay together
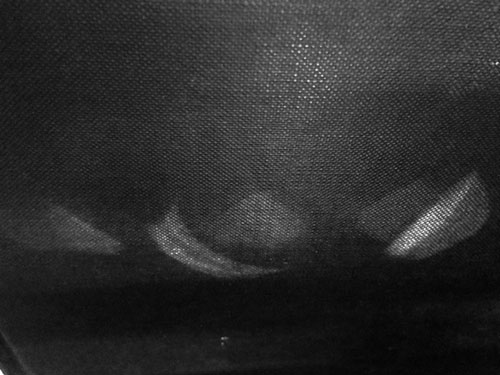
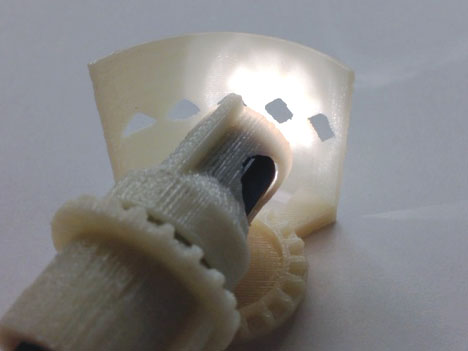
The result of the light projected through the print is not as clear as i would have hoped. this has to do with the strength of the light as well as the distance the cutout is from the beam. The mechanism has no way of focusing itself and therefore the images will reamin blurry. For this prototype too many liberties were taken with the relationship between light and image.
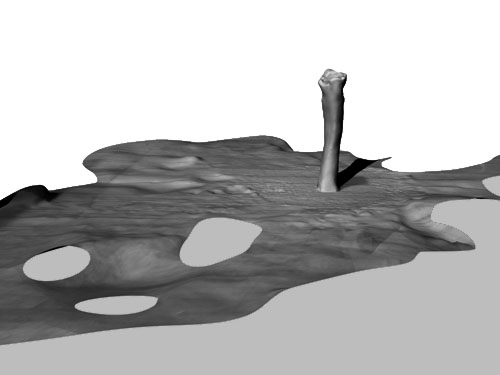
Details like the top of the bone are impressive, however the software failed to capture the hollowness of the inside.
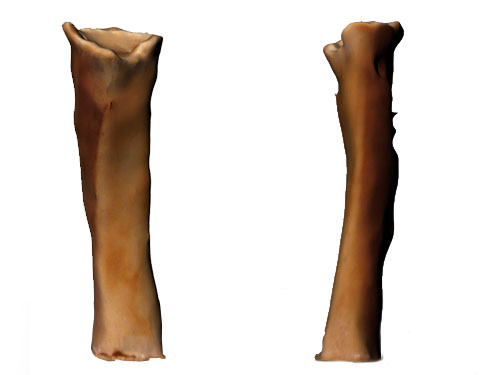
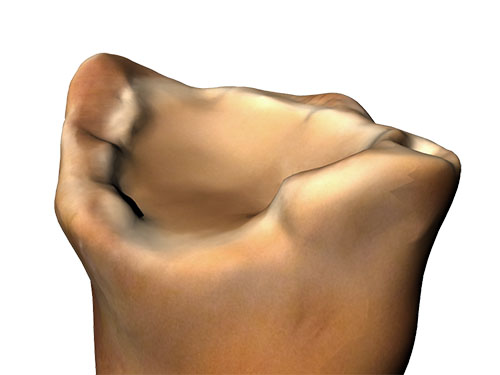
The texture and deformity was captured very well. Only a few small parts were deformed in the wrong ways. This could easily be fixed in a mesh editor at a later date.

The hardwod floor was enough reflection and texture to ensure that the smoothness of the bone was not lost. One small error in choosing the wood floor as a scanning plane was the simlarity in color to the bone. In small instanced the texture of the floor was mapped onto the bone.
The transparant effect that this created is one I would not expect but something that if levaraged correctly could yield productive results.
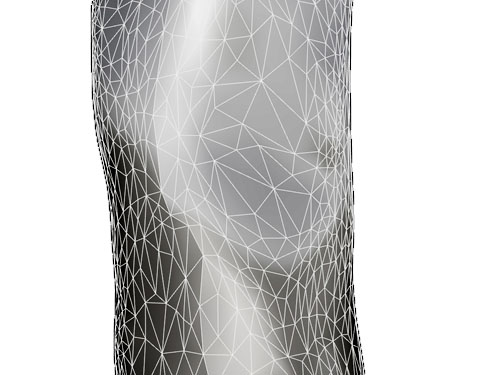
By witnessing the triangulation of the mesh, it can be seen just how precise this software is. Without texture the smoothness of the bone is completely visible. Rhino's output of this mesh emphasizes surface and contour over texture and shape, and the result is all the more rewarding.
It becomes clear that 3d scanning will be instrumental at merging the analog and digital production together.