2012 How to Make almost Anything


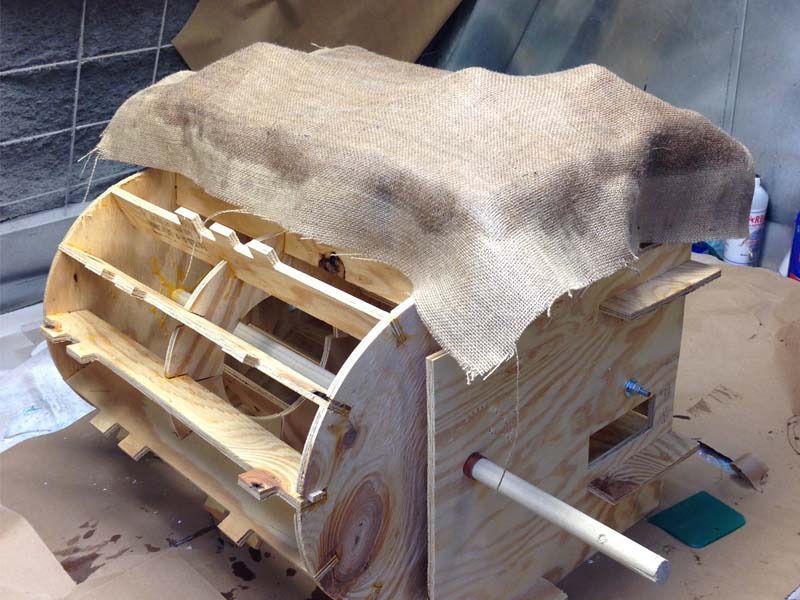
Composites are structures that are made up of an assembly of layers. This sandwhich is often very thin and light, although these variables can be tuned for optimum results. The composite panel that I made is a super simple assembly of burlap fabric and a layer of two part epoxy. The epoxy resin spreads
The burlap was cut larger than the surface that it was draping over. Since there was hills and valleys i did not want to chance not having enough fabric. The epoxy was mixed with a 2:1 ratio. The pumps I was using made this very easy because one pump was 1 "unit" for both part A and B. In order to cover one entire sheet of the burlap for one cast I used 4 :2 ratio.
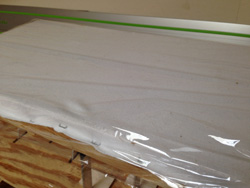
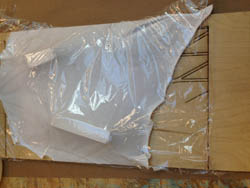
Saran wrap was a stand in for the removabel layer on the casting machine. The wrap was good becuse it did not add any thickness to the existing fabric which meant no curvature was lost. This sensitivity to curvature was one reason why i only used one layer when laying the fiber. Normally when using a vacuum bag for composite, the saran wrap is perforated, to allow the resin to bleed out onto a fabric cloth that protects it from the vacuum. Since i was draping, the holes and the vacuum were not necessary.
I used a staple gun to keep the burlap somewhat flat at the edges, because I was going to be hanging these panels, I wanted the curvature to stop at a certain point for each panel. The staples were surprisingly easy to take off too. The strength of the composite burlap meant i could pull on the hardened fabric and the staples would not rip thought the composite but tear out of the wood. When the panel as off, the staples were furthured removed by hand.
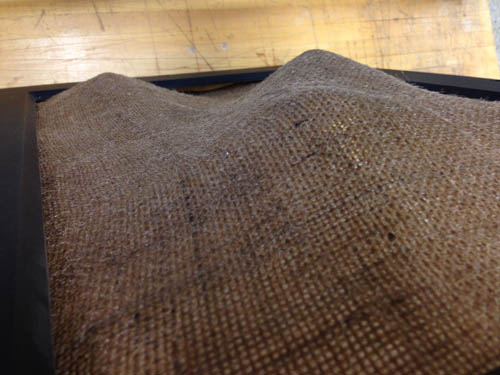
After the panels were strong enough to take off, about 6 hours, I cut the unaffected edges off. I used a large frame to size the amount that would be discarded, careful not too cut too much off and reveal the edges. The edges are hard to cut straight , and without a frame I would not be able to create similar panel sizes with the set up I have,
While the epoxy was drying i used some left over fabric and saran wrap to create a small test using Hydrostone as the resin.
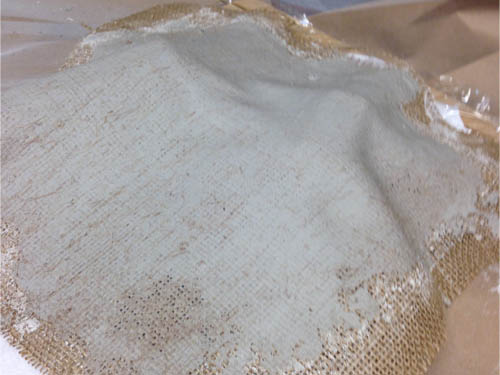
Still using burlap i mixed the plaster to a somewhat thick consistency, and spread it over the burlap not unlike butter. The thickness as too great, and a little water helped to offset this. Once the new composite was created a draped it over my test and tried to position ensure smooth curvature.
The first thing i noticed was how heavy the plaster made the burlap. This created a problem for making smoot hills. It also meant that the composite was more prone to craking when it was dry. Also the plaster stiffened the burlap at a much earlier stage creating large wrinkels in the surface.

The final outcome of the plaster test was not quite a success. It did harden in about 1/20th of the time but the lack of curvature and the cracking meant it was unusable for my purpose. I think that the plaster could offer an interesting option if you were to strenghten it with another layer of burlap however. Because the plaster did not seep through the back, the underside of the composite was more aesthetically pleasing than the epoxy, so this led to some interesting thoughts, about the versatility of single sided molds in the future.