Rotem Abeles - How to make (almost)
everything – Fall 2013
WEEK 5 – CNC
This week’s
task was to build something big using CNC.
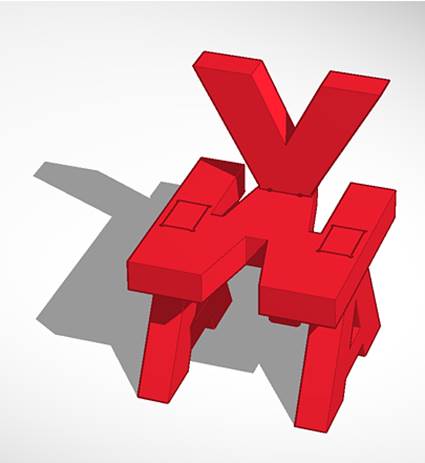
I wanted to
build a table and a chair for my daughter to use at home. I took measurements and
found that the chair should be around 8” X 10” X 13” with another 8-10” for the
back support.
I didn’t
want to glow it or use any irreversible method, so I designed T-shapes pegs to
hold the pieces together, and I wanted to build the chair using plywood.
Following my
successful experience with last week Tinkercad, I used it again.
However, in this case it was pretty annoying since Tinkercad workbench is only
10”X10” and has a very limited zoom-out range.
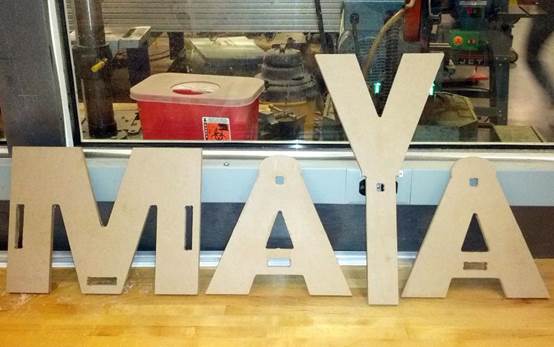
The good
thing with Tinkercad is that it had pre-set letters, which gave me the idea of
making the parts from my daughter’s name – Maya.
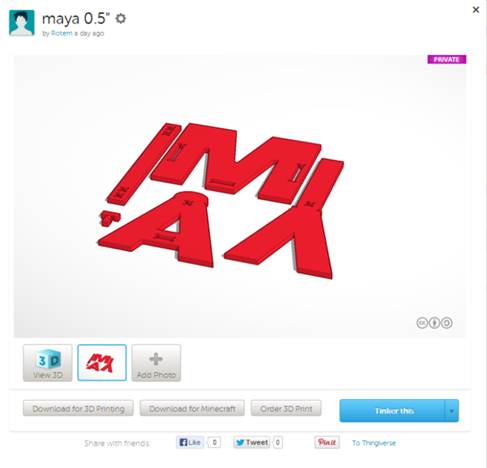
Tinkercad can export to .stl
and .svg, but partworks cannot read either of them.
I tried using 123D CNC
utility, which can export toolpaths
directly, but that wasn’t customable enough and I didn’t feel comfortable to
use it as is on the machine.
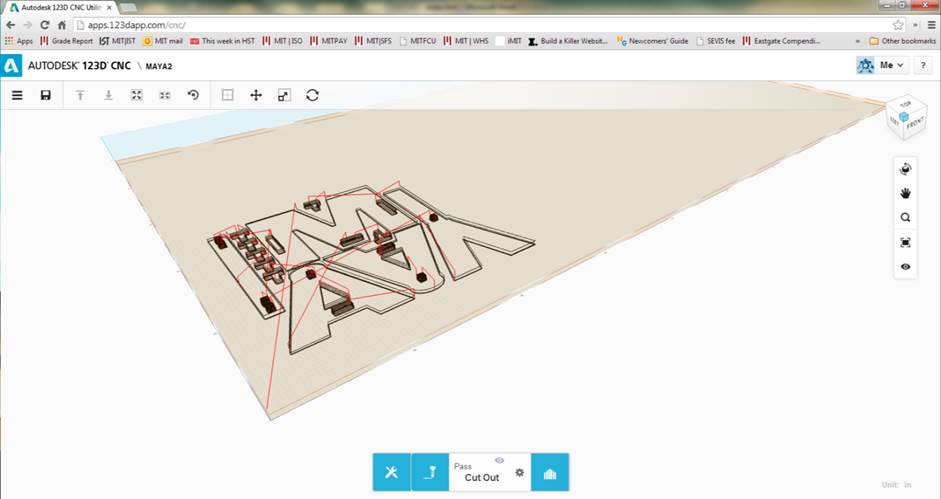
Joelle was
kind to convert my .stl file to .ai
on her Adobe illustrator,
which partworks can process.
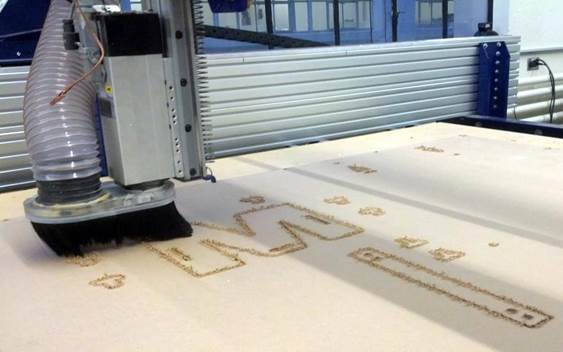
When I got
to the shopbot I found that we had only
OSB plates, which is really unsuitable for kids’ furniture, but I decided to
use it anyway for a proof of concept.
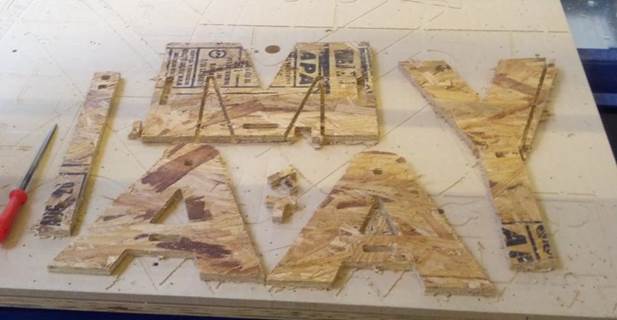
I learned
the importance of thoughtfully placing tabs the hard way, as some of my
T-shaped joints were sucked in by the shopbot vacuum!
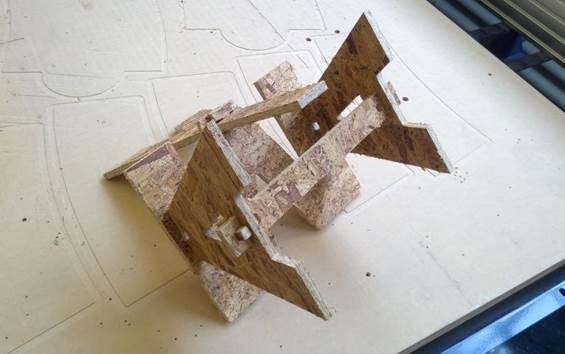
I didn’t
change my design for the different thickness of the OSB (0.4375”) compared the
plywood (0.5”) using the difference as tolerance for my joints. This proved
right, and I was able to build a (relatively) solid chair, which I could
disassemble and take home.
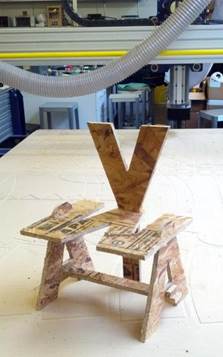
The next day
I volunteered to help unload the new boards, with an intention to rebuild the
chair with plywood. After examining the boards I decided to go with MDF, which
seemed a stronger material and was not too heavy due to the small size of the
chair.
I implemented
the lesson from the OSB experience and strategically placed tabs on all pieces,
and I also increased the spread between parts on the board.
I noticed
that the machine cuts MDF in a very clean manner, leaving the dust inside the
cuts (making it very easy to clean afterwards).
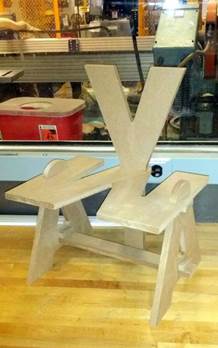
MDF proved a
very good fit for this job, both in finish and in strength. However, the OSB
was much more forgiving to my lack of dog-bones, and the same parts in MDF just
didn’t fit.
After a
couple of hours of sanding and finishing, especially manually adding dog-bones,
the pieces were able to connect.
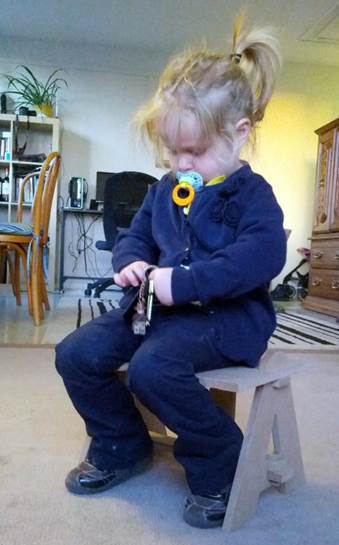
I was very
happy with the outcome, and so was the client J
Looking
ahead, when I’ll have some spare time, I’ll try building my 2” foam design,
which doesn’t use T-shape connectors.