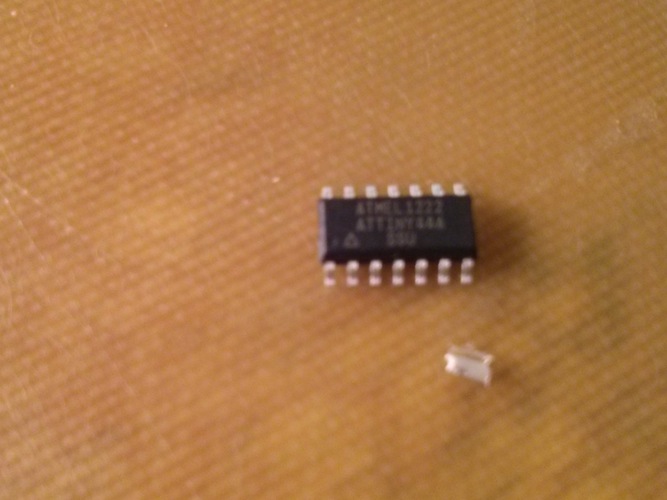
I had to remove the IC since I soldered the wrong one :(
iProgramming with another programmer
iThis week was all about creating our very own In-System Programming (ISP) PCB board. We learned how to mill a PCB board, solder different electronic parts on top of it and flush it with an embedded software.
Class notes:
- Use the 1/64'' bit to cut the lines
- Use the 1/32'' to cut the border
- Fixture it by double stick tape
- Make sure the bottom (and the table) is flat
- Print the boards in an efficient way (don't waste space)
- Tap the tip to clean it (not hard because it will break)
- Tighten the tip when its exactly on board (!important)
- After its done, rub the board with a ruler to clean the edges
- Then wash the board and dry it when you're done - seriously!
- Heat, wait a moment and then bring the lead, wait so it spreads, and that's it
- Be sure the parts are oriented correctly - diodes and IC have direction
- Wash the board after you have finished and make sure you dry it afterwards - yes, with all the electronics on it
- Two modes: "View", to replace the material and "Work", to start milling
- To replace between modes, simply press on "View". Green light - View mode, no light - Work mode
- The orange piece on the side of the machine is essential for it to work, if nothing is reacting make sure the orange cap is in place
- To Abort switch to View mode -> kill the process (make sure it's dead) -> press Up + Down.
It should blink. If it doesn't stop blinking, make sure the process is truly dead
- When aborting make sure the process (in the computer) is really dead, otherwise it will not abort
- Settings: -0.12mm Z when doing the inner milling
- Speed: 3.5mm/s
- When cutting out the border, set the speed back to default: 4mm/s
- Cleanup afterwards with the vacuum and use the butter knife to remove the board
- If you're using another FabISP as a programmer, make sure to uncomment the right line in the makefile.
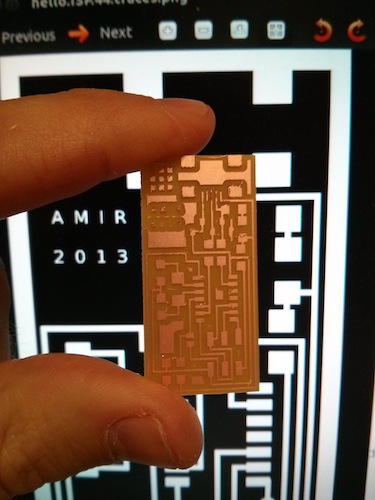
Learn from my mistakes, pleaseI tried to customize the sketch by adding my name and date but as you can see, it didn't work since it was too small.
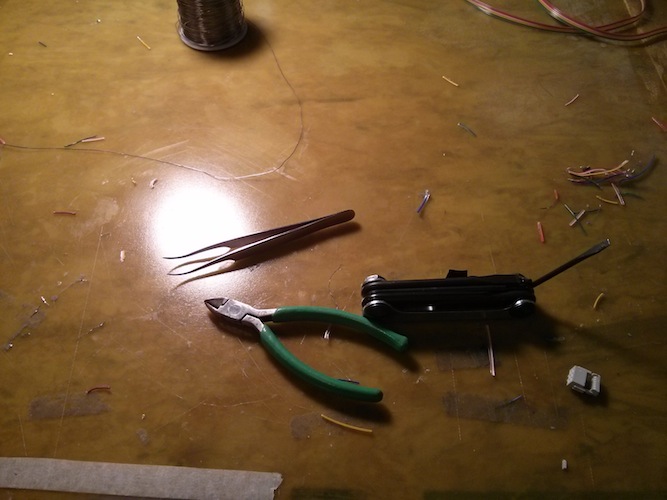
I used a really annoying lead - it has a green cover, please watch out from it because it was really hard soldering it (or maybe I need to practice more..). Anyway, eventually I ended up using the one with the blue cover.
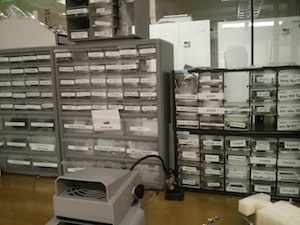
I took the first ATtiny 44 chip I saw from the huge set of drawers but accidentally didn't notice it was the wrong chip! it's suppose to end with an "A" - ATtiny 44A-SSU
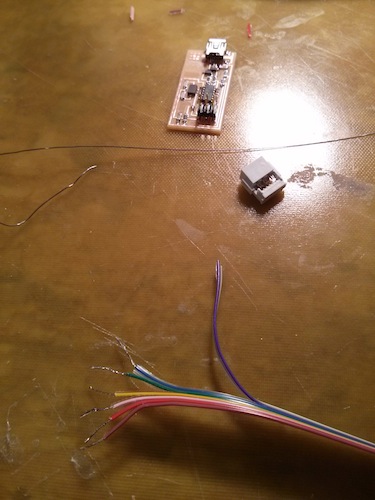
Last stupid thing I did was trying to expose the wires while connecting the wire to the IDC connector - bad bad mistake! you don't have to expose anything, simply press hard on it and it will work like a charm!