This was an exciting week, we had the chance to learn about the printers of tomorrow, play with thousands of dollars equipment and a million dollar high-res scanner, 3d scan anything we wanted, design a 3d model with interior parts (just to make it more complicated) and 3d print it! dreams do come true
That's not all, there was an extra-credit task. Build a 3d scanner. In one week. While you have other projects from different courses and a research project. I know someone will do it! If only my entire focus was devoted to this course..
Class notes:
- Build supports for the model so it won't fall
- Materials with colors have bad mechanical characteristics (not all right?)
- Check the resolution you can work with so the parts won't stick to each other
- 45 degree is good, don't try more than that to be on the safe side
- The model has to be watertight (isn't missing a triangle in the design)
- .STL files lack measurement units
- Don't ever use .DXF
- MeshLab - good and free .STL editor tool (crashes a lot so save frequently)
- Make at least 4 scans to catch the object from all angles
- Remove the bottom cap that covers the lens
- After turning the machine on, press on any key to start
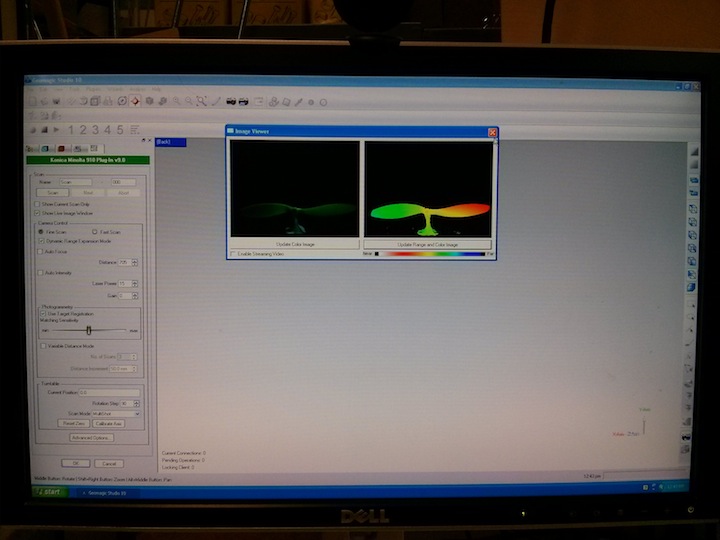
- The software you should use is Geomagic Studio 10
- Select plugins-[first option]
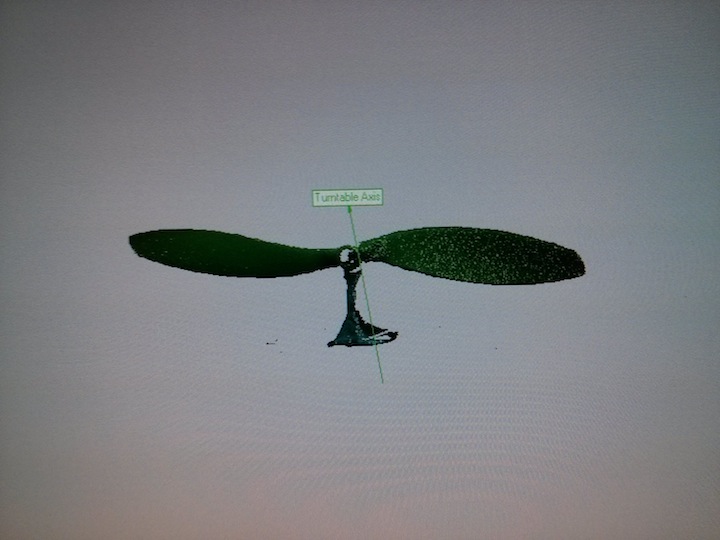
- Don't calibrate the axis initially, we'll do that later
- Select "show live window image" - this will show you what the scanner sees
- Mark "enable streaming video" - to get live feeds from the scanner
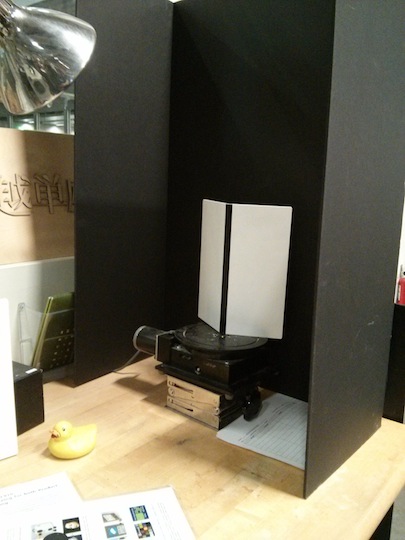
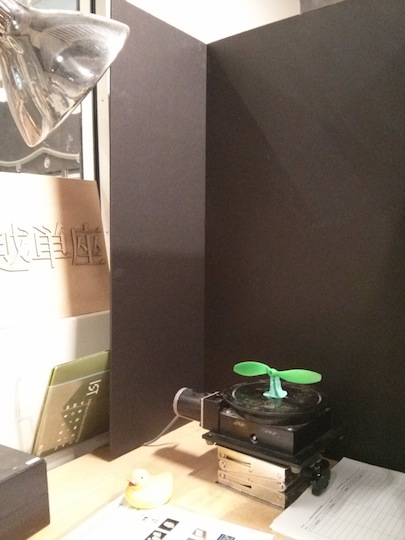
- Place the white walls at the center of the rotating plane
- Unselect "show live window image" to enable both buttons
- [no need to do that all the time] Select "update color"
- Select "update range and color image" - to see the near/far distribution
- If it looks good (nice yellow/red-ish tone), continue
- Calibrate the axis - if it didn't work, change the focus manually
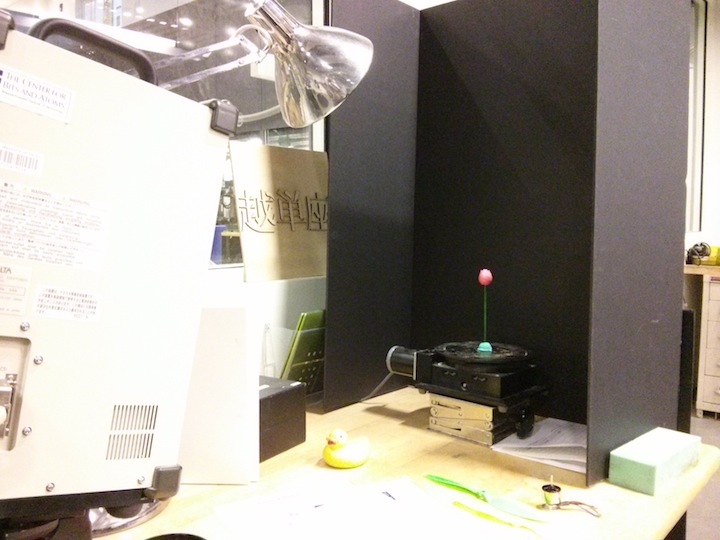
- Now, place the model right at the center and tune its range and color image
- When finished, scan it in all directions (90 degrees is good enough)
- Set "scan mode" on "multiShot" to click on "next" for continuous scans
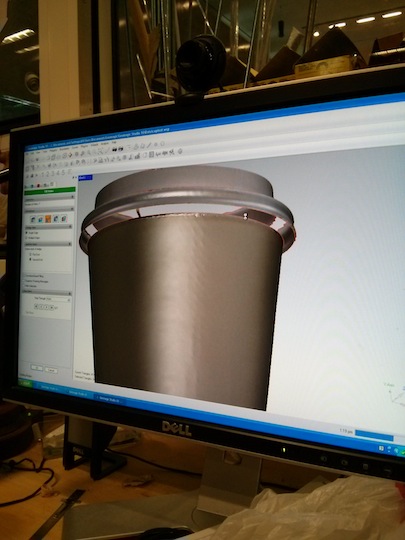
After you finish all scans, you should merge all separated scans (points-merge), fix the polygon by cleaning, reducing noise, relaxing, flatting and filling holes using the tools from the "polygon" menu. Always use bridges (another tool nested in fill-holes) to separate large holes, otherwise it might take a long time for the computer to compute.
How to work with the Replicator2 3d printer:
- Make sure the filament doesn't stick - utilities-change filament-load
- Load the .STL file on "makeware software", fix it if necessary and "make" it
- We use PLA material
- Adding "raft" creates a surface which is good
- Adding "support" is important for curved objects
- Save the file on the sdcard (the one that you took from the 3d printer)
If its not working, utilities - change filament - unload. Take the filament out - if you can't there's a lever on the side that make it stick, and then insert it again. Don't forget to utilities - change filament - load again
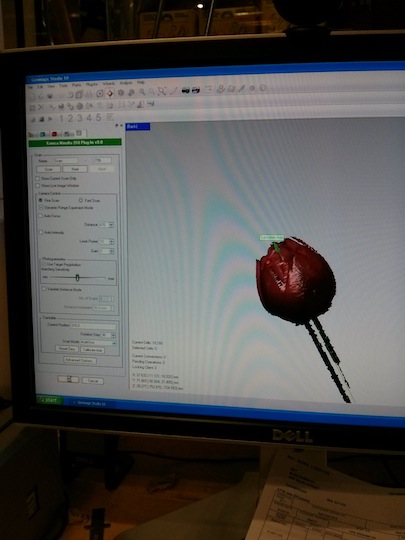
I had some problemsI had to change the focus and intensity a lot in order to see the fine curves on the flower. I ended up using distance 670 and laser power 10.
When I tried to scan the propeller I had to move the scanner back and had troubles with the axis calibration. I had to turn off the lamp so it will work.
I tried calibrating the axis but it didn't work until I set the auto focus and intensity.
I forgot to merge two meshes and I ended up with a really bad bottom for my flower since the letters pushed it a bit upwards.