This week was split into two mini projects: (1) Design something a few centimeters big that couldn't be made using traditional subtractive methods and (2) 3D scan an object.
While digging around the lab for something fun to scan I found these awesome shaft bearings, which are commonly found in the trucks of skateboards.

So, I kicked off the week by drawing motorcycles, which was pretty much the only remaining logical choice at this point.
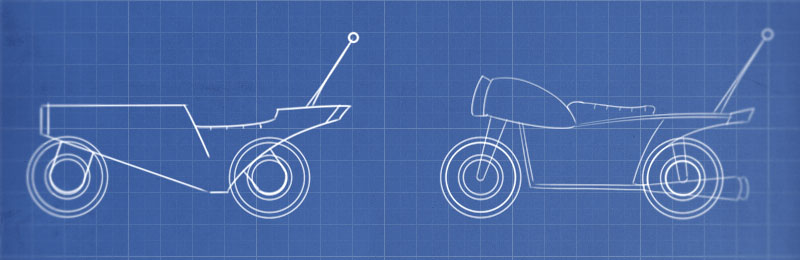
After nailing out a few ideas, I dove into Solidworks to do a rough draft so I could start thinking in 3-dimensions faster. What really helped save some time and make matching my vision easier was going into [Insert] > [Sketch Tools] > [Sketch Picture] which lets you place an image file on any plane so you can work from it 1:1
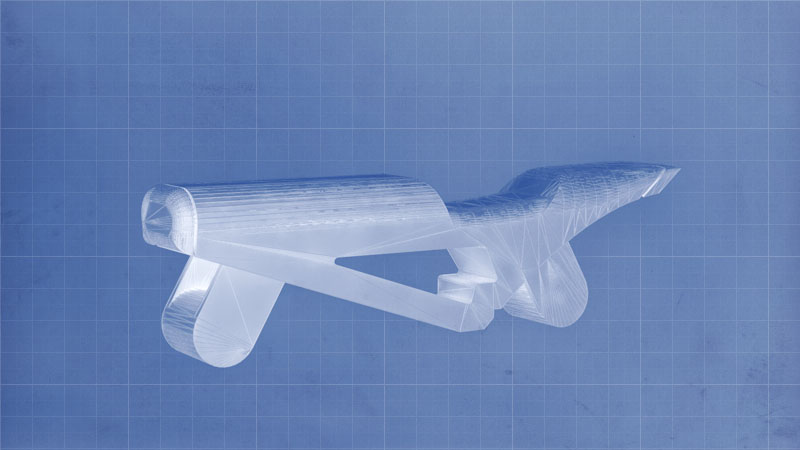
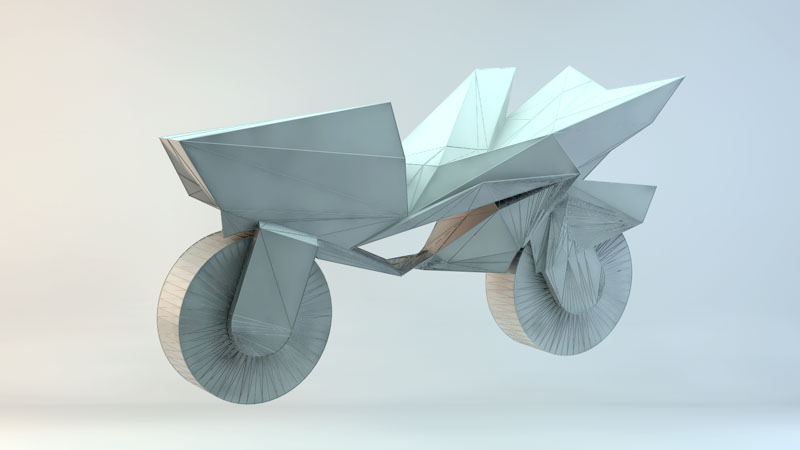
But, after playing around with the design for a while, I realized I was hitting a local maximum of "meh". I really wanted to push more towards a "low poly" effect and make the moto feel more aerodynamic and aggressive.
So I exported the current model as an STL and imported it into Cinema 4D where I've picked up a few tricks. Using the displacement deformer, the wind deformer, and then the polygon reduction deformer, I managed to get really close to what I had in mind.
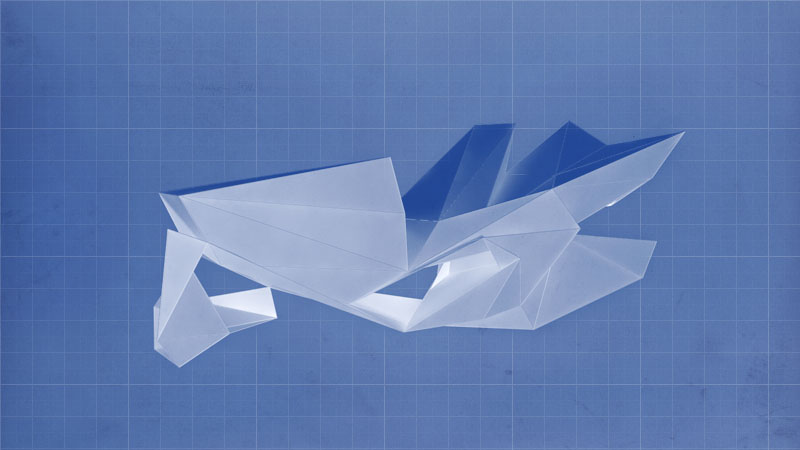
And this is where my small nightmare started: getting the model back into Solidworks. By this point, I had an incoherent mesh with the whole nine yards: dirty geometry, non-manifold edges, random intersecting internal surfaces, and tons and tons of holes.
It turns out, there's no one-click solution that turns gross clumps of meshes into a watertight solid. After boats of trial and error, I finally got it work by:
- 1. Exporting the model as an STL, opening it in Meshlab, running a few hole repair tools for good-times sake, and then exporting it as an OBJ file.
- 2. Enabling the ScanTo3D stock plugin in Solidworks and importing it as a mesh. Ran the mesh-repair wizard finally exporting a giant bundle of facets, each as its own mixture surface lofts, sweeps, etc.
- 3. Now comes the painful part: one by one reviewing each of the 100+ surfaces, deleting the internal nonsense ones, knitting the good ones in pairs, and plugging each and every hole by hand connecting the vertices.
- 4. If you've done it right and Solidworks hasn't freaked out yet, then your last knit that ties the entire shell together completely closed should magically solve into a solid body.
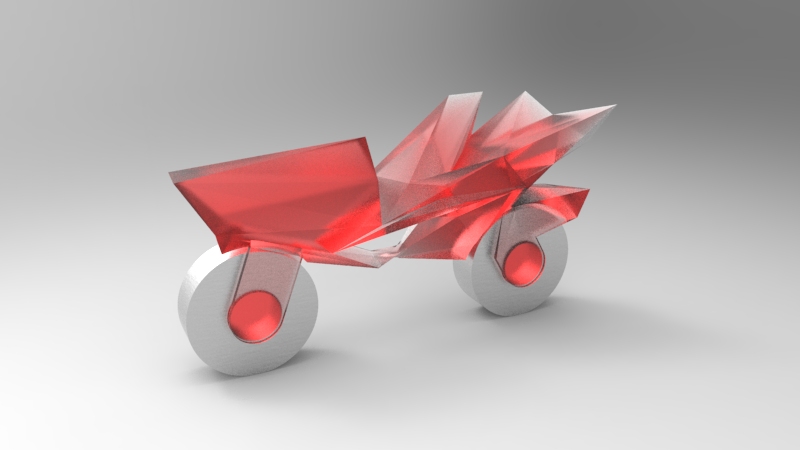
Thankfully it was smooth sailing from there. I just needed to re-cut the holes for the shaft bearingsl, add some leaders that connect into axles, and split the whole part in half so that I can pop the wheels in post-printing.
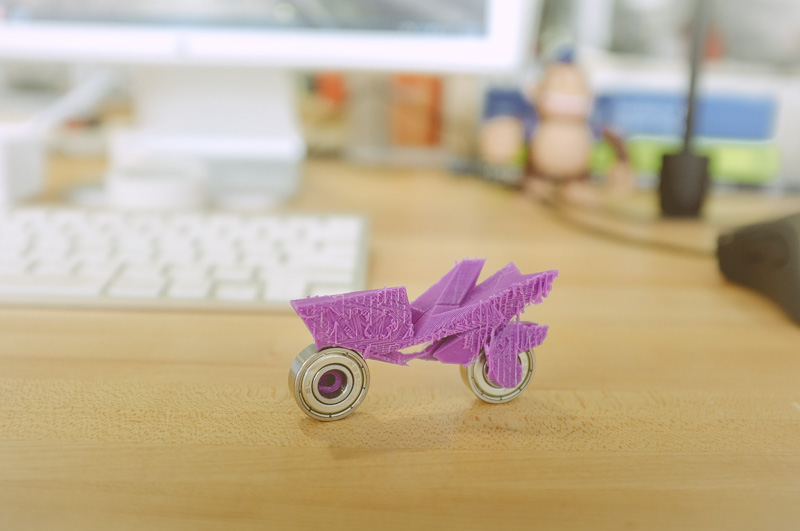
Tom ran my part as a quick draft on the Makerbot before dropping it in the nicer Dimension printer and I realized my tolerences for the friction fitting parts were waaay too tight, so I snuck in a quick change before the final was printed.
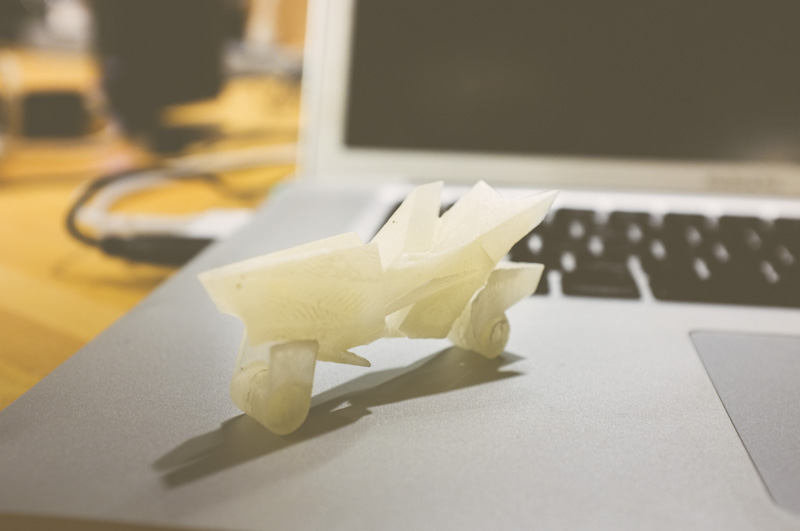
In the meantime, he also threw it on the invision printer to see how it would fare. I still managed to break it in a few places trying to remove it from the tray and sticking it in the toaster to melt off the wax support material.
[insert final photo]
A final touch of WD-40 on the wheels and this thing's ready to zip off!

For the 3d-printing portion of the assignment, I thought I'd try and scan my trusty Mailchimp figurine. Thankfully it was designed with nice, soft features all painted in a pastel, matte paint so it's perfect for this.
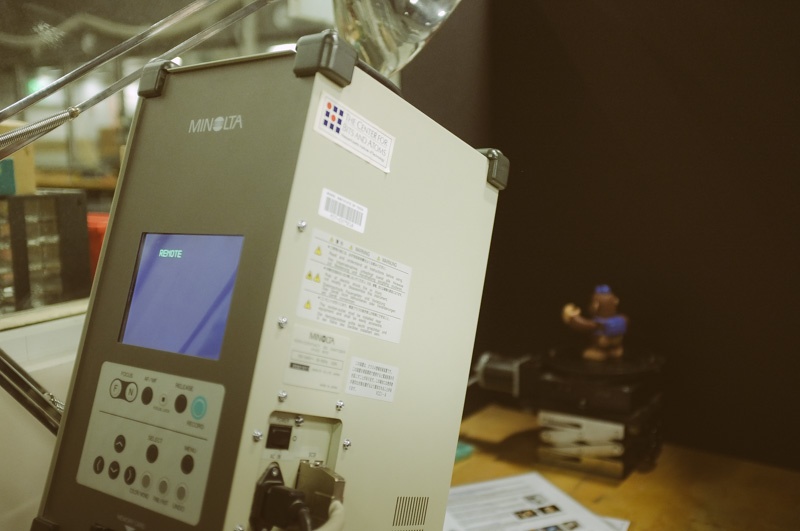
I was sitting with Will while he was scanning his sunglasses shades using the Minolta scanner and we seemed to have a hard time getting the machine to autofocus onto the object.
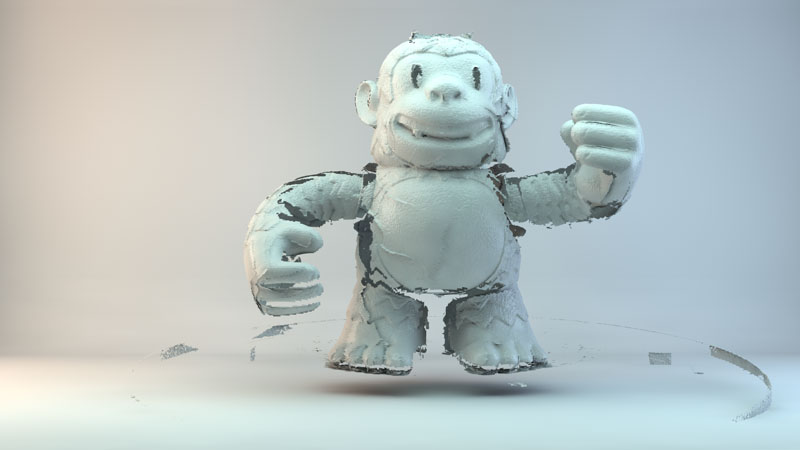
Fortunately, I had none of those problems with this piece and the whole process of scanning was absolutely straightforward with all the auto-stitching being super spot on. Above is a rendered mesh of the raw output from the scanner. With just a few more deletions and patching, this should be ready to go!