Project 8: Composites
Composite materials, fiber tensile members locked into place with epoxy resisns. That's the gist of it. Fibers are strong in tension and have no strength in compression (push a wet noodle why don't you!). By saturating the fibers in a resin they are locked into place next to their neighboring fibers and their buckling is generally restricted. Laying fibers at different angles from one another allows the fibers to support the tensile loads in the those varying directions. So, if you know what force vectors (direction of them) to expect it is possible to optimize the load capacity of a composite structure by only putting fibers where they are needed. This is where composites get a big win over traditional, isotropic materials, you can put the mass only where you need it and you get more effective strength for that mass because it is oriented exactly as you need.
Getting deeper into this you can also optimize the stiffness of your design by thickening its cross section - increasing its second moment area of inertia. Maximum effective stiffness comes from the outer surfaces of a cross section. Skipping the math the intuitive way to understand this is: it's easier to bend a bar if you put your hands further apart when you try to bend it. This is because your hands are further from the central axis that you are bending around - you are able to apply more torque. Similarly, when you separate the structural material in your design it is able to apply (or really, withstand) more torque - you effectively make your structure stronger, just as you feel stronger when you bend the bar.
So composites are valuable, because you can separate them with very lightweight materials, put the fibers exactly where you need them and only use mass as necessary, getting a big win mass-wise.
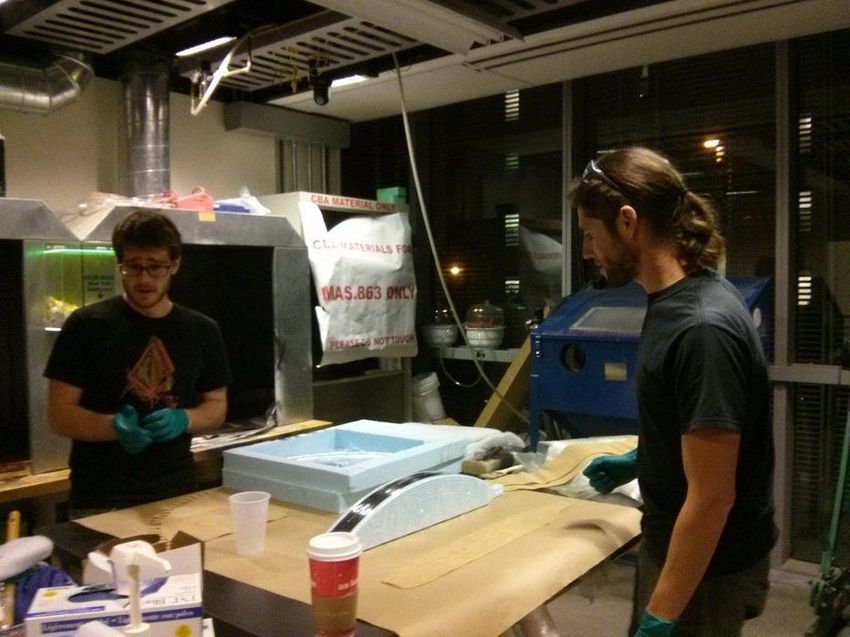
So this week we learned the general workflow for making a composite material. As it turned out were used burlap and epoxy. A natural fiber composite. Jean-Francoise Duval and I worked in parallel so that we could vacuum bag our parts at the same time. So the processs goes as follows:
- Prepare your space with all of the necessary components:
- Mold
- Fibers
- Safety equipment
- Epoxy
- Disposable work surface
- Peel Ply (perforate non-stick plastic)
- Bleeder (batting)
- Breather (batting)
- Bagging Film (vacuum bag)
- Vacuum bag
- Mold Release
- Vacuum pump
- Meter out your resin, carefully. Generally a two part-resin
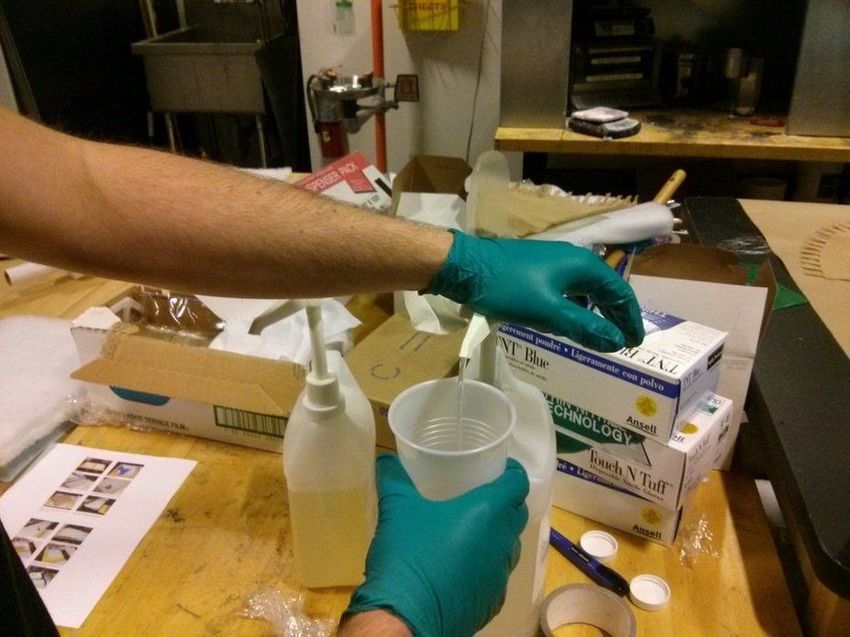
- Mix the resin effectively
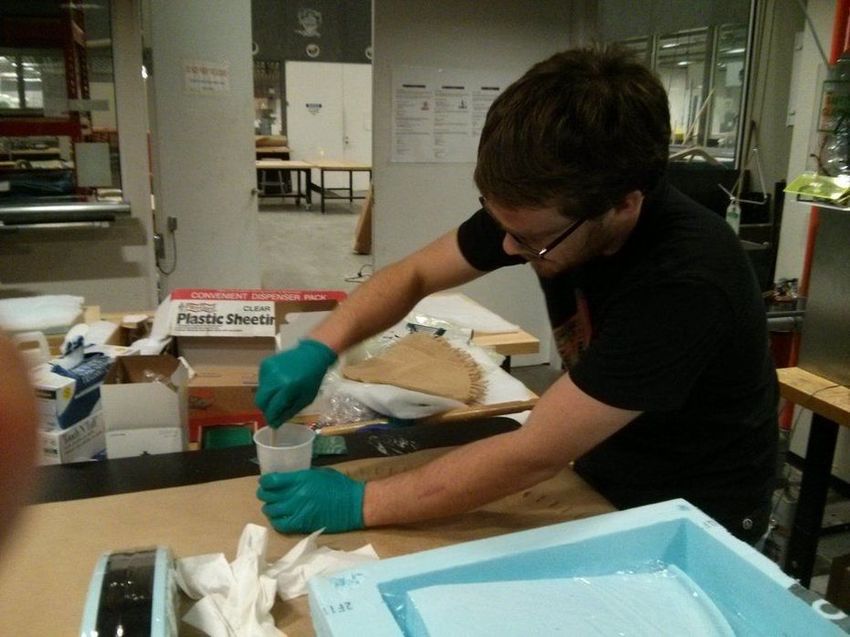
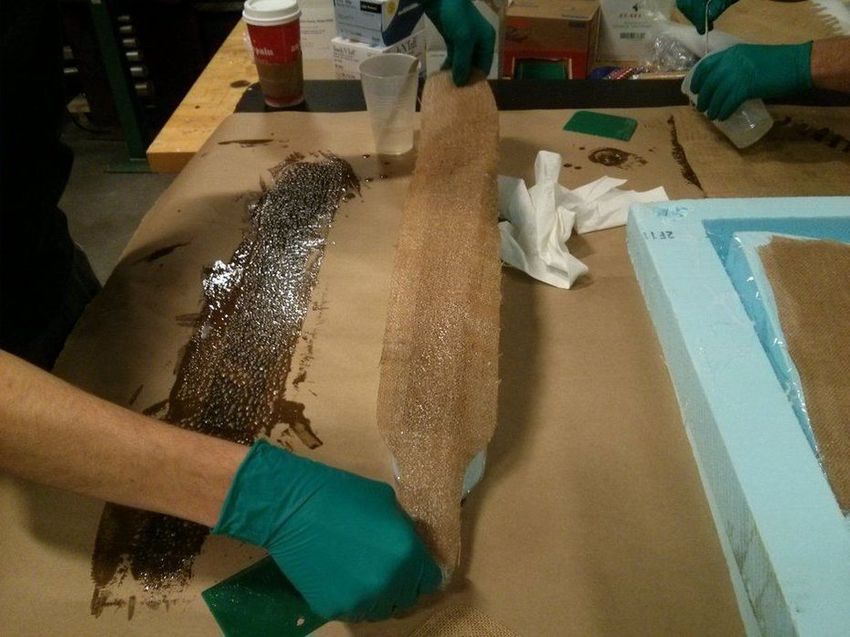
- Fully saturate the fibers by spreading the resin. Only use as much as is necessary to saturate the fibers. Excess resin is excess weight, remember the resin there just to hold the fibers in place, the fibers are providing the real strength.
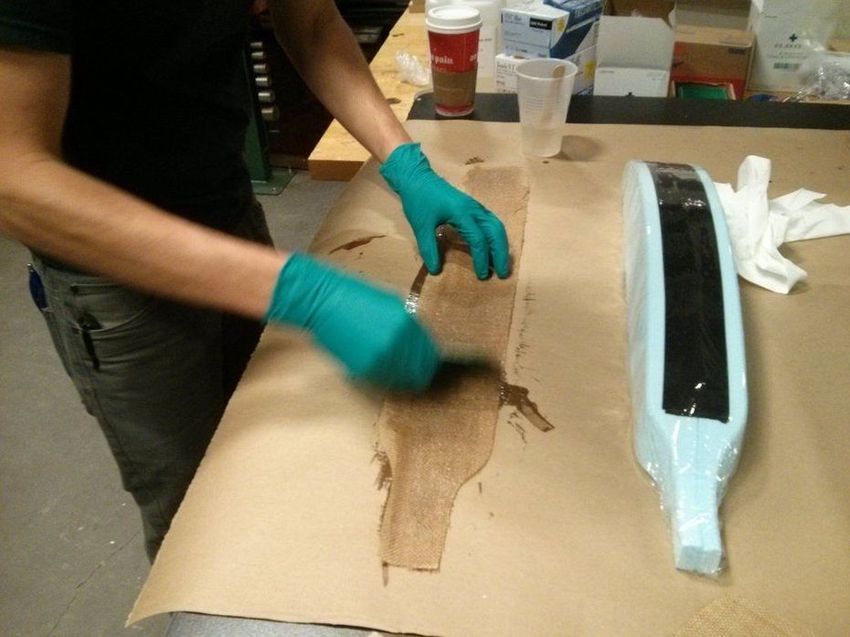
- Layup your fibers on the mold.
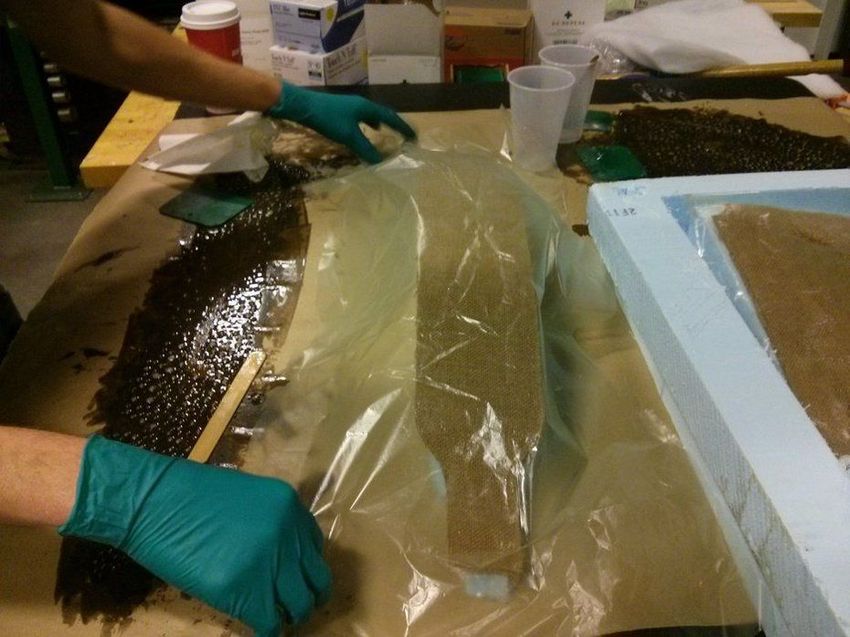
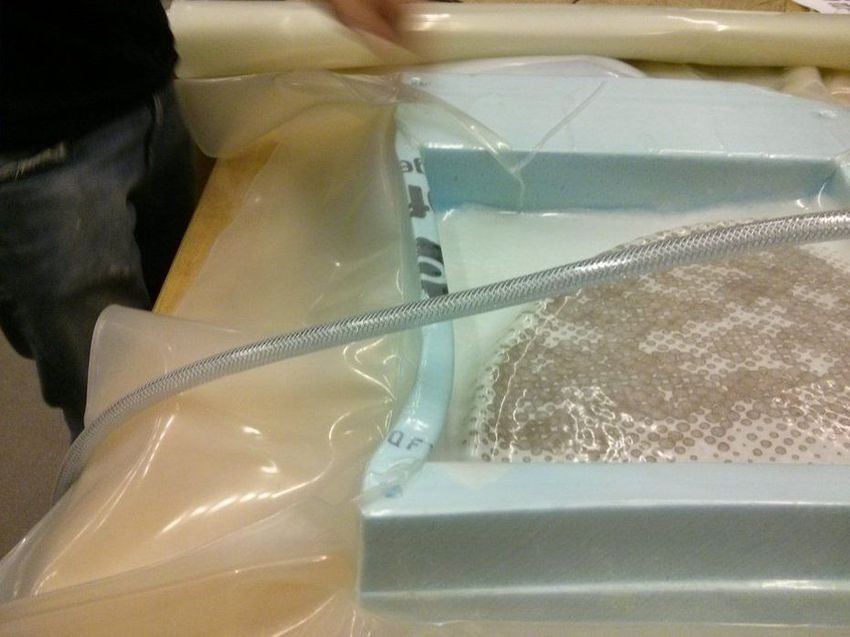
- Place the Peel Ply over your wet fibers. Then cover them with the Bleeder layer and the breather layer. In some cases you can also use a release film between the bleeder and the breather in case there is a lot of epoxy to be used.
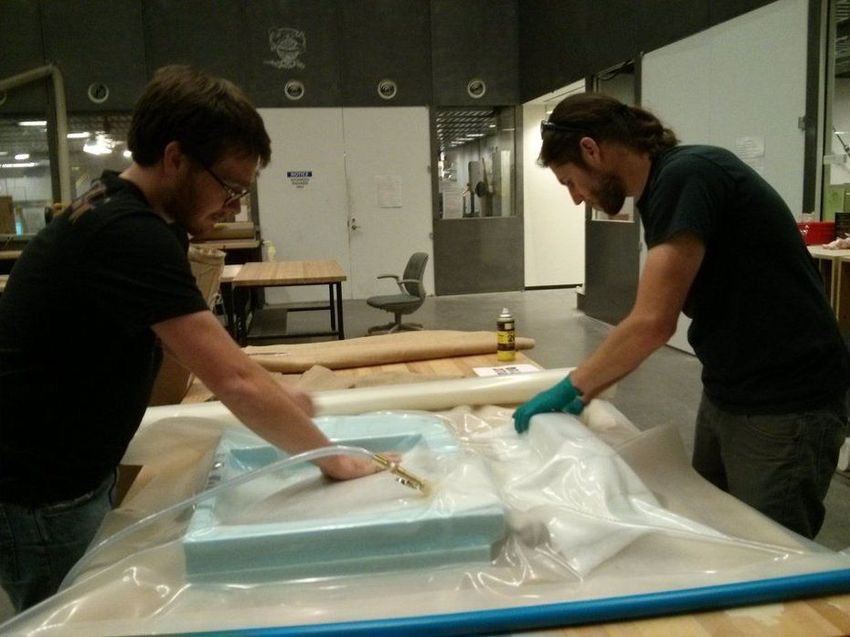
- Prepare the vacuum bag by coating it with mold-release. Be sure not to breathe this stuff, but do get a decent layer along the inside such that your parts don't stick.
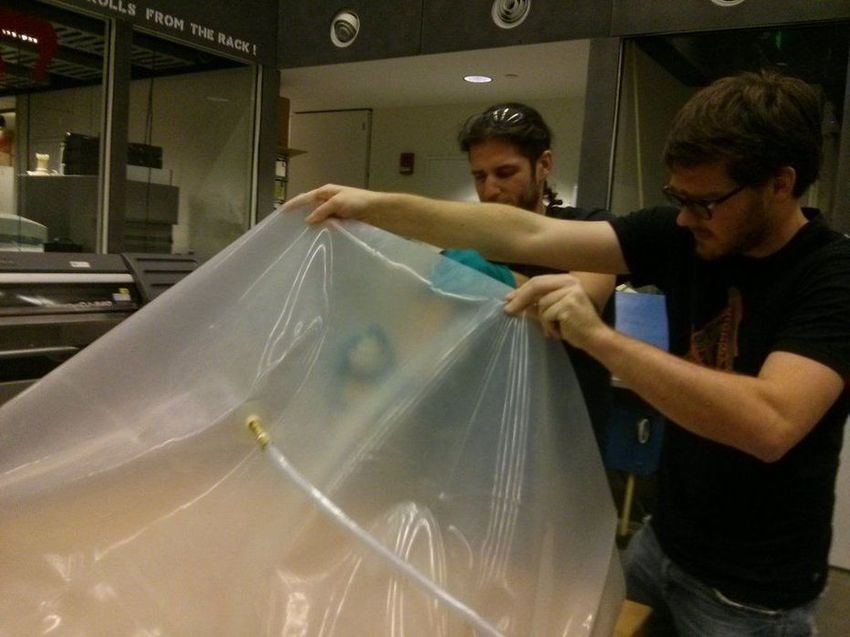
- Place your parts carefully inside the vacuum bag. If multiple pieces are being laid down then it is important to be sure there is adequate ventilation across all of the parts such that the vacuum can pull air from around all of the parts.
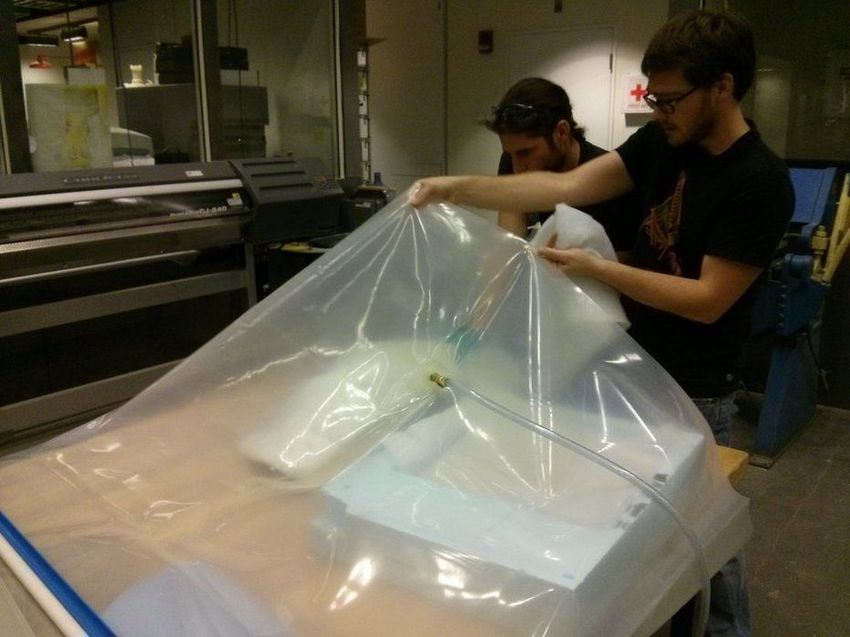
- Check that you are getting decent sealing and vacuum and that everything is where it should be. There is still some time to fix things as the epoxy has not yet set.
- Notice the wonders of vacuum. The atmosphere is at 14.7psi at sea level, that means when you pull a vacuum you have 14.7 pounds pushing on every square inch of your part. This is actually a fairly substantial force and your molds need to be able to tolerate this.
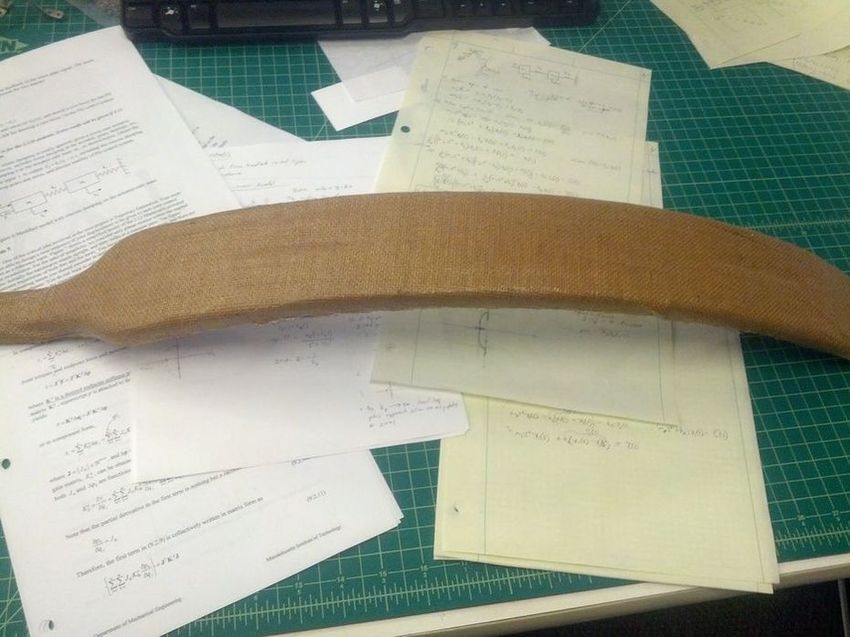
- I made a rough draft of a bicycle fender. Next time I would include diagonal layers and more layers in general. I only used four layers this time. This whole process was much less difficult than I had expected, and I am excited to try doing more composite projects. Perhaps a bicycle trailer.