3D Printing And Scanning
This week I designed, printed, scanned, and printed.
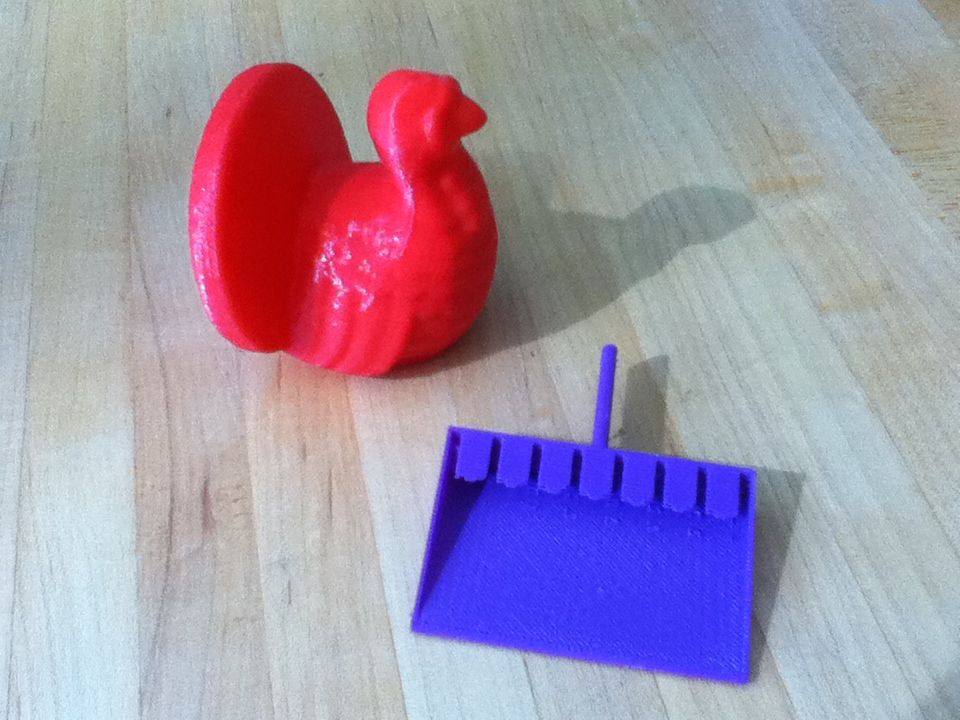
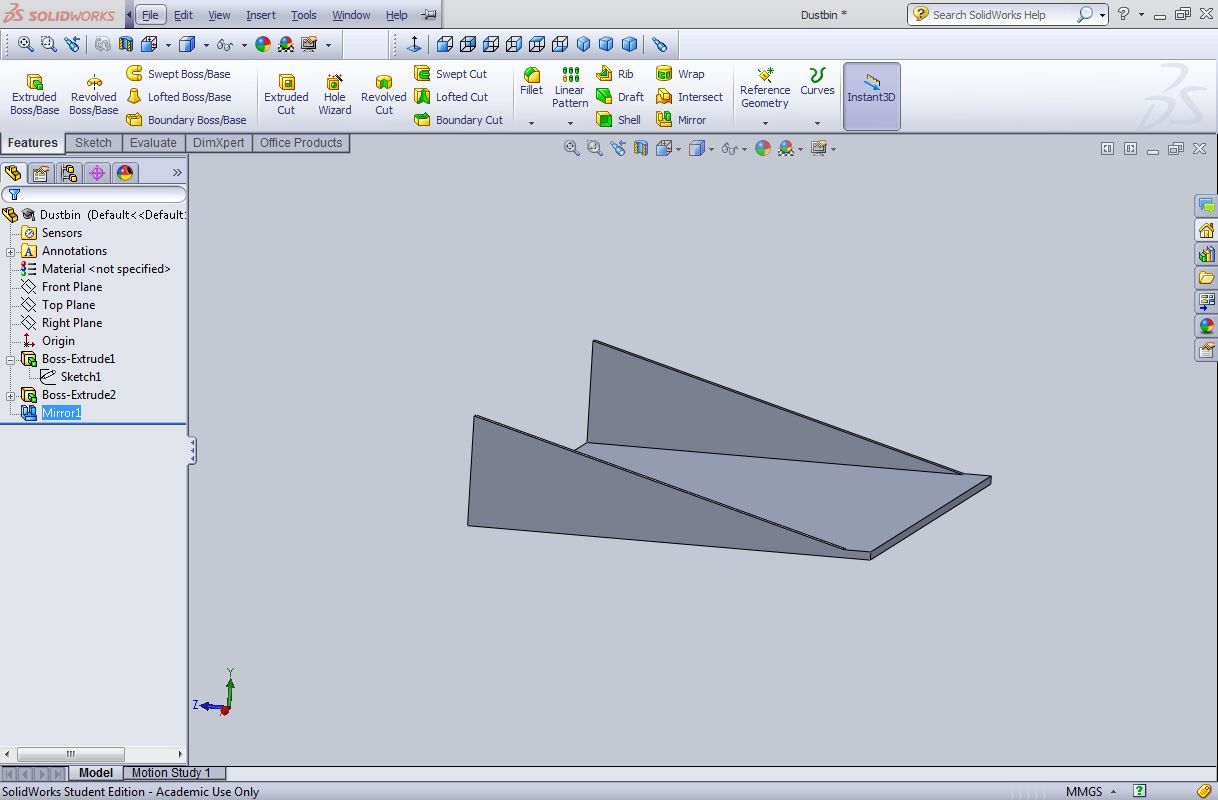
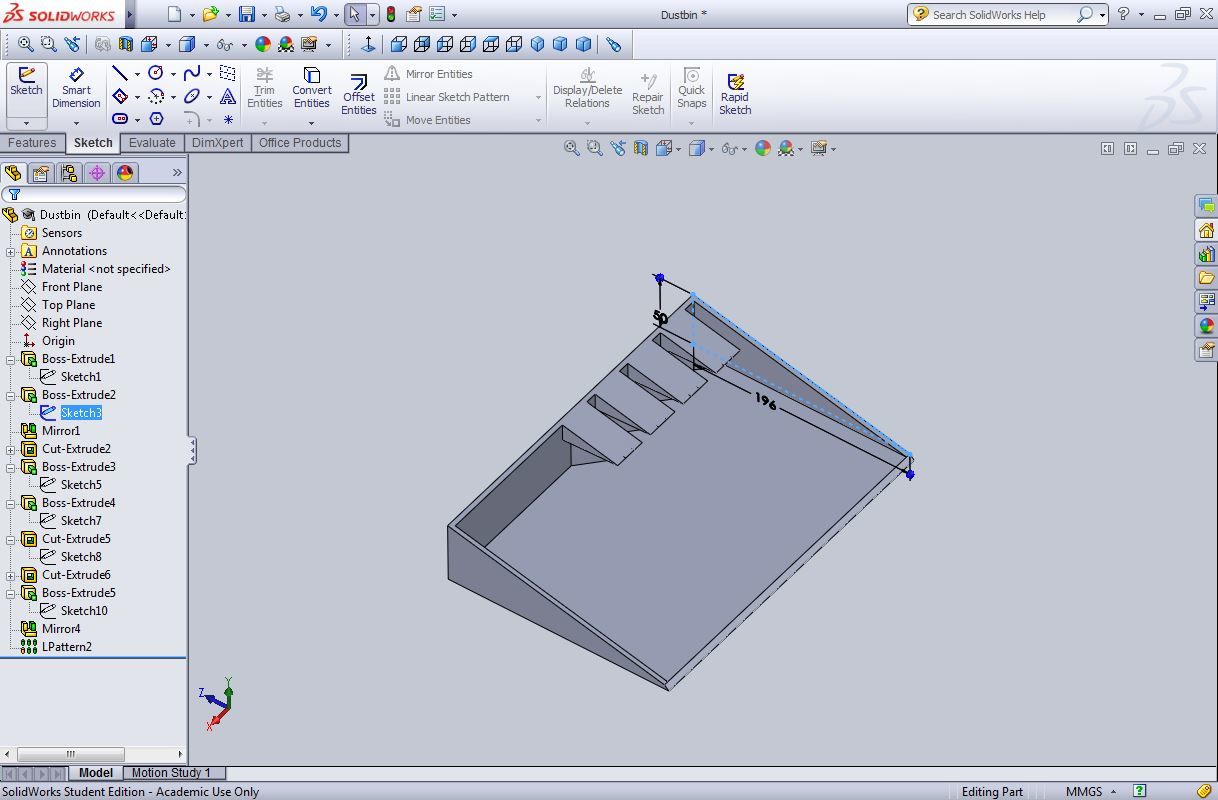
The assignment was to design and print something that could not be made subtractively -- something with an overhang or nested connection. I spent the first few days getting my feet wet with SolidWorks. After a few false starts I made this dustpan with teeth for clawing out that pesky lint that always gets stuck in the brushes.
SolidWorks works pretty well. However, I did experience a steep learning curve. When designing in SolidWorks, it's not enough to think about the shape of the object -- you have to plan ahead, anticipating how to apply the features that are offered so the final design is organized and mutable. Without a thorough understanding of the available features, it's not possible to plan ahead during the design process. So the only way to design effectively is to invest in learning the tools. My understanding is that these tools work essentially the same way for other 3D design programs -- so learning is a worthwhile investment.
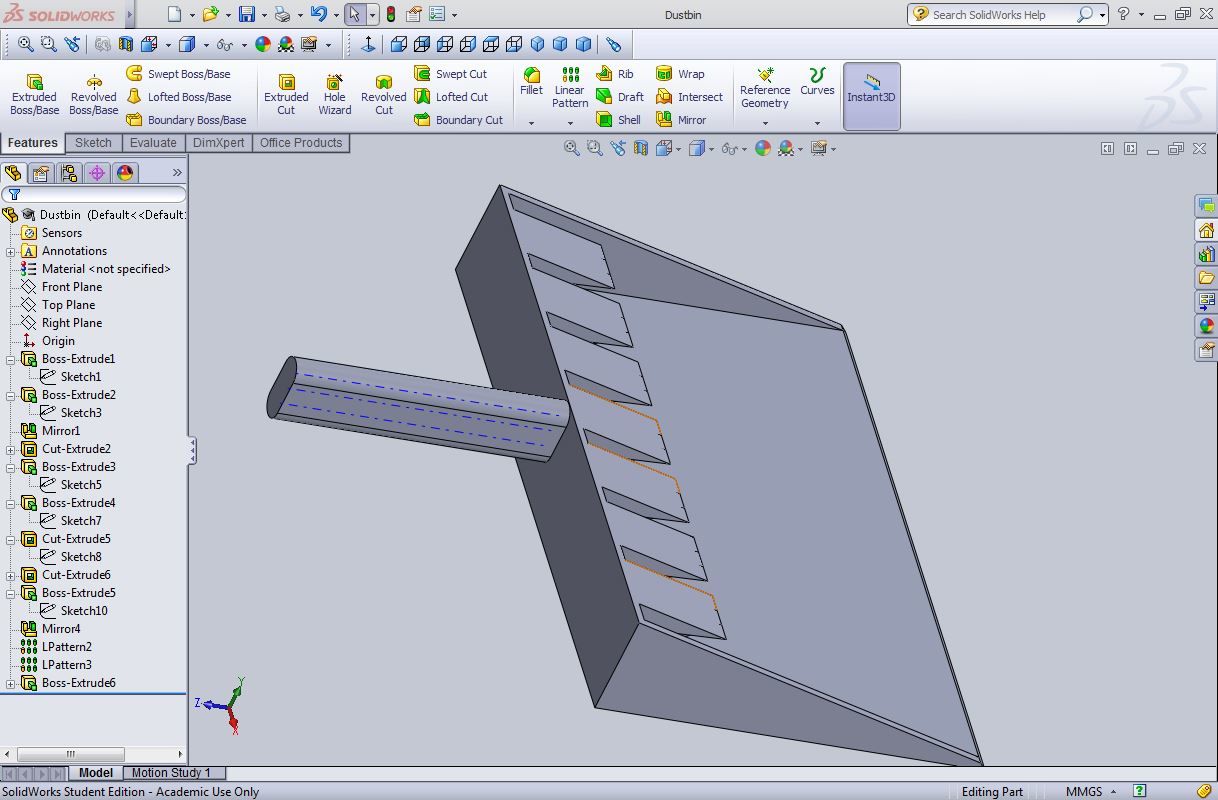
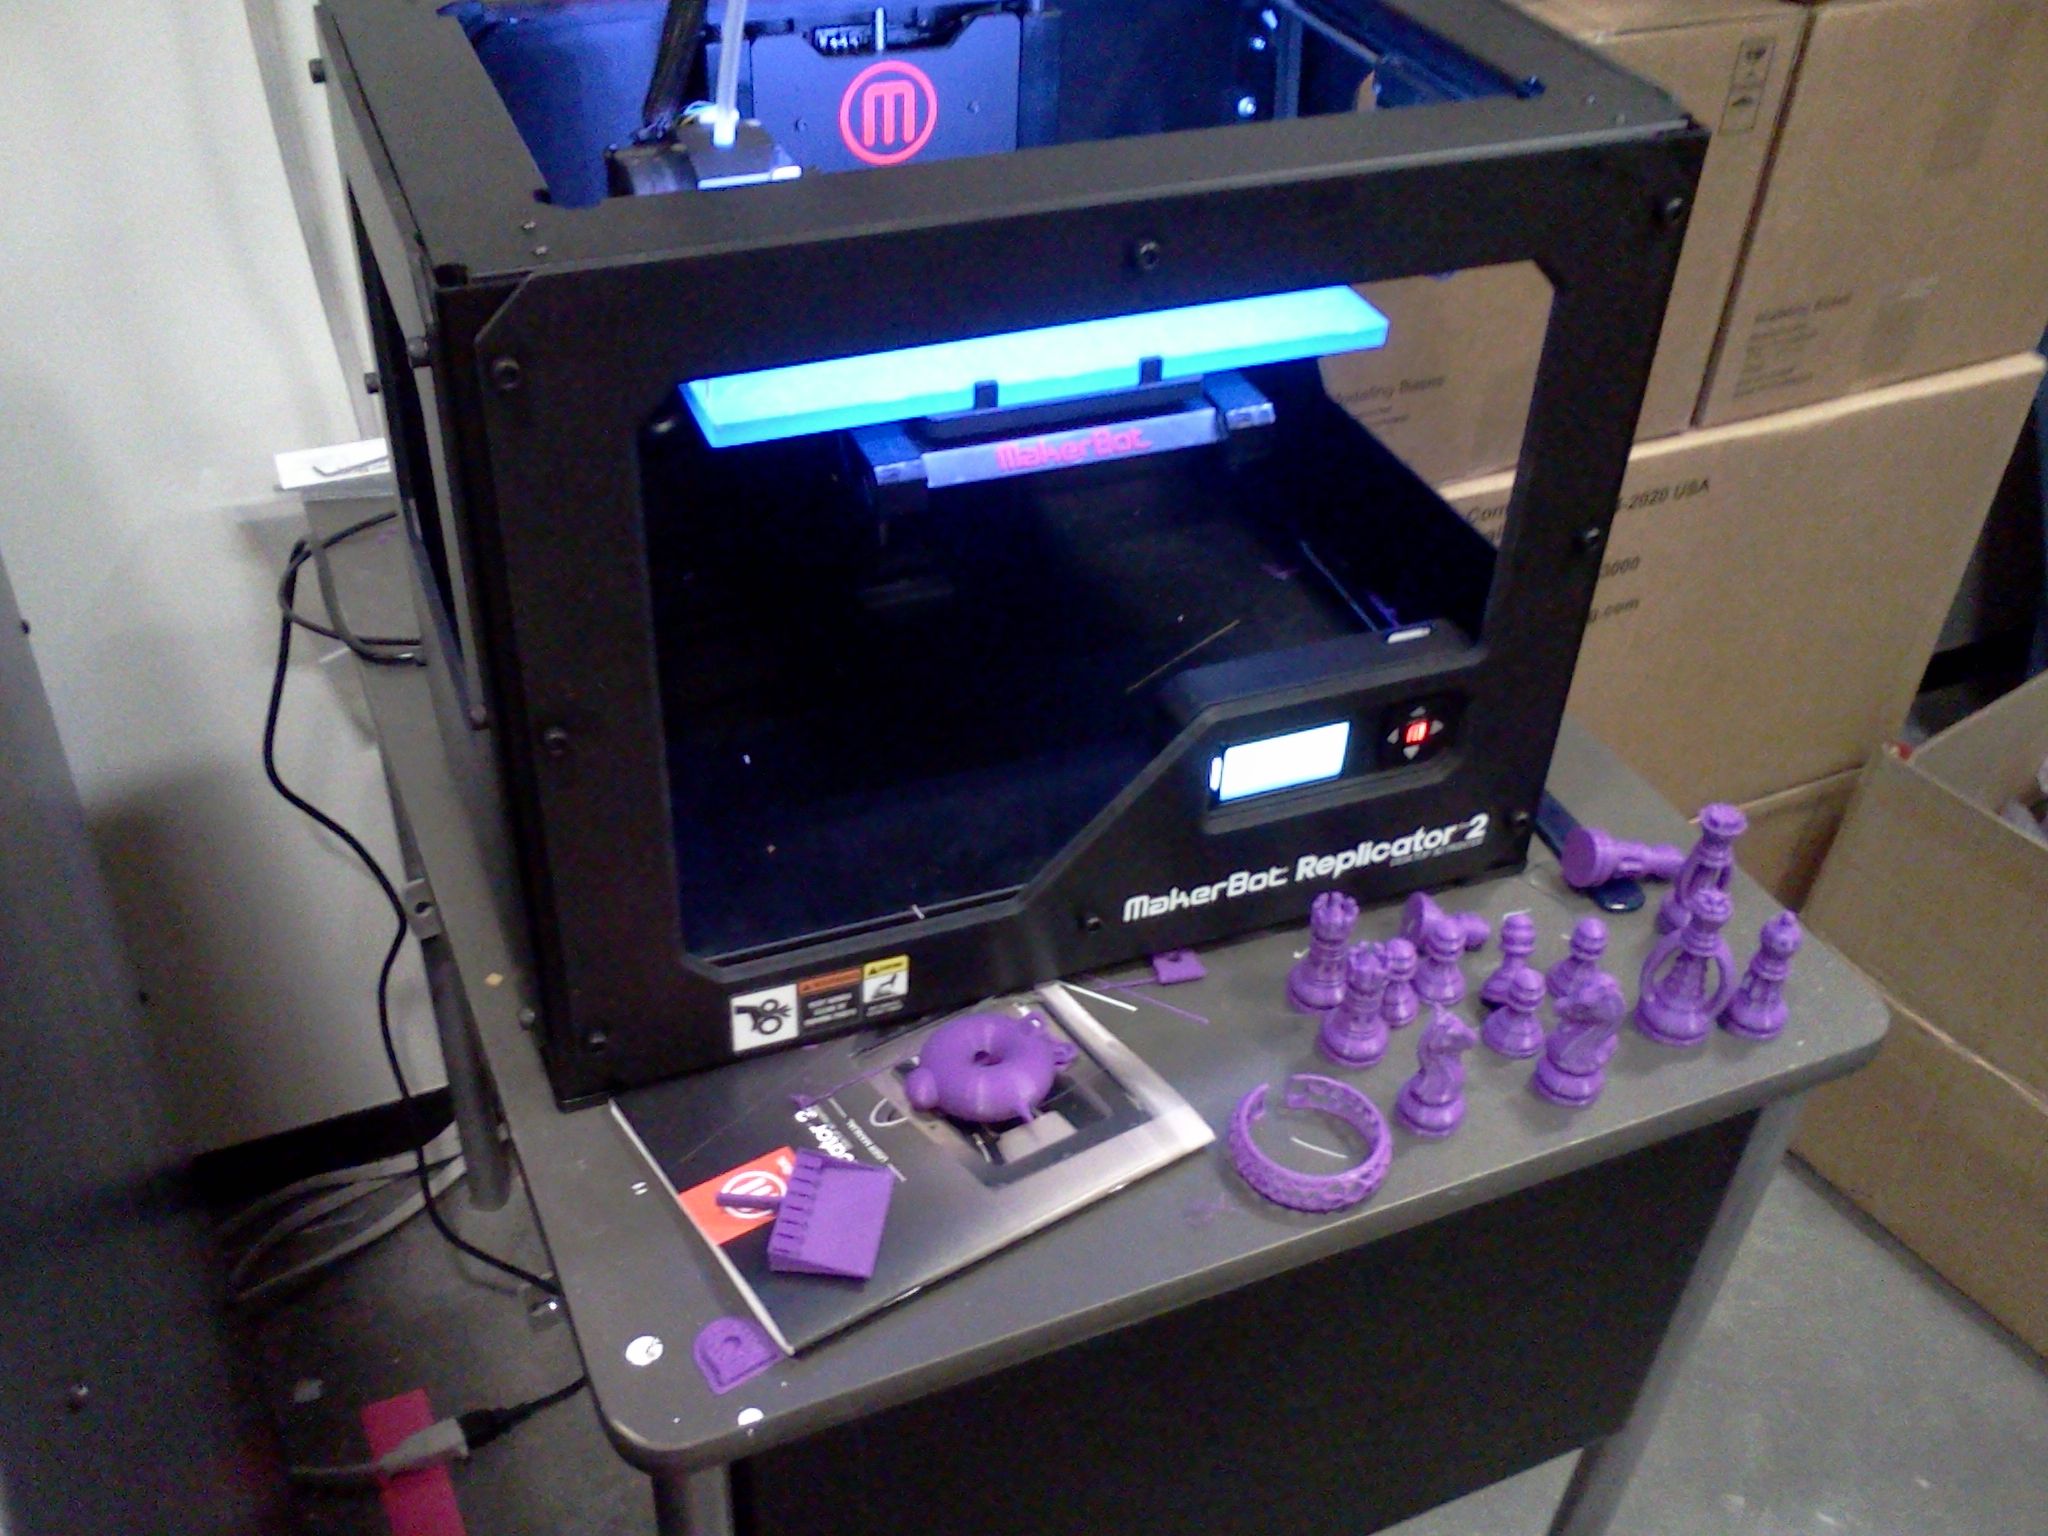
The CBA lab has three options for 3D printing. Both the fancy high-end machines had long wait time, so I opted for the Makerbot which was always immediately available -- and perfectly capable of producing my dustpan. I shrunk the dustpan to doll-house size so it could reasonably fit in the printer.
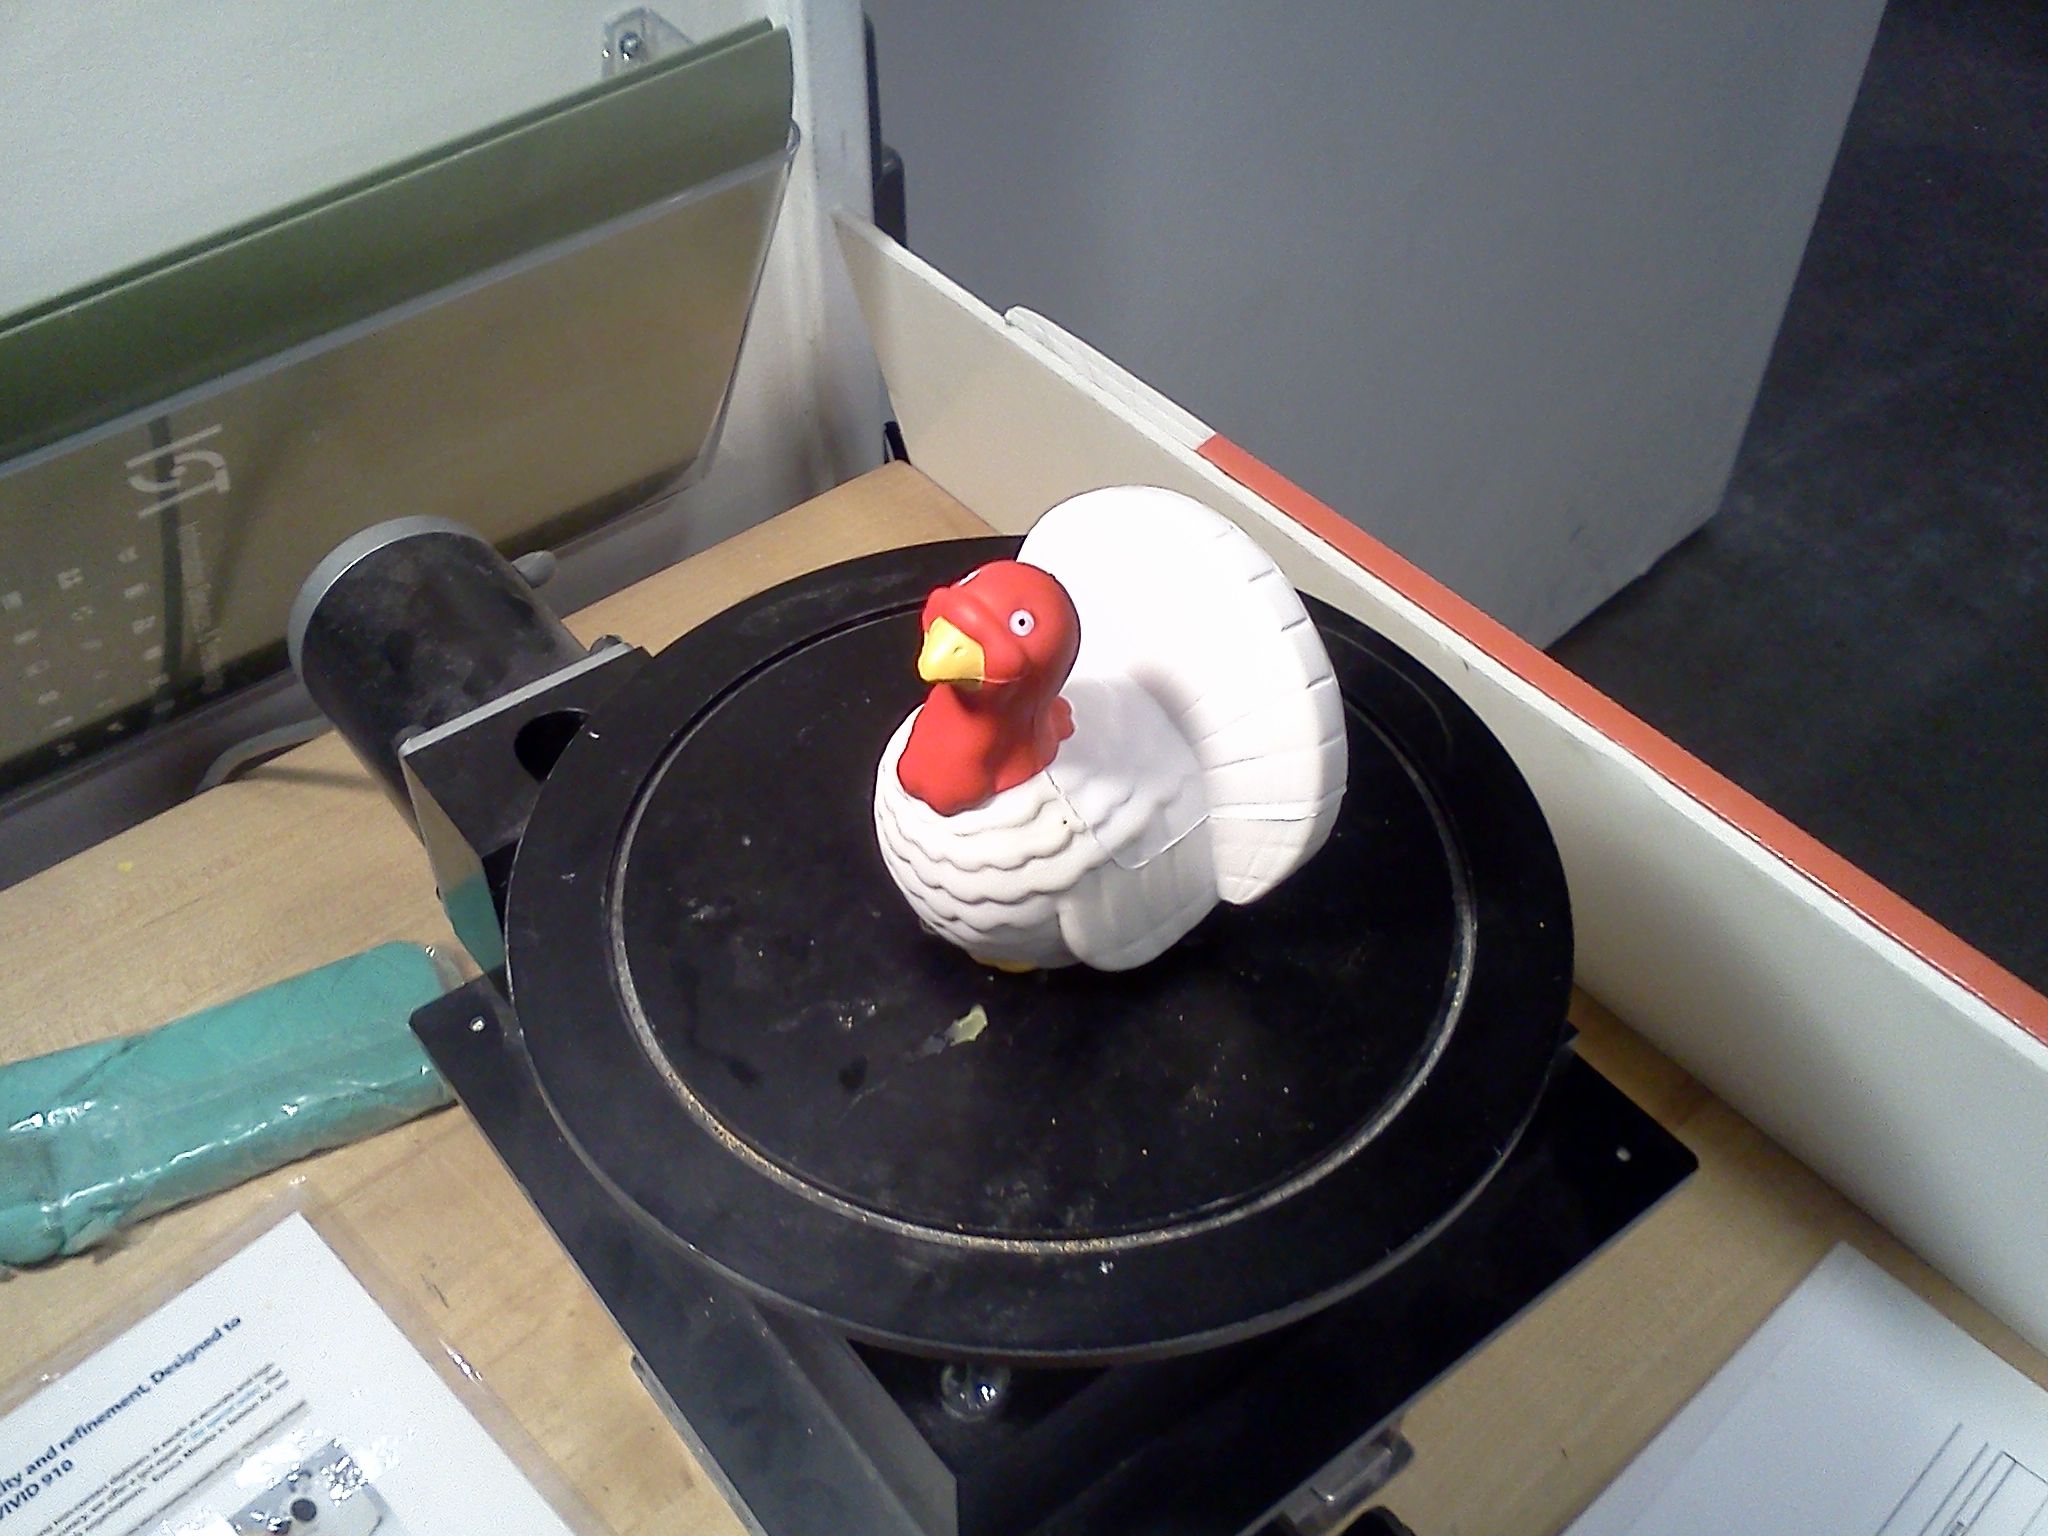
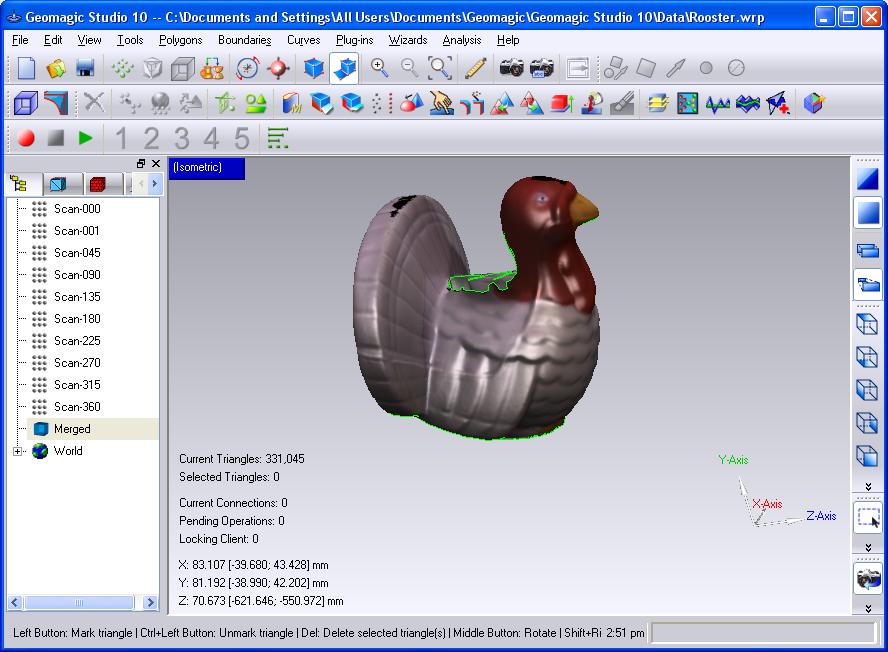
The second half of the assignment is to scan in a 3D object. We were warned that the scanning procedure is not good at detailed objects -- and is somewhat of an exercise in futzing with parameters. I chose a very simple object.
I borrowed this squishy fowl from my lab-mate FOR SCIENCE. Shown below, she is sitting in the bed of the Minolta 3D scanner.