Molding and Casting
Probably not a good idea to go wander around machinery while sleep deprivedBoxy Cats
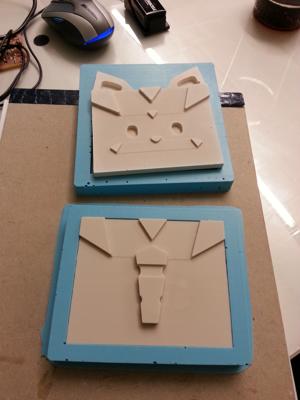
I decided to make a boxy cat-critter for my final project, and molded and casted the face and tail of this cat (the body would be laser-cut in clear acrylic).
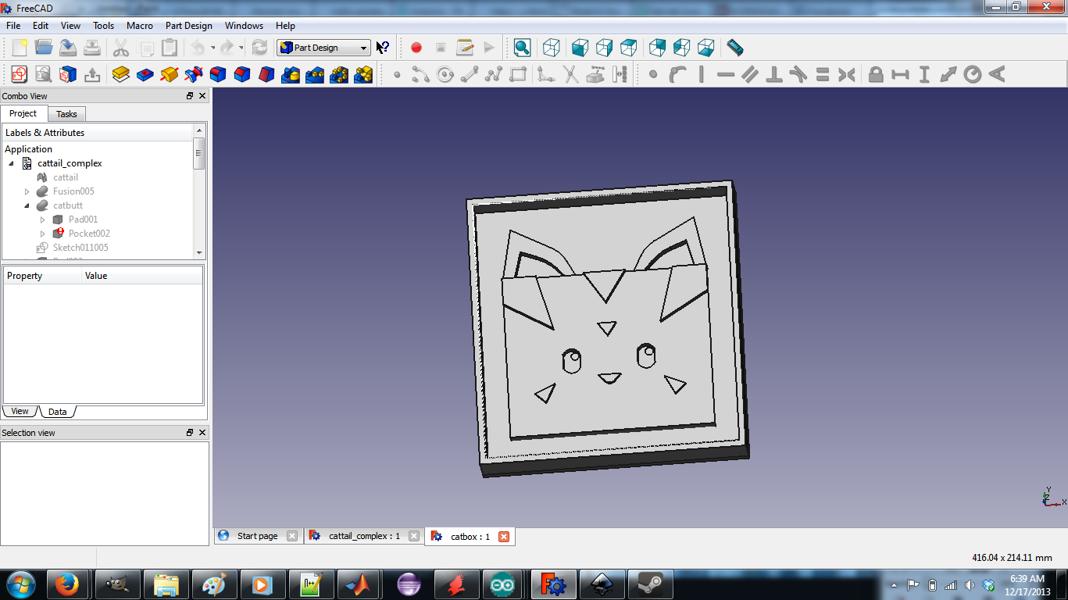
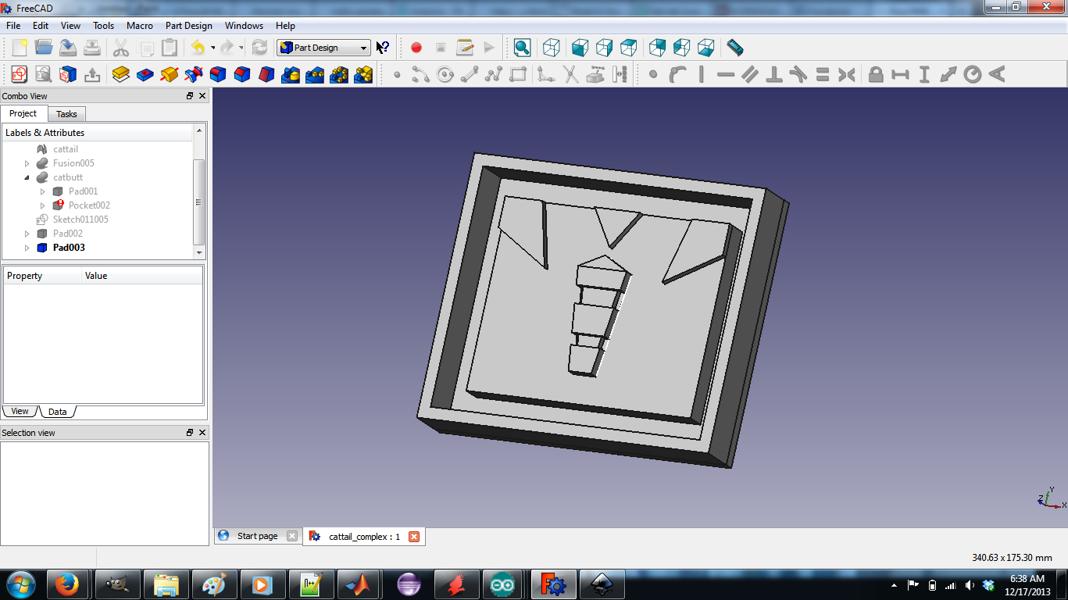
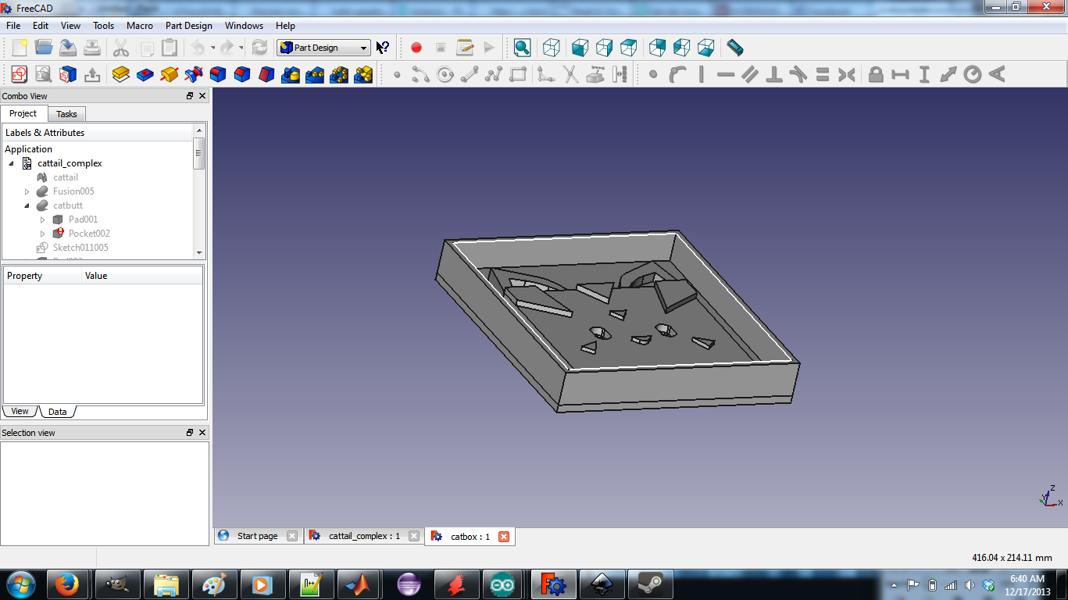
I designed the mold in FreeCAD, both the part that would be cast (the cat's face and tail, about 8cm x 10cm) and the part that would be left around the outer rims of the material, to hold the molding composite in while it's setting. As the below picture shows, the center platform (where the cat's eyes and nose are) is lower than the outer "walls" of the model. I made sure the walls around the model had at least .5cm clearance over the model itself, because this .5cm would be how thick the bottom of my mold is, and the thicker the less likely the mold would be to break.
Shopbot and Milling Molds
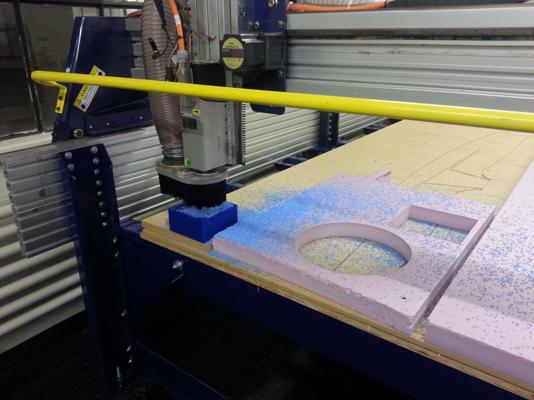
Because this part was reasonably big, I decided to use the shopbot, which I'd heard was far faster than the modela for cutting out molds. I also didn't have very many small details on this mold, so the shopbot (with a 1/4in endmill) was perfect.
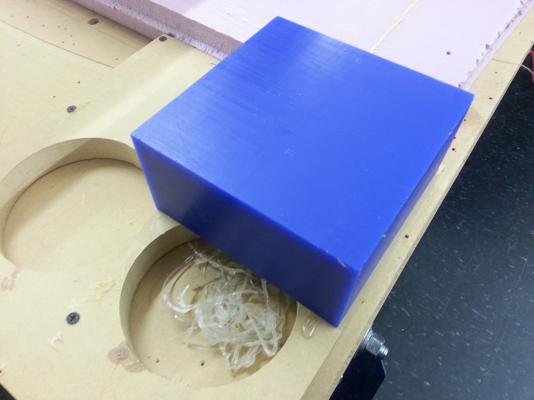
Attaching the machineable wax to the shopbot was a bit interesting, though; I couldn't just drill the wax block into the platform, because it was too thick, and Charles explicitly forbade me from hot glueing anything to the shopbot platform. I got around this by nailing a piece of MDF to the platform and gluing the wax to *that* instead.

Two things that failed: gluing the wax to foam (because MDF was hard to drill through initially) and trying to put too much hot glue on the MDF before putting the wax on. Foam flakes off incredibly easily and doesn't offer a good support for the wax, and the only time hot glue is sticky is when it's *hot* - when I waited for too long before putting the wax down, the glue cooled and hardened and the wax wouldn't stick. The below picture shows the hardened glue I had to pry off before I could try again.
Also keep in mind if the bit you're using is really long, the vacuum attached to the shopbot won't be able to suck up debris because it'll be too high up. Keep the shop vac handy.
Molding and Casting
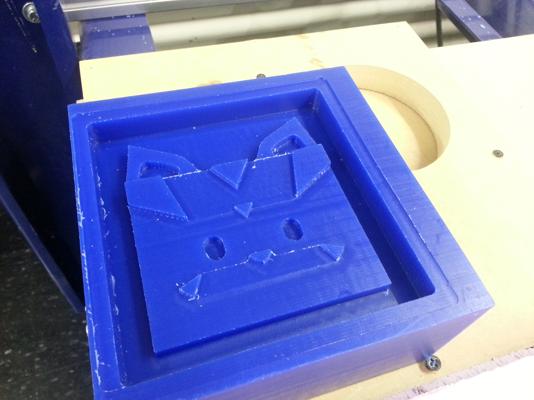
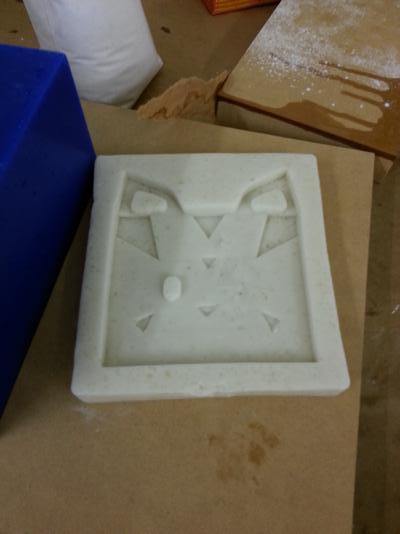
The cutting finished pretty quickly, and aside from a few misleveled parts (and the shiny parts of the eyes were too small to cut out), the mold was really well made. I decided to fill this mold with Oomoo silicone rubber, because it seemed pretty sturdy. I measured the volume of the mold using water (filled the mold to the surface and then poured it into a cup), and then estimated the amount of oomoo I'd need from that.
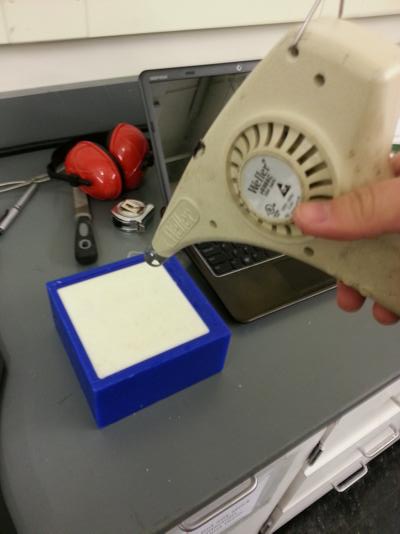
ALTHOUGH Oomoo says it only needs 75 minutes to cure, in my experience I've found it to be more like 3 hours, possibly 4. Also, it ends up being really difficult to get all of the air bubbles out of the mixture, so you can see the below picture has a few holes. However, they're small and if you're casting with plaster, you can just snap off the bubbles after the cast is done.

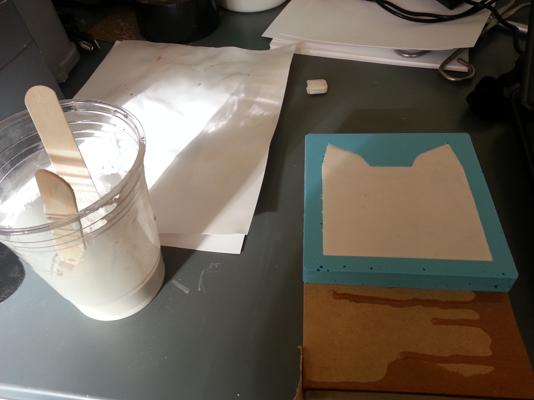
I then cast using hydrostone: although the directions are extremely precise about how much parts of water to hydrostone you had to mix, I didn't have access to a scale and basically guesstimated. The resulting mold turned out perfectly fine, though, so it wasn't a big deal.

Extra: Instamold Sucks
I had a bit of time after finishing the two parts, and thought "what if I made the cast itself out of Oomoo?" Because oomoo seemed pretty fun to bat around and play with. But I couldn't use my oomoo mold for that (it'd stick to itself), so I tried to make a new mold out of the Instamold we also had in the lab.
The problem with this was that it was terribly cold in the shop that day and instamold is only "instant" in hot weather; I resorted to heat gunning it for about five minutes. (Don't do this at home.)
However, when I finally felt brave enough to pull the mold out, one of the cat's eyes came off and the consistency of the mold itself was barely stronger than gelatin. Apparently instamold is *really* bad for standalone molding; it won't hold its shape well without supports, which is why the instructions only mention using it in a cup. Basically, unless you're extremely pressed for time, don't try Instamold.
Older work
I unfortunately spent the majority of this week on a plane, and couldn't attend any of the casting-tutorial sections as a result. (Anya is a saint for helping me take notes and video and I'll be doing casting as soon as I can, with those as guidance)
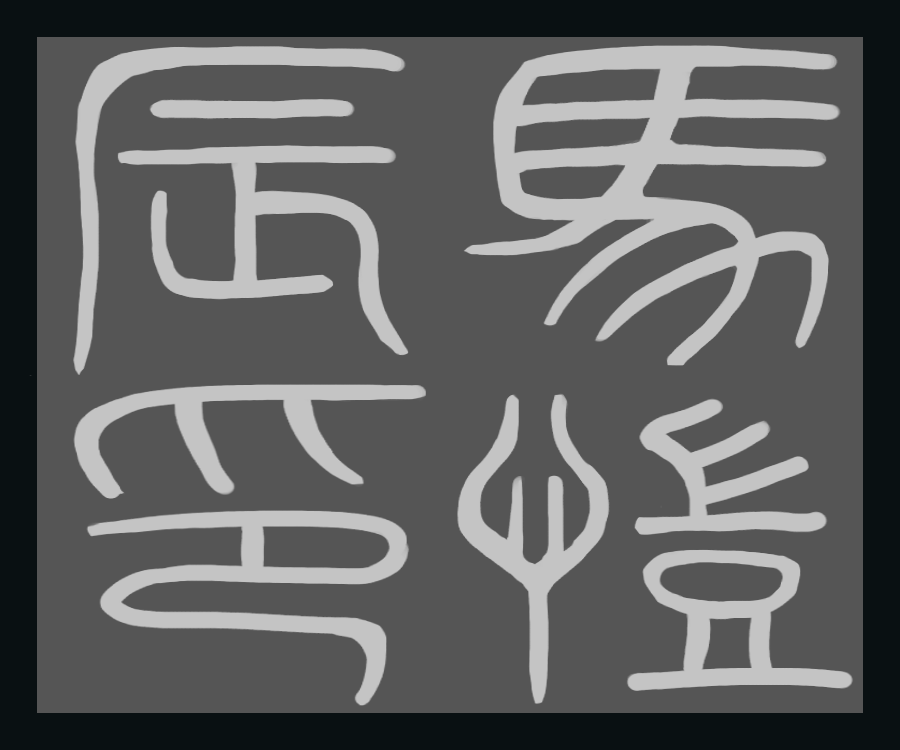
As for molding, I wanted to try drawing a mold as a 2D image from the start, and made a traditional Chinese signature stamp to mill later. The main problem I can see with this design is that the modela's drill tip is pretty thick relative to the space (1/8in, and the block of wax we're working with is only 3in x 7in x 2in (?)), so the thin spacing between lines in the characters might be impossible to carve out unless I size-up the design and carve with a larger piece of material, or a smaller drill bit. I'll have to ask someone else's assistance later.
Further progress to come.