This week's assignment is to design a press fit construction kit. I have never used a laser cutter before, or any CAD design tools. So it should be a fun learning experience!
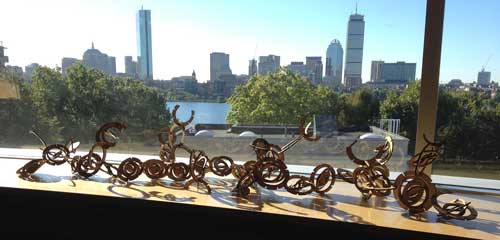
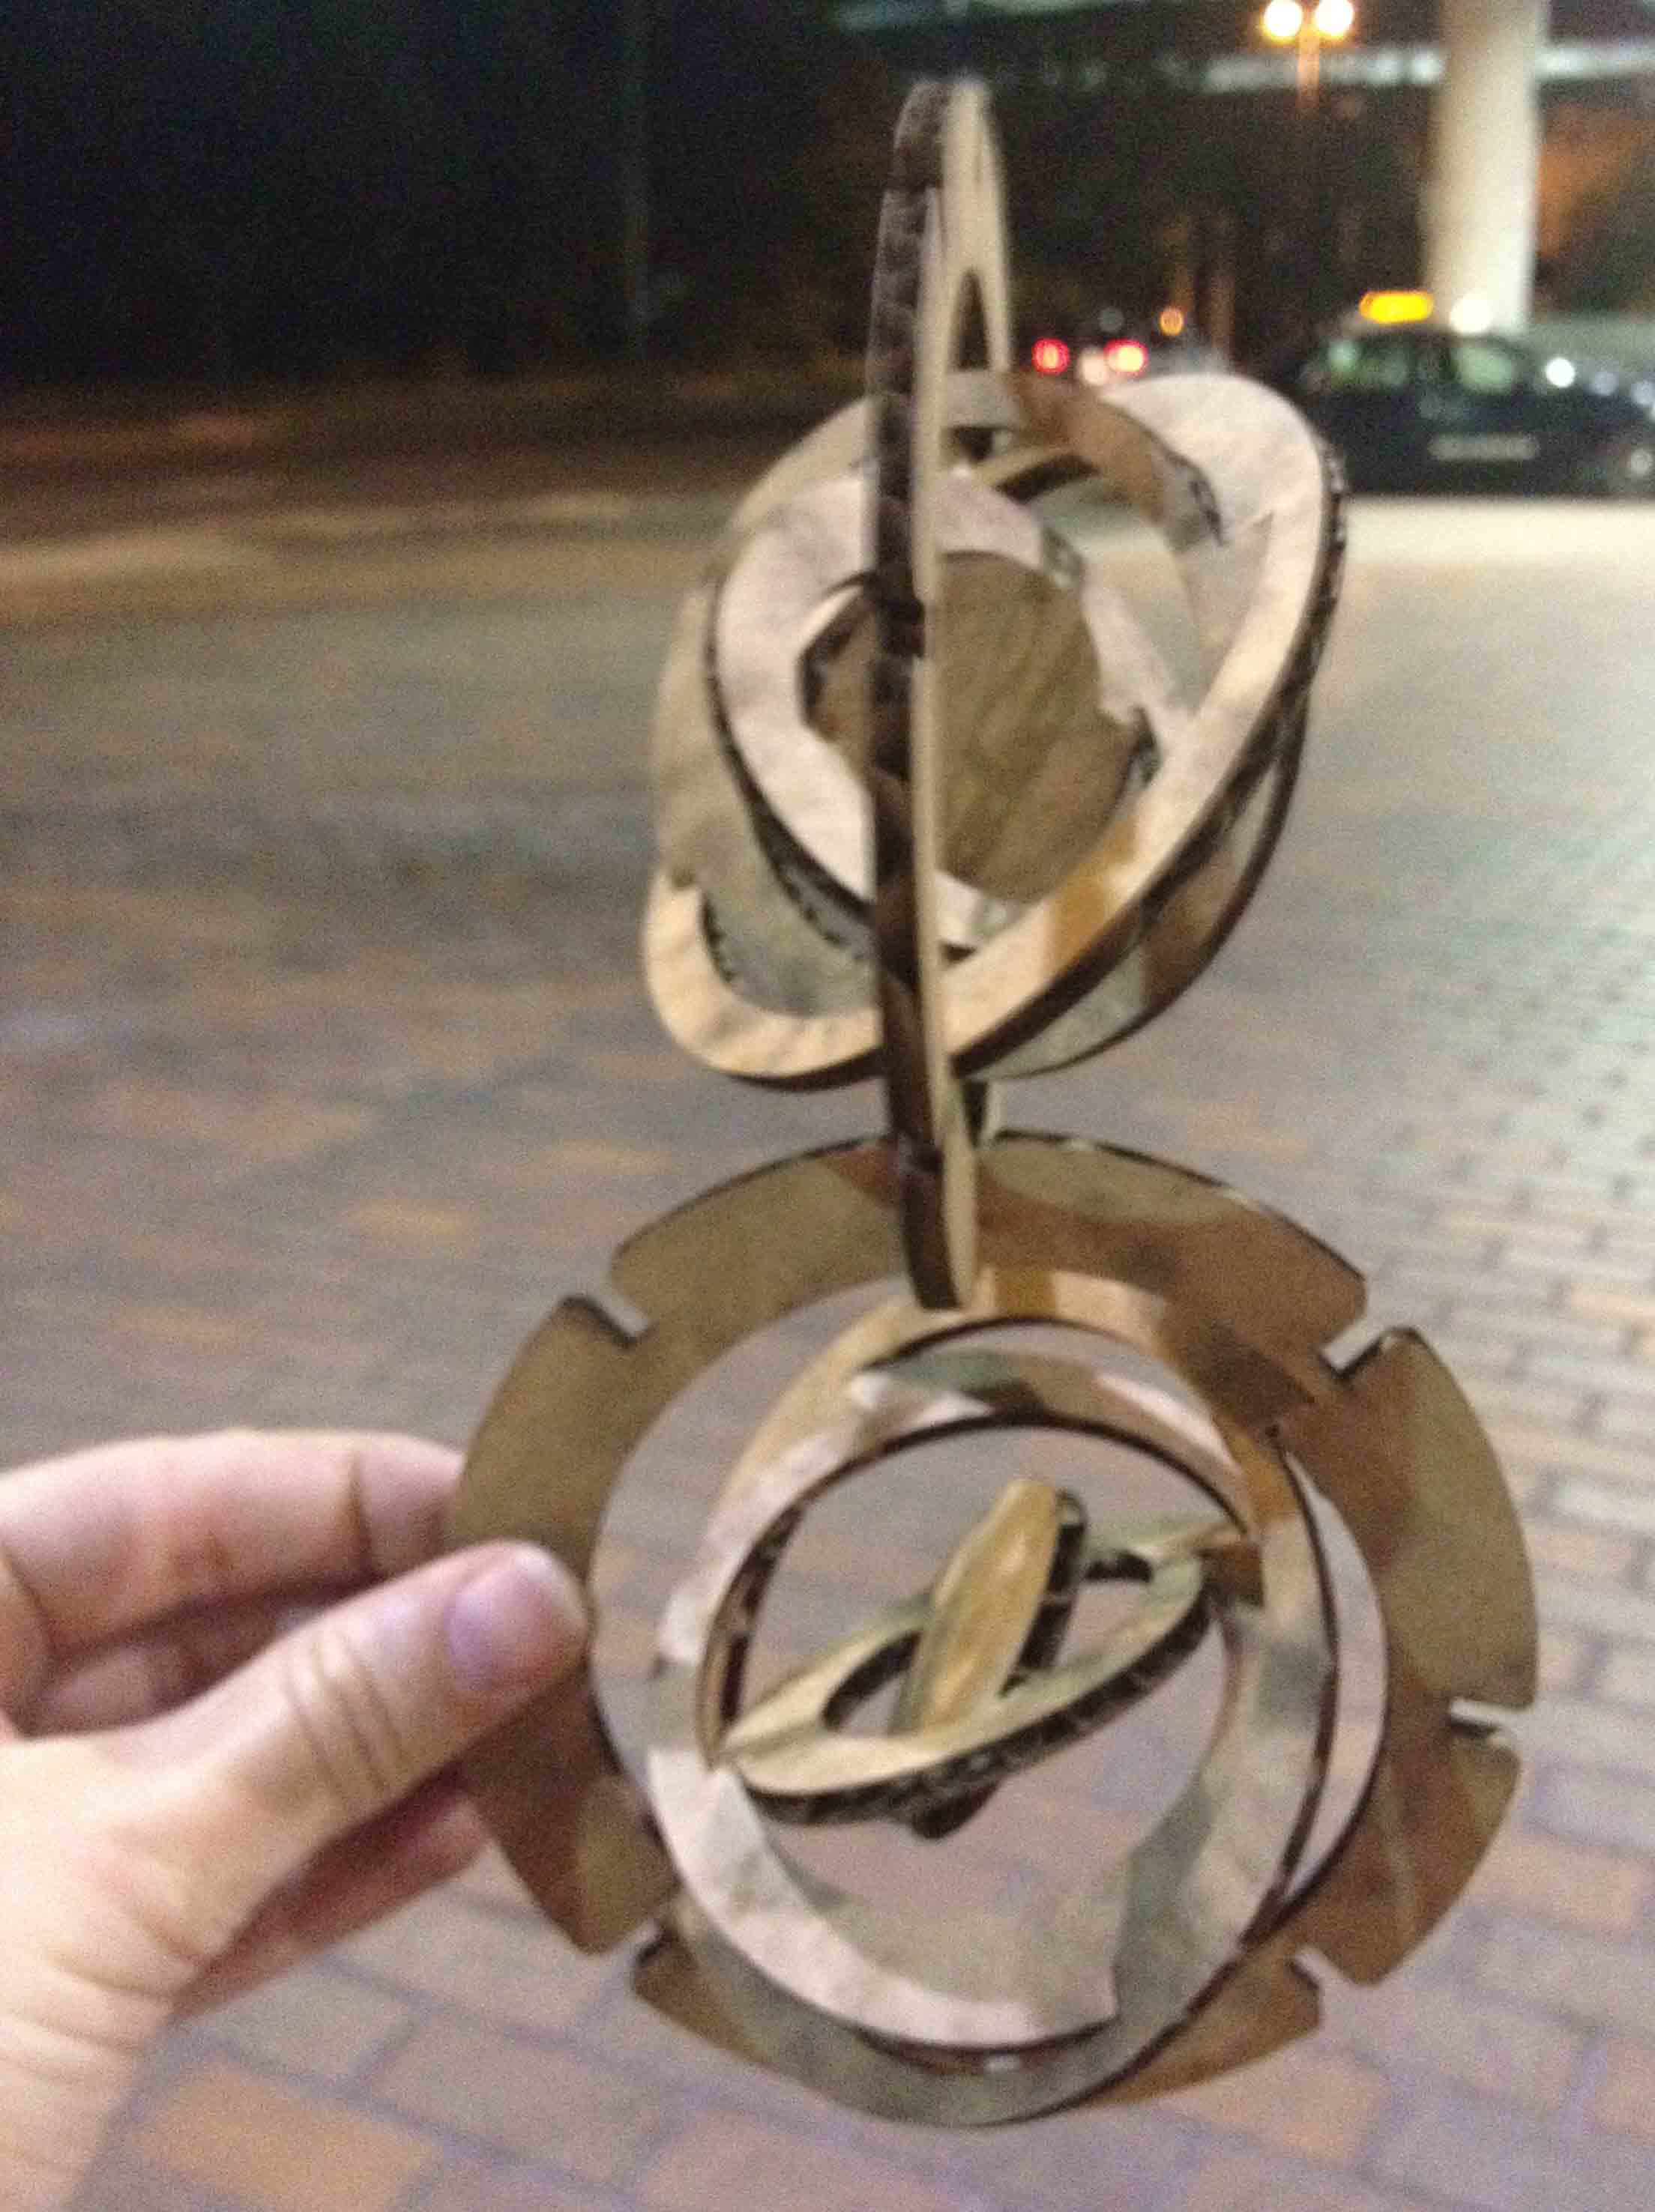
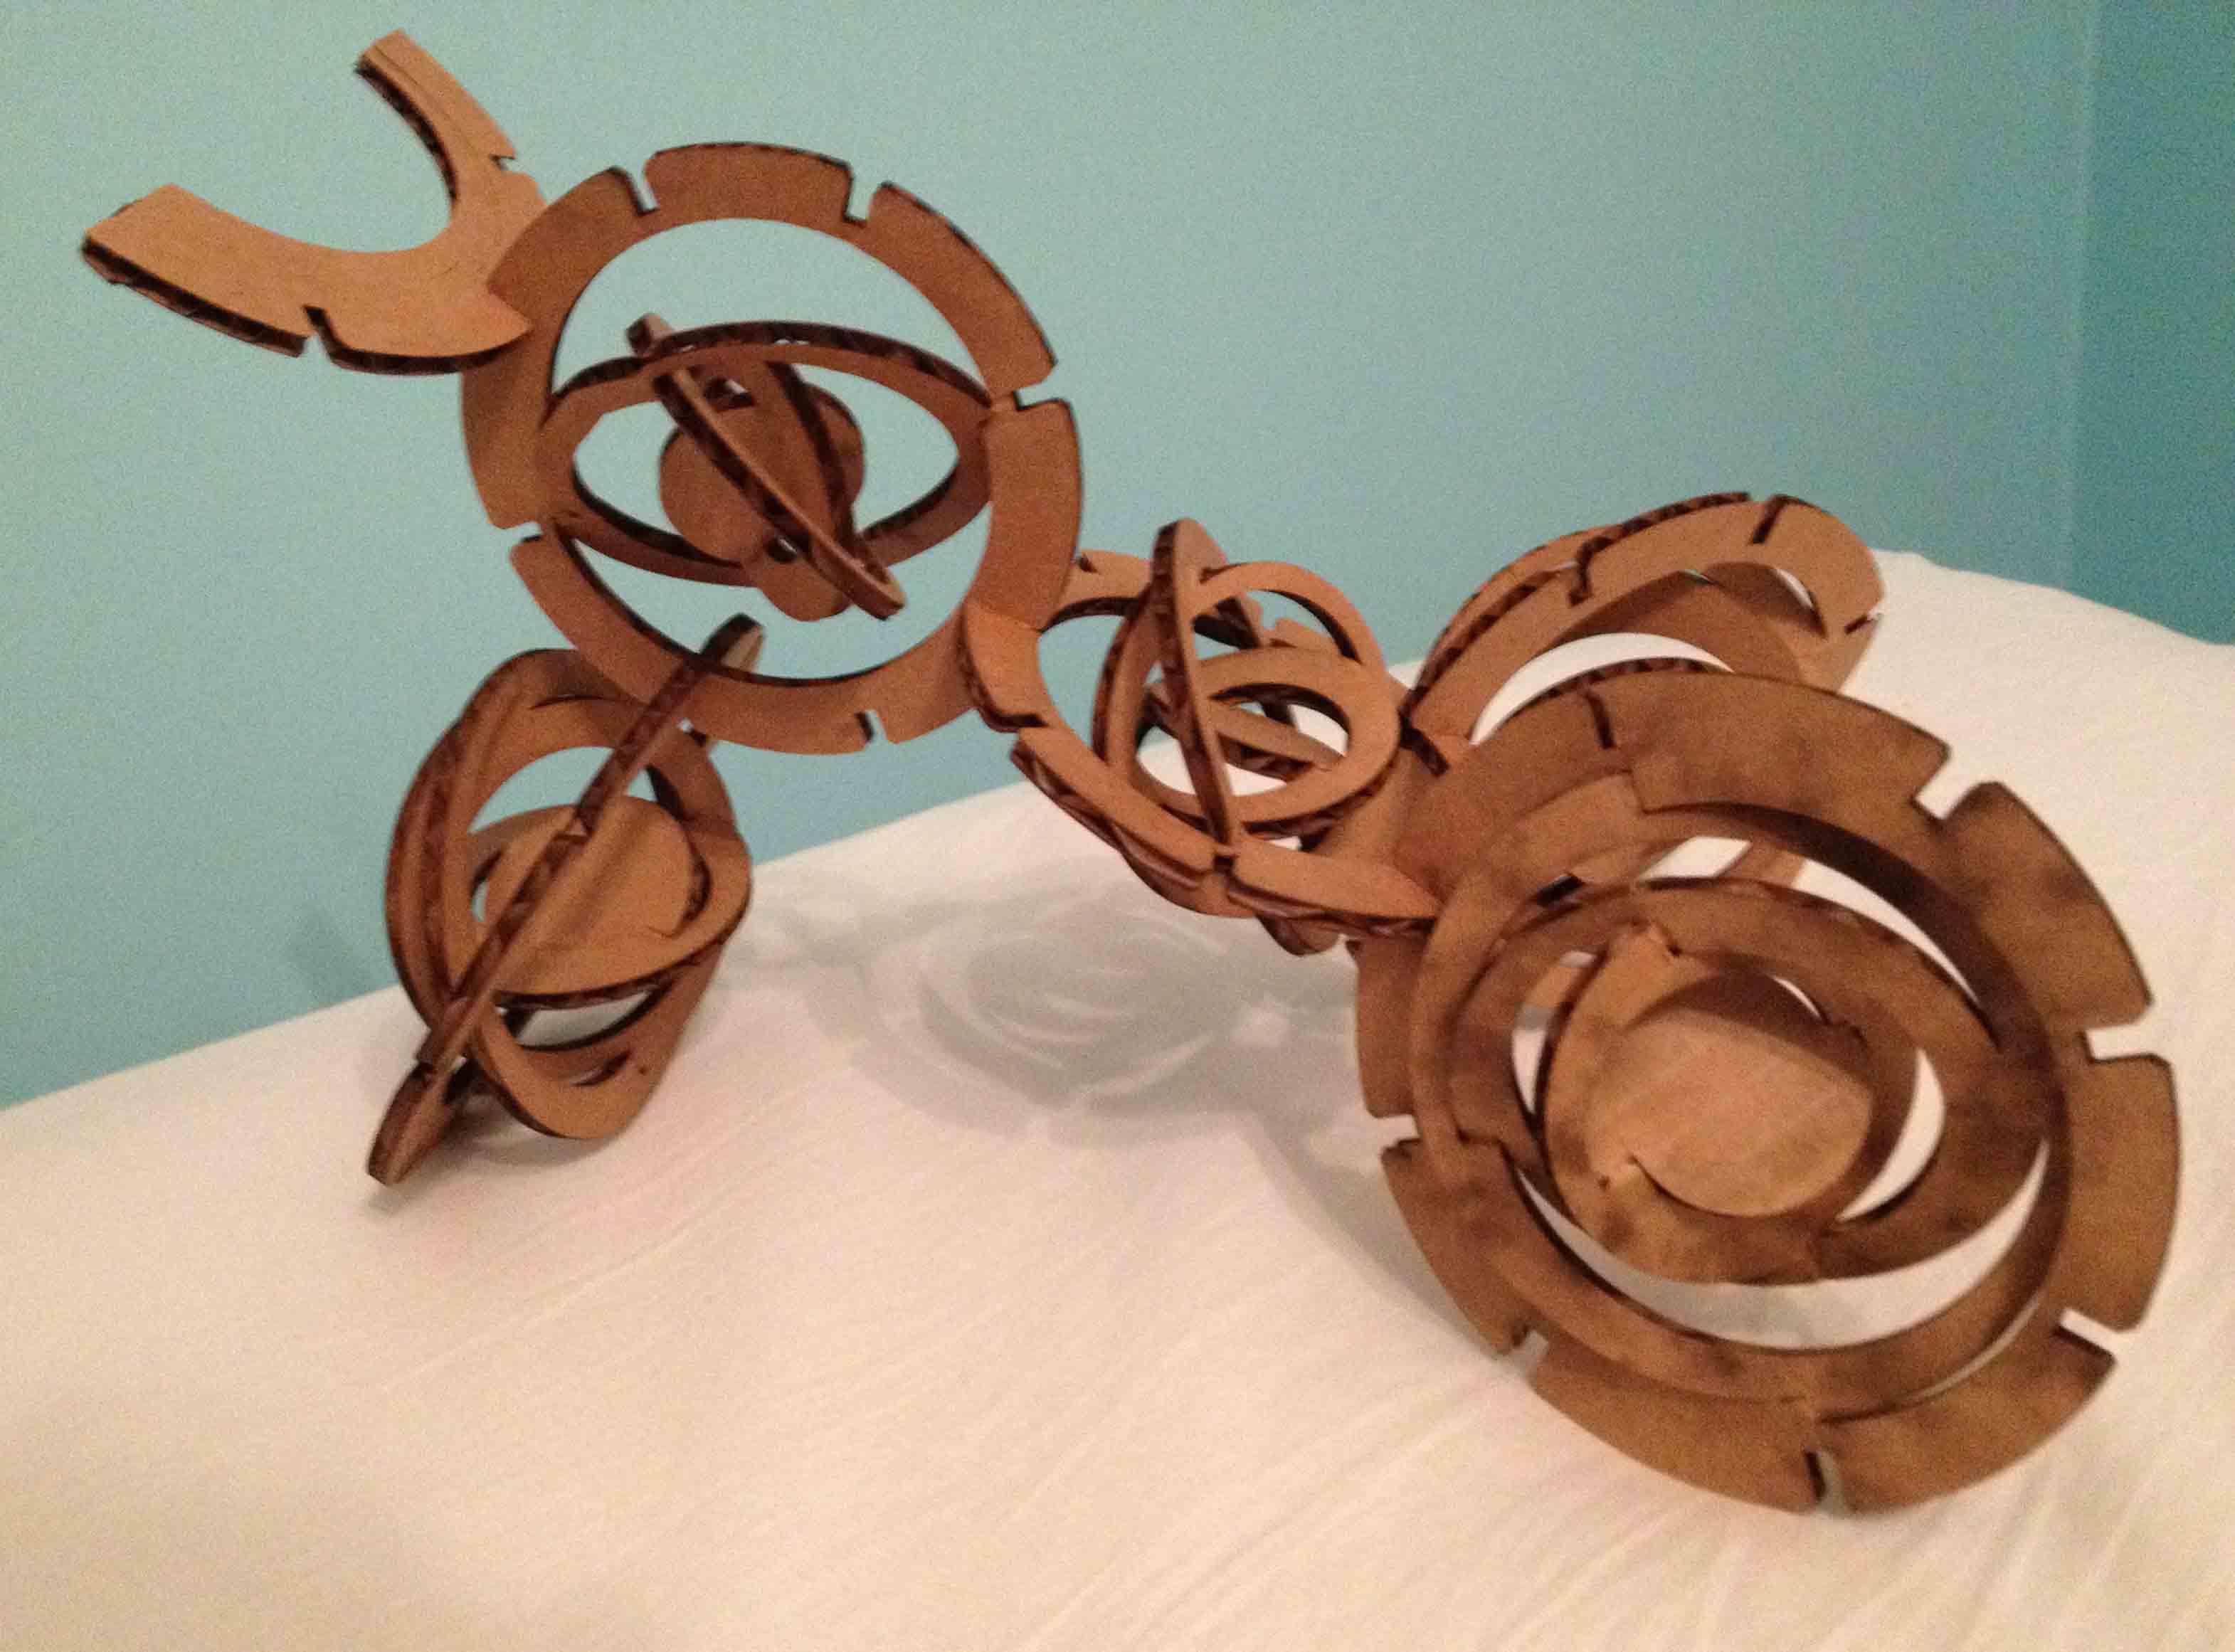
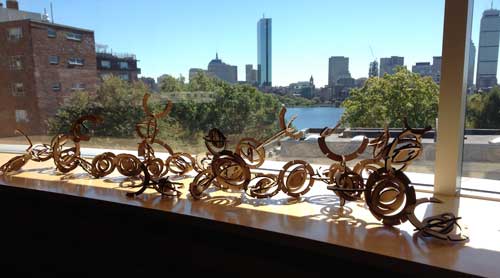
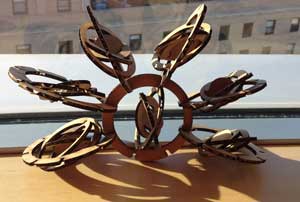
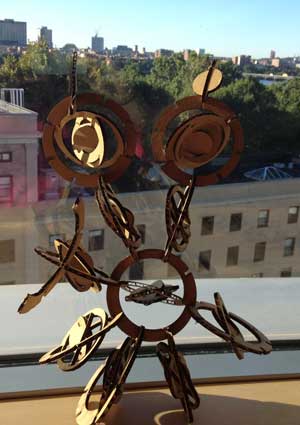
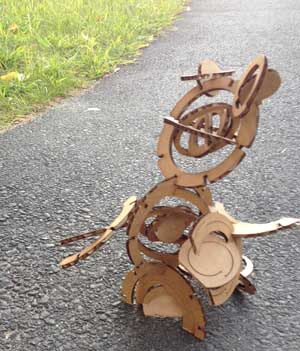
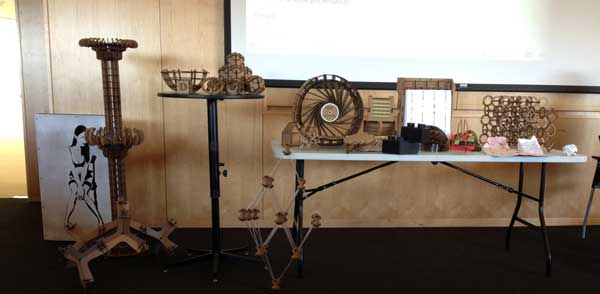
First I pored over a ton of past student websites. I made a paper rocking chair and experimented with different joints by cutting up diaper boxes. I looked at my Complete Book of Papercrafts book and settled on an idea for a series of rotating circles within one another. Designed this on paper and cut it out, then designed it in cardboard and tried a number of different joints to join 2 spiral designs together.
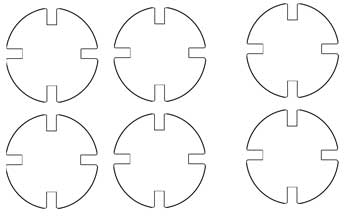
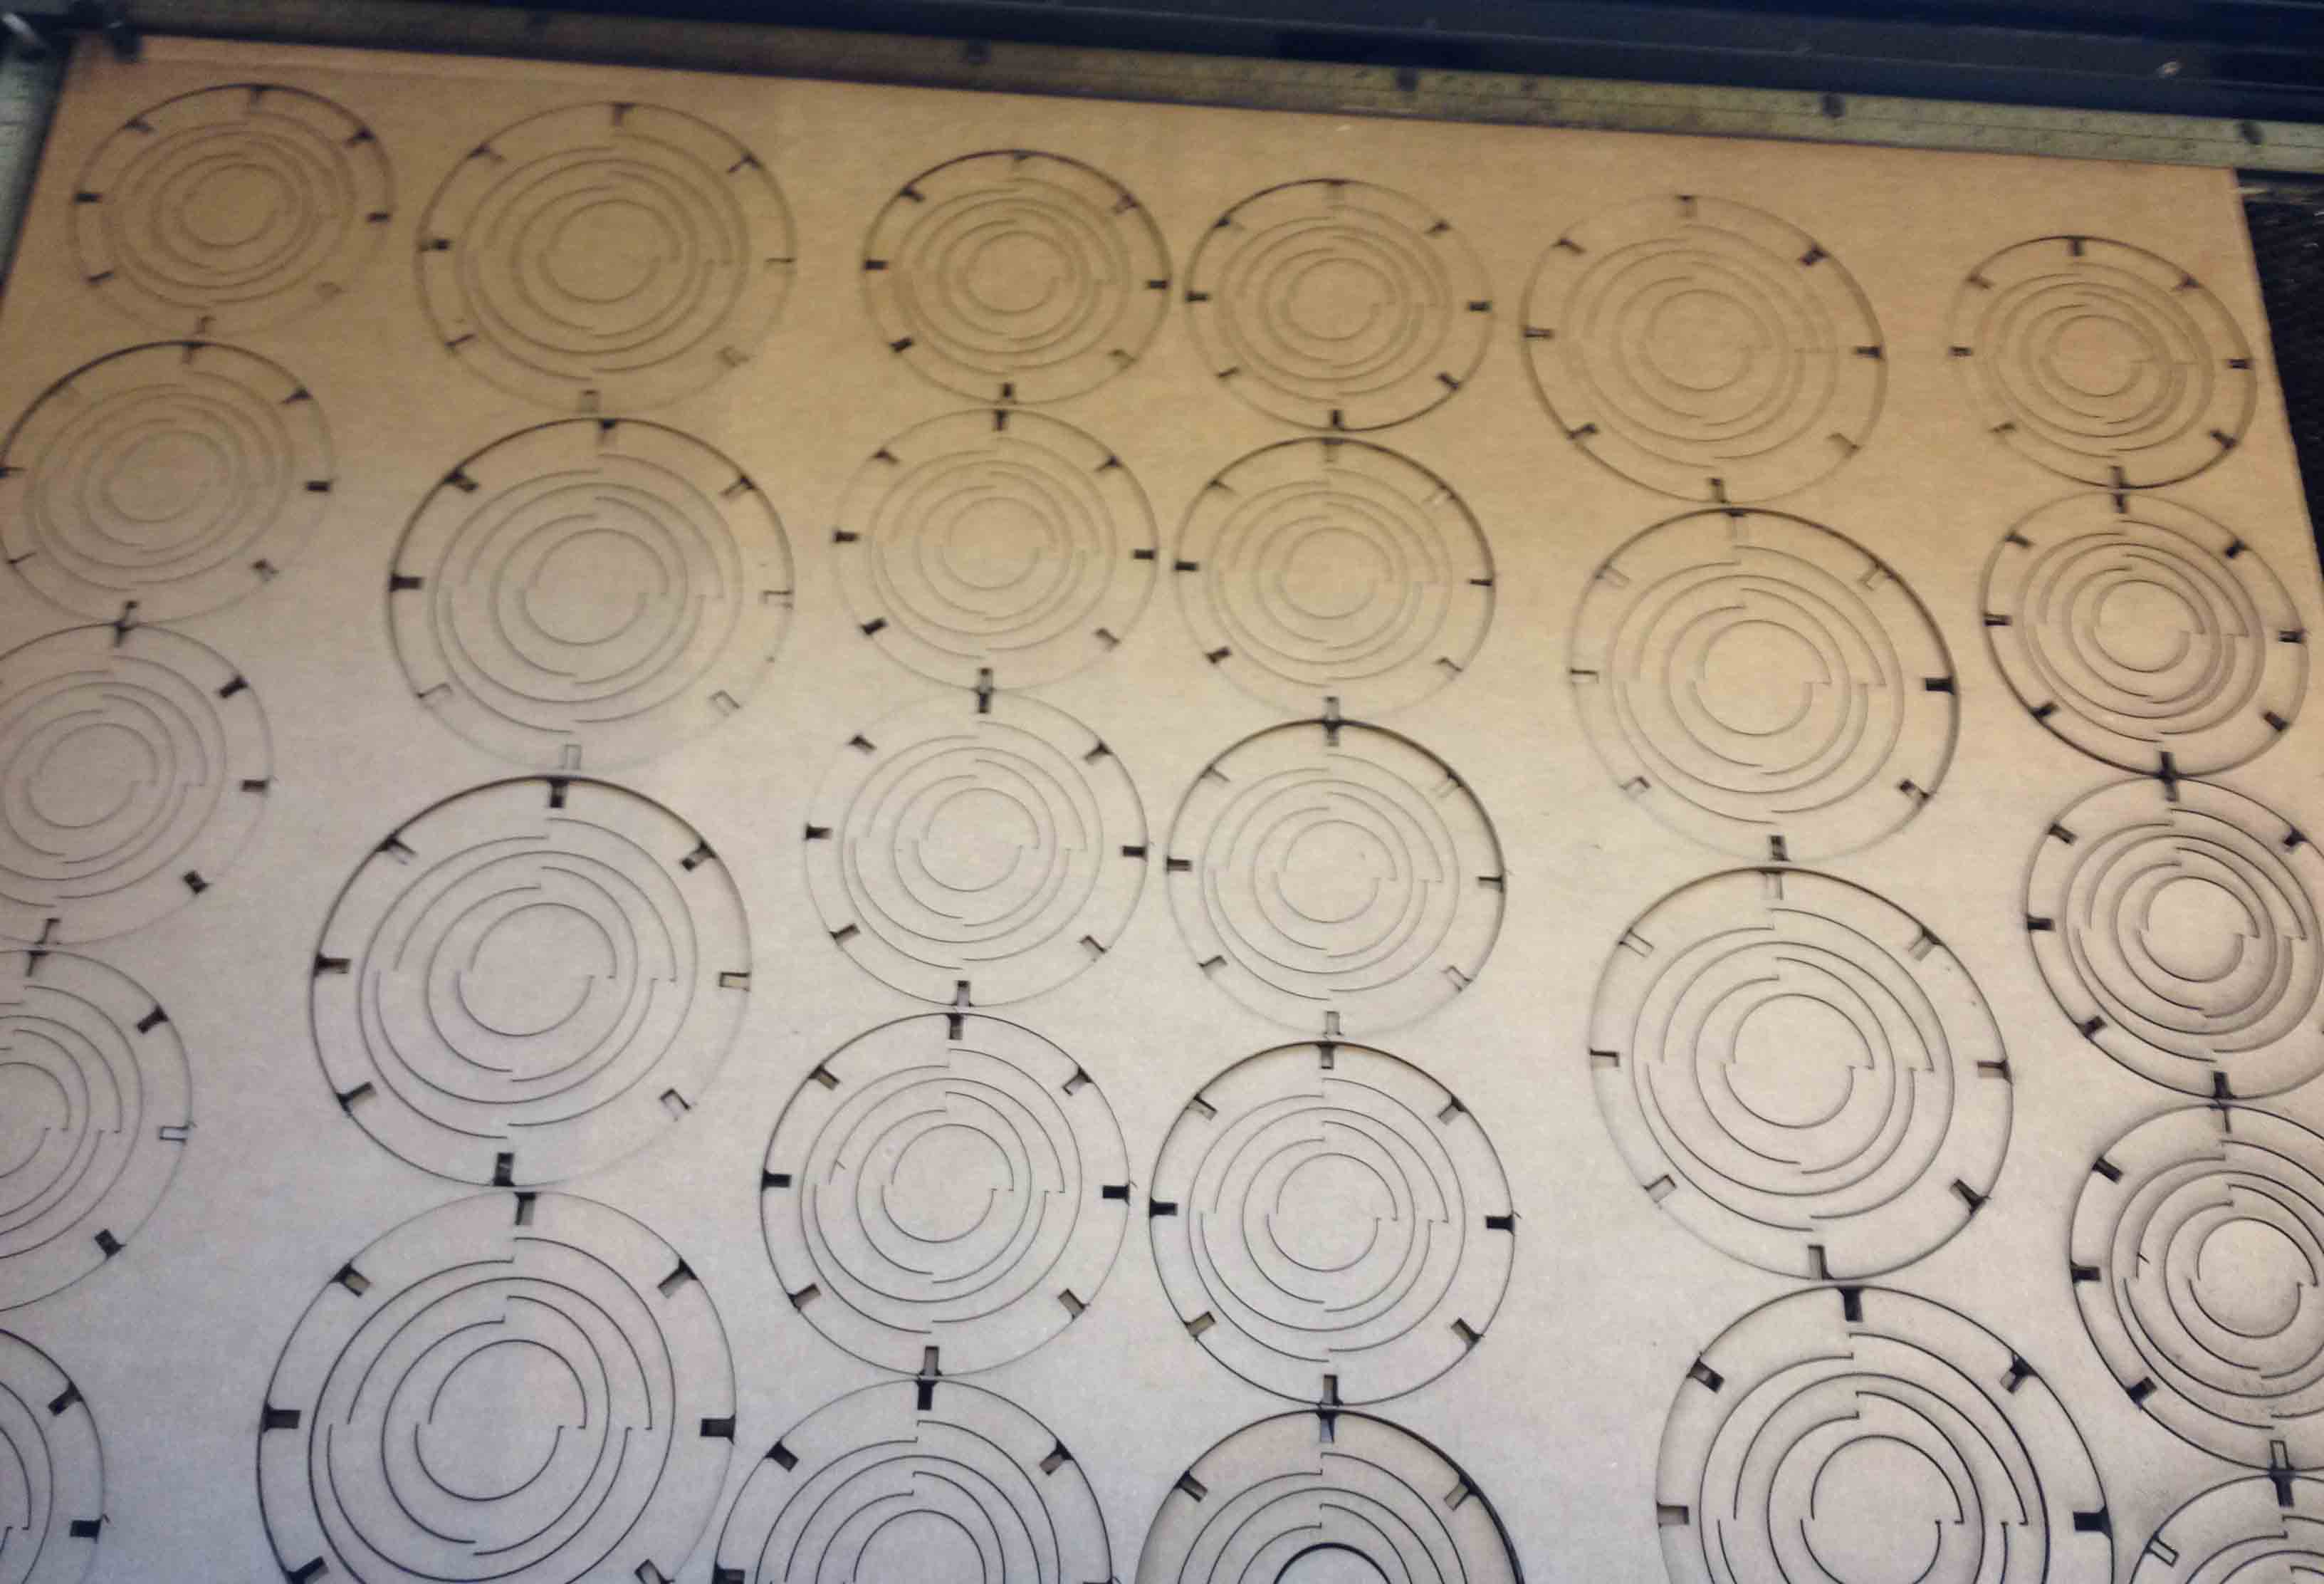
I created a part in Photoshop, then decided to try to create the parts in PowerPoint. That worked (I created a tab and then duplicated it and grouped it so I could format the object as a whole and have a semi-parametric design feature) I then transferred my design to Paint to clean up some features I need to learn how to use a real program to do this Once I settled on a design I installed Inkscape and learned to use it for my design. I also did a tutorial in Solidworks and figured the learning curve would be too steep for this week- so vow to learn that along the way and use it for a future week and created the part in Inkscape. I used the spiral feature to get my interior cuts, and used the cloning feature and the transform feature to get my tabs in the correct position. A lot of previous students used 4mm slot widths so I started with those. But they were adjustable so I could change them. I duplicated several of my parts and created a larger spiral and some star designs with tabs as well. I saved this file and had a version with letters on the interior of the circles and also one with pictures of artwork in the interior of the spiral. When I set up my Inkscape design I set the page properties to be the size of the bed of the laser cutter (36 x 24) this proved useful later. I also had my measurement in mm so I could size my slots properly.
When I imported my files into the fab modules a lot of erroneous red lines showed up that were not there in Inkscape. So I rebooted the machine, opened Corel draw in windows and learned to use it to delete my erroneous lines I also selected everything on the page and made sure all of the line widths were set to hairline and the same color. This was necessary when I printed and only 2 lines printed out! Some of my interior lines were too close together and the spirals were falling out of the middle, so I adjusted the size of those lines and reprinted. I adjusted the power and speed of the laser cutter finally settling on 50% speed, 35% power @ 700 Hz, that cut everything well. I then tried rastering an image on the interior and found that 100% and 30% worked best for my image. Note that when I opened the svg file with Corel draw that I made at home with all of the images embedded it crashed the program. So for future use it is good to keep images separate and add them one at a time.

Copyright 2013 Kathy Sinclair