

The assignment for this week is to 3D scan an object and print it out. We also need to design and 3D print an object that could only be made by additive manufacturing. As an extra credit assignment we are tasked with building a 3-D scanner. I've never done any of these things before so it should be great!!!
This is the fun and often overwhelming portion of the project. So many cool things to make, so little time! Having just taken a bookmaking class I really want to make two 3D printed accordian books. One book an alphabet book of Fabrication terms with raised pictures that kids and adults can touch and feel. And another book that is a 3d printed art history book children and the blind can touch and feel art pieces that are otherwise inaccessible. These books will not be within the size constraints for this week so I table that idea for a future proect and decide to make a head in a birdcage. The head can later be incorporated into the art history book.

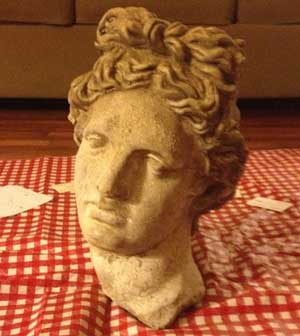
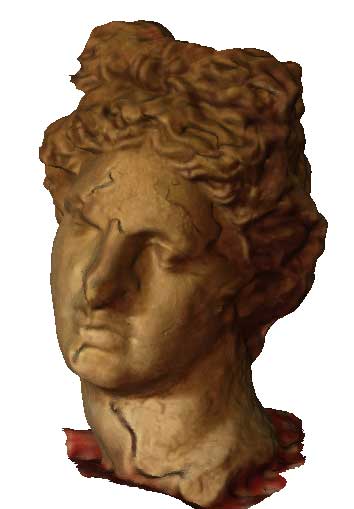
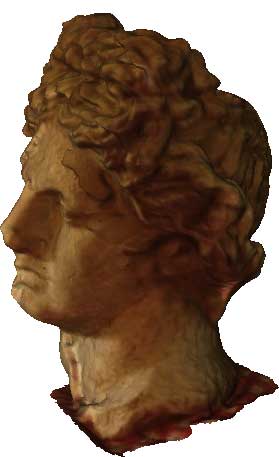
I was woken up at 4 am by my baby and could not get back to sleep so I decided to give 3-D scanning a whirl. I downloaded 123dcatch first to my desktop and read the tutorials and tips for how to use it and then realized you need to shoot images around an object so the free app for the iPhone would work much better. I downloaded the app for the iPhone and for once my relatively older technology did not bite me. 123dcatch does not support iOS7. Hooray for my iPhone. I decided I wanted to scan a greek bust purchased at an antiques shop that I love. So I placed it on a checkered tablecloth in the middle of my living room. At an alumni networking event someone once told me that when you meet someone you should always get a business card because you never know when you 'll need to contact that person again. This advice has served me well over the years and I used a bunch of those business cards to line a circle around the bust. This helps the software orient I believe. I then took a series of pictures with my iPhone around the bust. I walked in 2 complete circles around the bust taking images- ~20 overlapping images for each pass. I then pressed the finish capture button and waited for magic to occur. It did not happen.
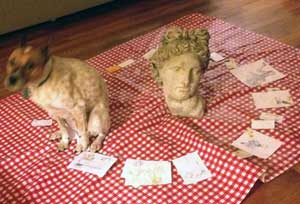
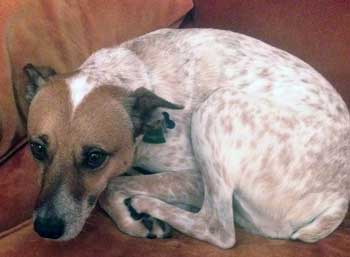
The dogs really wanted to be 3d scanned- they were sad to be banished to the next room! But you can't scan a Moving object.
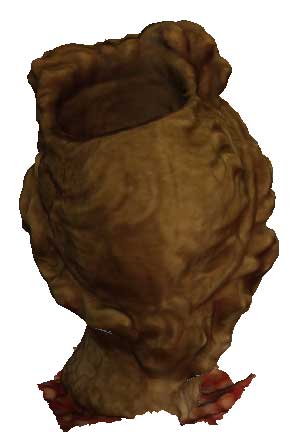
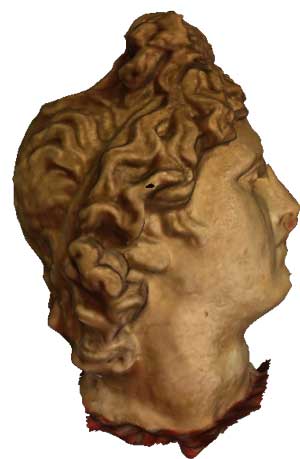
I googled how long the image processing takes and it is supposed to be done in a few minutes. So I tried again. This time I banished my dogs to the other room (they were fascinated by the process and kept trying to pose for the pictures- and you cannot scan a moving object with this software. This time it worked! Magical photogrammetry!!! When I loaded my project in 123dcatch on my desktop I intially thought it did not work because there was an incredibly off shape that looked nothing like my greek head. but when I rotated the image and zoomed in I realizedthe program had captured the tablecloth and some of the business cards in addition to the Greek bust. Hooray. I have since tried to scan my hand (3 times), a seashell, a sea creature with this program and none of those instances worked. I think the checkered tablecloth (and perhaps a 4 am wakeup) is key to successful photogrammetry! I then tried to edit the file to remove pieces of the tablecloth I did not want in 123dcatch and this pretty useless for editing, I then tried to edit it in 123d make 123dmake does not support my old operating system so I saved the file and downloaded Meshlab for editing. Save file in 123D catch as an .obj file.
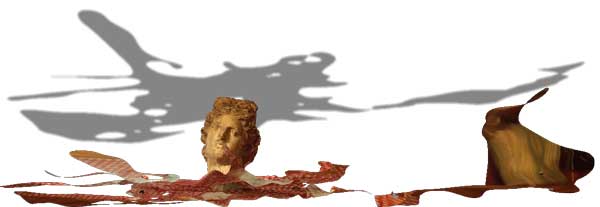
I downloaded Meshlab and watched many online tutorials to learn to use the program. When it loaded the image it said it automatically corrected errors in the mesh. Meshlab crashed repeatedly every time I tried to slect a portion of vertices and delete them. I learned to save after every option so I did not end up starting from scratch. I used this program to fill in holes and remove portions of the tablecloth that I did not want. I took snapshots of the image in meshlab and then saved the file. Then I saved file in Meshlab as a .stl file for use in a 3D printer. I downloaded Makerbot's makerware software and loaded the .stl file. In this program I was able to move, rotate and scale the image. The software program placed my head in the printer bed upside down-because this was the flattest part of the piece. I moved the object up in the z direction by 20 mm and rotated the image so it was in the correct position. I then added an additional head and melded the heads together back to front and front to back. I downloaded Blender just for fun but could not get my files to open. Need to look more into how to use this program in the future.


I did not want to drive down to MIT Monday and was out of town all weekend so I decided to try to print out my piece on the printers at work. I figured I would test on the Makerbot and if it turned out and if so I'd go create a piece on a fancier printer. I loaded the file in makerware and rotated it and adjusted it.
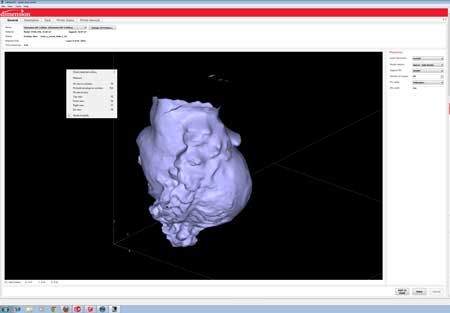
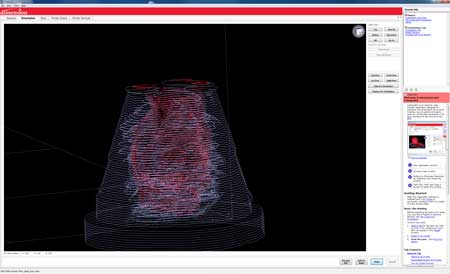
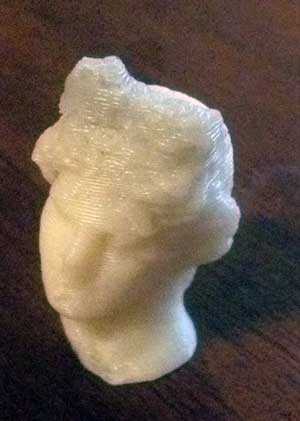
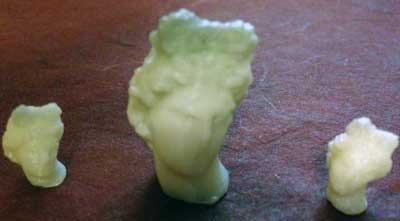
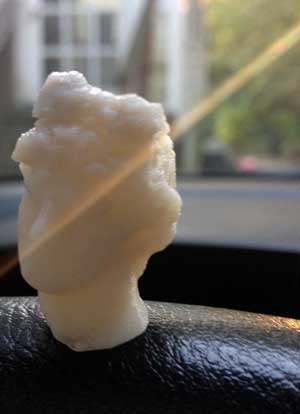
The Makerbot was being used, But the shop manager said to go ahead an use the Dimension printer. He showed me how to change the printer head and I loaded my file in the Dimension software. A ton of supports were added to my piece- because the inside was hollow there was support material throughout the inside, and the outside was encapsulated in support material to support the overhang of the nose? I suppose? The print job took 1.5 hours! for my tiny 1 inch piece. When the piece came out it is placed in a sodium hydroxide (NaOH) bath to erode the support material and leave you with your final printed piece. This went in the bath at 12. We checked on the piece at 415 and there was still a fair amount of support material that would not readily chip off so it was returned to the bath overnight for a good soak. The overnight bath worked wonders! All of the support material is gone and this is the result!
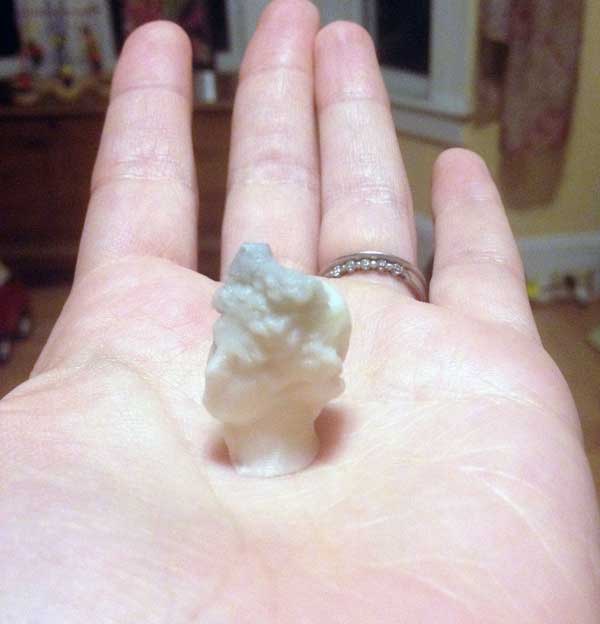
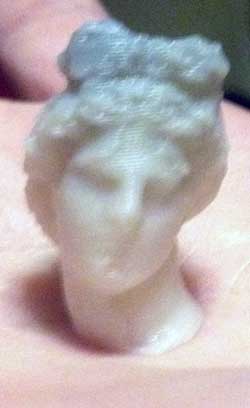
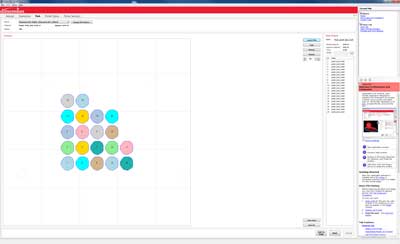
If the part looks good in the end, I may scale down the part even smaller and create a small bracelet. Today I scaled the part down to half size and printed 20 of them. In the dimension software you can scale your STL file either up or down using the STL scale factor loacted in the Catalyst software. I did not realize this and did not have meshlab on my computer so I scaled it in makerware and then opened the part in Solidworks and scaed and adjusted it there as well. When I went to import my scaled down .STL file I noticed the scaling factor in the Dimension printer software so I ended up just using that instead and got an excuse to play with other software tools. When you add your software to the 'pack' it shows you in the screen how the parts are laid out- because they were close togetehr and there was a lot of support material I readjusted the position of the parts on the bed so I would not be left with a big blob in the end. The job is supposed to last 5.5 hours. When the parts finish they'll be placed in the bath overnight and I'll see the results tomorrow! I'll post updated images when they come. Hopefully by scaling the part down by 50% the features will still be preserved on the head. We'll see! Oh, and I accidentally printed 40 instead of 20! When you press print it will say other items are in the pack and give you the option of clearing before continuing- if there aren't other jobs lined up hit clear. Otherwise your part can print twice!
The scaled down heads look great! A lot of the features were preserved. Now I need to turn them into fun, if slightly macabre jewelry!
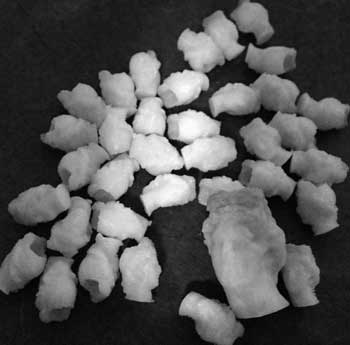

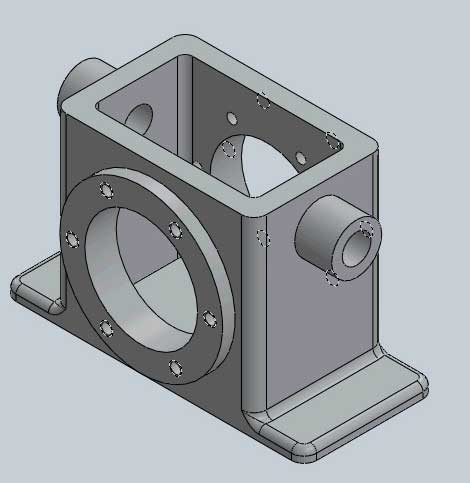
My newer OS arrived this weekend and it was installed but I tried downloading 123d Make, Rhino and Sketchup and none worked for my updated but still outdated OS. Kokopelli now works though! So I'll have to use that for a future project. I used it to create a circle and a triangle and it was pretty fun. I went through the Beginners guide to Solidworks and spent hours making my first part shown here. Some key things I learned. How to use the hole wizard to create multiple holes, how to extrude a surface, how to cut a surface, how to mirror part of your design on another plane. How to dimension and align your parts. 80 pages of tutorial down! 250 more to go! We'll see if I can use what I already learned and google to create a birdcage that I can 3d print. My first Part:
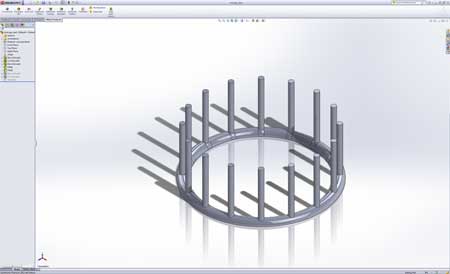
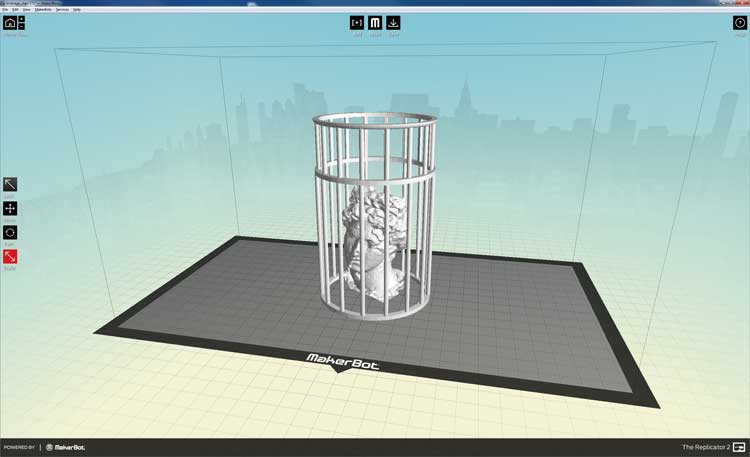
I decided to try to use the skills learned in the first tutorial to create a birdcage that I could then put my 3d scanned head inside. I first created a circle and extruded it. I created another circle within the circle and dimensioned it so it was the width I wanted I used this circle to make a cut. I then created another small circle on top of my base and used the linear array feature to create a circular pattern of circles around the piece and extruded all of the circles. This amazingly created the bars for my birdcage. I then added another circle on top of my bars following the initial steps and created new bars on top of that. I rounded my edges (called filleting) and added another circle on top of my bars and another set of bars. From there I want to add curved bars that join together at the top and am stuck. So I turned to google and found mention of lofting. The next tutorial includes lofting so I will do the next tutorial and may look at that for hints. What I have so far.
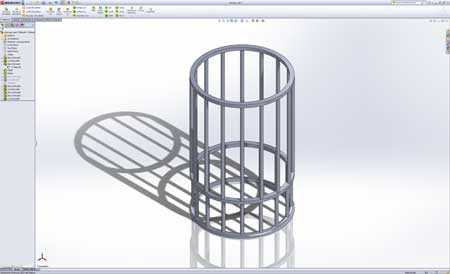
When the birdcage is complete I will add it to the cage and print it out on the Makerbot. Stay tuned!
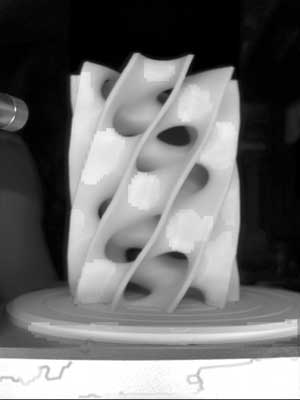
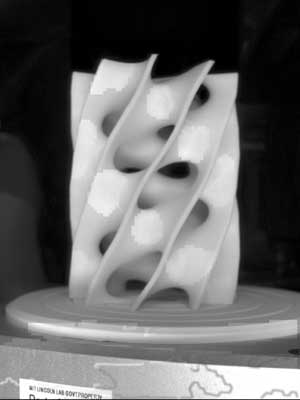
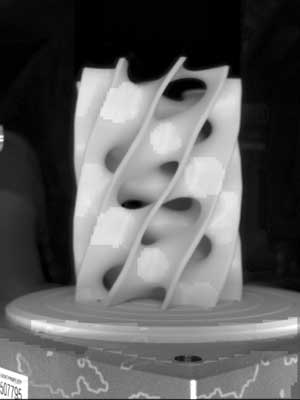
While I was in the lab I decided to try the NextEngine Scanner. Another person came into the lab with his 3d printed parts- these gorgeous undulating forms that he created with mathematical modeling. I decided to try to scan one of his gorgeous pieces. I first used the highest resolution and scan time possible. It was taking a very long time with mixed results. I left it to scan and when I came back I had been logged off the machine- so I tried a coarser scan and the results were not that great. I think this would take a lot of clean up to make printable. But it was a fun process. I would start with a simpler surface, use an object with a matte finish and put a checkered background behind the object to be scanned. Charles mentioned that the quality was poor but it was fun to try anyway. The results weren't great but here are some images of the object as it was being scanned.
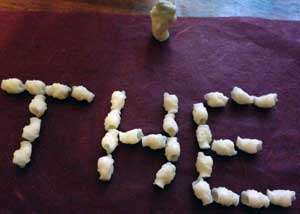
I am fascinated with the milkscanner. My cat really liked this project. I downloaded the software online, got some milk, a tupperware container and some objects to scan. The results are not great because I do not have a webcamera- I decided to tilt the built in webcam on the built in webcam on the imac and rig up a holding teh tupperware with books and a few toddler sized legos. I ended up holding the tupperware and getting impatient and adding the milk too quickly. The milk splashed out all over the desk. I considered rigging the computer up on top of the tupperware but decided against it. I will revisit this project soon with the proper tools and a download of the instuctables guide for how to build a rig... Stay tuned.
Initial Results:
I am SO Sick of congress. They need to suck it up, learn to compromise and do their jobs. If their precious paychecks were shutdown there would be NO hint of a government shutdown ever. Ridiculous. Utterly asinine.
A 3D printed congressperson would do a much better job!!!


Copyright 2013 Kathy Sinclair