Week 8: Composites: Leave me be
This week we are tasked with designing a 3d mold, machining it and creating composite parts from it. I've never worked with composites of the 3-D mold making software before so it should be
a great learning experience.
What to Make?
Some ideas for this week are
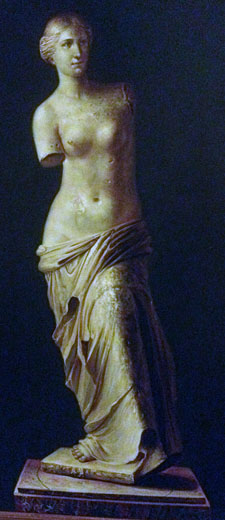
- A nude Venus de Milo: a woman so beautiful she could be cast in burlap: "Venus de Burlap"
- Composite leaves made from real leaves
- A bust of Tchaikovsky
- Door knocker to the castle
- Roofs for the castle turrets
- A flexural strong thing (e.g., a hinge to a part)
- A schoolbus, police car or firetruck
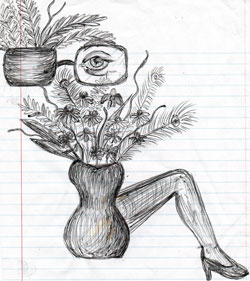
- An oddly shaped vase
- A new set of lungs
- a sack
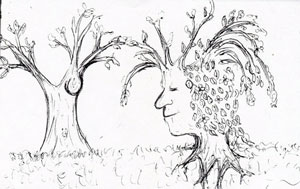
- a tree sculpture
- gargoyles for castle
- a Dan Quayle potato (a potato with toes sticking out of it)
Here are the steps:
Think about what you want to make
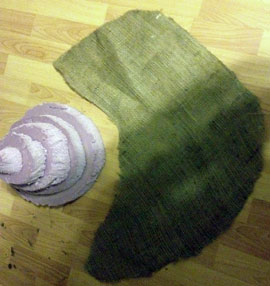
Fall in New England is so beautiful but so short lived. I wanted to capture the colors of fall and create beautiful fall leaves from a collage of fall leaves. The plan was to create a sheet of leaf composite and then take the sheet to the laser cutter to cut leaf shapes. I then want to use these leaves in mobiles in stained glass projects by wrapping parts of them in copper foil and soldering them to copper and stained glass trees. Sophia Brueckner used scraps of fabric to do a similar project last year and her results were stunning so I figured leaves and fabric have similar properties and this should work right? Nope.
Gather your materials
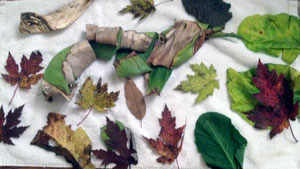
I went to my backyard with my toddler and we gathered beautiful fall leaves, leaves that had died, leaves that were still attached to plants, banana leaves from our green house. We brought these leaves inside and let them dry overnight and in the meantime had fun glueing googly eyes to make little leaf creatures.

Try the layup
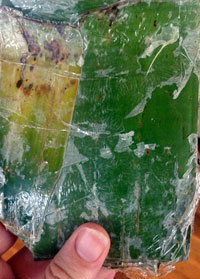
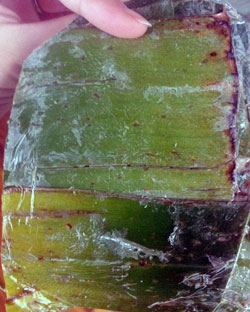
I created a small closed tool mold with scraps of foam. I perforated the banana leaves with the perforation tool and placed each layer perpendicular to the last. I laid up 4 layers with resin inside the closed tool mold. I clamped the mold together and waited overnight.
Change your mind
This was a failure. The resin didn't penetrate the leaves at all. The result was sticky and flaky and when I tried to cut it the layers pulled apart completely. I'd like to try again with different materials but for now I am sticking with the class recommended burlap and changing my design. And nothing goes better with burlap than nudity, right? I thought of the phrase she was so beautiful you could place her in a burlap sack. That's a phrase right? so I thought I'd sculpt a gorgeous woman, 3D scan it and have my stl model which I'd need to alter. Voila! mold designed. Then I looked at beautiful sculptures and thought perhaps using an existing png of a sculpture and Neil's png to stl function may work as well? I started to install the dependencies for fab modules to my desktop.
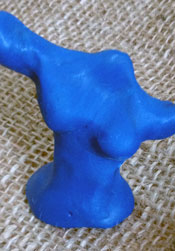
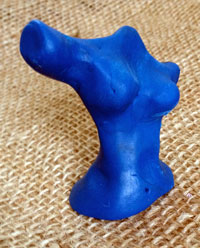
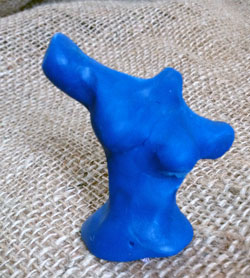 This sculpture was too small and too ugly to cast in burlap so I decided instead to make a mold of it and create a small chocolate.
Caught my son's cold and was sick ALL WEEK LONG this was terrible and no fun. Am still sick and way less productive than I'd hope.
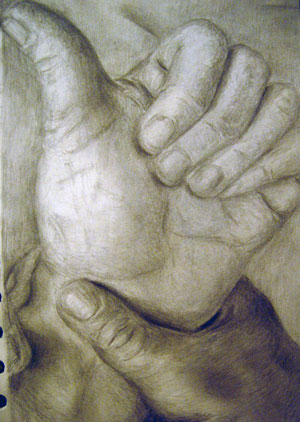
This was not a Thumbs up success!
Design it on paper
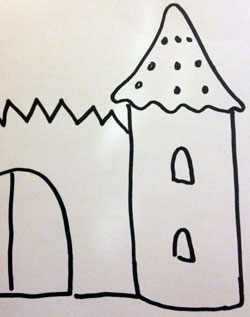
I decided instead to create roofs for the turrets of the castle I created in the Make something Big week. I had leftover material from that week so I created a prototype in foam.
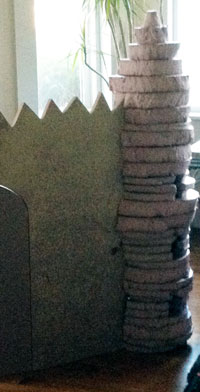
Create a prototype
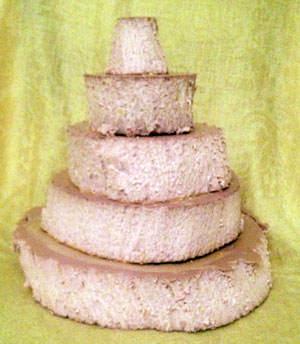
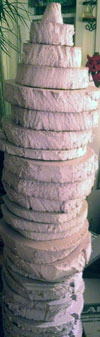
We are allotted two 12 inch pieces so I measured out my allotment and cut out two 11 inch diameter circles. I then cut circles within the circles and stacked them on top of each other to get my pointed roof shape. I glued my foam structure together. I created a small script in Matlab to decide how many circles I'd need and at what distance apart in order to get a height I wanted. 5 circles looked good visually so I decided to carry that over to my 3D design.
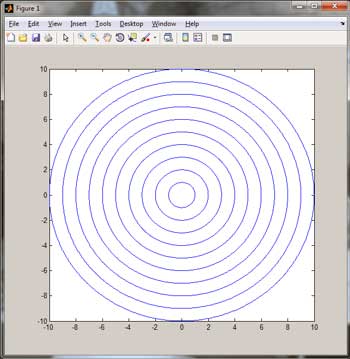
I wrote a small Matlab script to see how many circles I should design given a particular material thickness and circle diameter
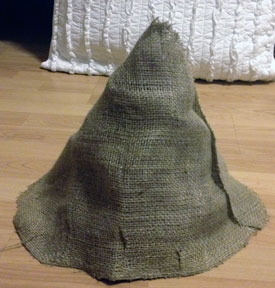
Design how the fabric will drape your mold
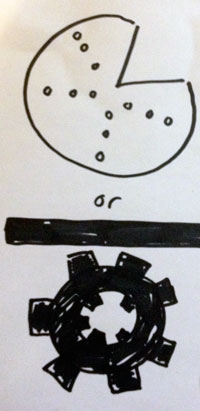
We had a roll of burlap fabric in the house so I got it out, cut it up and draped it over the cone shape. I think a circle with a slit in it and a triangle cut out will work best for enveloping the foam shape.
Laser cut or manually cut your burlap using your template
Thinking about these two designs for the fabric layup template. Add circles to get pretty aligned features for roof.
Design Part in Solidworks
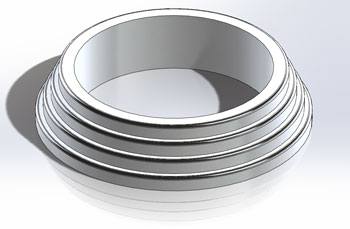
I designed the tower roof in solidworks. I first created this design. It is 3 separate parts mated together
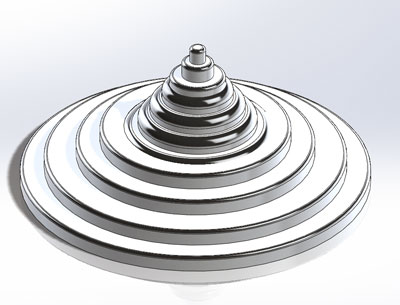
Then, using the information garnered from the Matlab program and the hand cut prototype I decided to create 5 separate parts and mate them together.
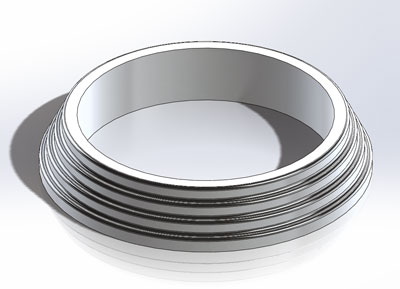
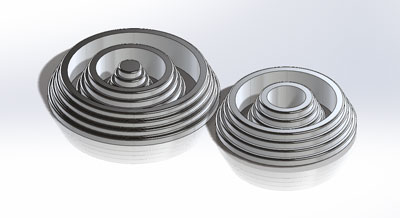
The base of the roof
The second tier of the roof
The third tier of the roof

The fourth tier of the roof
The top of the roof
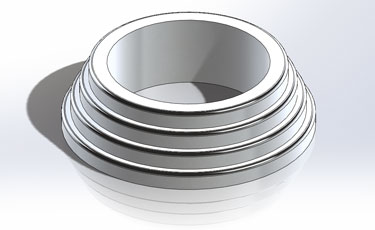
The side view of roof pieces
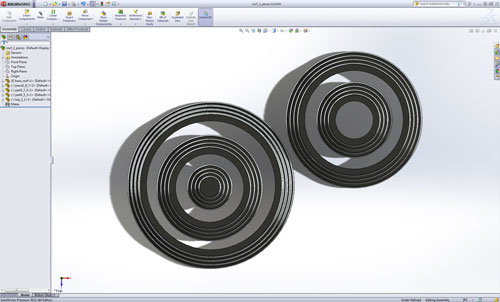
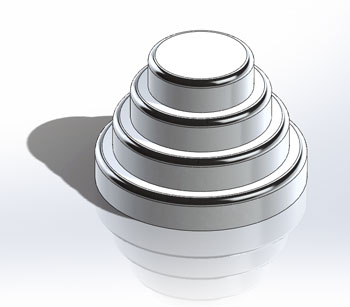
The top view of roof pieces
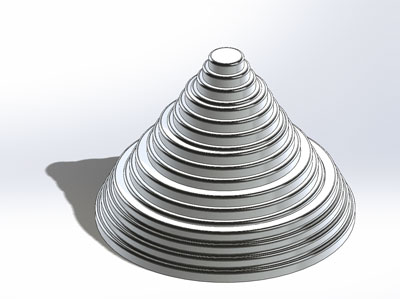
The roof assembled
Mill Parts on shopbot using partworks 3d
Coming Soon!
Layup part in resin and burlap
Coming Soon!
PLace in Vacuum Bag and wait
Coming Soon!
Demold the part
Coming Soon!
Results
- My initial thought of creating a leaf composite of leaves didn't work out. I'd like to try again with different combinations of plant life
- Want to try Neil's fab modules to create an stl from a png image of the venus de milo and try
milling that as well.
- I think the hollow roofs will work nicely and provide contrast for the castle.
- Still need to design and create them.
- Will do this later in the week when I feel better
- REAL Results Coming Soon!!!
Tools/Materials Used
For designing:
- Paper and pencil
- Inskscape
- Rhino
- SolidWorks
For Making:
- Carving knife
- Shop bot 3D parts software
Materials:
- 2 inch insulation foam
- West marine epoxy and hardener
- burlap
- saran wrap
- bedding
- leaves
- carving knife
- perforation tool
Lessons Learned
- I am pretty useless when I am sick and also taking care of a sick baby
- leaf composites with banana leaves don't work- fibers too close together?
- leaf composites with chopped fiber leaves may not work either- fibers not long enough? or too far apart??
- Preplanning your design with foam and burlap helps inform later design decisions
-
Conclusions
- I Hate being sick. SOO far behind. Have been pounding water, chicken noodle soup and Vitamin C- Hope to have updated composites soon.
Next Steps
Design Part in 3D modeling software- Machine part
- Glue mold together
- Layup burlap around mold
- Place in vacuum bag
- Wait and remove foam core
- Repeat 4 times to get my 4 roofs
- Add words and pictures and results to page
Future Work
- Create Burlap venus de Milo
- Finish Installing Neil's Fab modules on computer
- Create composite leaf bowl
Files
add files here
Copyright 2013 Kathy Sinclair