004: 3D Printing and Scanning
This week's goals were to design and print a three-dimensional object that cannot be made subtractively. I took this to mean that
trying to make the aforementioned imaginary object would be extremely difficult with a chisel. And moving parts are involved.
Designing a 3D object
My design work here was done exclusively in Google Sketchup, which is basically the ripped-off version of Solidworks.
I've a strange attraction to music boxes since I was a kid, so I thought I might be able to print a case for any future musical devices that I might make (P.S. I am not a musical person).
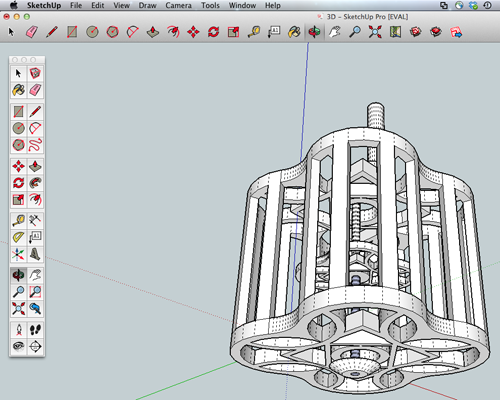
I wanted a box-like object with curvature, and began with a square and four circles.
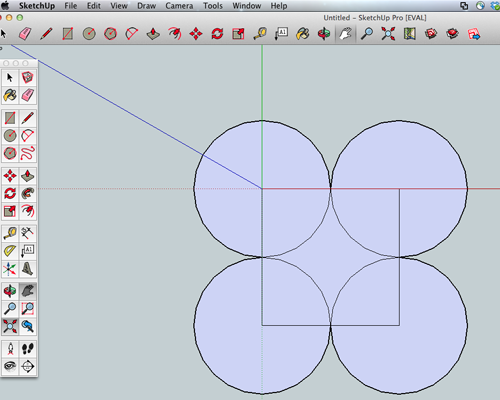
Not too bad. I used the curve-pen-tool thing next (see highlighted tool in screenshot below) to connect the vertices of each circle and
simultaneously creating curvature.

Solid circles look kind of lame. I used Sketchup's Offset tool to create an outline of my circles and curves. I also wanted
to experiment with patterns on the object, so I added many more curves to the frame.

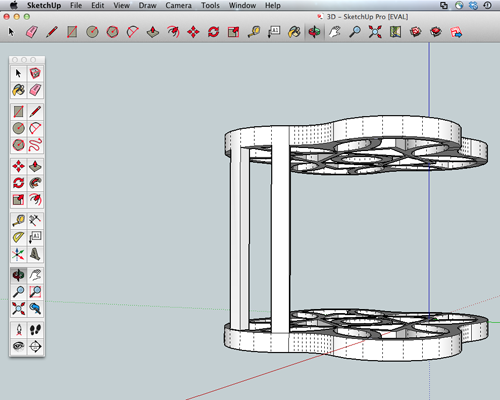
I followed up with the Push/Pull tool to give my then-solid frame a third dimension, duplicating the first layer.
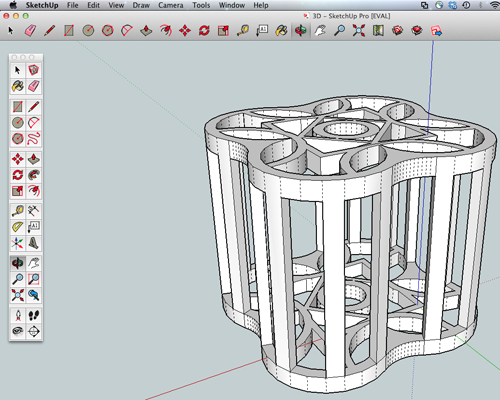
My completed diagram:
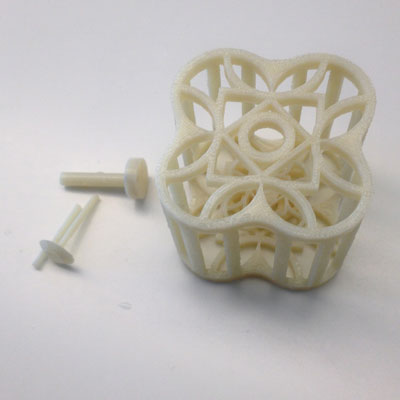
And my completed object after sitting in a lye bath for two days. Unfortunately, the narrower strips broke after I pulled it out of the bath.
Scanning a 3D object
I used 123D Catch to scan a magnetic gear. I've wanted to use 123D Catch since I discovered it a few years ago as an undergrad, but
I never got around to playing with it (work, life, and fun got in the way?). This class is the truly greatest excuse to have fun. ;)
Here's a screenshot of the photos I took in order to compile the image.
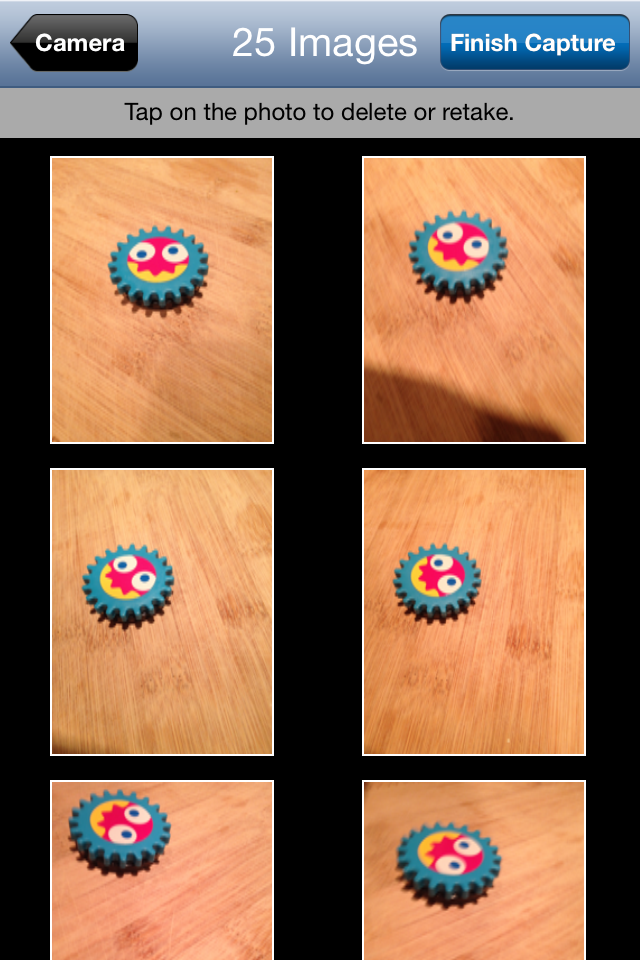
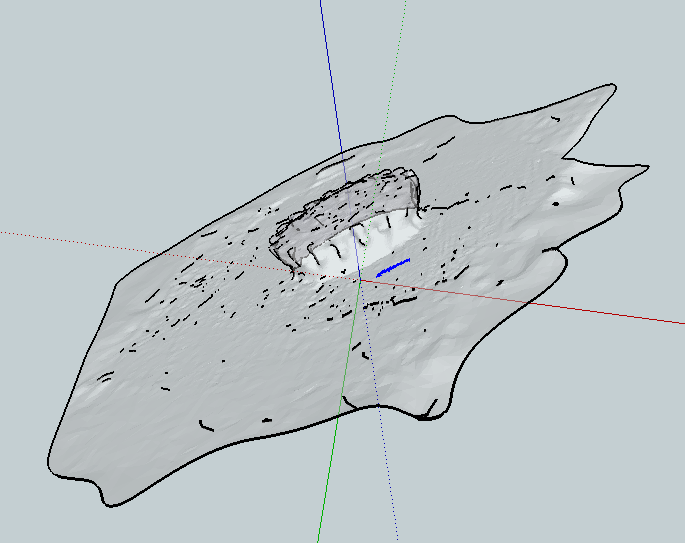
Image compilation happened with the click of a button on the 123D application. The 3D merged image can be accessed via this link. Here is the 123D-produced image:
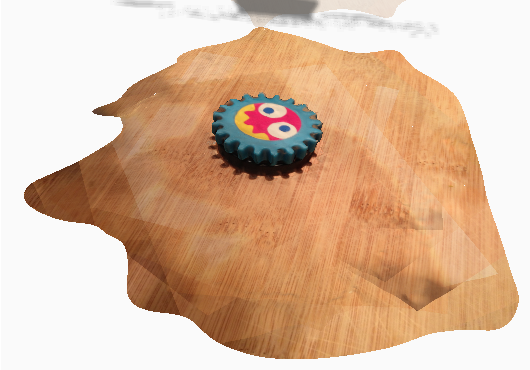
The .stl file looks horrendously granular. I suppose there are limitations to what a phone camera can do.