Welcome to Mohit's first dig at making REAL stuff
Week 3: 3D scanning and printing
For the third week, we had to do two things:
1. Design and 3D print an object
2. 3D scan an object
Having never done any 3D designing before, my first priority was to attend the Solidworks tutorial that Leigh kindly organized.
We were making a cufflink trying to replicate what Leigh did on his machine. What took Leigh about 5-10mins too me an eternity to design!
While SolidWorks is a powerful tool, it is not entirely intuitive in many ways - at least for a beginner.
For instance I could not figure out to how insert one object through a perforation in another object. I finally got it with
Leigh's help. It was as simple as clicking in the right places and finding the "mating" option!
One of the biggest learning of this tutorial was to always have a multibutton mouse handy (a gaming mouse works well!). It is impossible to
do anything in SolidWorks with a laptop trackpad.
A good practice when using SolidWorks
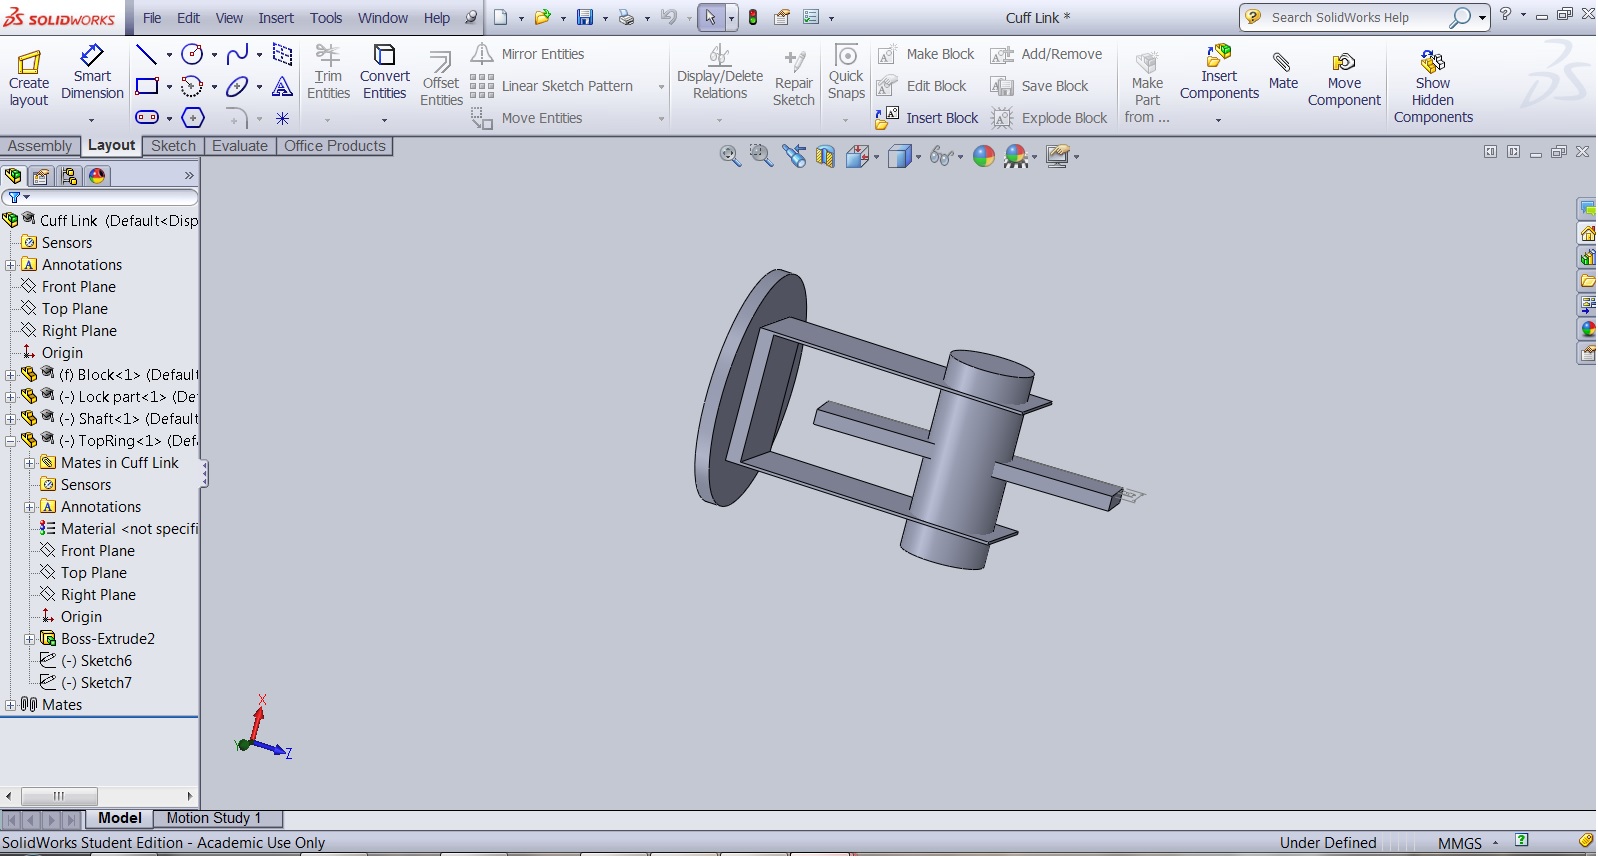
After multiple hours, I was able to create what looked like a cufflink but it would only look good on someone who is Shaq O'Neil's size.
I created 4 individual parts and them put them together in the assembly. For some reason beyond my understanding I could not easily resize the assembly (SolidWorks jargon for a combination of objects) to a smaller size.
In the end Charles helped me by reducing the size of the piece to 1/3rd at the time of printing in the lab.
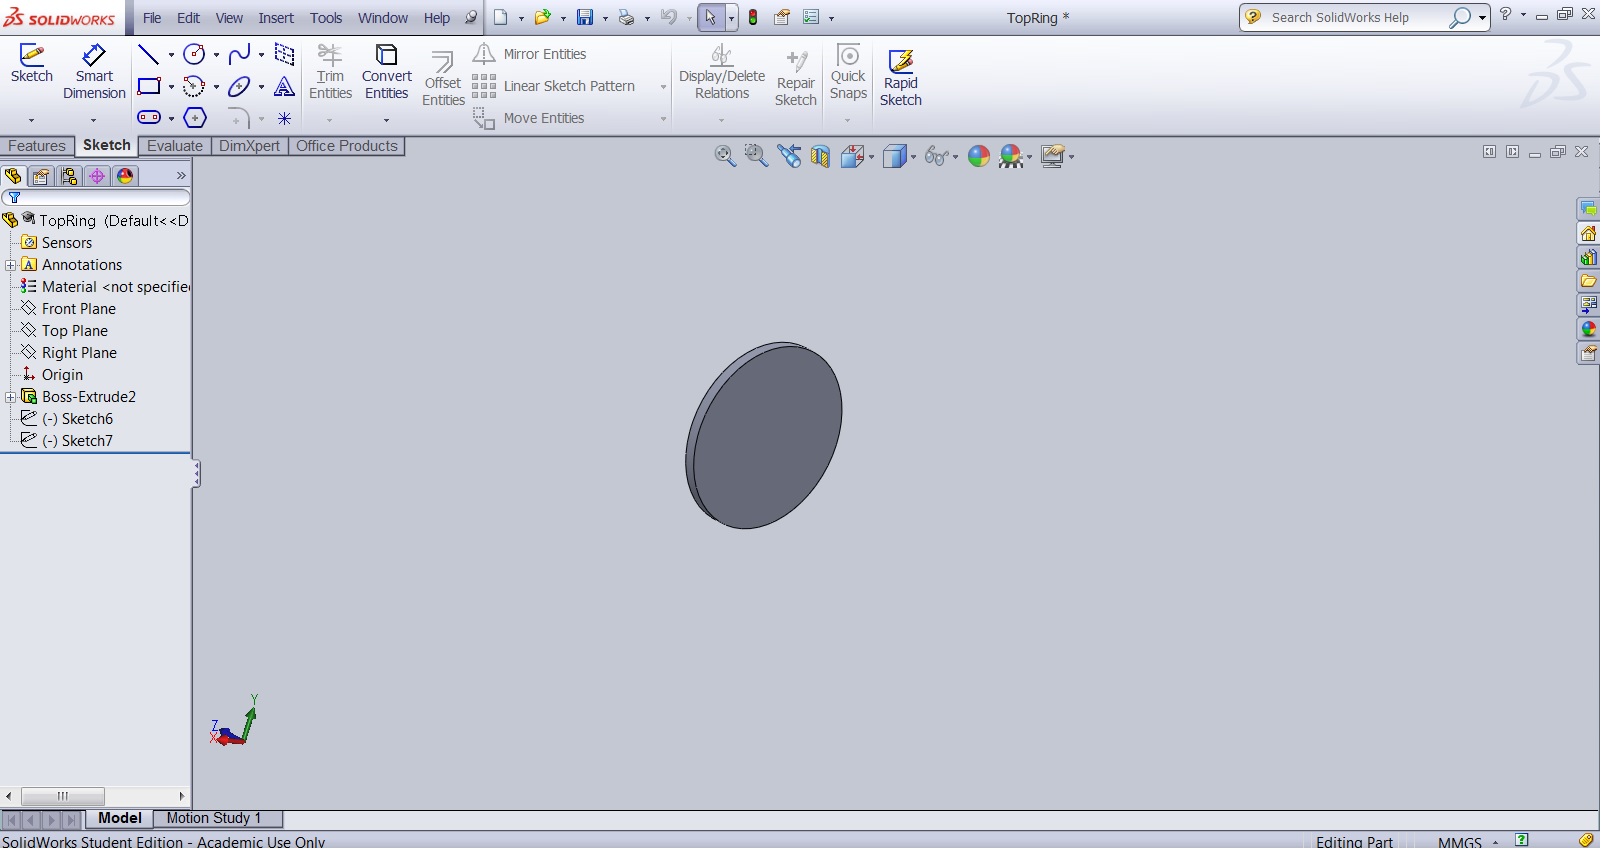
Part 1: Top Ring
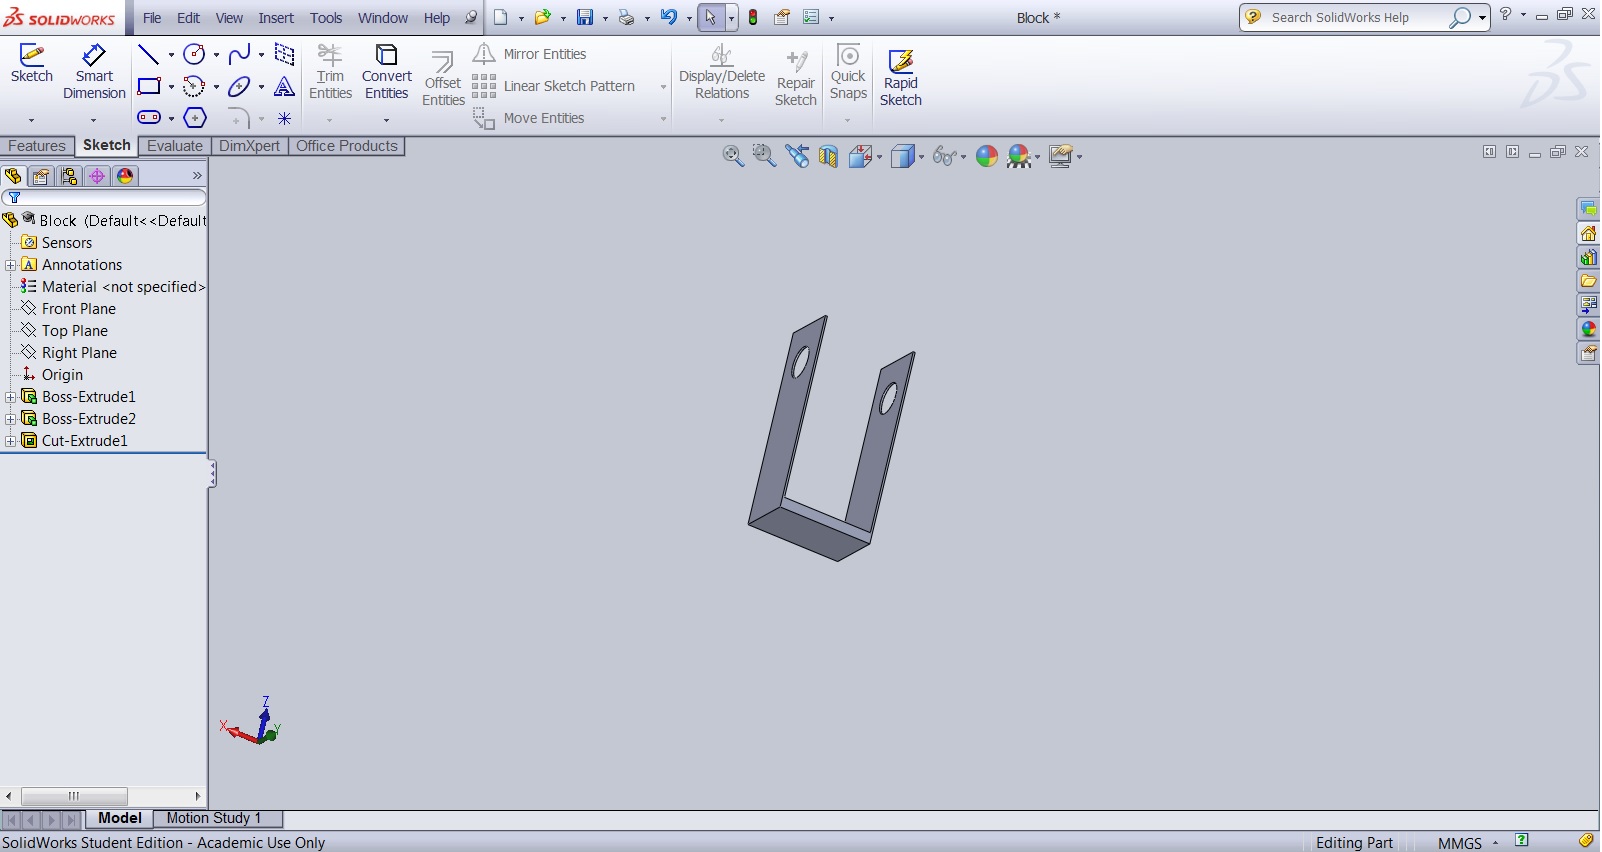
Part 2: Block
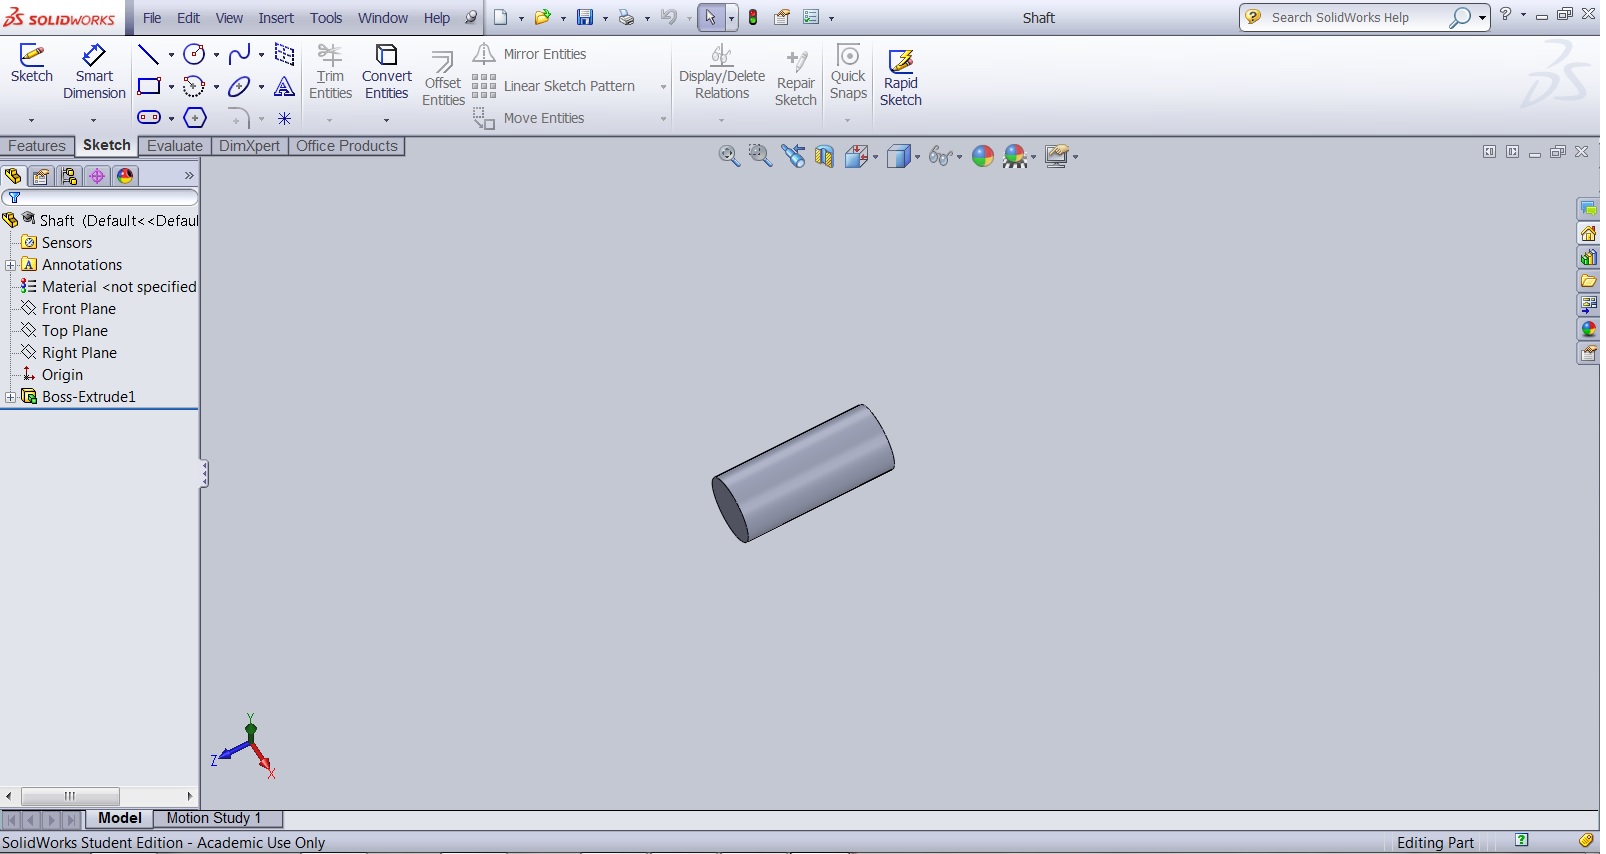
Part 3: Shaft
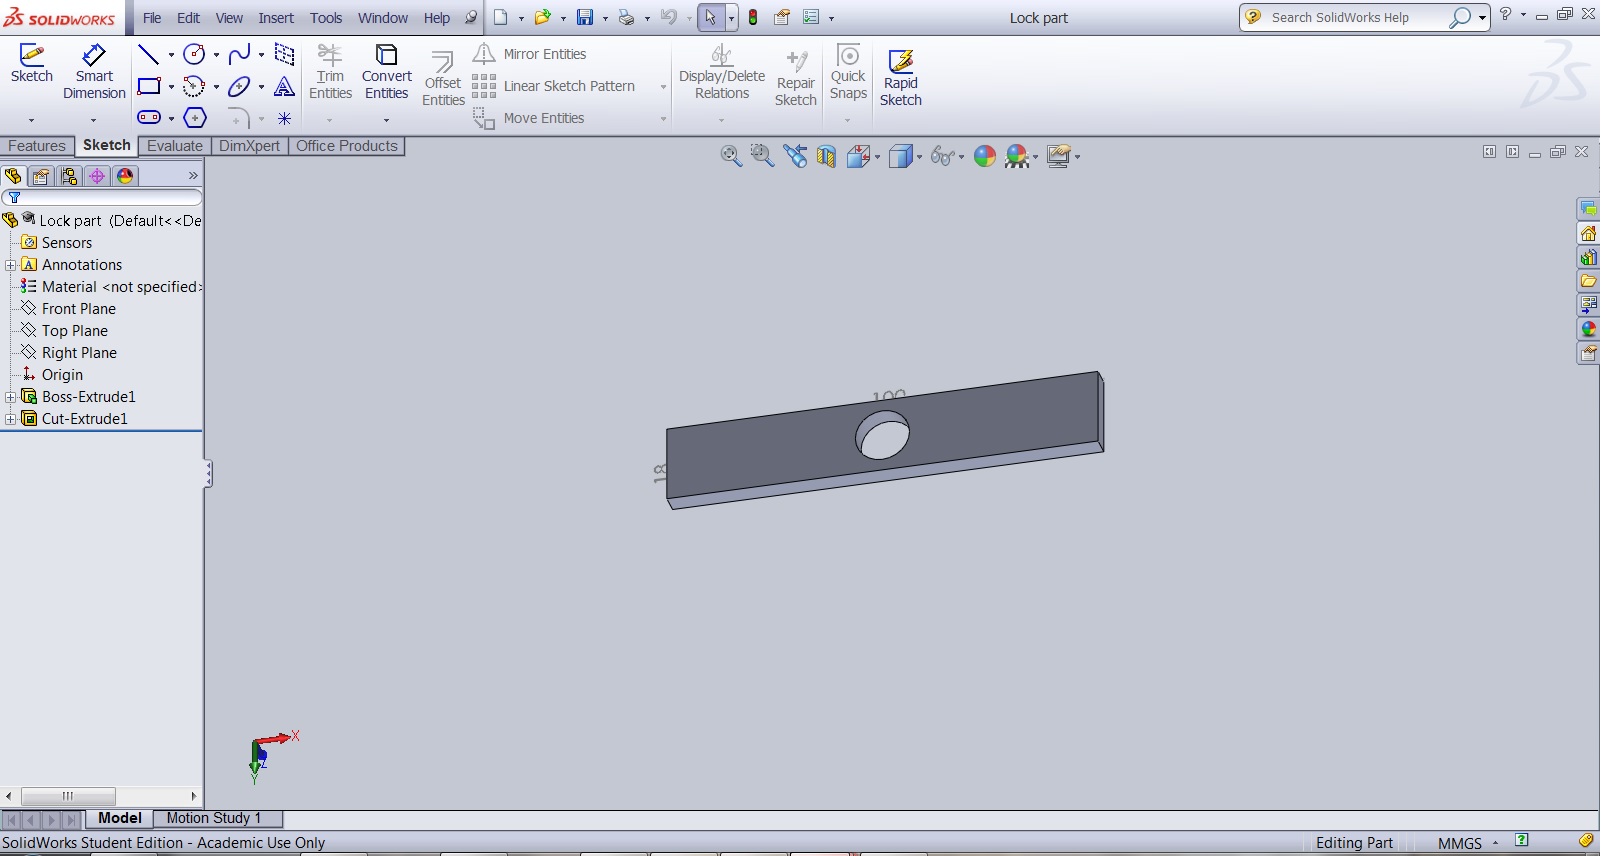
Part 4: Lock
Assembly: Cuff Link
My final piece is printing as we speak and it will be up soon!
The second part of the assignment was to 3D scan an object. My first instinct was to scan a Dry Erase Marker that looks like this:
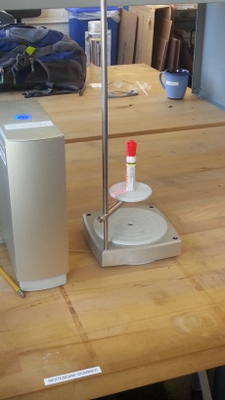
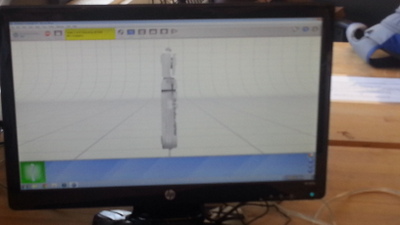
It turnout that this market was too shiny to be 3D scanned.
The scanned image was pretty much broken with the software not able to stich images together.
Next I tried to scan a regular computer mouse using 123D Catch software. I followed all the instructions, took about 30 pictures
from various angles and triied to create a 3D object. Not only was the shape of the mouse messed up but the cord on the mouse seemed to throw the scanner off!
Then I tried with a wireless mouse. For the few tries the software could not process the image even though I took more than 25-30 pictures each time.
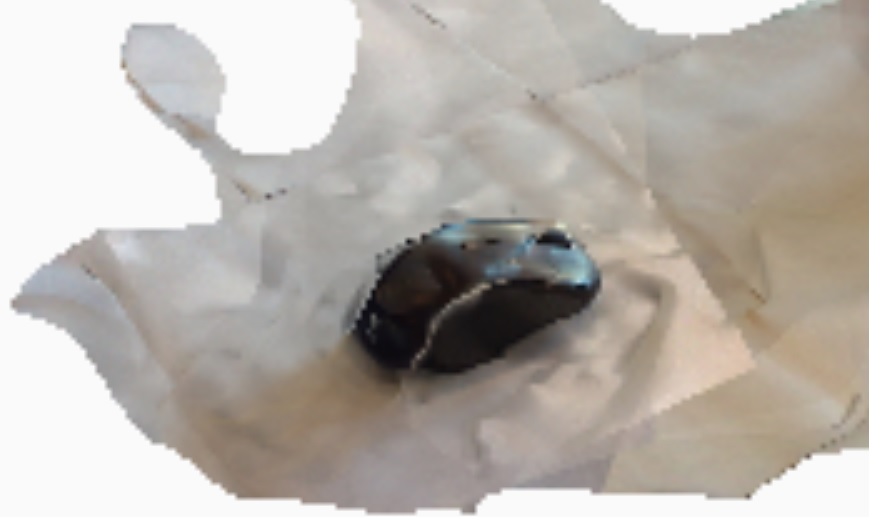
The grey colour of the mouse also conflicted with the grey colour of the table in some cases. Then I tried to place white paper below the mouse to
neutralize any colour effects. I scanned the mouse again and what came out was no where close to what I wanted but it looked like this:
Update (Dec 2013) - The programmer still works great and I have used it to program at least 30 different boards! It's surprising how sturdy it is given that I do
not have a case for it!