Cutting, stuffing and programming
Week 2: FabISP in-circuit programmer
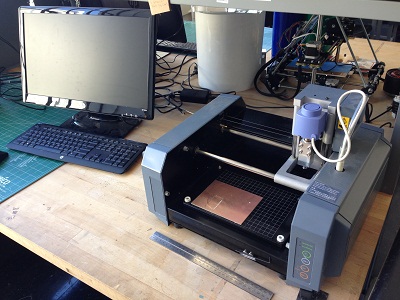
This week we used the Modela to mill a board out of 1-sided FR1 phenolic paper PCB. Below are the Modela machine as well as my very first cut!
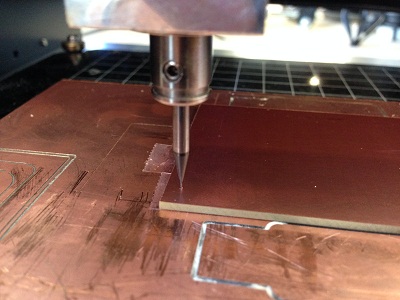
For the interior of the board, I used a 1/64" bit. I made minor adjustments to the default settings, making the bit diameter 0.35mm (rather than 0.4), a z of -0.13 mm and 4 offsets. No problems milling this, except when I vacuumed off the dust, I found the edges to be really rough:
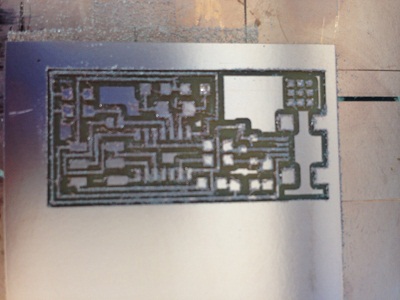
I realized later that I could fix this by running a metal ruler across it, but in the moment, I wasn't satisfied. Figuring the bit was too worn, perhaps, I found another one that looked better and tried again. This time when I removed the dust, I saw:
So much cleaner!
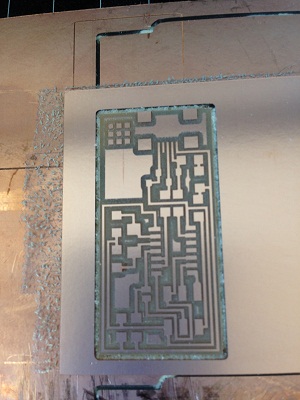
Now that I had a neatly cut board, I was ready to fully cut it out. Using a 1/32" bit and this time keeping the default settings (e.g. -1.7mm z at 0.6 cut depth). My first attempt didn't work (the bit barely cut the surface on each pass). After about an hour of trying various solutions, I realized it was due to the fact I put the bit too high in the head (after lowering as far as possible to "zero" it), not leaving enough space for it to move further down. Finally though, I figured it out.
Stuffing the board:
I started soldering components on the board. Following Neil's suggestion, I started in the middle and worked my way out. As you can see, some of my first soldering attempts (like the middle capacitors and resistors) were less-than-beautifully straight. After some practice though, it got easier and I could use less solder.
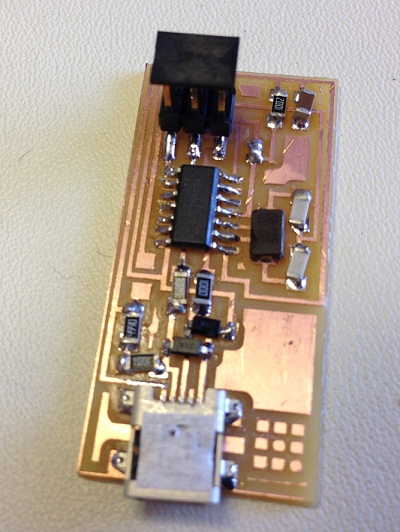
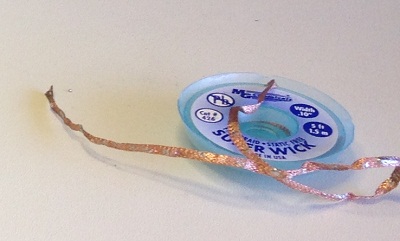
It was at this point I figured out that I had mistakenly put one of the 3.3V diodes the wrong polarity (thanks Rob for catching!). This was my first attempt at de-soldering using the solder braid. This was actually more difficult for me than the soldering itself.
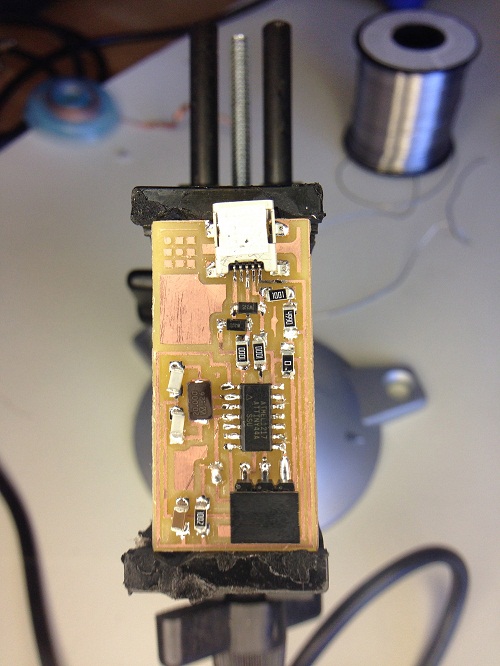
The most difficult soldering was with the Mini USB. I managed to solder 4 of the 5 pins without trouble, but on the last one, the solder spilled over to the pin next to it. Bring out the braid again! For this level of detail, I used a vice and the lighted magnifying glass.
After checking each connection and removing what could have been problematic, I was ready to test/program the board. Step by step, my board passed each part of the programming without error (thanks again, Rob). First attempt was a success, so no need to debug!
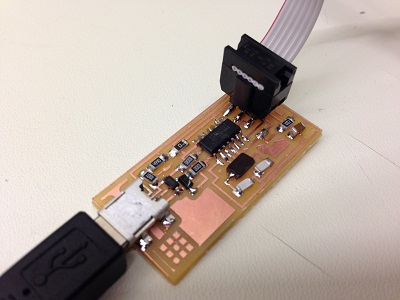
I never thought I could get such satisfaction from successful soldering!
Back