Computer-controlled Machining
Week 4: Milling and Water Jet Cutting
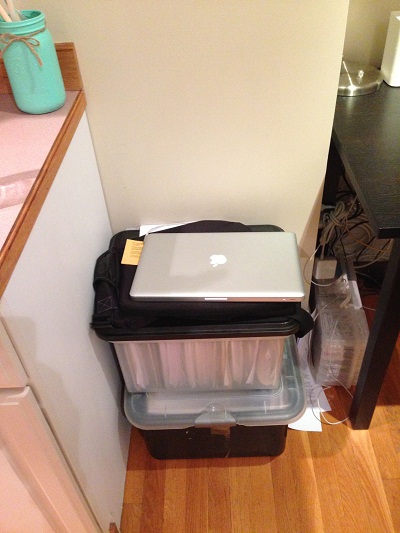
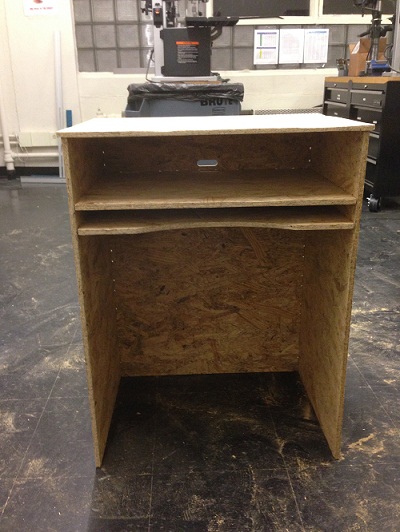
This week our task was to design and build "something big". After considerable brainstorming, I decided to build something big, AND useful. I have a small space (22.5" x 15") my desk and a wall where I now have files and books stacked up. I had looked everywhere for a desk that would fit this space, but with no luck...
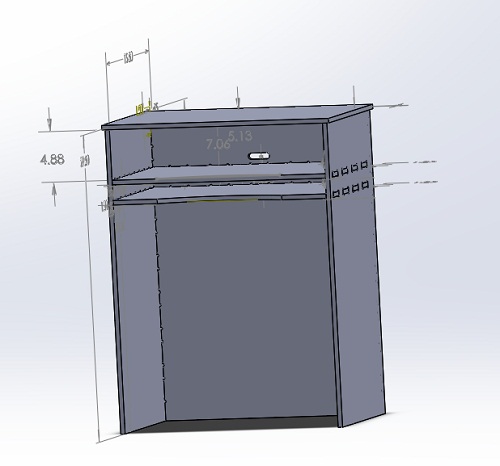
So I thought I'd build one! I laid out a design in SolidWorks (still learning a lot about this powerful software). I used three walls to add structure to the desk with opposing cut-out notches so there was no weakness from pressure in any one direction. I wanted to make the desk entirely press fit, assuming I could always add an adhesive like wood glue if it didn't stay together. I used the thickness of the OSB material (0.4375 in) to get tight-fitting notches, again assuming I could work my way out of it if that wasn't wide enough by sanding down the fitted parts. I incorporated "dogbones" into my design so I could choose how the toolhead cut around corners.
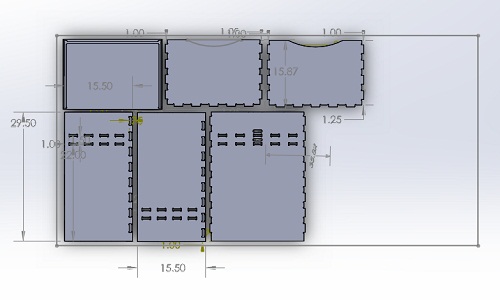
I then laid out the assembled parts into a 2D version and used the "make drawing" fuction to create a 2D vector image of the parts. I laid them out on the 4'x8' board space for reference. They fit very close to the edges but it seemed to be enough of a margin.
I then created the toolpath in a CRV file using the outputted DXF file. This process proved to be somewhat difficult as the PartWorks software didn't connect my vectors, instead just choosing to make them free-floating. The result was that the cut paths alternated from outside to inside of each vector which I assume would screw up the cutting process. Thanks to Charles' tip, I used the "connect vectors" tool to fix this (apparently others had a similar problem). I layered the cuts by type (inside, outside, "pocket cuts") and chose to do the pocket cuts in the top and sides first, then the inside cuts then the exterior.
I screwed down the OSB to the sacrificial layer, started up the machine and ran the cuts.
Fortunately, the pause button works well as I had to stop it twice. The first time because the tool head was coming very close to the edge of the boar (and therefore the screws) on the top parts. I measured the distance of the next cut and it just barely would miss the screw. Playing it safe, however, I removed the screws anyway with the machine paused and head turned off.
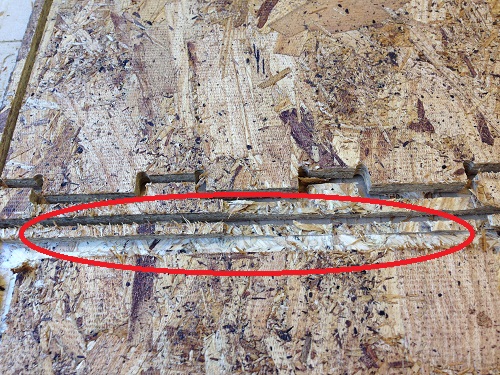
The second time I stopped because the bit cut too close to the wall of the desktop and broke the edge. This was my lack of forethought in laying out the parts.
I quickly re-did the CRV file with just the broken part, reset the tool paths and cut it again in the extra space I had with the OSB. Fortunately, this time it worked!
Assembly:
The OSB splintered even more than I thought it would. It was very difficult to work with, cutting my hand every time I moved the parts. I wish I had known to wait a few days to use the MDF that we would have gotten in. The OSB is a HUGE pain to work with in the finishing process!
I decided to invest the time to hand sand as much as possible and then got carried away with the belt sander. The end result, however, was much nicer.
Fortunately, almost all my notches worked well, creating a nice, tight fit.
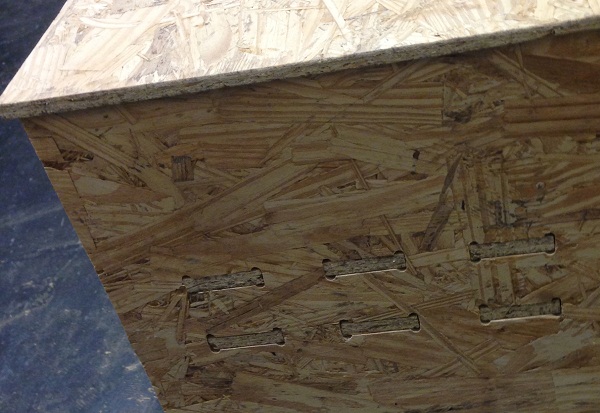
Unfortunately, the notches on the side were cut slightly off (not sure why this was) so I had to sand those down so they fit into the grooves properly. A mallet helped ensure a tight fit all around. No need for glue!
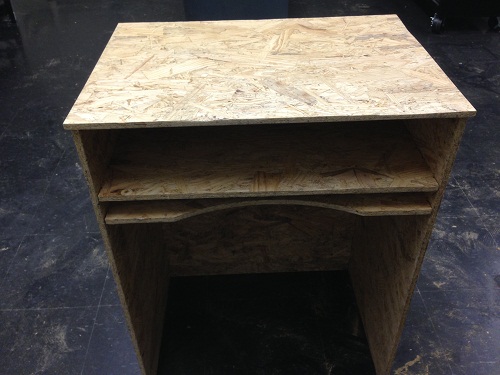
The sanding worked well in reducing the splintering, but in the end, it was still not smooth to the touch.
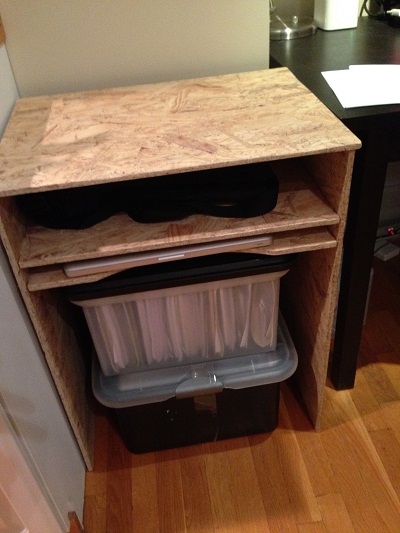
After trying to fit the desk in several cabs, I found a "van cab" that was able to carry it and I brought it home! It fits like a glove.
Water-Jet Cutting:
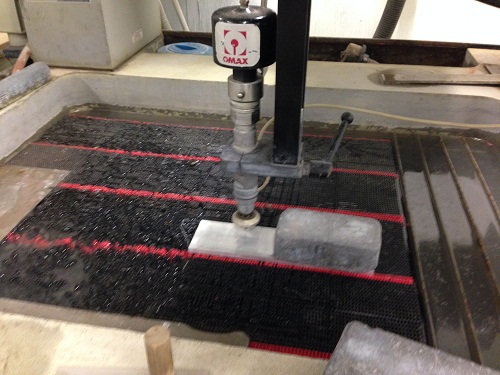
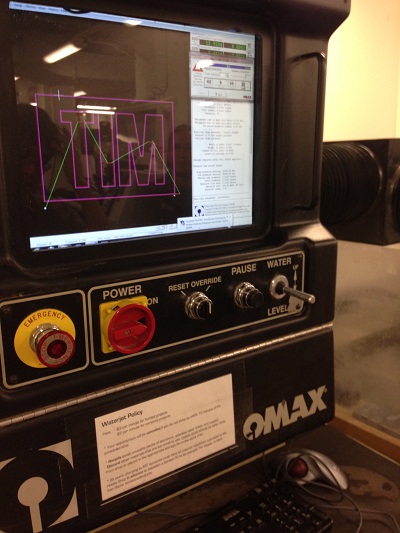
I was fascinated by the water jet cutter and was glad to go to the hobby shop tutorial which Ken Stone was nice enough to host. He walked us through the cutting process (similar concerns as the milling, such as how to handle corners, securing the object down, etc.).
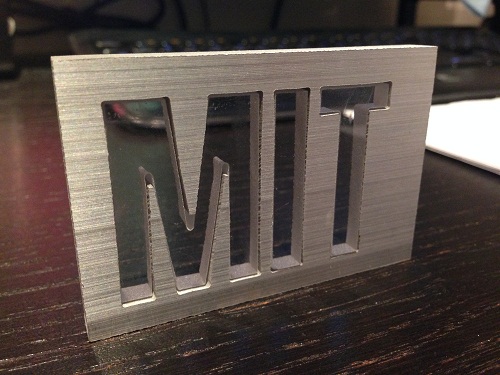
We made a small MIT logo with an aluminum cut out and a clear plastic (not sure exactly what type of material) filler for each letter. It's perfect for putting a light behind.
With all the time my desk took me, I didn't have time to go back to the hobby shop before class. I am definitely going to go back to cut something soon, though. Such an amazing machine.
Back