Molding and Casting
Week 6: Designing, milling, molding and casting an object
This week our task was to design and make a 3D object for which we create a mold and cast the object.
My goal was to test the advantages / disadvantages of molding/casting vs. 3D printing. In week 2, I created a clip to attach to a pair of Apple Headphones on the MakerBot, so this week I decided to try to create that same object using molding and casting. My understanding of SolidWorks was tested again, but each week it takes less time than the last to implement my design. Here are three views of what it looks like.
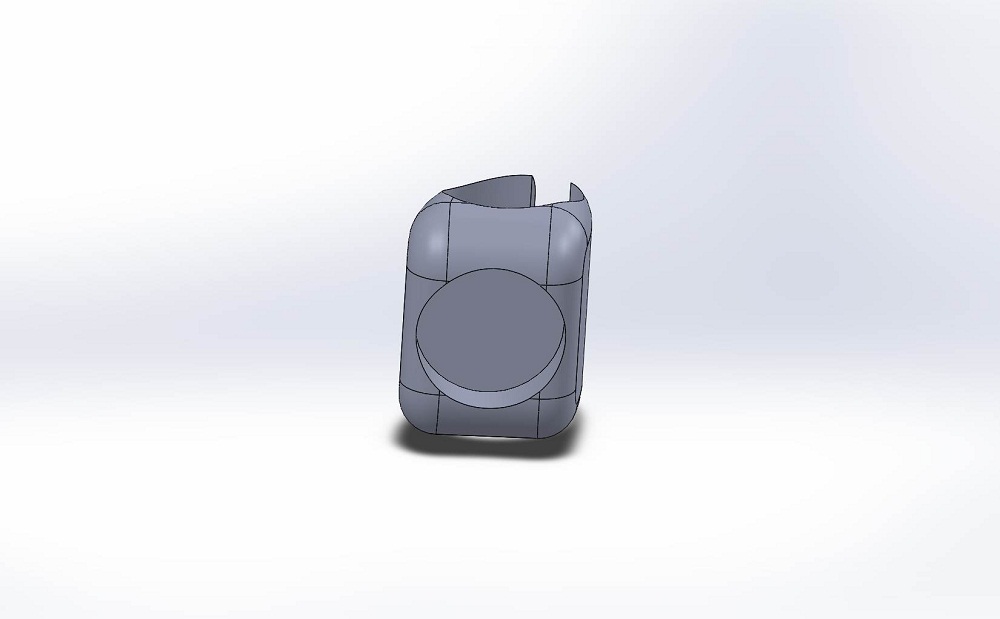
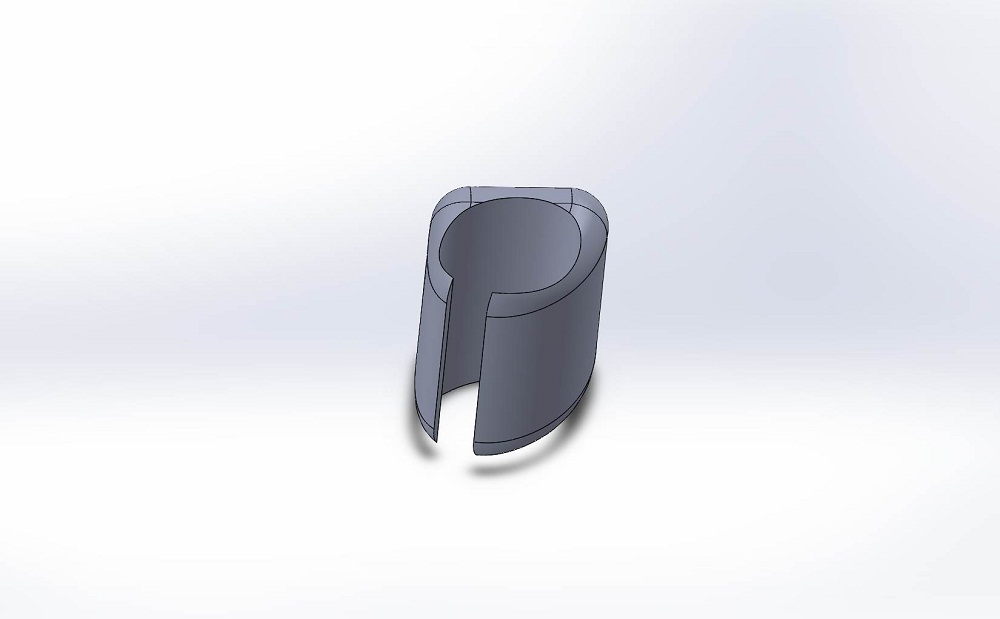
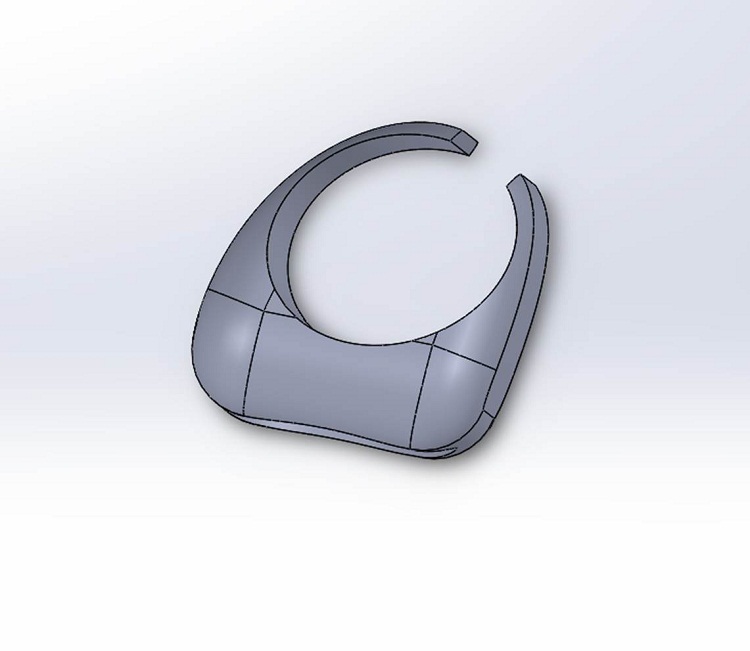
There were two difficulties with this design in terms of creating a mold: 1) there is a hole in the middle of the clip which would result in an overhang in the cutting process. 2) there is a small notch (just the width of a 1/16" tool bit) on the side so the clip can fit around the headphone wire, before being connected to the headphone shroud.
I decided to use a 3-part mold, essentially making the part without the center cut out and then molding a cylinder (based off of the cut out elipse) to wedge in the middle of the two older molds (creating negative space for the final casting). As a note, this design process was rather difficult for me conceptually at first (as two of the molds are the "negative" and one is a "positive"), but in the end this is what I came up with:
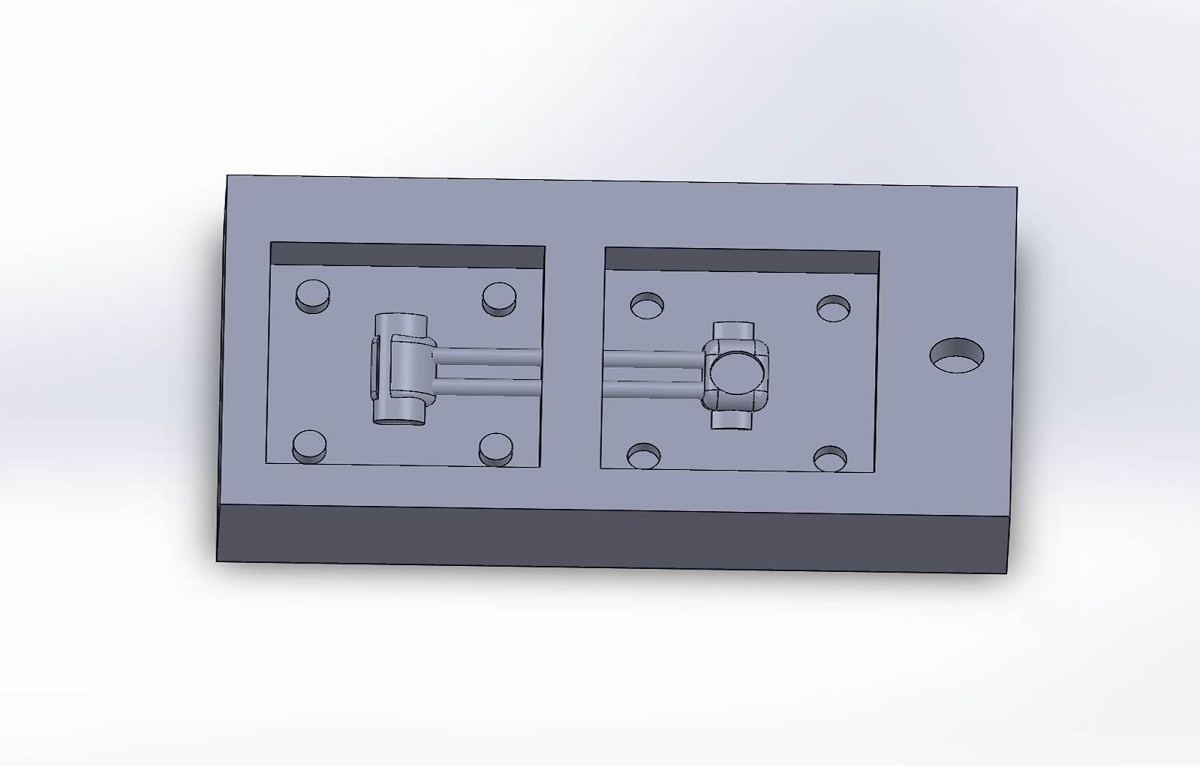
I also added two "tubes", one for pouring and one for the air to escape. To connect the two parts in the end, I created notched cut outs of small cylinders so the mold parts would fit snugly next to eachother. Because of the small size of the object, and the very specific dimensions, I wanted to get the mold to be as accurate as possible. This is also the reason I cut so deep into the wax, so the final mold structure would be fairly rigid.
To cut out this design, I used the Modela with a 1/16" flat-end bit. It was important for me to measure the height of the bit so that the collet would clear the top layer of the surface in all cuts (so as not to damage the machine). The overall process took 48 minutes and below is my cut out:
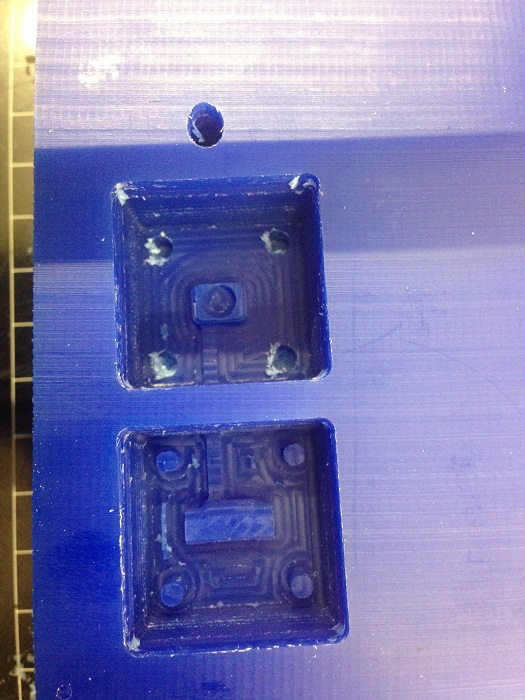
When it was all done, I was disappointed by the final product because: 1) the bit wasn't able to capture the high level of detail I had hoped (really my fault for not thinking about it), and 2) part of the design was not actually implemented in the cut out. I'm not sure why exactly this was, but the "positive" of the center cylinder cut out was not captured and the air tube was completely missing.
I will go back to the drawing board with my design to figure out why it failed, but in the meantime, I still wanted to get experience with creating the mold.
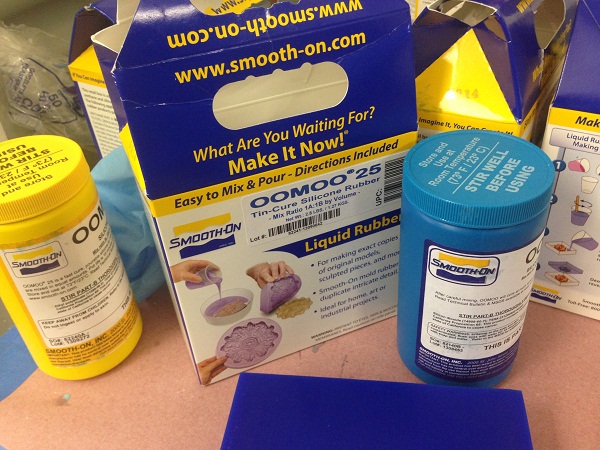
Using the Oomoo mix, I carefully measured equal parts of each after using Jared's trick of estimating the volume of the object by filling one half of the mold with water and then measuring that volume in a plastic cup.

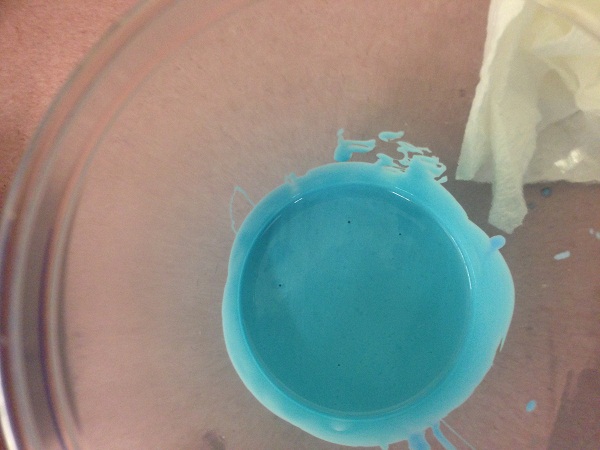
I slowly mixed the Ooomoo parts together with a tongue depresser, trying to avoid creating bubbles. This was a futile attemp as bubbles were constantly forming. Even after tapping the cup repeatedly, there were a few bubbles rising to the surface.
I followed a similar process to fill the wax mold. The biggest difficulty was filling the straight cylinder cut out. Air was quickly trapped at the bottom when I first tried it. On a second attempt, I tried drizzling the Ooomoo mix using the tongue depresser which actually worked well. I left the material to harden:
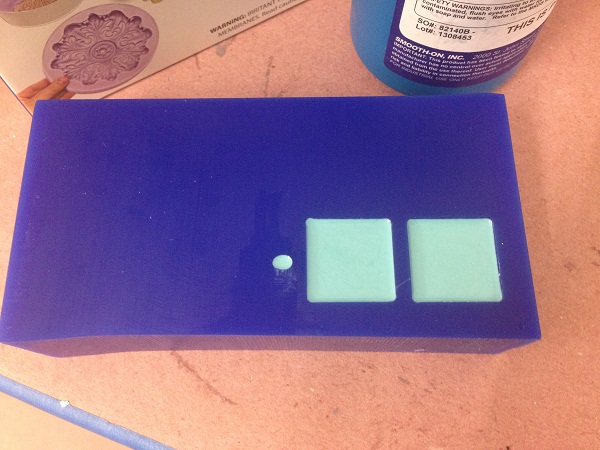
The Oomoo took longer than expected to set and so I had to hold off on actually casting the part, but I look forward to doing it soon.
Takeaways:
My design was too detailed and small for this method to work well this week. I need to go back to the drawing board to figure out how to create the mold with more accuracy (and all its parts!). Since it's overall very small, I am considering printing the mold on the Dimension and then trying again with process.
On a personal level, I learned a great lesson about the importance of iterating during the design process. I spent ~80% of my time on the CAD process, trying to get it perfect before actually cutting. Because of this, I limited the amount of time I could spend actually making the physical object and eventually ran out of time.
Back