Composites
Week 8: Designing, molding and making a composite material
Our task this week was to design a mold to be used to create an object using composite materials. The recommended material was burlap and resin. After seeing the example from last year I was amazed not only at how clean and finished it looked, but also the stregth. With any arches and curves, the strength seems strong enough to support the weight of a person.
For my project, I decided to learn from molding and casting week and spend less time on the design process and more on the implementation. This worked out well as I think this material could be cool to use for my final project. I designed a simple shape in Solidworks:
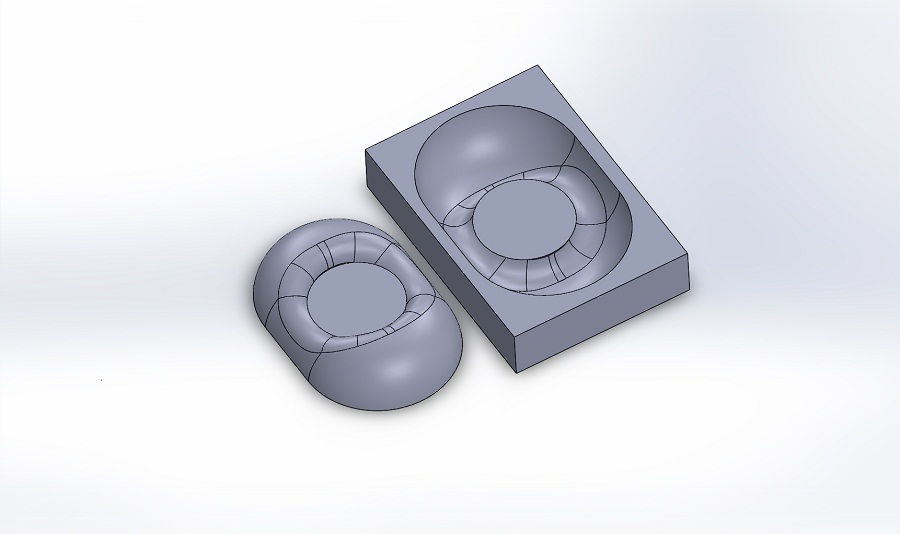
The shape on the left is the final object, and the right part is the second half of the two-part mold. I decided to use a two-part mold because I wanted a clean finish on both sides of the material and it seemed much less risky approach.
I cut the mold out on the Shopbot using Partworks 3D. Despite hearing the criticism of this software, I found it extremely easy to use (in part because of Jared's tutorial; thank you, Jared). I used all of the recommended settings from the tutorial.
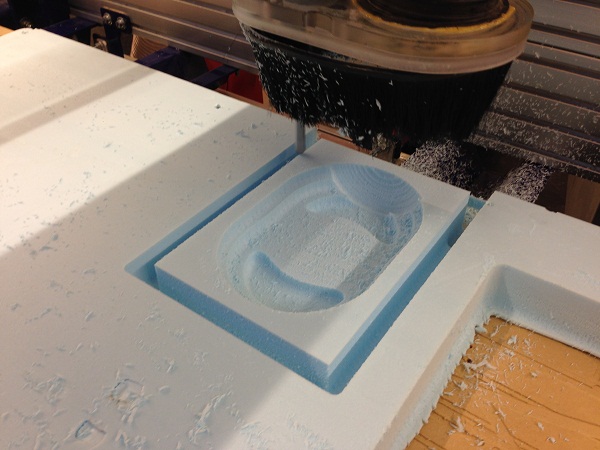
Partworks added a gap around the object. I was worried about this at first, but it actually made it much easier to remove at the end.
This is the first, rough cut:
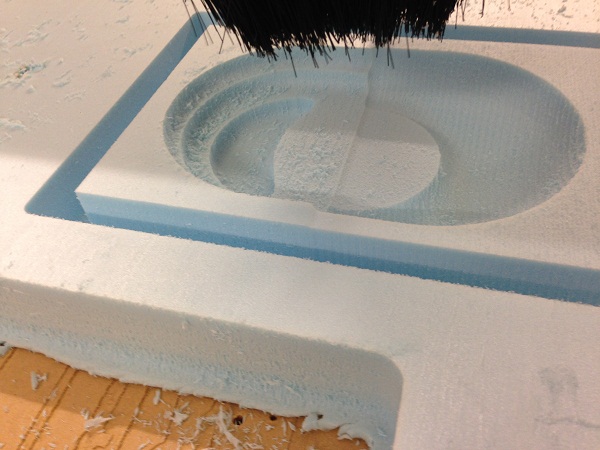
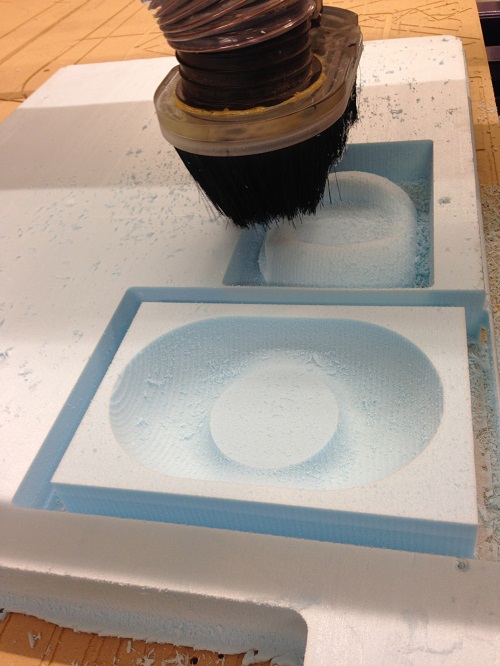
Now on to the second part of the mold:
Next I tried to measure and outline the shape of the burlap pieces. This was my first attempt:
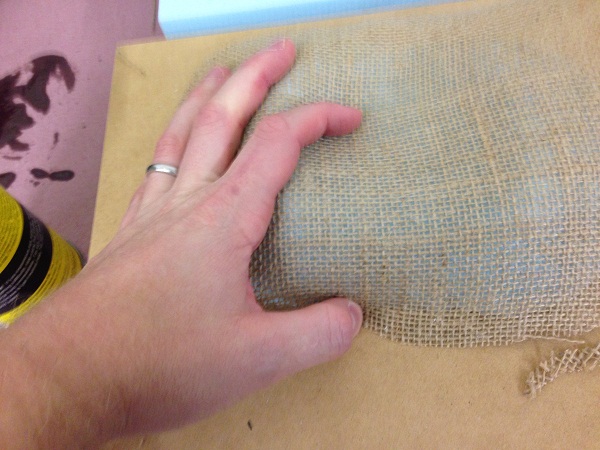
It didn't work out well because it was tough to keep the fabric around the mold. I then tried stuffing it in the mold and cutting around the edges. This worked much better.
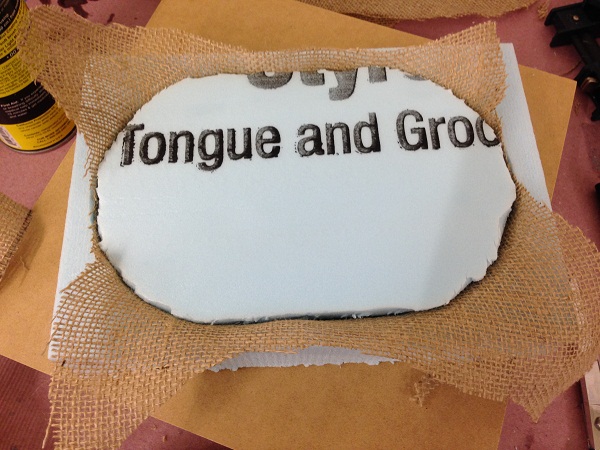
After cutting out 5 layers of burlap, I prepped the rest of the mold. First a layer of platic wrap around each part of the mold (to make sure no resin got in). Then a layer of bleeder on each, followed by a layer of perferated plastic wrap.
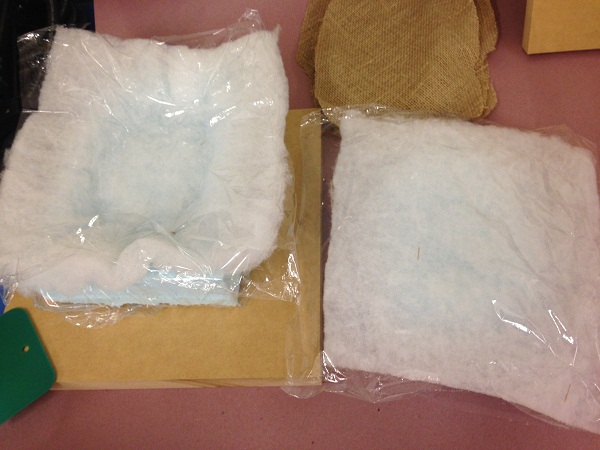
Here is where I made a mistake. When mixing the resin, I mistakenly used a 1:1 ratio though the new resin was actually 2:1. I went through the whole process before realizing this mistake and had to throw away the first attempt. On a second try, however, I properly mixed the resin (stirred for about 2 min) and then applied a thin layer to each piece of burlap. I made sure to remove as much of the resin as possible while keeping the burlap fully coated.
Next I had to clap the MDF around the mold to lock it all into place. I was worried when doing this, however, because I couldn't see the burlap pieces under the bleeder. I wasn't sure it was perfectly positioned, but I went ahead anyway.
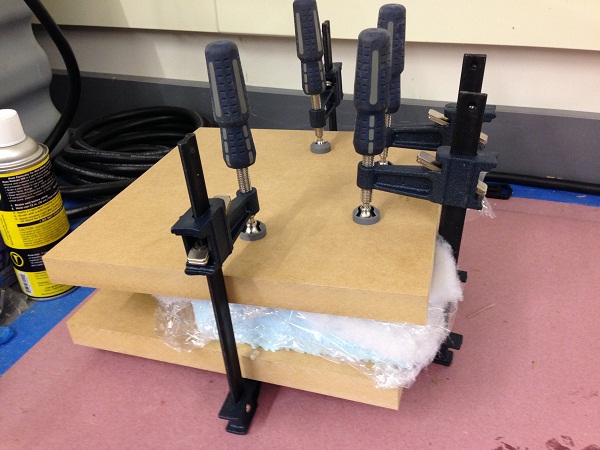
Some dripping occured on the sides, after clamping it very tightly:
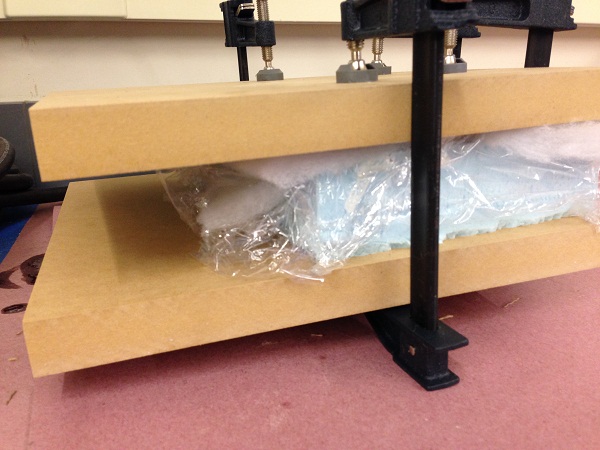
After 21 hours (it was supposed to be 24, but the spilled resin was quite hard), I removed the clamps, molds and bleeders. The plastic wrrap stuck to the resin more than I would have thought, but after a little work I got it all off.
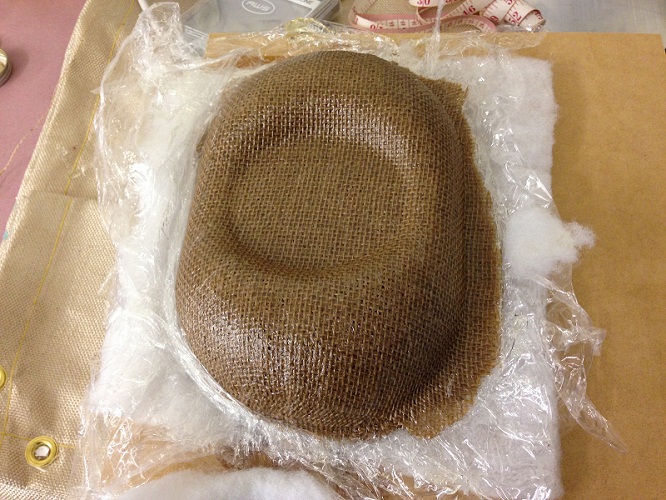
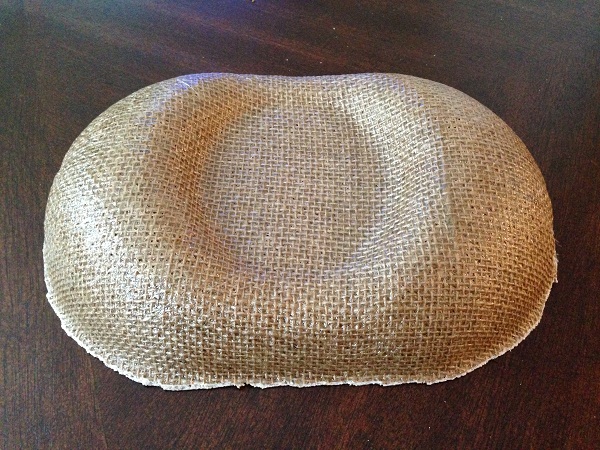
Here is the object fully removed. You can see some edges around it that I would need to post-process.
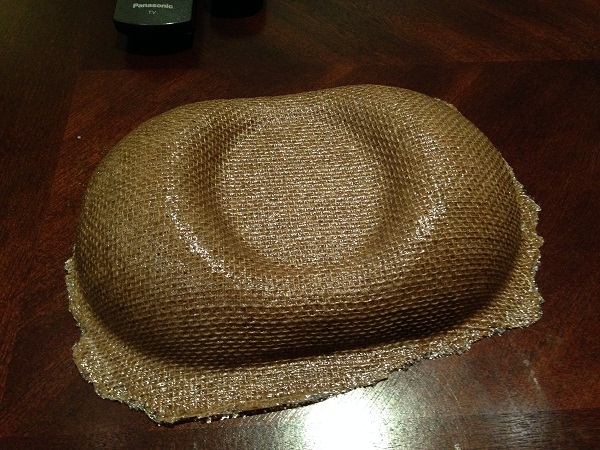
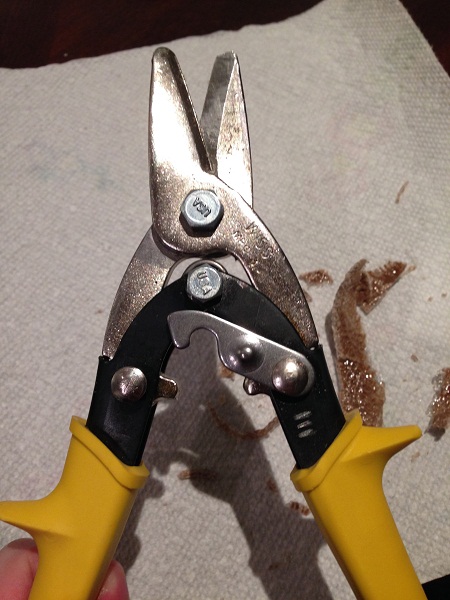
To make it a clean cut, I used sheet-metal shears I had which worked really well. I could also use some sanding, but this was good enough for now.
Here is the final product. YOu can't see it here, but one edge was just shy of being fully flat with the others. Since the post-processing was so easy (~2 min to do), next time I will just leave excess material to make sure the mold is fully covered.
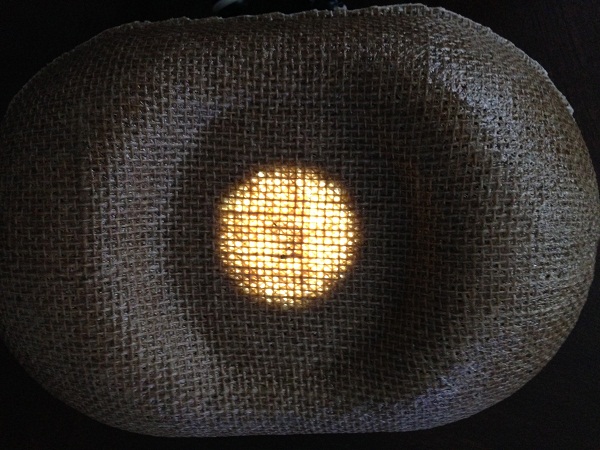
My final project will use light coming through an object so I wanted to see how translucent this material is. It requires a good deal of brightness to show a small amount of light. For the final project, I will try to either use fewer layers or use a more translucent fiber material.
I am really happy with the final product. With the curves, it is really strong and looks clean and nice. I can't wait to use it for the final project. In the meantime, this shape was actually meant to be an overly large drink coaster so this is what I will do with it for now:

Back