This week I worked on three small castings, and took a field trip to Reynolds!
1. Design
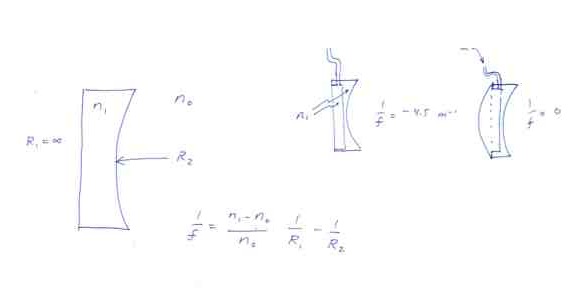
I would like an eyeglass lens adjustable between -4.5 and 0 diopters. The power of a lens in diopters is the inverse of the focal length in meters.
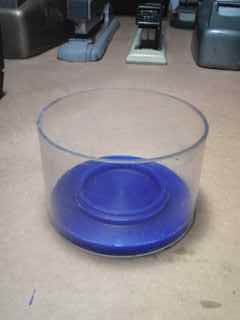
Cast lens in epoxy, cover with mylar or other plastic, fill with water, or glycerin, adjust with syringe.
Lensmaker's formula: P=((n1-n0)/n0)( 1/R1-1/R2) where P is the power in diopters, n1 and n0 the refractive indices of lens and air respectively and R1 and R2 the radii of the lens. Choose P=-4.5, R1= infinity and find that R2=111mm.
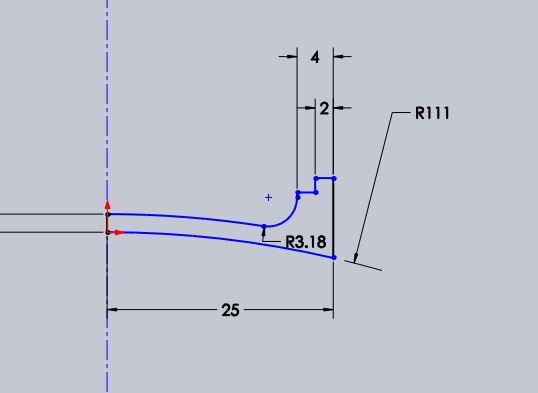
Above is the initial design for the lens. I intended to use the Modela to machine the contours. Since the Modela was not available when I was, I decided to use a lathe - better suited to this purpose anyway, since it is cylindrically symmetric and needs smooth surfaces. Drawing images from Solidworks file Lens_4.5diopters.SLDPRT
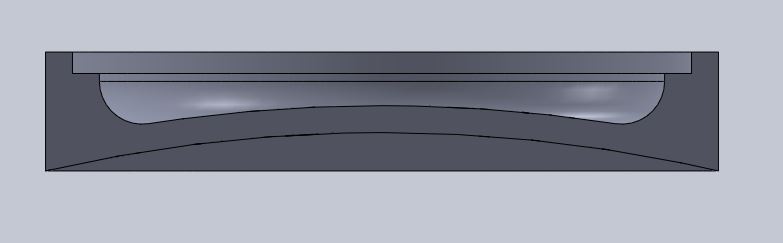
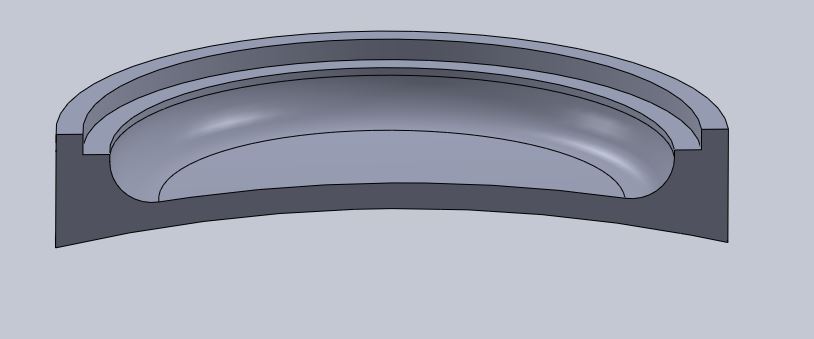
For my work on the lathe, I simplified the design, leaving flat surfaces on the inside of the lens. The curved side has a radius of curvature of 110 mm.

2. Machining the wax.
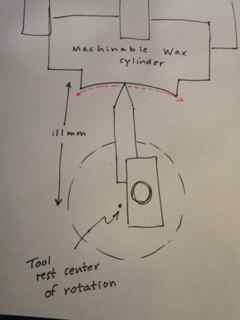
The machinable wax is great fun. It cuts easily and takes a nice finish. To cut the concave radius required for the diverging lens, I pivoted the tool on the toolrest, making sure that the center of rotation was on the axis of the cylinder 111 mm distant from the tip of the tool. This would not have worked well for a harder material, since there is play in the tool position - the lathe is not designed to cut with the toolrest rotating. If you want to do this correctly, either use a specially built pivoting rig (the old-fashioned way) or a CNC lathe. I left some tool marks in the wax which I abraded away, leaving more random scratches, and a satiny finish.
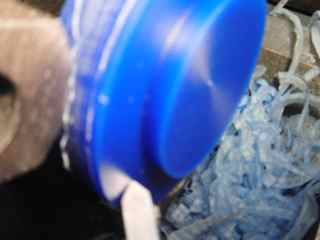
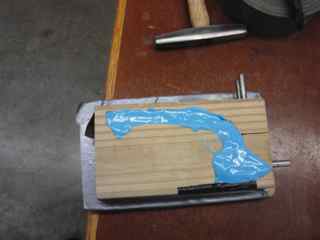
3. Creating the mold parts
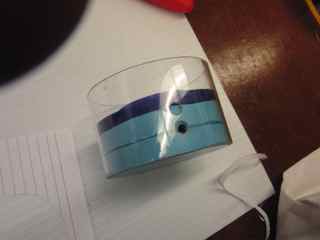
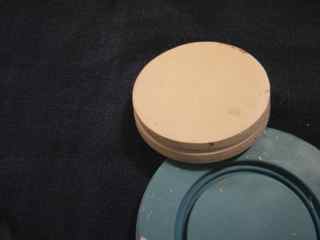
The results are above: Two halves of the lens on a wax cylinder, cut to fit into a 3" tube found in the lab. I drilled and inserted a 3/16" acrylic tube into each part so that half of each tube was above the wax surface. In the silicone mold, the negative of these tubes will form one fill hole.
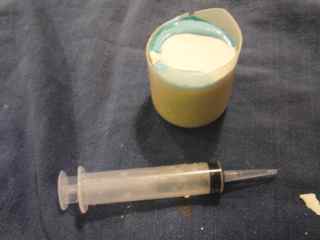
Jared poured these molds as a demo for the section instruction. He prepared Oomoo 25 according to the instructions. Once poured, I tapped and banged the mold on the table for two minutes to remove as many bubbles as possible. The silicone took longer to become non-flowing than in the specs - about three hours. Perhaps too cool? The next day i removed the molds, trimmed the corners, and prepared to fill. I decided to use a syringe with a long tip.
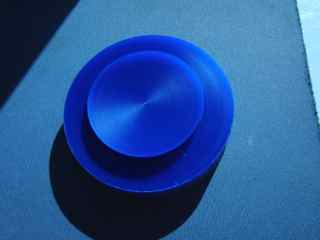
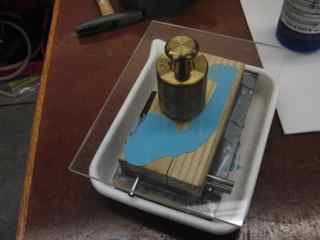
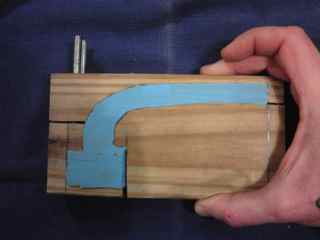
4. Casting with drystone.
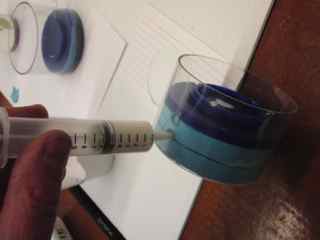
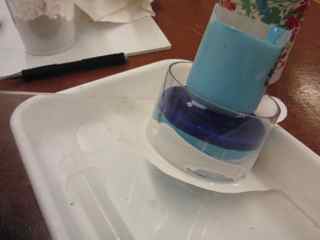
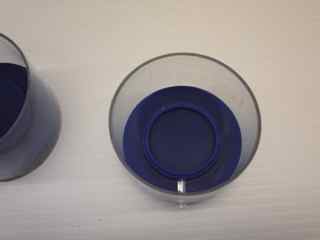
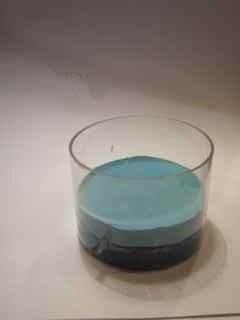
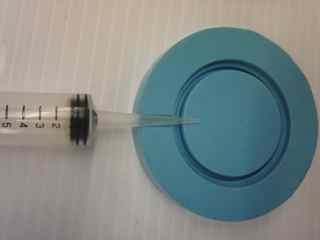
Above, the mold ready to pour. The halves are returned to the cylinder to put them as nearly as possible in their original configuration. Drystone is mixed: 50 g powder to 11g water - one gram (10%) wetter than instructed, so that the material flows well through the syringe. The mold is filled from the top, shaking and using the syringe tip to get the liquid down and the air up. When it is full and the casting material is seeping through the seam of the mold, the mold is gently squeezed back together, pushing excess through the fill hole. The mateiral is allowed to set in a nearly horizontal position.
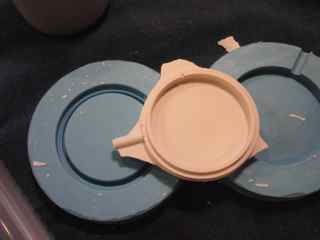
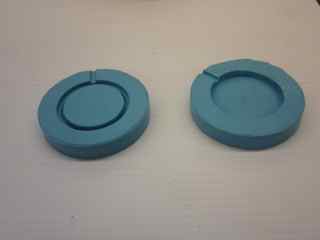
The part is shown above, as is came out of the old, and on the right, after trimming and filing. There are no big voids, but a few <1 mm bubbles, escpecially on the concave surface. The two halves were not completely aligned, probably due to deformation of the silicone. For better alignment, completely enclose the silicone mold halves as they are poured, then clamp in that position once the mold is filled.
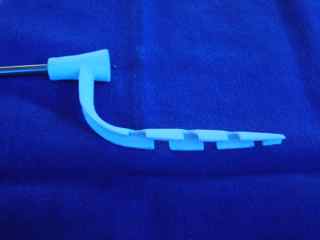
This is a part for my final project. I will prepare to cast the flyer for the spinning wheel - the part that takes up the yarn and distributes it onto the bobbin. I will try a one-part silicone mold, keeping the mold small around the arm of the flyer so that I have a better chance of freeing the original from the mold.
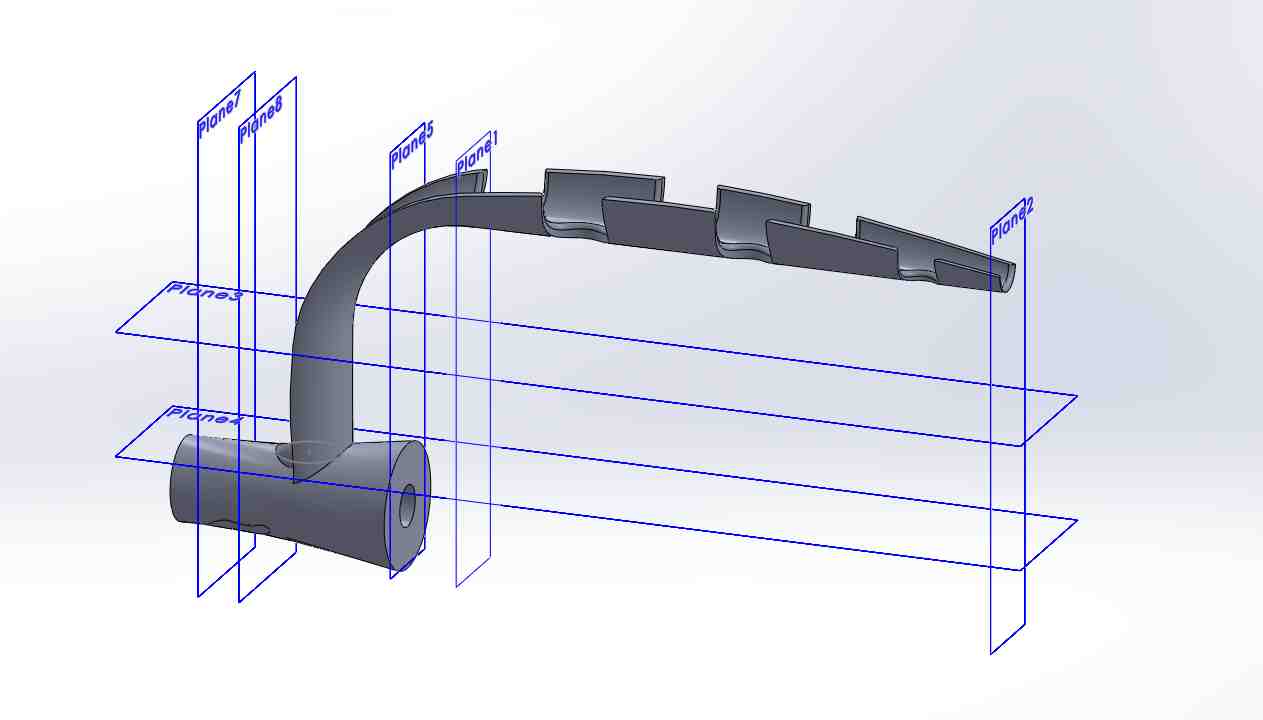
I designed the object in Solidworks and printed it on a Sratysys 3D printer with soluble support.
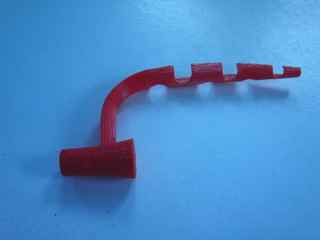
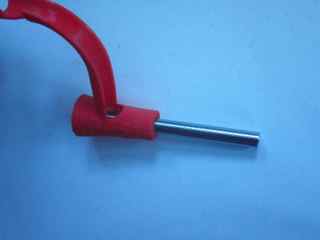
Added a 1/4" pin to make a fill port in the mold. The hole in the base of the arm will be filled with plaster before making the mold. The printed object has a rough surface due to the laying down of filament.
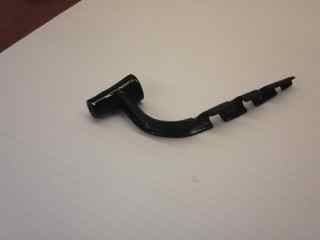
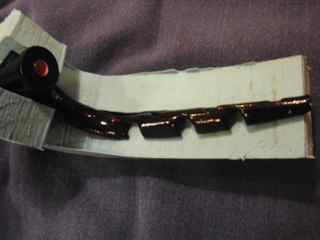
In order to make a smoother surface, I filled the extra hole with plaster of paris, primed with spray enamel primer (was this necessary?) and applied a few coats of gesso (sanding each time) until I could see buildup over the rough surface. I let the gesso dry overnight and sanded again. Still lumpy, but the surface contours are more pleasing and natural. Gesso really does like to dry several hours before sanding. I gave the part a coat of black glossy enamel to get a smoother finish, and one that I thought would release more easily from the silicone.

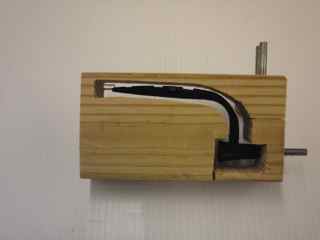
I cut a frame from a 2x4 to enclose the mold and make it possible to clamp it in position during the casting stage. The frame is pinned to allow it to be pulled apart and reassembled (maybe over-complex design?). The pin for the flyer fits through a hole in the end. A second plastic pin in the upper left will make a vent hole.
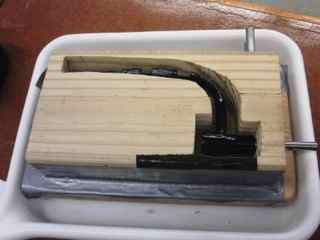
I mixed Oomoo 25 for the mold. This batch seemed to get stiff sooner than the stuff a few days ago. Perhaps the stirring was more vigorous or the temperature higher. Lots of variables here that might need attention to make result consistent. Above is the filled mold duct-taped to a base, then clamped with a piece of platic sheet. After curing a couple of hours, I pulled the fill pin out, and removed the mold from the frame with a thin knife and persuasion. I made another cut in the wood to get it apart.


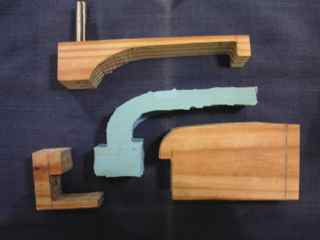
Now I was able to make a cut in the mold to remove the part, making a slit in only the lower side of the piece. The part emerges with little difficulty, except along the half-holes in the arm, where my cuts left some bits hanging that might not return to the right place. once the part is out, the mold folds back together, leaving an empty spcae inside that is (I hope) the exact shape of the part.
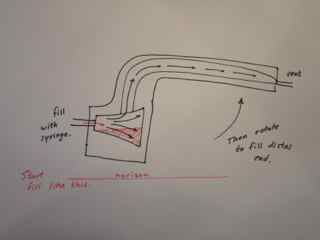
In principle, I'm ready to cast. I will clamp the frame around the mold, and fill with a syringe or a bag so that I can apply pressure to force the liquid up the arm and the air out the vent hole. With what will I cast? Might as well try Drystone, but eventually will use a plastic or reinforced plastic to make a light strong part.
OK, I had too much oomoo mixed up when I made the mold above, and decided to immerse Yoda in the excess.
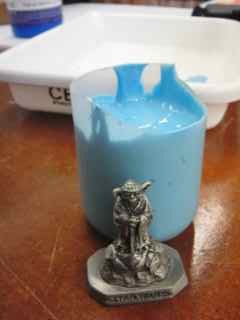
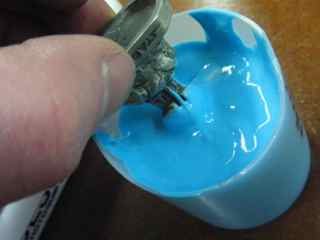
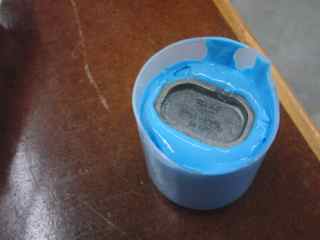
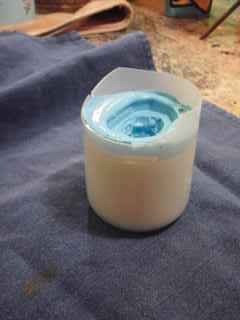
The Oomoo silicone is in the bottom of a plastic bottle. I put Yoda in gradually, trying to wet him well with oomoo and get bubbles away from the surface. After a cure of three hours or so, I cut the bottle and remove the silicone block.
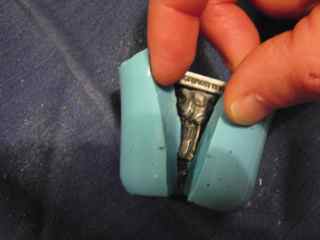
I slit the silicone and separate it enough to remove Yoda. If I wrap the mold gently with masking tape I can make the cut disappear. When i put the mold back in the plastic from which it came and wrap that with tape, it still looks good. The Oomoo has shrunk enough in the process of curing that the layer of masking tape makes it conform better to its former home.
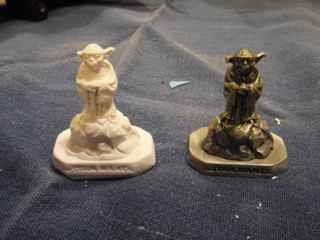
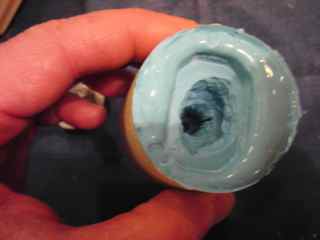
I decided to apply some mold release since there were so many small details on this figure. I mixed a few drops of dish detergent in a tablespoon of water, dumped it in the mold and inverted the mold for a few minutes while I mixed plaster. I mixed 50 g of drystone, again using more water than called for, 11g/50g and used the syringe to get liquid down as far as possible. While filling I could see the detergent solution coming up around the plaster. I cured for 30 minutes of so, actually put him in the oven at 170F for while. The result is on the right. Very good details, except I did not get the forward-facing tip oft the right ear, and there is a tiny ball of plaster in the left one (a bubble in the silicone, I guess.)
The Oomoo 25 instructions suggest post-curing 4 hours at 150F (65 C) to remove water and alcohol that are products of the curing process. We noticed that the molds are stronger after several hours at room temperature. The post cure would probably make this happen more quickly.
Class notes on 10/23