3D printing: so simple! Except that it means you have to design something to print. Which means I had to finally face my fear of SolidWorks and design something. It wasn't easy.
I don't have much wisdom to impart because I ended up finding workarounds to things I couldn't figure out in SolidWorks. For example, I tried to revolve my design to create a flower pot, and the first 5 times I got errors that I couldn't decipher. I never figured out the solution - I just kept starting from scratch in new files and eventually one didn't get an error.
Once the flower pot was designed, getting it to the 3D printer was pretty simple. I used the Up! mini because I knew it would need supports, and our TA said the supports the Up! makes are easy to snap off. I could also have used one of the big fancy printers, but I didn't see a needs, since my design was pretty straightforward and didn't have any complicated or small details.
Here's my flower pot, from design to print:
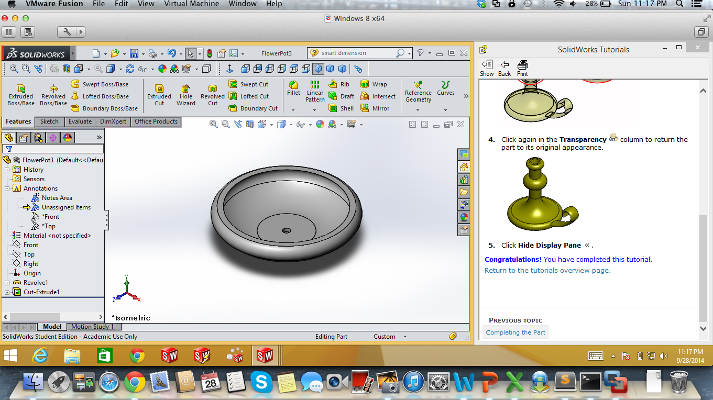
The final design, just after finally doing a successful revolve (and making the hole in the middle), and right before exporting to mesh (and there's the tutorial I was following on the side pane):
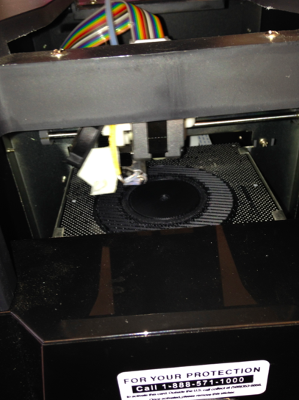
The mesh imported to the Up! Software, then the printer starting to print:

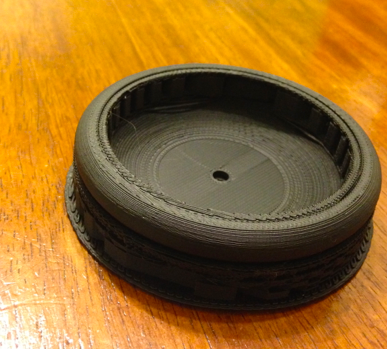
And the final product! First with the support structure as it came out of the Up! Mini 3D printer, then without:

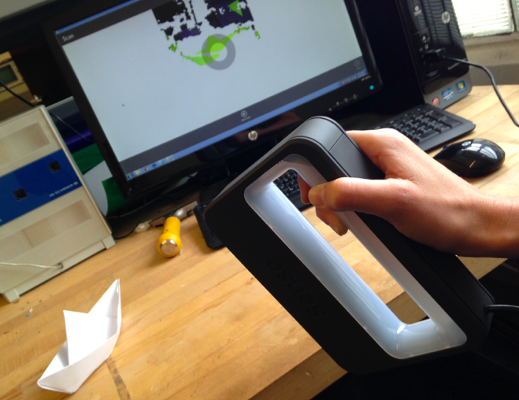
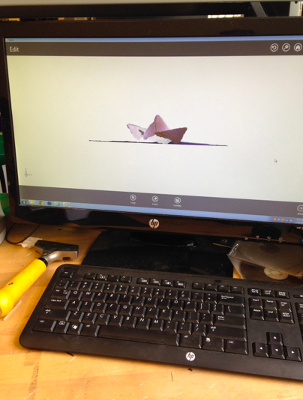
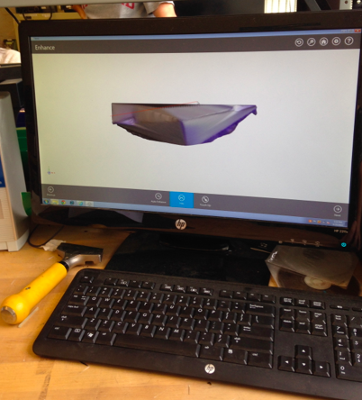
The fancy Sense 3D scanner is finnicky! I could not get it to take a full image of my origami, no matter what I tried. In the end I took what I got after a couple seconds, then edited the mesh using the Sense software, through the Erase, Solidify, Trim, and TouchUp tools. Here are some photos of the process: