Preface: For 3d scanning, I used 123D Catch to get a high definition mesh of my head/face. I was curious to see what it would come up with and figured that I'd be able to pick up on inconsistancies in facial geometry with the most ease. I stood in one place and rotated as evenly as I could as my friend took photos. I was really impressed with the resulting mesh--although the edges came out messy,the face itself is so on point that it's almost creepy.
For 3d printing I decided to start with my design from last semster's architecture studio. The studio focused on innovative masonry structures and while I was able during the semster to do some large-scale physical tests, I never got around to making a complete model of my brick house design. The project involves some complex curvature as well as intricate details, but since the majority of the form, if discritized correctly, can be broken down into a series of arches without any significant overhangs, I thought it was well-suited for a 3D print. I reworked the geometry, cleaned it up, broke it into 3 sections that fit together, and booleaned those into water-tight pieces. Breaking the geometry into 3 sections was ideal because it not only allows you to see into otherwise hidden spaces in the architecture, but it allowed me to print bigger (the Makerbot bed is pretty small) and most importantly, gave me 3 flat surfaces to use as a stable base for each print.
TOOLS / SKILLS: 123D Catch, Rhinocerous, Grasshopper, Makerware, Makerbot

I fed 123D about 20 images, but here is the basic idea. Either rotate the object, in this case my face, as evenly and consistantly as possible, keeping the camera still, or do the reverse, fixing the object and rotating the camera.
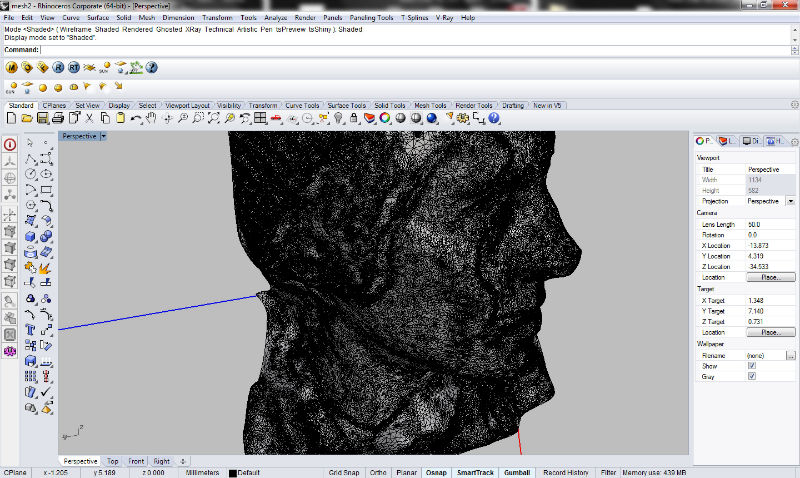
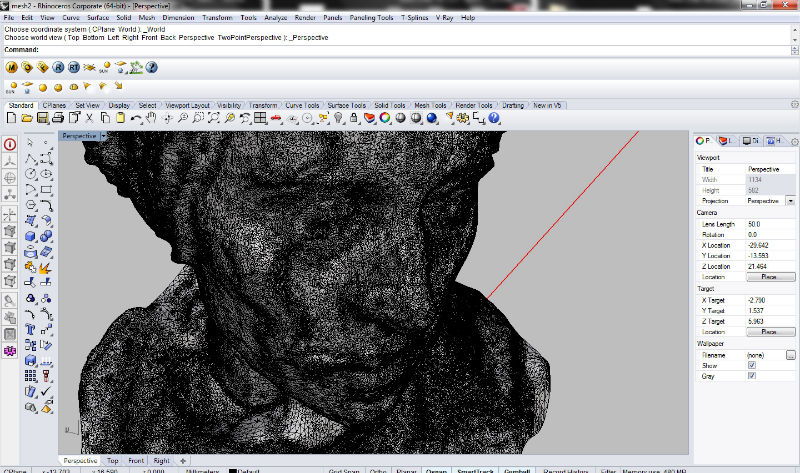
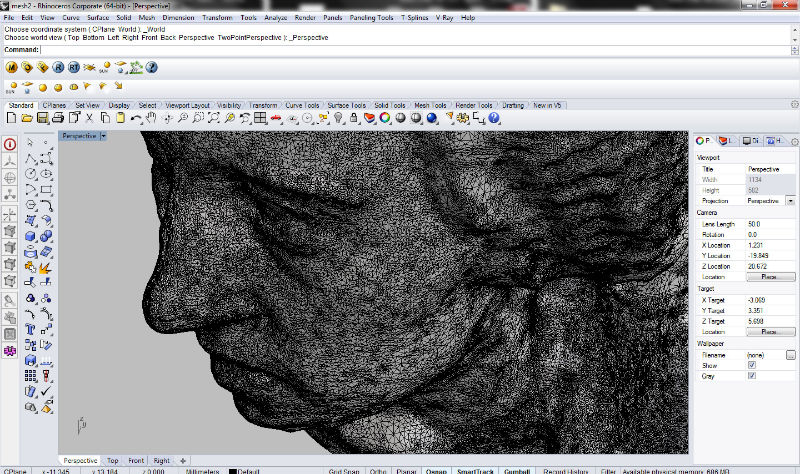
Screenshots of the mesh created. As I've already said, I was pretty impressed with the results. Although I would have to do a bunch of editing to make this useable for fabrication purposes, I think its a pretty good start and great tool to play around with in the future.

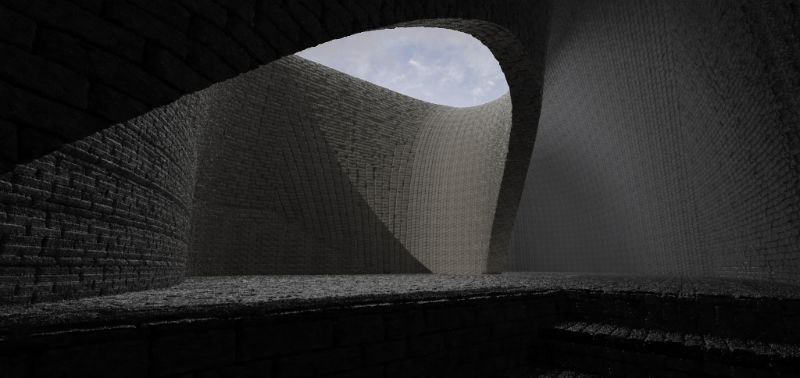
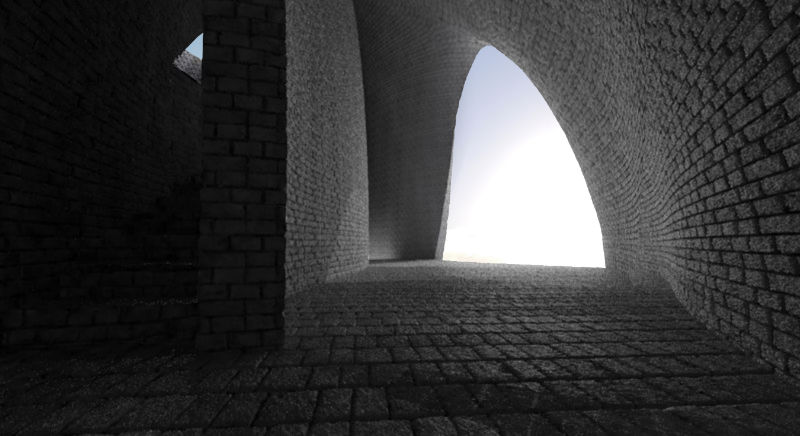
Renderings of the brick house design that I'm using as the subject for my 3D print.


The brick house Rhino model, after reworking, cleaning, and splitting into 3 parts.

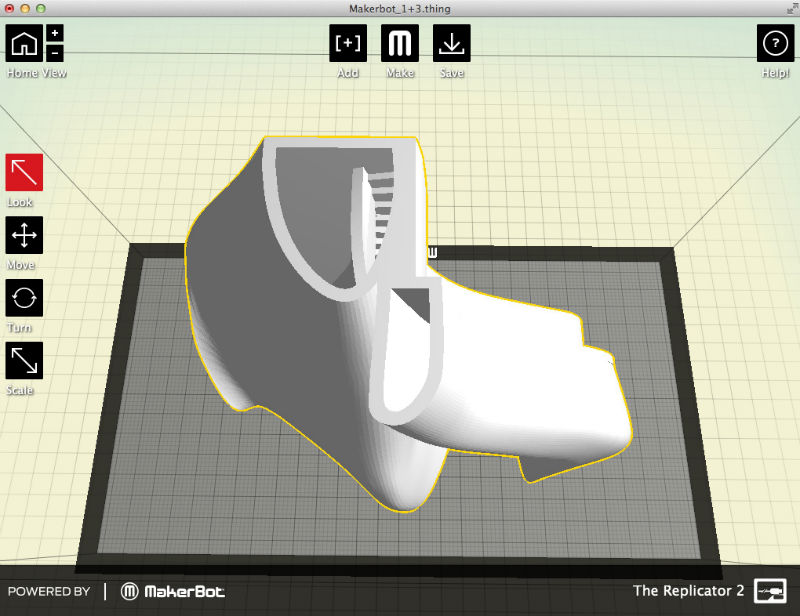
The geometry put in place inside of MakerWare Software.
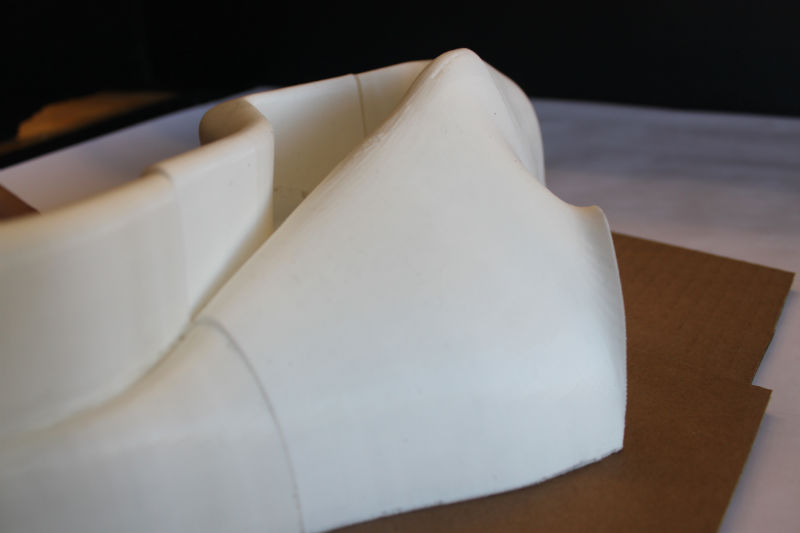
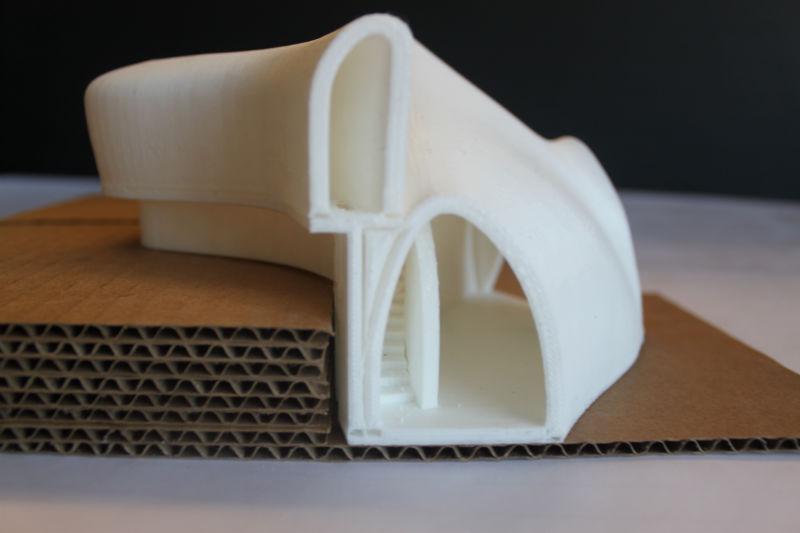
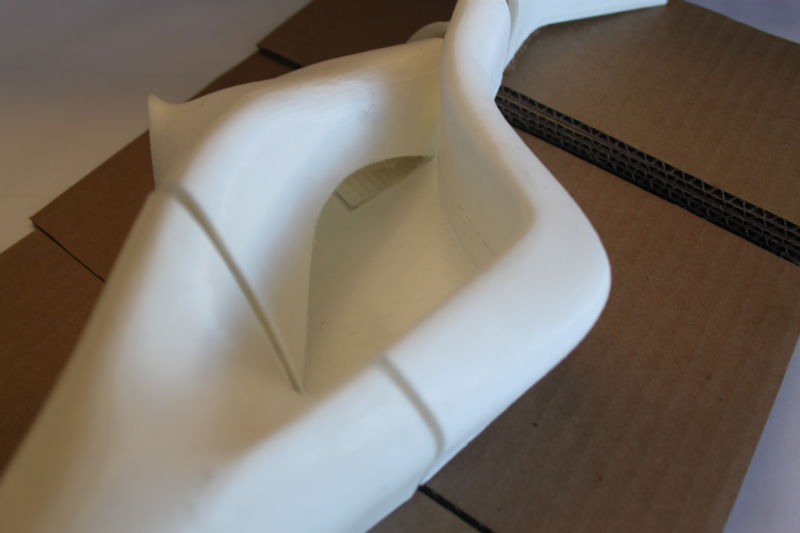
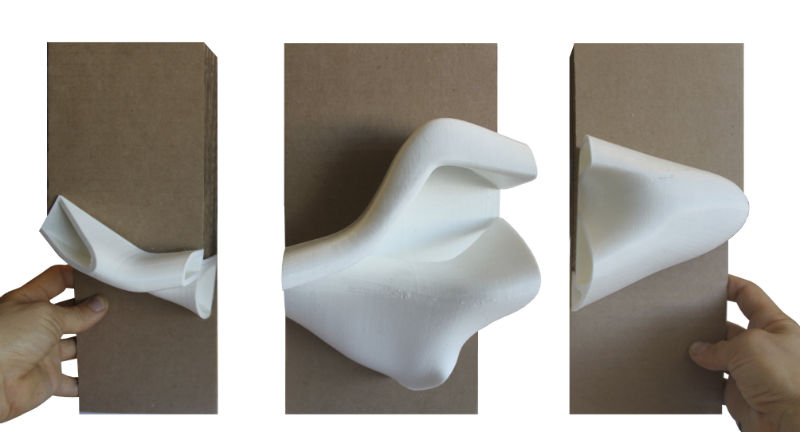
Despite a few small holes that I was able to patch, I'm pretty happy with the results.