Preface: With Halloween just around the corner I figured making a mask of my best friend's face would be perfectly appropriate. I don't have much casting experience and there were some real misteps along the way. Using 123D Catch to get a mesh of Sixto's face was no problem since I had done it before during 3D Print / Scan week. It took me a while to clean up and reduce the mesh, but it was a relatively straightforward process. I split the cleaned mesh to include just the part I wanted to duplicate, offset it and built boxes to meet the edges of both peices. In retrospect, I wish I had spent more time here, adding some registers and notches to the two part mold. These details would have really saved me a lot of time in the end. At the time, I was in such a rush to get in the Onsrud that I told myself I would imporvise and figure it out. In the end, after two attempts, a huge mess, and a ton of duct tape, I was able to get a pretty clean mask cast, but I definitely will not try cutting the same corners in the future!
TOOLS / SKILLS: 123D Catch, Rhinocerous, Onsrud, casting Smooth-On inside of high-density foam mold
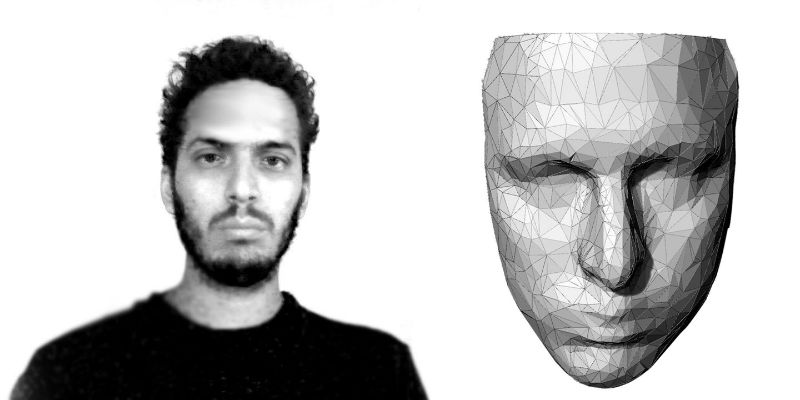
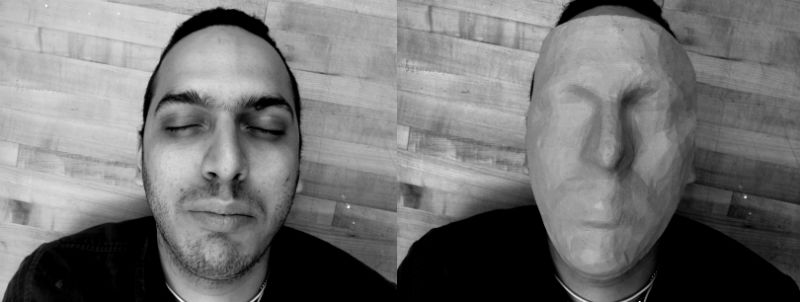
Here is Sixto and the cleaned model of his face generated using 123D Catch.
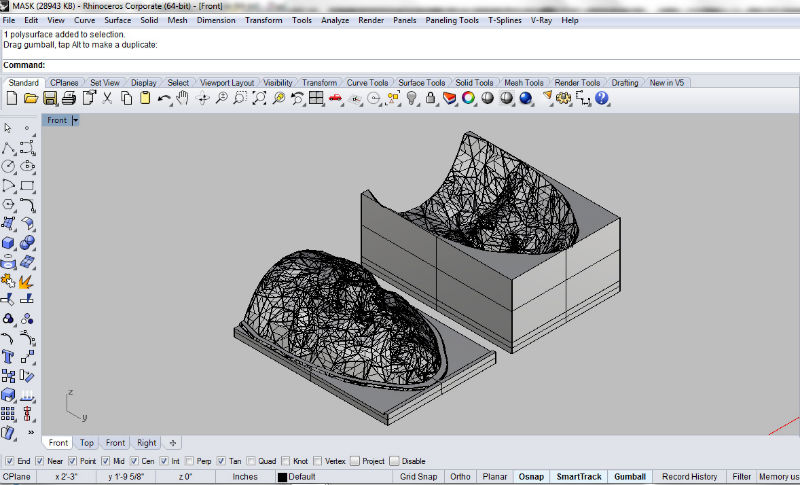
The mold is essentially the positive with an identical negetavive made by offsetting 1/2". The mold itself includes no register nubs and very little room arround the edges of the face.
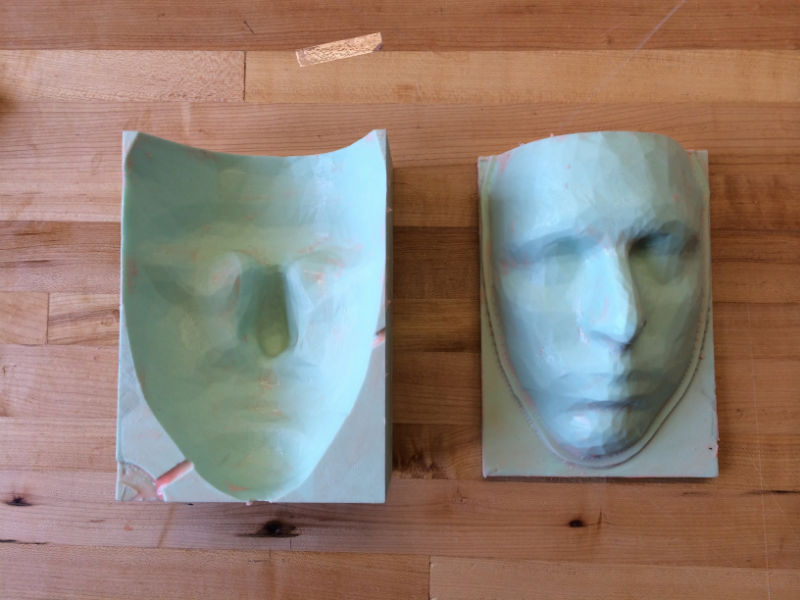
I applied a lot of Vaseline on both parts of the mold since I was worried about the cast adhering to the high density foam.
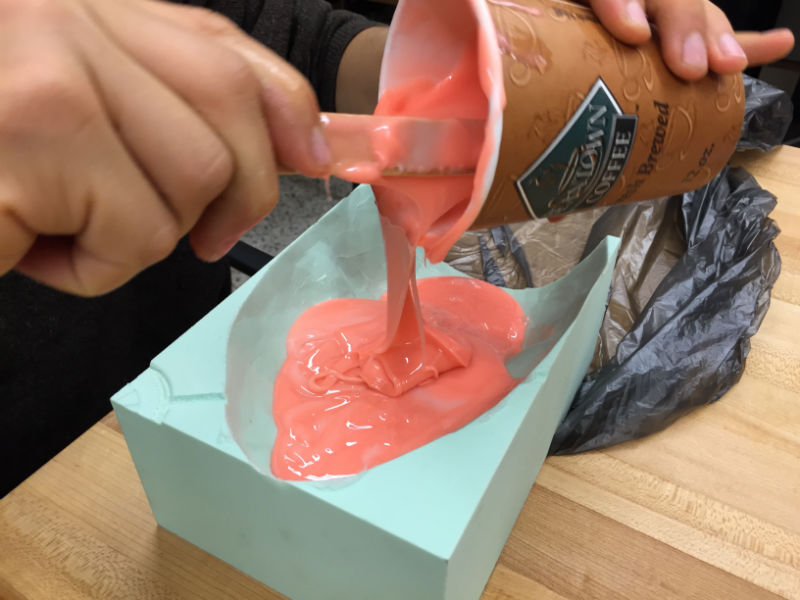
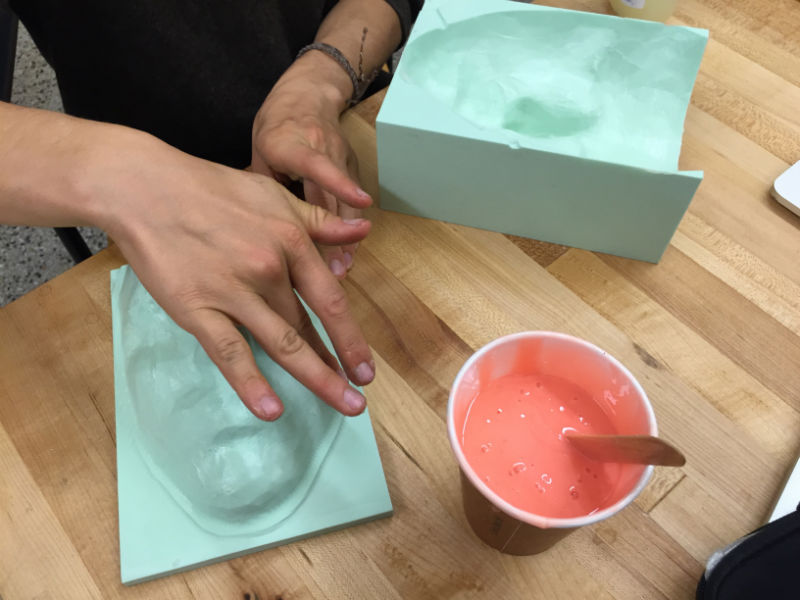
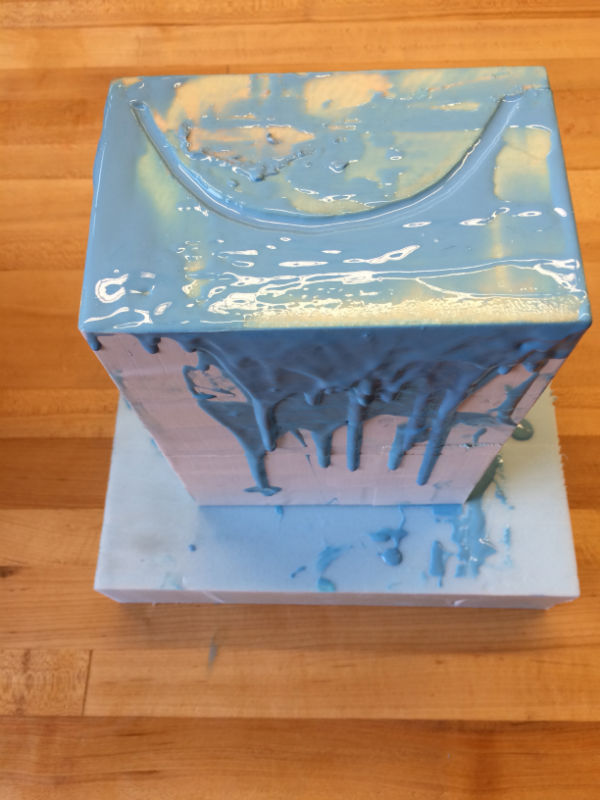
Pouring.
So far so good, but it was starting to get messy and I had a feeling the next part would be problematic.
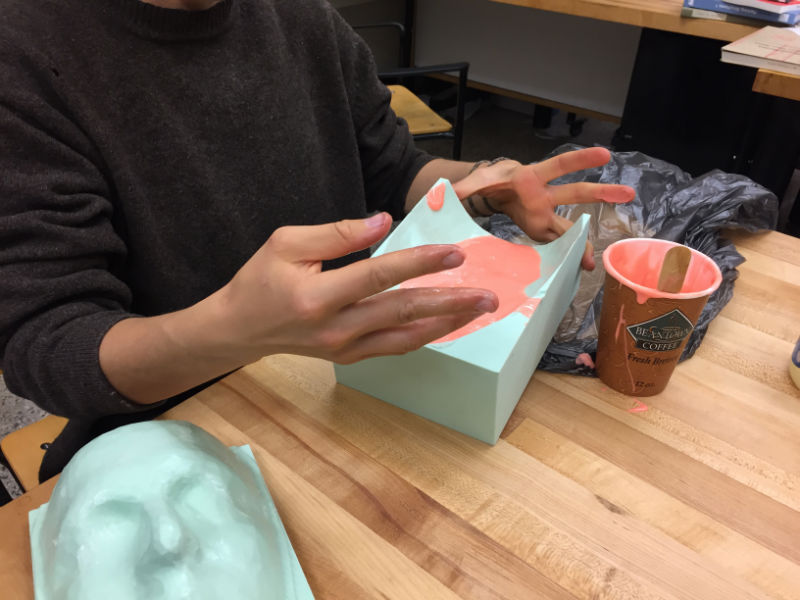
A total mess. But at this point I was still hopeful about the result.
ew...
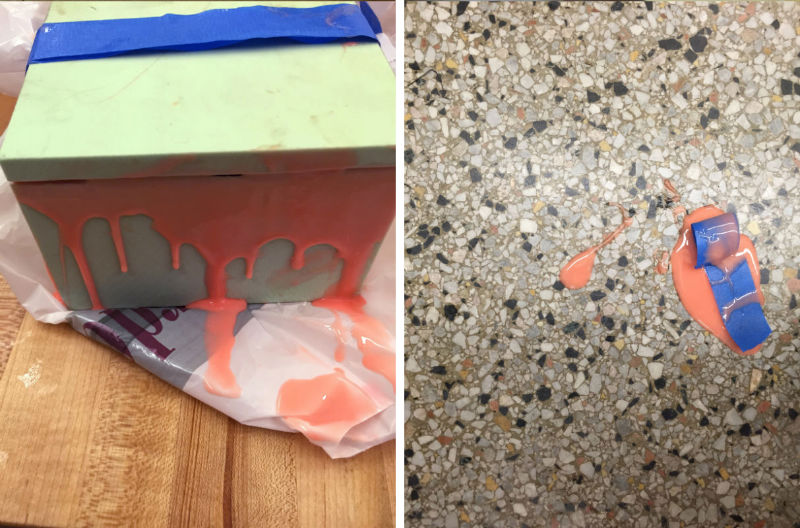
Round 2. Cleaned it out and back to where I started.
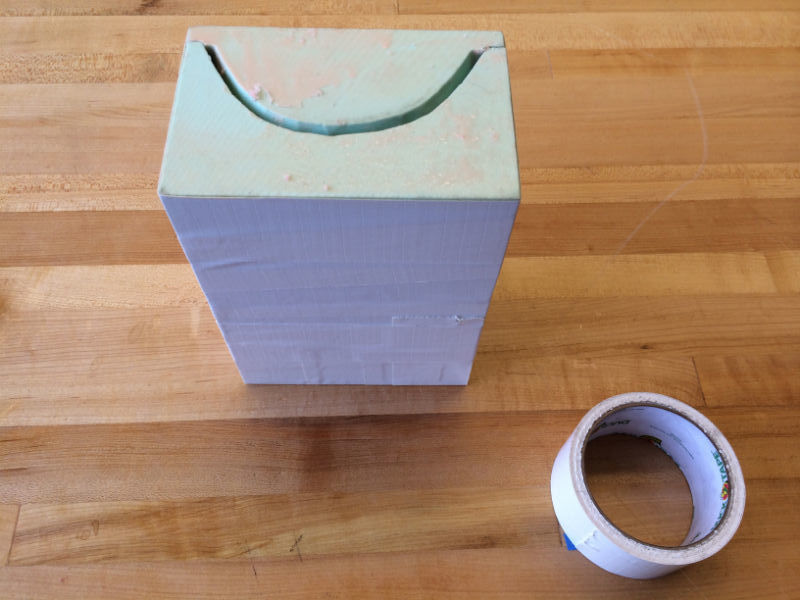
New approach involved duct tape sealing the mold before pouring anything in. I knew it would pose problems of its own, but thought it had to be better than the overflowing mess of last time.
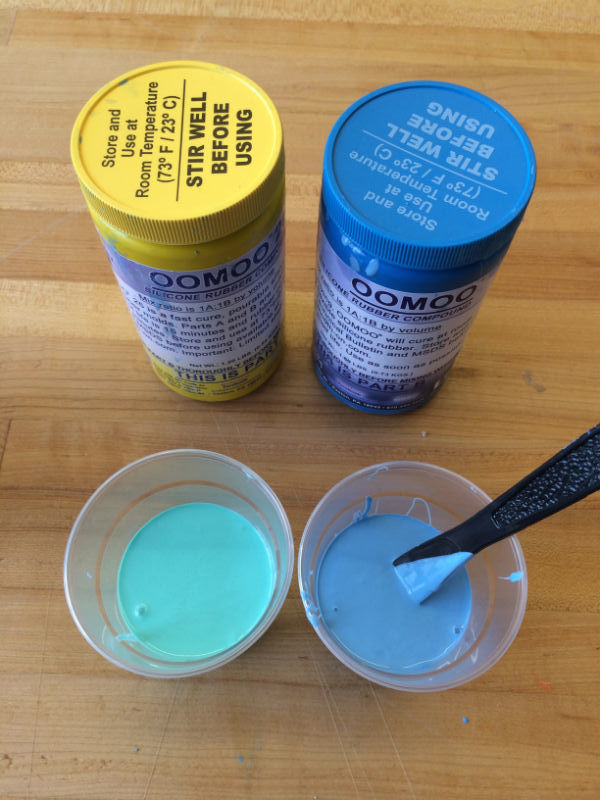
Quicker drying stuff.
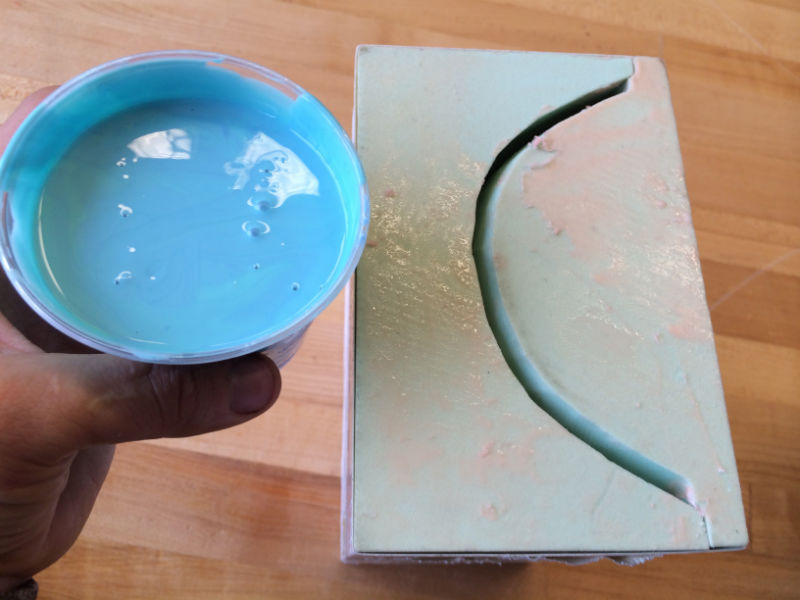
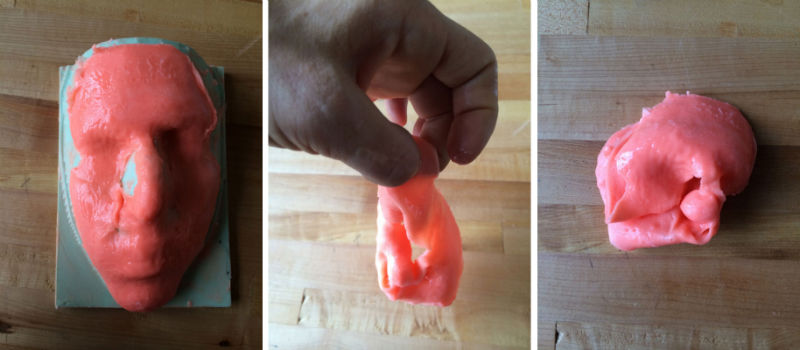
Obviously this was not ideal...I slowly poured the Smooth-On into the crack and periodically hit the entire mold against the table in order to get rid of air bubbles. The process took forever, since because the Smooth-on was so thick it didn't want to travel down into the mold.
Wait. Wait. Wait.
The final product.