Preface: I began this project during CNC week, when I milled my surfboard geometry out of foam. The plan was to save the rest of the process for composites week, so here we are! I was really hoping to end up with something either pretty or surf-able, and in an ideal world both...I guess it's still unclear whether or not I succeeded on any of those counts. I think "surf-able" might be a stretch, but from a distance I'm pretty happy with the way the project came out...up close there's some work to be done haha. All that aside, I think there were some valuable lessons to be learned from the process that will certainly help me in the next iteration.
TOOLS / SKILLS: Shaping, Hand-assembly, Fiberglassing
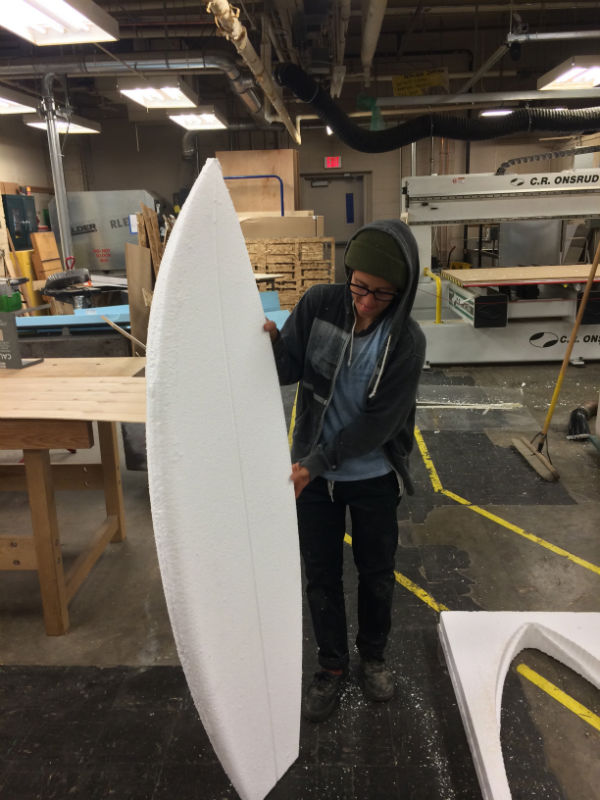
This is where I left off after CNC week. The geometry, which I modeled from scratch but based on the dimensions of my current surfboard (adding some extra thickness for more buoyancy) was more or less okay but once I had it outside of my screen it became apparent that I needed to sand a lot manually because the rails were too thick. This is definietely something I will fix digitally on the second go. I cen keep all of the Mastercam toolpaths and just re-import a thinned out geometry.
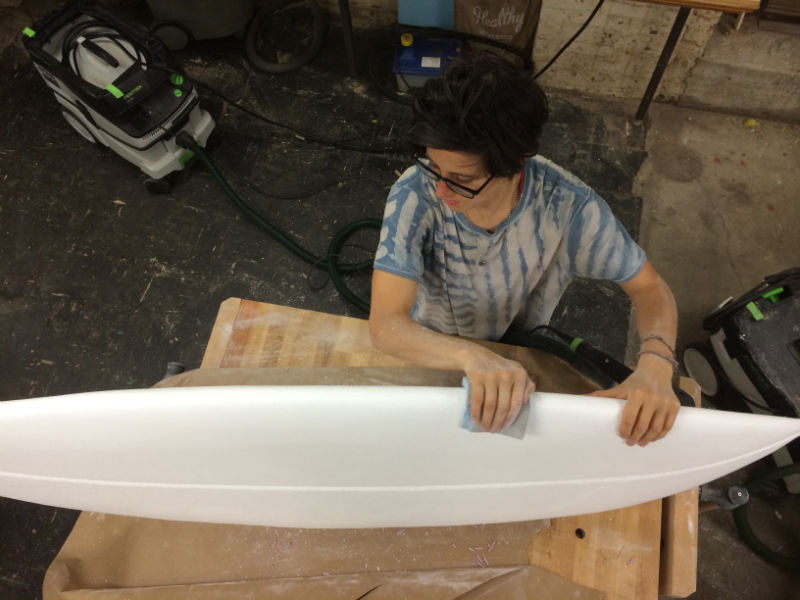
Sanding. Lots and lots of sanding. Hours. It was really difficult to achieve symmetry and I probably should have come up with a more organized system than eyeball and touch....but I didn't because I kind of enjoy this sort of thing.
As good as it was going to get this time around.
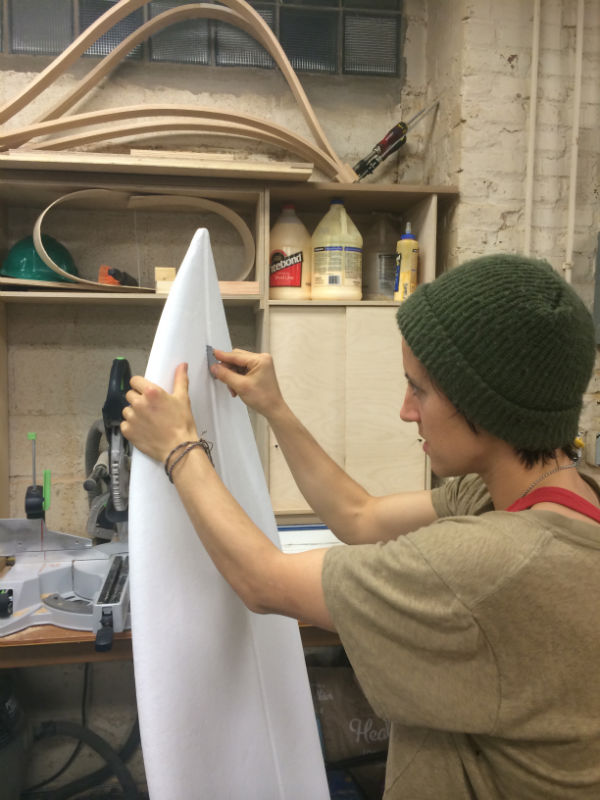
This was a scary part: cutting the board in half!
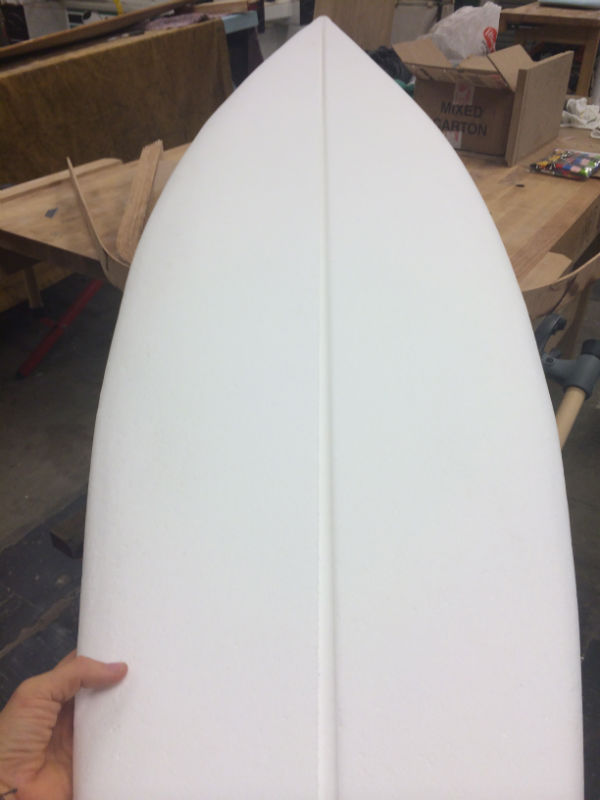
There's something called a stringer that goes vertically down the center of a surfboar--like a wooden spine that provides added strength and rigidity. I designed the board as a flip mill job where I separated the digital geometry into halves, spread them apart the width of the future stringer and then connected them with that added material. I milled the perimeter almost entirely through and then milled a stringer-width line down the center of the board at a shallower depth so that the board would stay suspended in the block of foam it came from. Here, I'm manually cutting that extra material out so that I will be left with two halves to sandwich the stringer with.
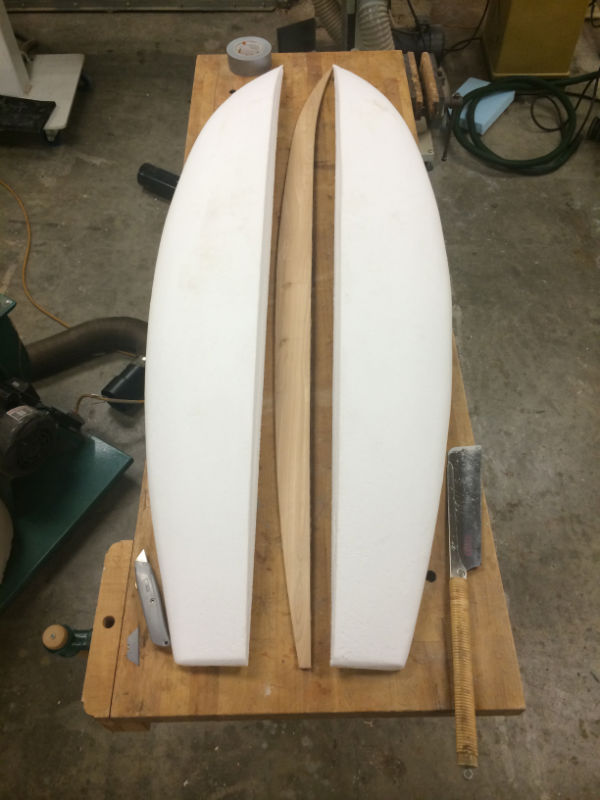
Here, I've already milled the stringer--a simple contour cut--out of .225" plywood and I'm getting ready to epoxy it together
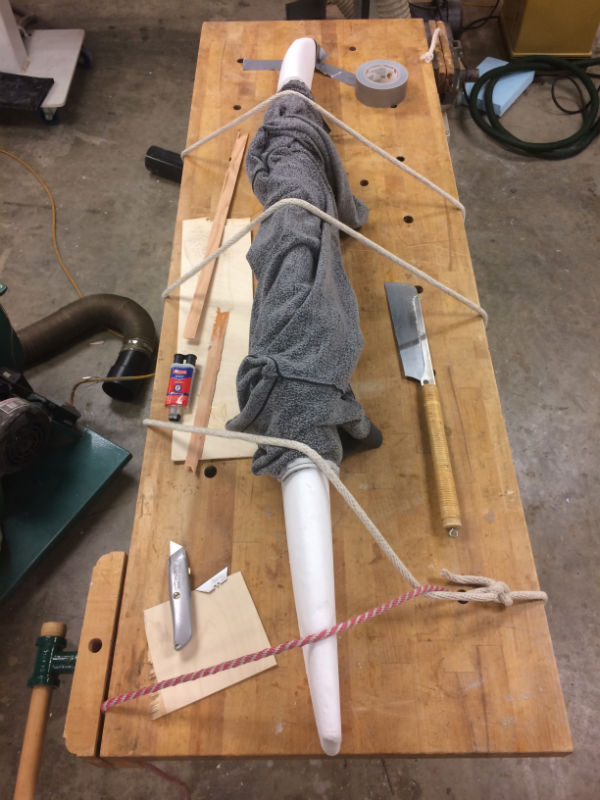
It was a little tricky to clamp since the foam was soft and there were few flat surfaces. My genius system included duct tape, ropes and my sweatshirt. I started by gluing one half of the board to the stringer so that I could use the table.
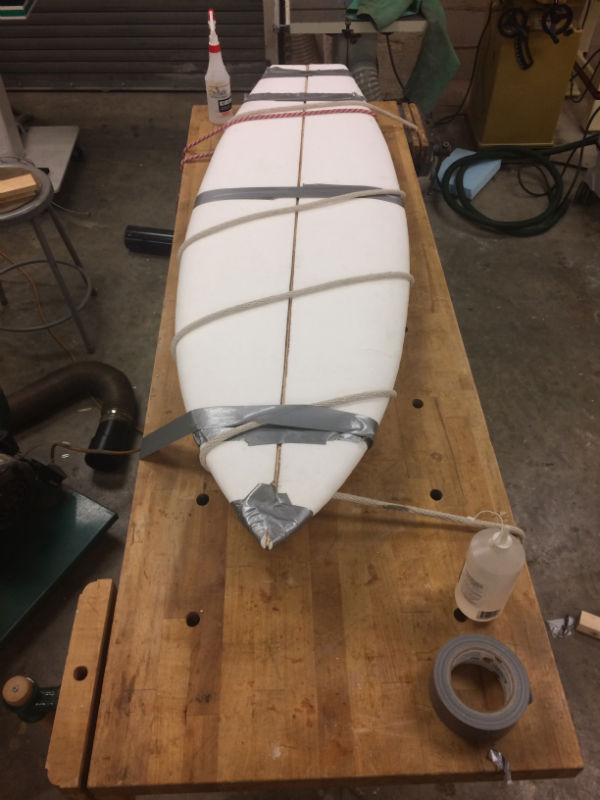
Here it is with all three pieces. Not ideal, but it seemed to do the job without denting the foam too badly.
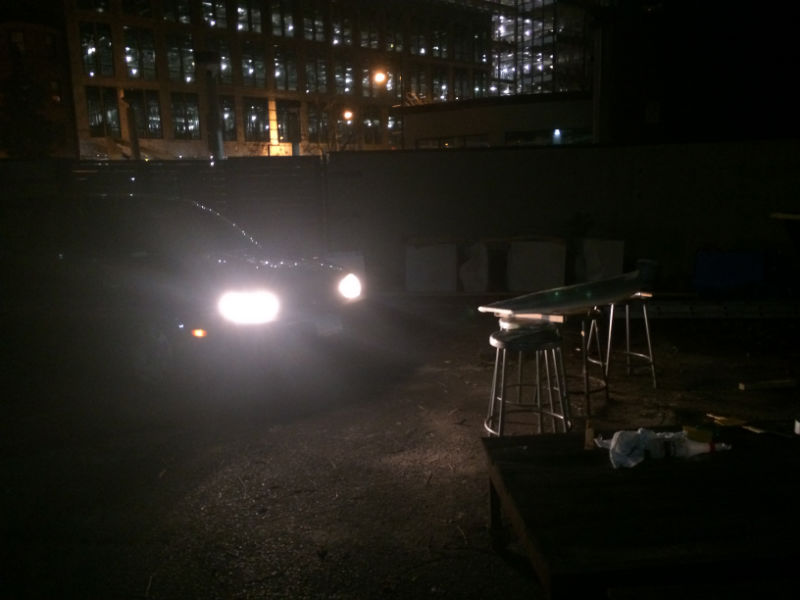
It was finally time for the resin, but just so we're clear, this was the situation....
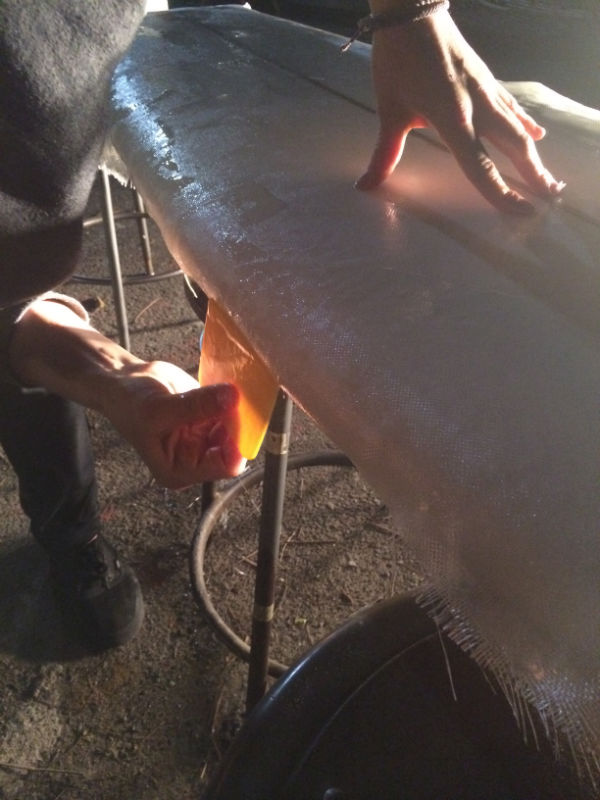
Resin in the dark.
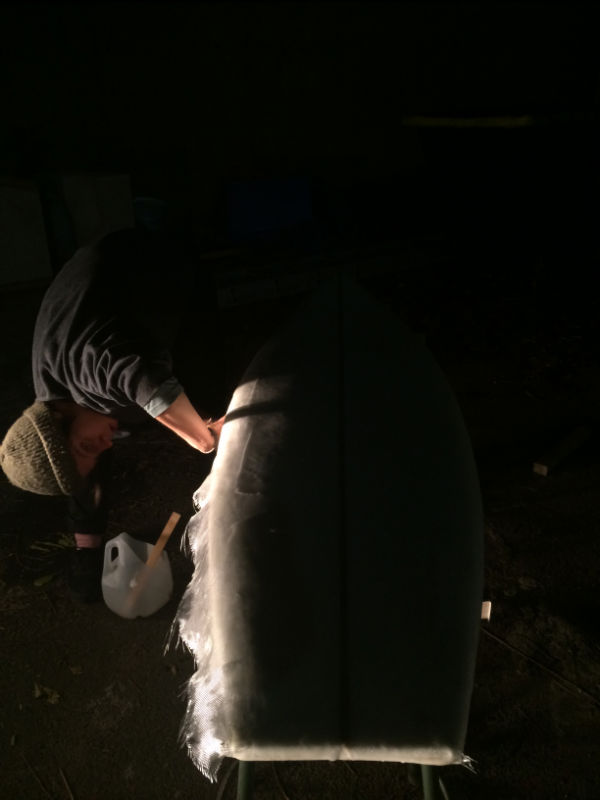
Resin in the dark.
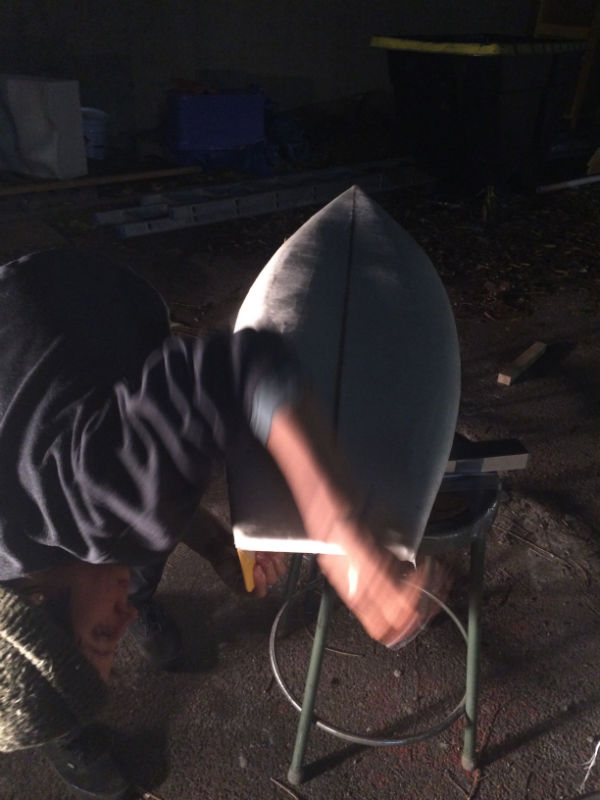
Resin in the dark.
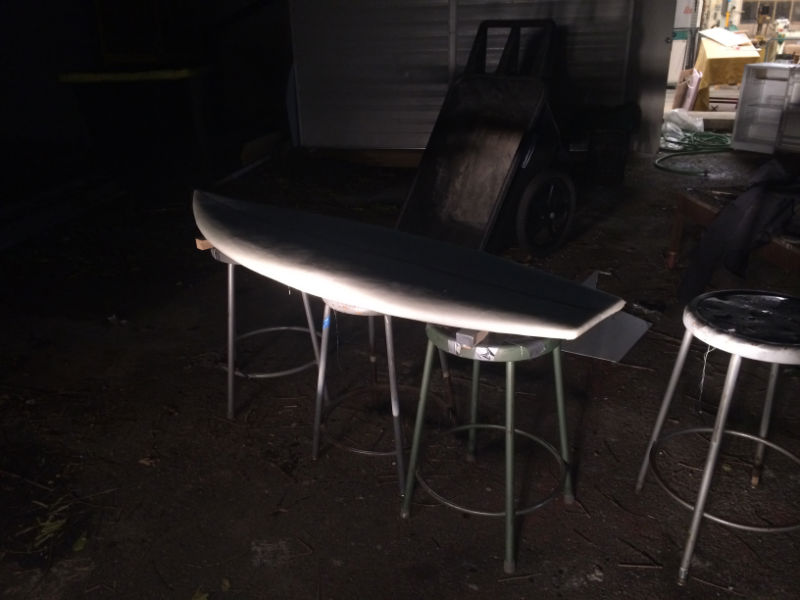
Could have been worse.
To be continued...