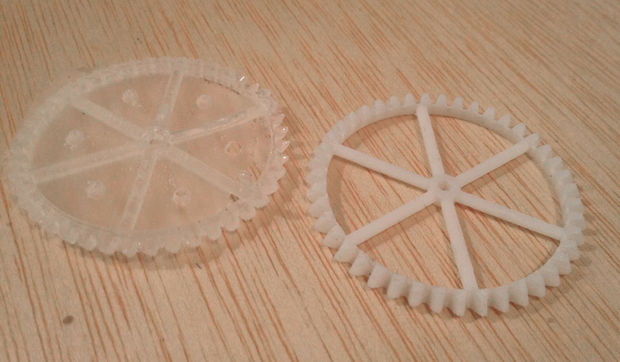
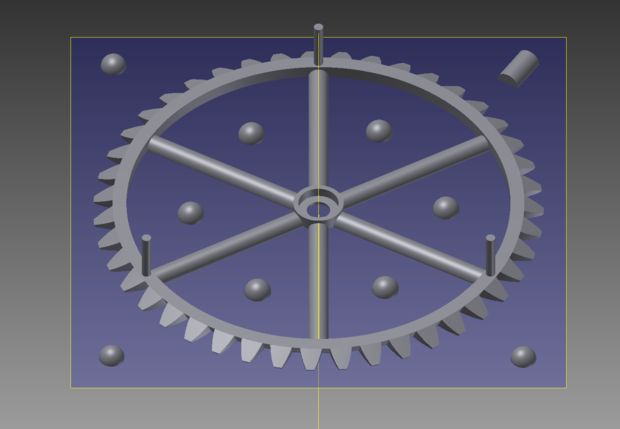
This week I attempted to cast a gear in hard resin. The gear is piece of a differential gear system (at least 14+ parts total) that I'm working on:
Eventually I'd like to make this mechanism in metal, currently all the parts are 3D printed on an Objet machine from a white resin. The resin parts are too flexible for this application and they warp over time.
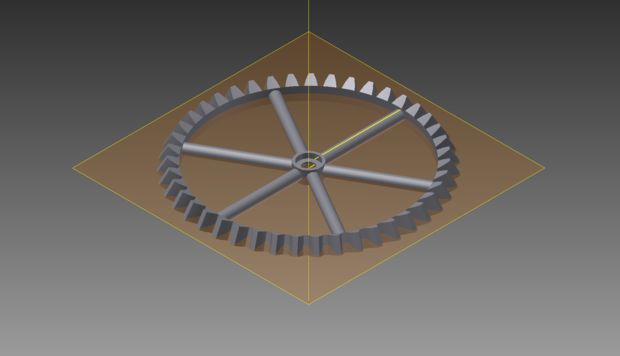
I already had my model ready in Inventor, so I went into the part file and added some registration geometry. I sliced the model right through the middle of the round spokes of the gear, this left me with two sides that have no overhangs - they can be cut precisely with a three axis toolpath.
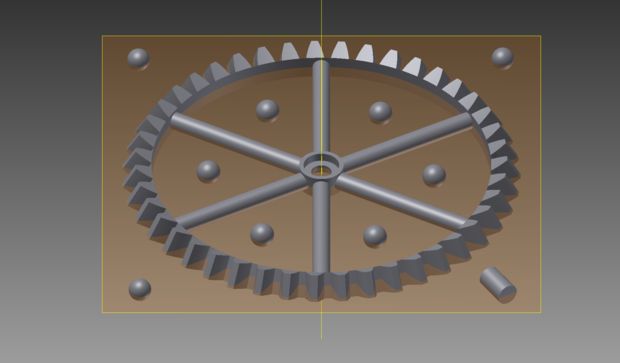
I added some spheres and one cylinder as registration marks. To make the registration negatives I had to extrude a block of material from my slice plane and cut the shapes into it.
This process of preparing my stl for two part molding was fairly tedius, but also very algorithmic. I tried looking around to see if there was a more automated process for this and couldn't find anything. If I were to do a lot of this I think I would write some kind of script.
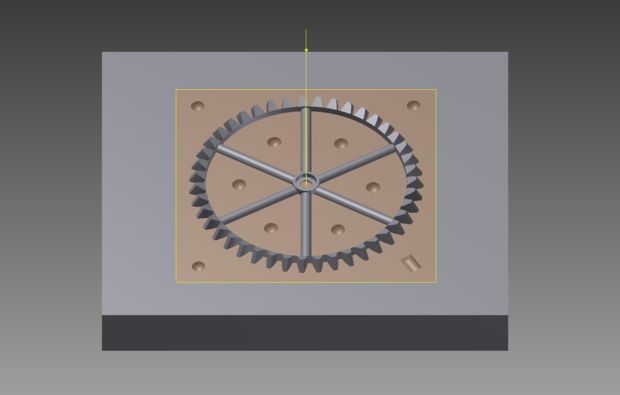
I also added some air/pouring vents to one half of the model. I attached these vents to the flat part of the model so that they could easily be sanded down later, and since they are not on the teeth, a small imperfection will not affect the model functionally.
I did all my CAM in PartWorks3D. Installing that software on my own machine saved me a ton of time here, because I was quickly able to make changes in my model (change the size of registration marks, air vents, etc) and then re-load it in Partworks. I split my original piece of machinable wax in two to make the two molds, and since each piece was less than half an inch thick, I had to make sure I was efficient in the Z-depth. I also created a few new tools for myself ('end mill 1/8" rough', 'end mill 1/16" finish') with all my feeds and speeds, so that is saved for me later. I played around with a few different tools in Partworks to find something that was the best mix of speed and precision for this part. I ended up using a 1/8" end mill for roughing along the y axis and then I planned to go over it with the 1/16" end mill twice (once along 45 degrees and another pass perpendicular to that), but I only ended up running one pass with the 1/16" mill to save time. It turns out the time estimations from Partworks are very low.
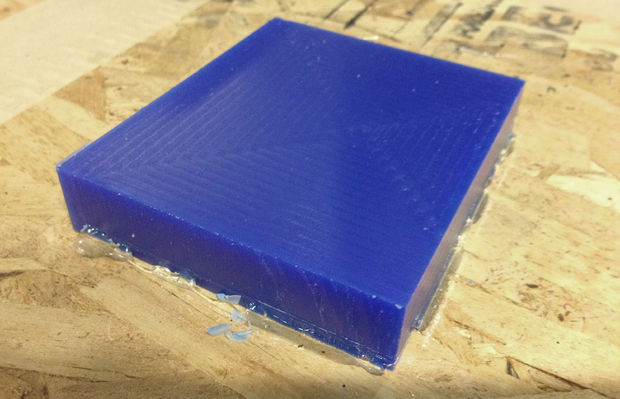
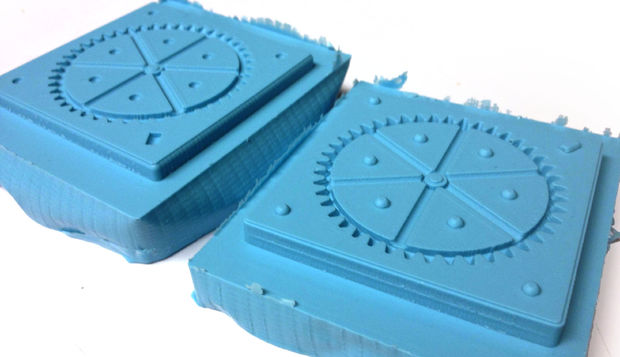
In the shopbot I first faced off my two pieces of cut wax.
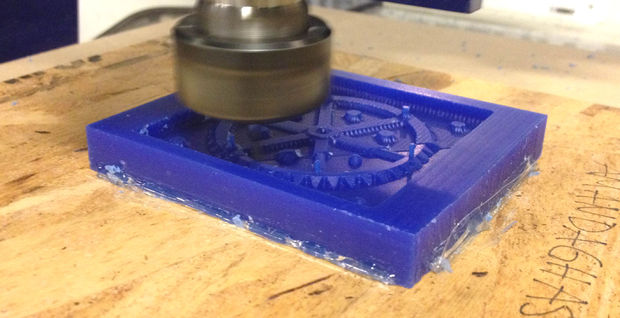
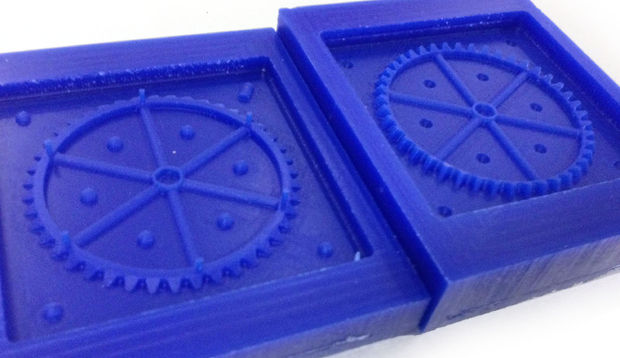
Then I ran my toolpaths - one roughing and one finishing path for each side. Each piece of wax took about an hour to mill.
I used duct tape to add some extra walls to my mold and I wrapped tape around each of the air holes to try to bring them out to a wider funnel shape (obviously I couldn't mill them that way on a three axis machine). I poured OOMOO silicone rubber in my wax positives.
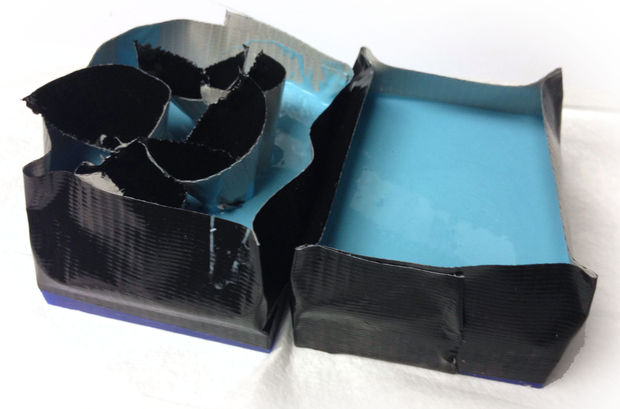
I was really happy with how my molds came out. There were some very tiny air bubbles in the tiny corners of the gear teeth, but they shouldn't affect my model.
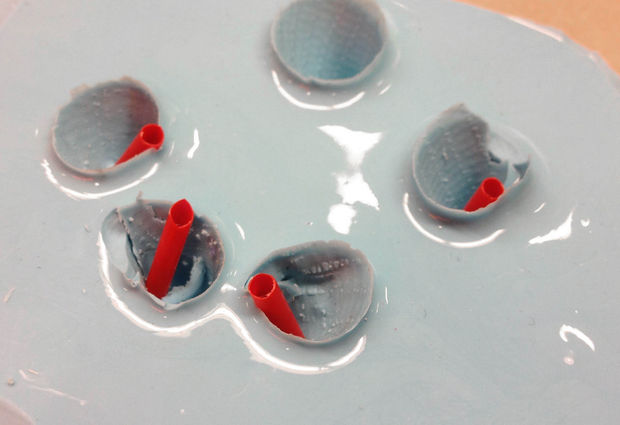
Unfortunately, My duct tape strategy with the air vents was not too successful. I think the tape moved around once the OOMOO was poured in - only one vent was successful (I used it to pour). I used some coffee stirrers to open up the remaining vents so that air could easily pass through.
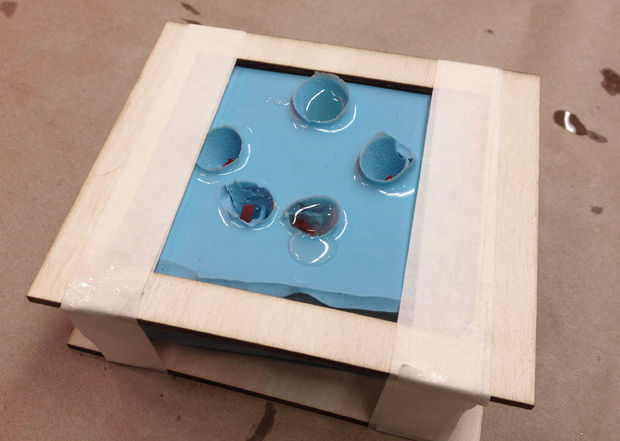
I used tape to clamp my molds together during pouring. I poured the Smooth-On Urethane "Liquid Plastic" resin.
My results were not spectacular. I tried pouring twice and both times had about three or four large bubbles that disrupted the cast significantly - next time I would make the vent holes much larger. I might even try putting vents on some of the internal spokes. On my second attempt I poured the first half by itself, then taped on the second half and poured the rest, but I didn't have significantly different results. Maybe throwing the mold into vacuum or a minute after pouring would have sucked some of the bubbles out (though we found that too much vacuuming will cure the resin). I also had a lot of extra material at the seam of my molds - I think more clamping would have prevented that.
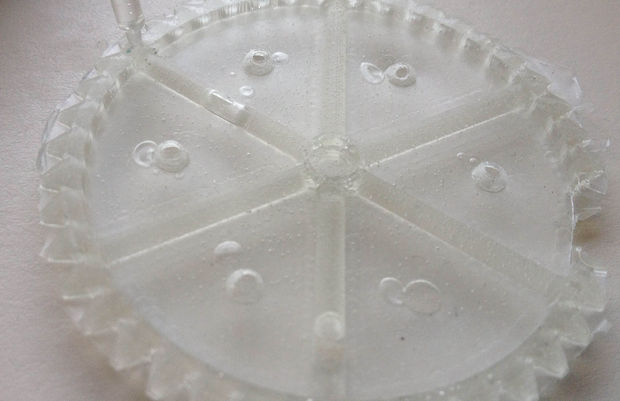
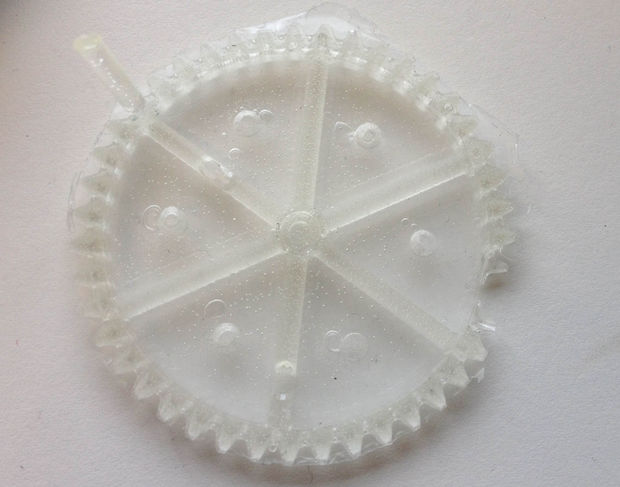
Direct comparison to 3D printed part.