Week 6: Molding and Casting...Chocolate!
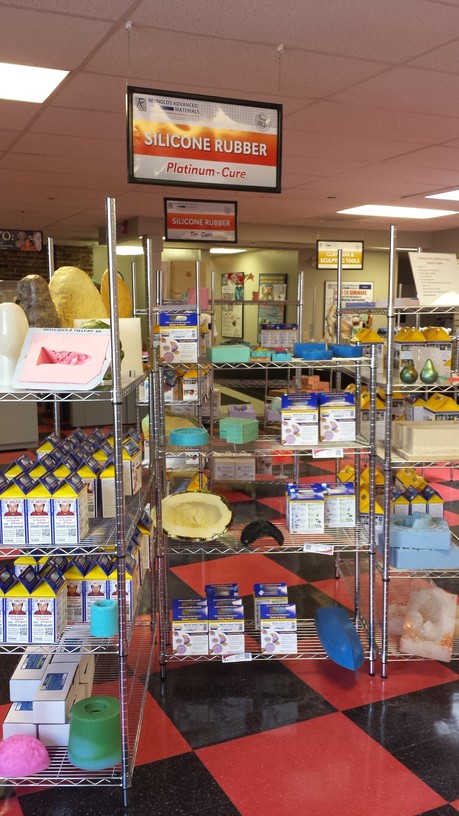
For molding and casting week, I decided to try working with chocolate. The first order of business was to pay a visit to Reynolds Advanced Materials to get some food safe silicone. They have some really cool stuff here, and are a good inspiration for interesting mold ideas.

Room temperature vulcanization (RTV) silicone, which we’re using to make flexible molds, is cured with two different reactions: tin cure and platinum cure. All of the food-safe stuff falls under the platinum cure category. We’re provided with OOMOO and Mold Max 60, which are both tin cure silicones. Compared to tin cure, the platinum cure silicones
- Are more expensive (probably because platinum costs upwards of $1,000 / ounce)
- Generally take longer to cure
- May be tricker to cure due to environmental conditions inhibiting the platinum catalyst
- Exhibit almost no shrinkage during curing (tin cure releases some alcohols)
- Last longer once cured, and don’t degrade over the long term
- Can be used in skin-safe and food-safe applications
In practice, the platinum cure silicone we can buy is generally thicker to pour than the low-viscosity introductory stuff that is given in class, so it is more prone to bubble formation; the instructions recommend vacuum degassing. It also requires careful weighing by weight instead of volume, and requires a high temperature post-cure to attain optimal properties (and be safe for food). All of these features make it trickier to use.
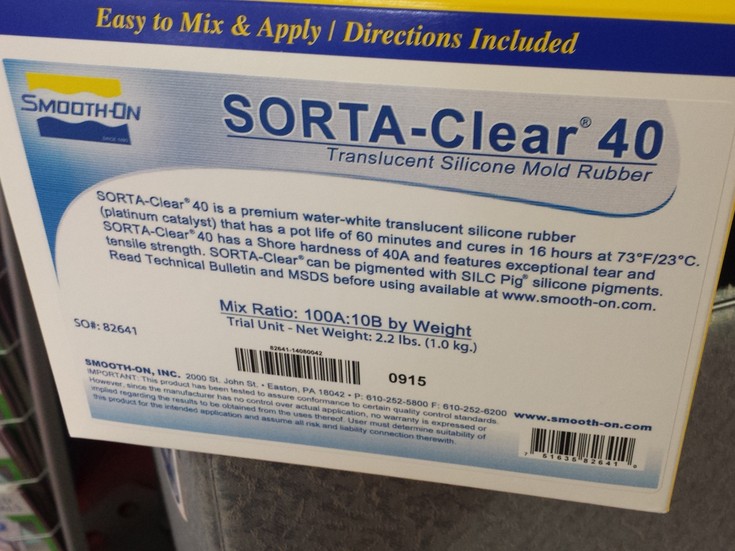
I ended up choosing Sorta-Clear 40 for its relatively long pot life, and because of the cool factor of transparency. Other options that are also food-safe are Smooth-Sil 940 (which is opaque) and the Equinox silicone putties. It cost $38.20 for 1 kg.
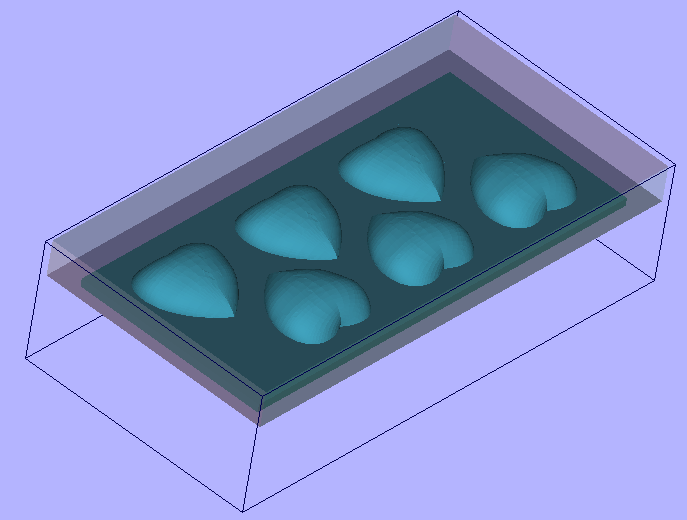
Because of the increased difficulty in using this silicone, and because of the temperamental nature of chocolate itself (more on that later), I decided to go with a one-part mold to keep things simple and avoid shooting myself in the foot. I designed a heart shape using lofted surfaces in SolidWorks and rotated and patterned it to create several positives over approximately 2.5 by 5.5 inches.

This file was exported as in the .stl format and opened in
PartWorks3D, which is the ShopBot equivalent of the fab modules for
the Modela. It allows us to specify the depth and position of the cut,
and generate toolpaths. Here you see the area to be cut in the outline
of a block of wax.
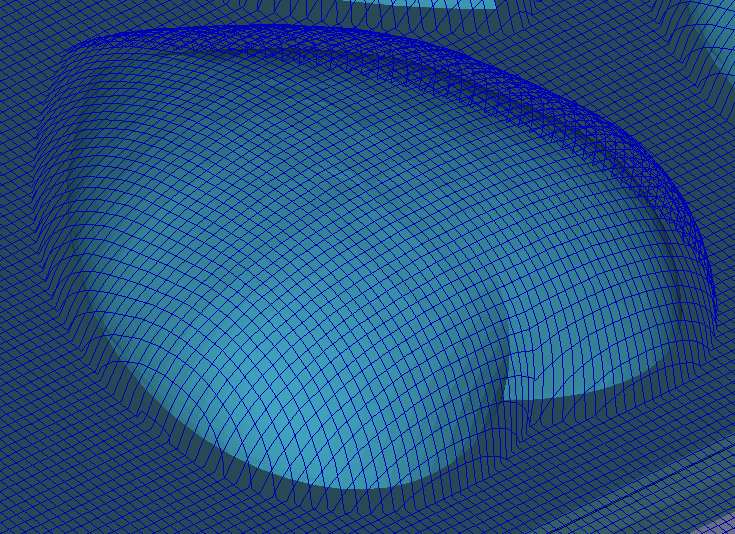
We generate several 2.5D toolpaths to cut this part. First is a roughing toolpath in the xy plane, which removes most of the material. Then, there is a finishing toolpath in the xz and yz planes, which move vertically over the contours of the part. You can see the computed finishing toolpath in this picture, where the tip of the end mill is offset from the surface of the heart that we’re cutting.
This is what the completed rough cut looks like. It’s basically made some very coarse passes to remove materials at different depths. Using a 1/8” bit with a 50% stepover, this took about 11 minutes.
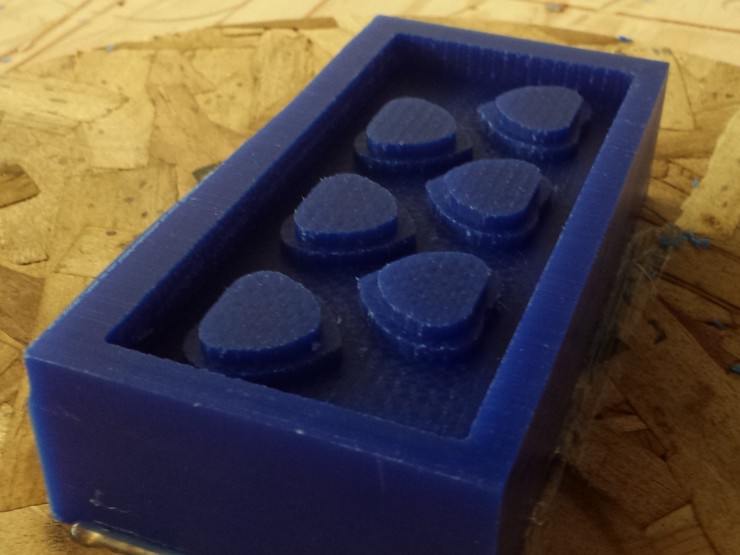
This is the completed finish cut. Also using a 1/8” bit, but with a 12.5% stepover and two passes that ran orthogonally to each other, it took about 35 minutes to complete.
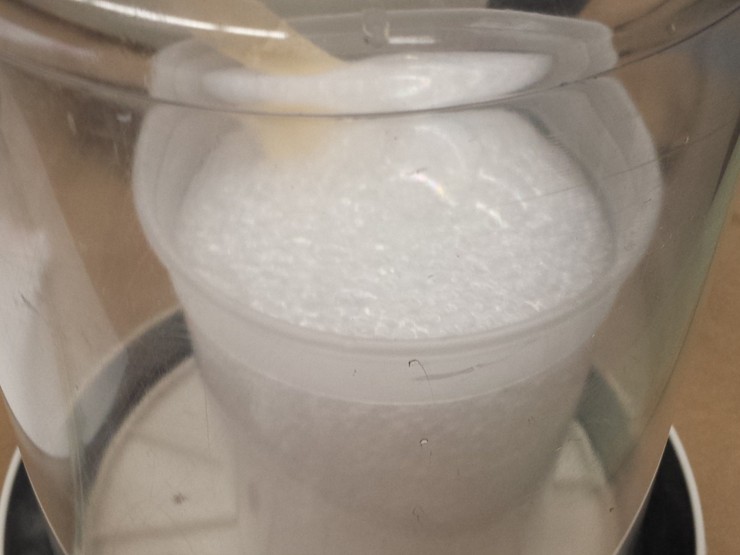
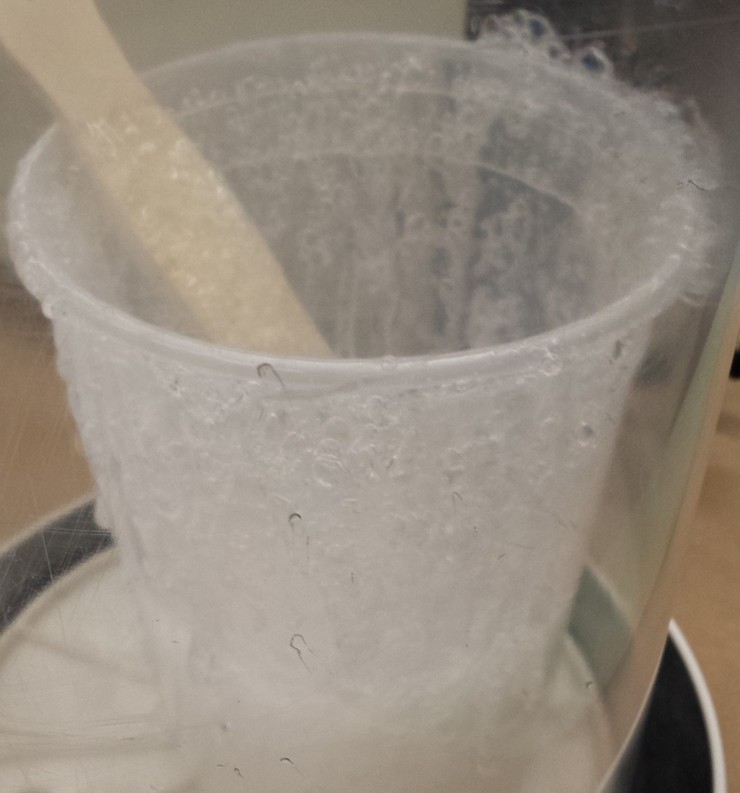
Now, it’s time to move on to the messy part. The Sorta-Clear 40 that we’re using requires two parts (A,B) to be mixed 10A:1B by weight. The A part is very viscous, and creates a lot of bubbles when being poured or mixed. Hence, we mixed an appropriate amount in a large tub and placed it in the degassing chamber. Turning on the vacuum causes the mass to start bubbling, foaming, and growing:
At this point, the foam has expanded and is about to spill out over the edge of the container. We left room for almost three times the expansion, but even that wasn’t enough. It seems like 4-5 times extra volume is the right amount.
Anyway, at this point you don’t want to turn the vacuum off. Grit your teeth and keep it running…
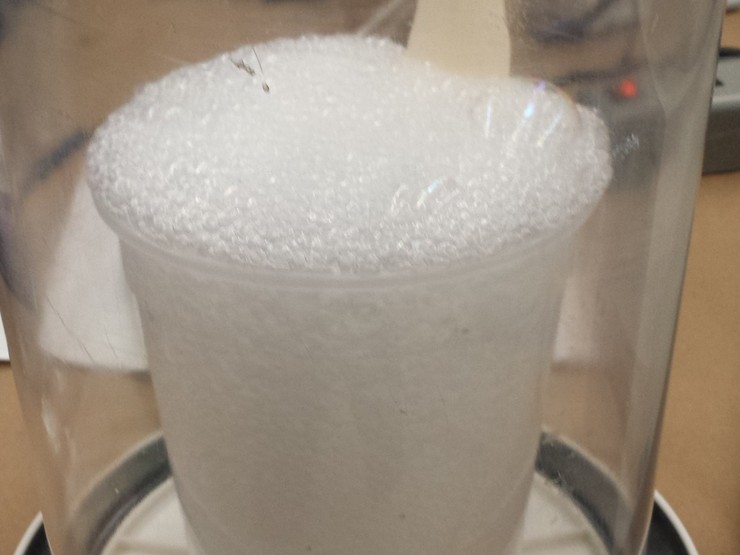
…because suddenly, when you reach 28 inches of mercury in the vacuum, the entire froth collapses as most of the bubbles pop. Just run it for about a minute more at this point, and take it out.
Pouring this stuff was tricky, as it is significantly thicker than the other silicones we work with. It comes out like molasses and folds over itself as you pour, forming bubbles at the surface of the mold. I don’t think pouring in a thin stream really applies here, as it has enough surface tension to maintain bubbles even in a thin stream, and the stream itself can fold over to cause more bubbles. I ended up improvising as best I could.
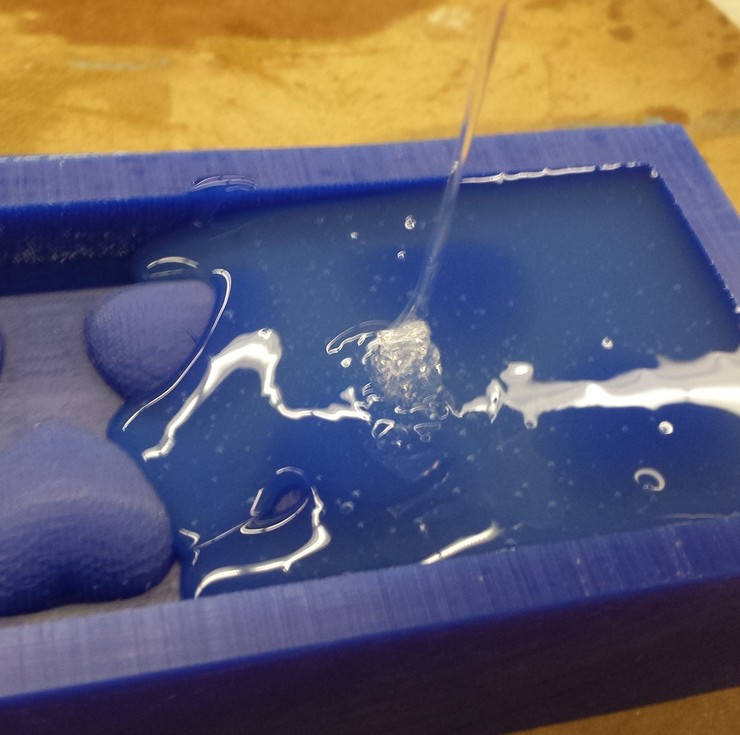
This is what it looks like after the pour. Several bubbles have formed and are rising to the surface, but I poked them with a sharp metal implement, which caused the surface to settle smoothly in short order.
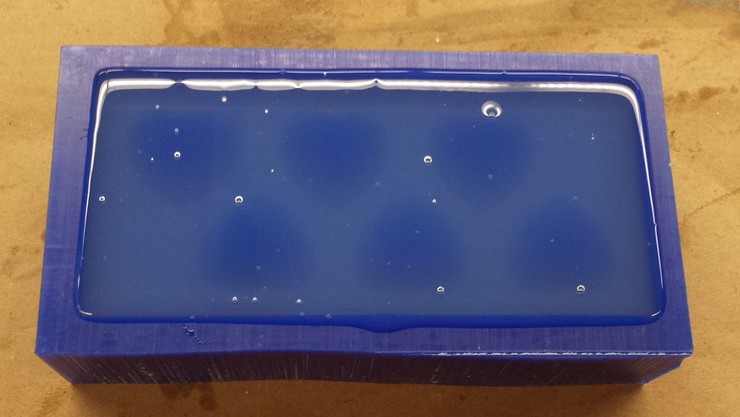
The curing process for this silicone is significantly longer than the tin cure alternatives, taking 16 hours at room temperature. Luckily, it only takes 3 hours at 125 degrees, so we popped it in the toaster oven to speed things up.
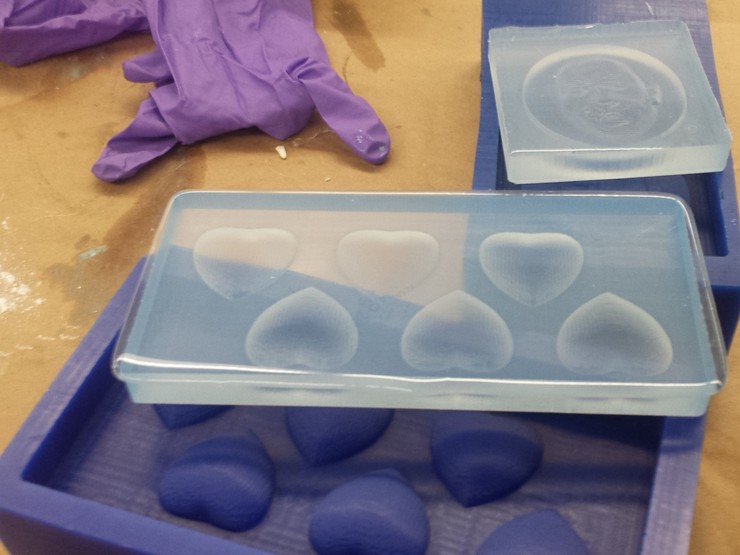
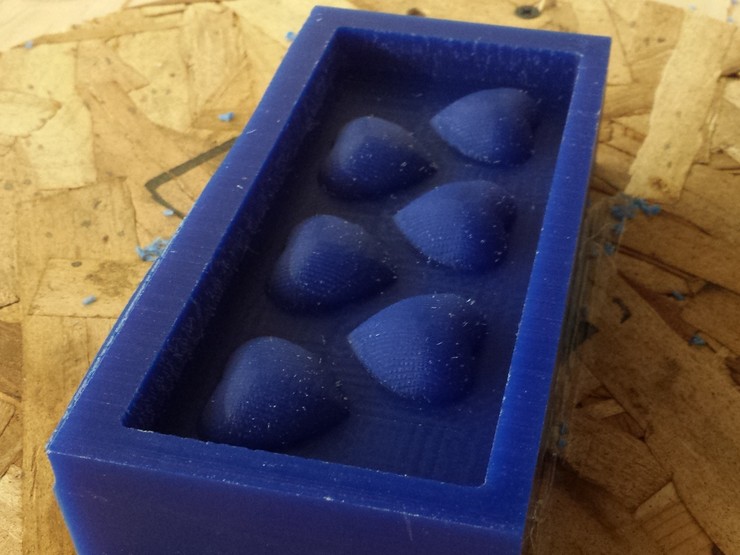
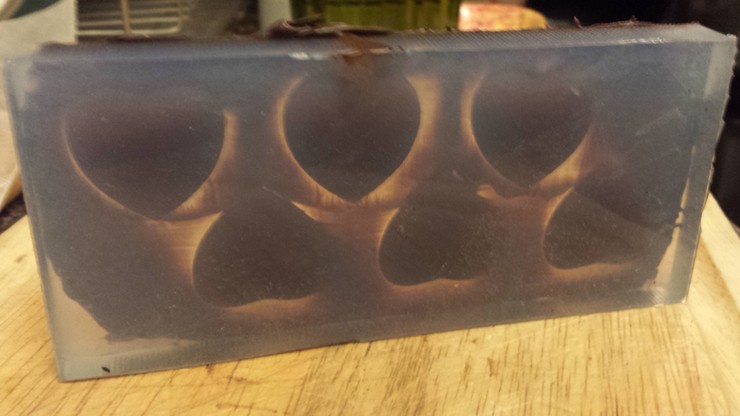
Despite all the concern about bubbles, our degassing and bubble-popping efforts seem to have paid off. The molds have come out very clear with almost no bubbles to be seen. They are also transparent, which is an awesome feature. The mold in the background belongs to Tout Wang, who is going to try casting his face in chocolate coins.
One final step that we have to do here is to post-cure the molds at 212 degrees for an hour. This is supposed to ensure that everything’s ready to go and food safe.
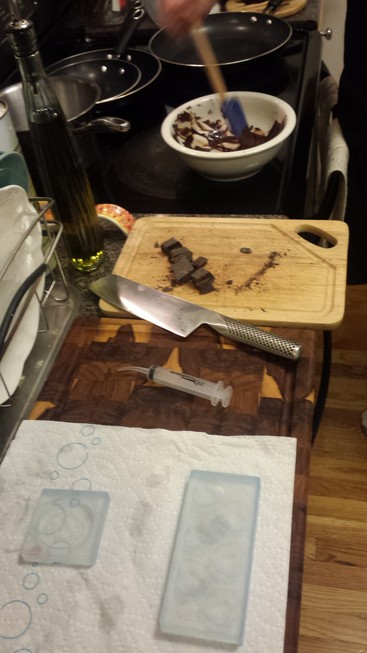
Time for chocolate now! We’ve moved in to my kitchen at home. This is probably the hardest part, due to the insane difficulty of tempering chocolate correctly. Tout and I have set up a station with our molds and a double boiler to slowly melt the chocolate to an appropriate temperature. We’re using 72% Belgian dark chocolate, which contains nothing other than cocoa butter, cocoa solids, sugar, and a bit of lecithin. Any chocolate with other additives (such as vegetable oil) can’t be tempered in the traditional way.
Tempering chocolate basically involves making sure the cocoa butter hardens into a specific crystalline structure with crystals that form only at a specific temperature. To make this happen, we have to hold the chocolate at a fixed temperature for a while, and either cause these crystals to form or introduce them in some other way. I’m going to be using the latter method, which is called seeding, but for a great discussion of this topic you should check out this Cooking for Engineers article.
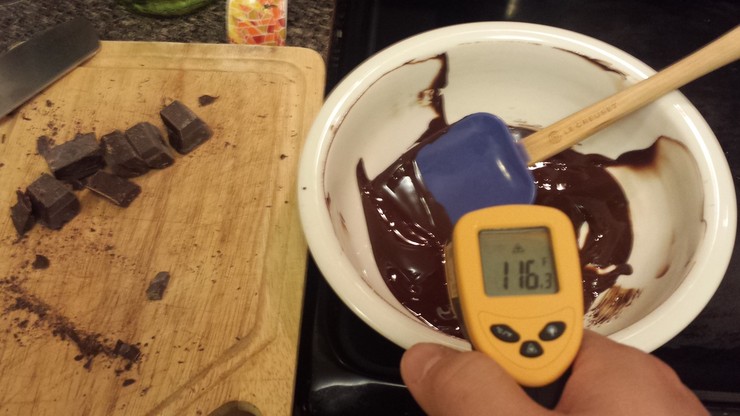
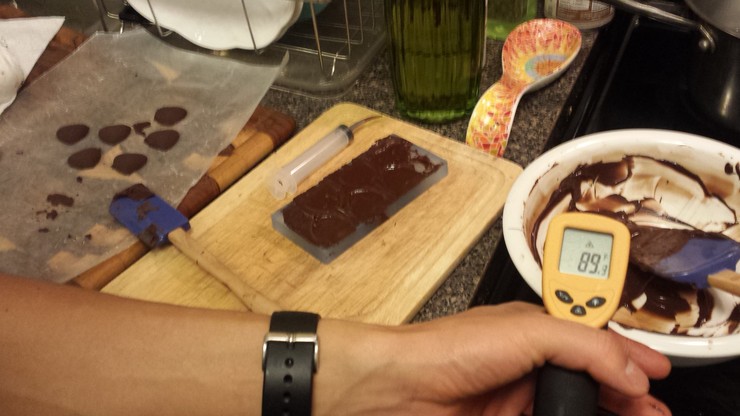
The first step in this process is to take about two-thirds of the chocolate to be used and melt it above the temperature of all possible cocoa butter crystals, being careful not to burn it. I’ve taken the top ‘pan’ of the double boiler, actually a thick stoneware bowl, off the heat source at this point, and am using my trusty infrared thermometer to monitor the temperature of the chocolate. The bowl has a high heat capacity and helps to guard against any sudden temperature changes as we try to maintain the chocolate at a specific temperature.
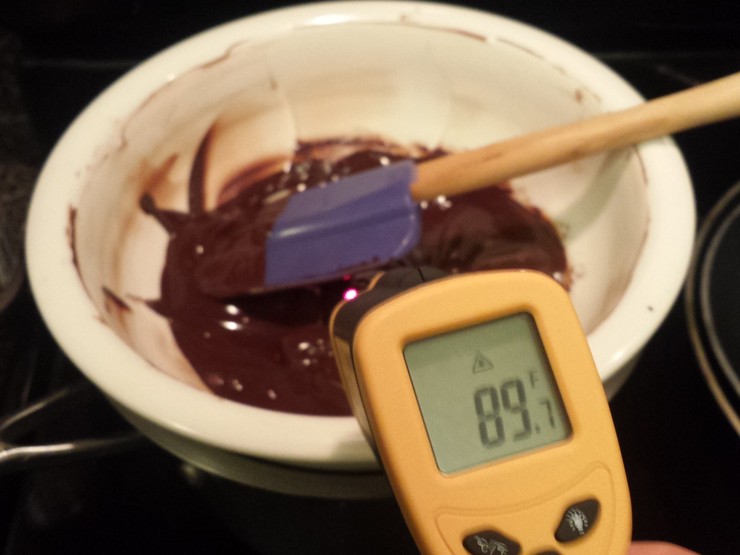
Next, we slowly stir in the rest of the chocolate until the whole mixture reaches the tempering temperature for dark chocolate, 88 to 90 degrees. We then stir the chocolate while maintaining it at this temperature by alternately adding heat and taking it off the heat. The stirring uses the existing solid chocolate pieces to propagate the formation of the desirable type of cocoa butter crystals.
After a while, we can pour the chocolate into our molds. It’s pretty hard to obtain an even surface on the back with a one part mold.
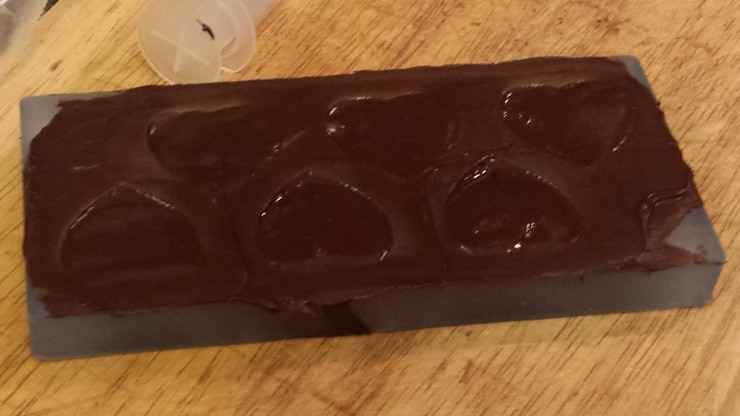
The transparency of these clear molds is very cool! We can actually see the chocolate hearts from the other side of the mold. It’s not clear from the picture, but the hearts have actually picked up every detail of the tool path from the mold.
I’m glad we did this entire process as a pair. While one of us is smoothing out our chocolate casting, the other has to keep a watchful eye on the pot, let the chocolate become too hot and lose its temper. One person would probably need some extreme multitasking skills to be able to accomplish this alone.
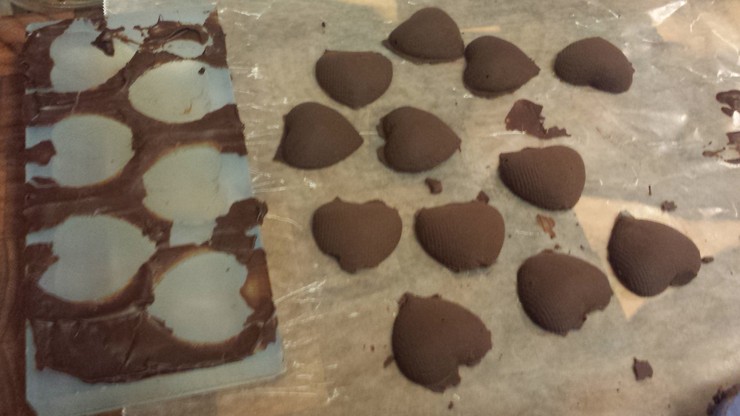
Finally, I’m finished with two sets of chocolate hearts cast from my mold. Some of them have ends broken off where the edge was attached to a thick coating. I’ll have to be more careful next time. Hope some of my classmates enjoy eating them this week.
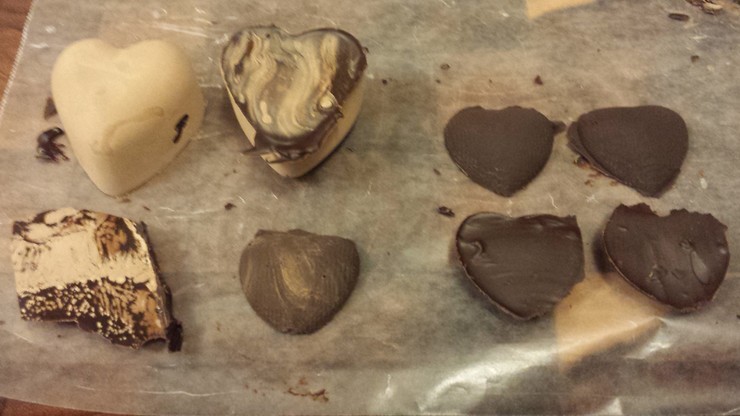
At this point, you may ask why we went to all the trouble of tempering the chocolate, with a thermometer and everything. Well, toward the end of the process, we let the bowl get too hot and the remaining chocolate lost its temper. The pieces on the left show what it looks like when these harden. Because the cocoa butter crystals are in a less stable form, they “bloom” or come to the surface of the chocolate, resulting in unsightly and unappetizing patterns. To reiterate - that’s not white chocolate on the left - it’s the same chocolate as the correctly tempered chocolate on the right. Untempered chocolate melts at the touch of a finger, has an uneven surface, and crumbles instead of snapping when broken.
What have I learned this week? Well, chocolate making is probably best left to the professionals. It’s probably too tricky and time-consuming to be worth doing at home!