laser cutting
a shelter out of cardboard
Though we all know cardboard since our childhood and are surrounded by it manifold each day, I didn’t recognized what nice material is to work with; depending on the thickness it could be surprisingly strong, and you can do interesting things such as folding following given designs by just having different depth profiles for the laser; so it’s a good idea to make a cardboard model first, especially when it comes to laser cutting recourse-sensitive materials.
I wanted to make a shelter (e.g. for homeless people or in refugee camps); so cardboard could be the shape giving support structure, a plastic foil the water protective skin.
concept and design
The shelter is built up by cardboard-bricks; 9 of them are forming an arch with an inner-diameter of 160cm (wall thickness 10cm). Each brick is laser-cutted (in my case with the 120W Epilog, 24x36 inch) - each brick consumes one cardboard of 24”x36”, single wall 3/16”). In scale, one cardboard comes to USD 1.3.
The shelter-concept uses 8 one feet wide arches, resulting in an overall length of 2.6m, yielding to an overall cardboard cost of USD 94.
The sizes are that they fit easily on 4 pallets as a basement. With some exercise it takes about 30 sec to build a brick.
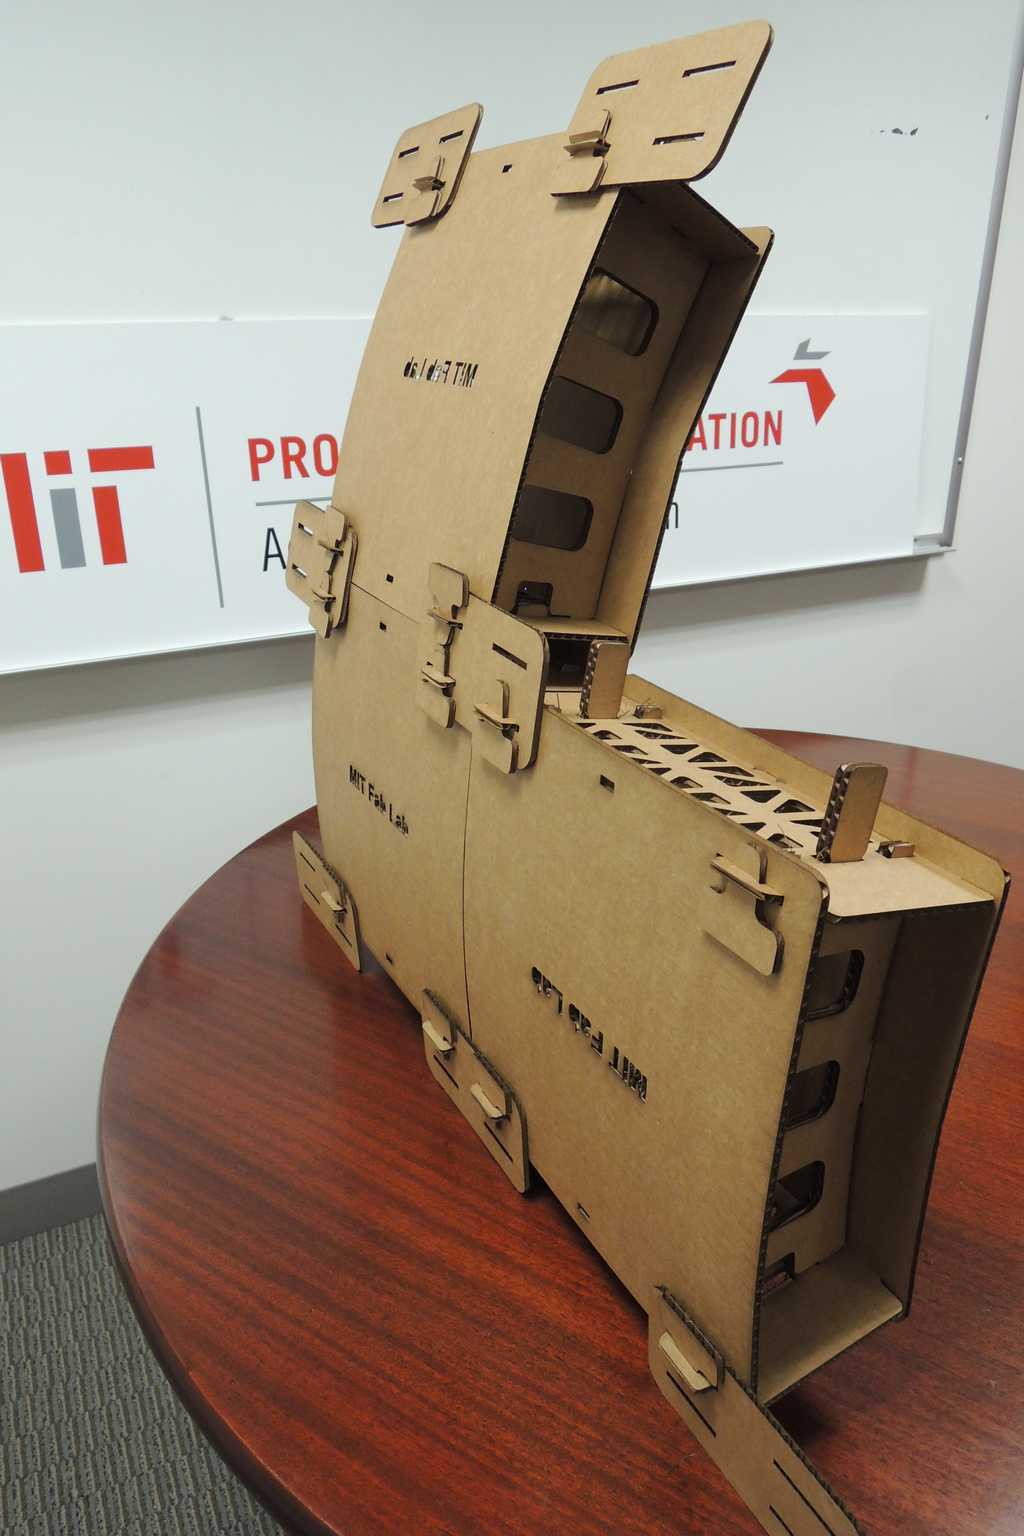
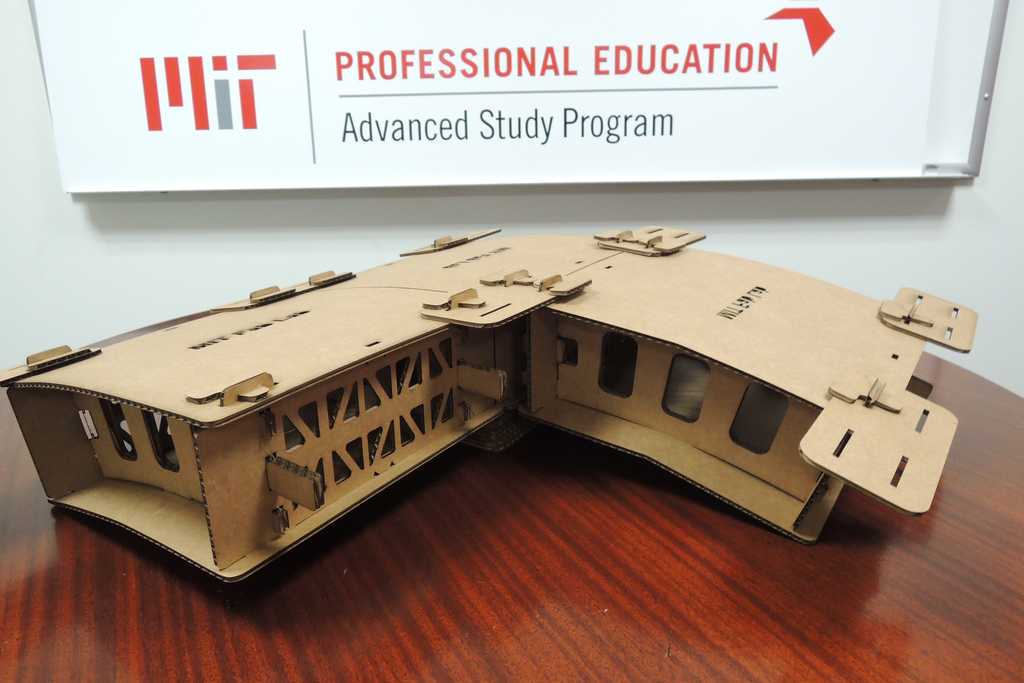
The arch is achieved by sticking the brick together like Lego, which gives some self-centering performance. Cavities in the cardboard makes the brick lighter though stable; there are no edges to avoid material stress; the cavity of the brick can be filled by isolating material. Finally, the shelter support made from cardboard is protected by a plastic-foil.
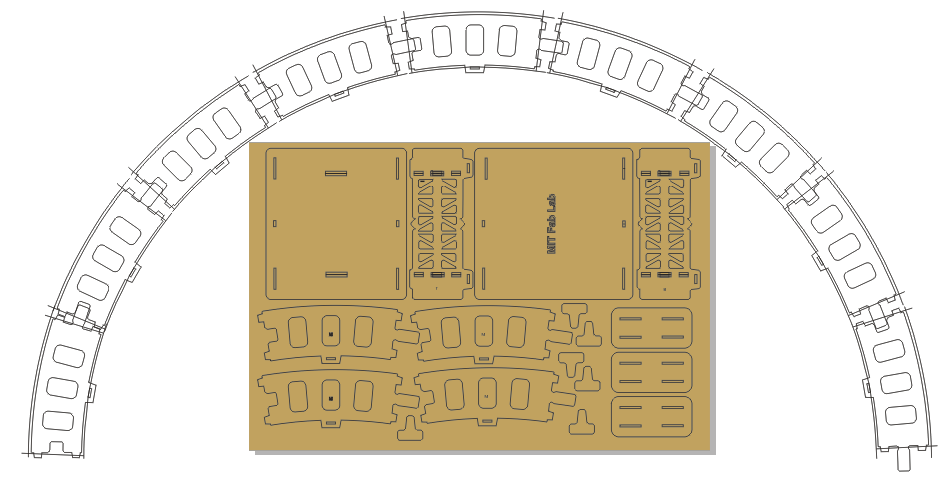
I used CorelDraw for my first design, primarily for efficiency reasons and to be able to focus on design and cutting; In retrospect it would have been possible more efficient to do it in a 3D program. Though I now CorelDraw quite well, using the clone tool was a very helpful function to implement; depending on the focus capacity of the laser as well as the material used, the laser cutted line will influence the dimensions of the final result. Especially when doing press fits you want to have exact fitting of two parts; so you will keep the final dimensions within a range, make a test-cut, and then adjust the respective parameters to fit. If you have cloned this special dimension, you just need readjust one object only, and all the cloned ones will vary accordingly. The image below shows a CorelDraw image of the arch concept as well as the laser cut design parts for on brick.
laser settings
The parameter settings for the Epilog were as follows:
- autofocus
- vector
- 36x24 inch
- 45/45/900 (speed/power/frequency)
- 600dpi.
Only one power setting was used (one color layer - by default the 1 layer is in black). Be sure you have set "Hairline" to all your lines. Before you use the laser clean the lens, check if the work bench is adjusted to the right height, and control that the printer job is sent to the right printer.
The laser then drives to the first object to laser and makes an auto-focus adjustment; To balance for uneven laser focus over the working area, printing can be sectored and the laser power adjusted; it can also be helpfull to just laser cut the same job twice.
assembly of single bricks
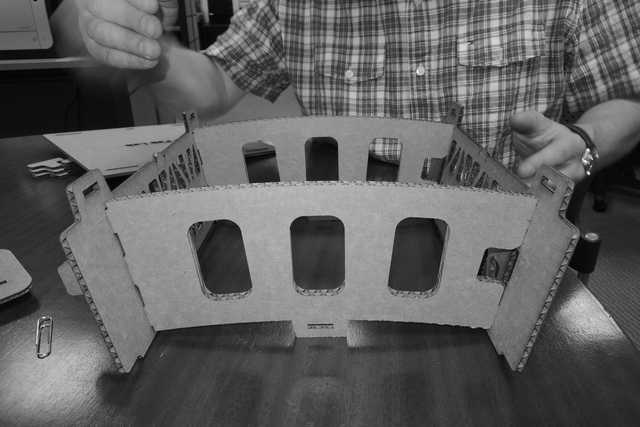
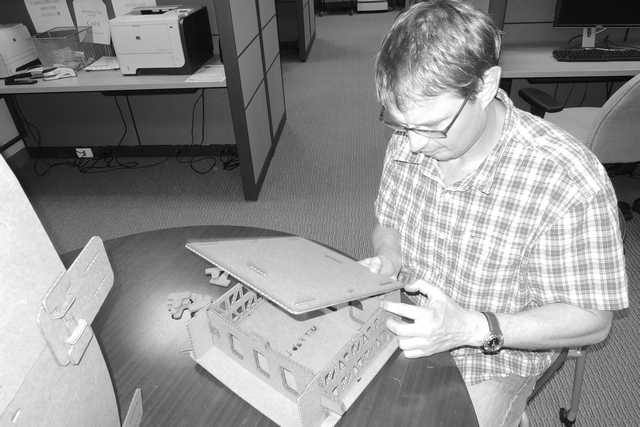

all bricks together
In figure 3 three representative bricks connected to each other; the arch is already indicated, and the connecting mechanism, both in the horizontal as well as in the radial dimension can be seen.