composites
layout
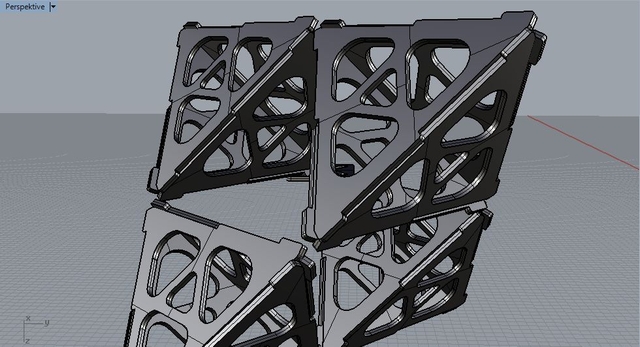
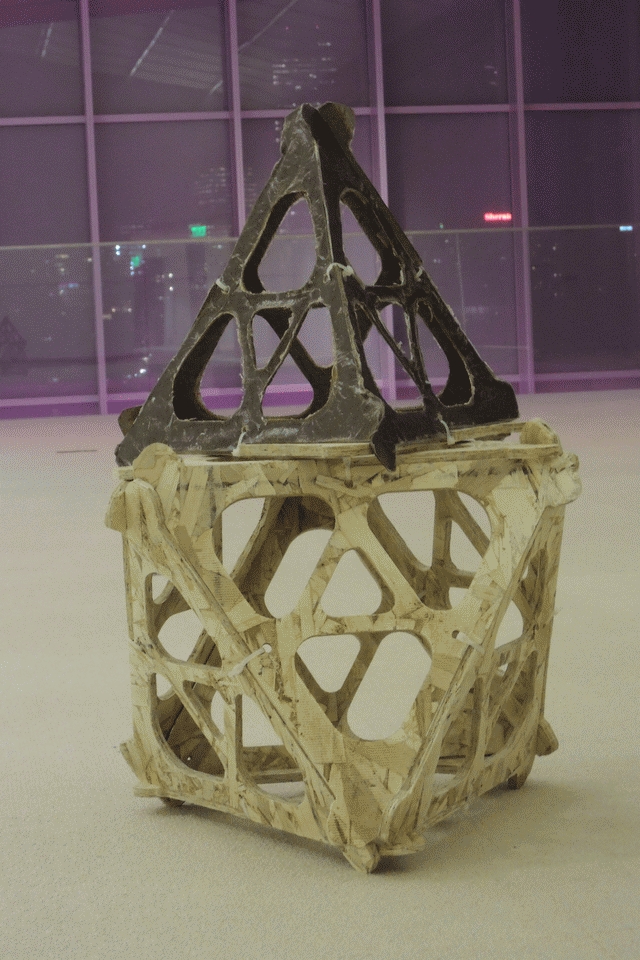
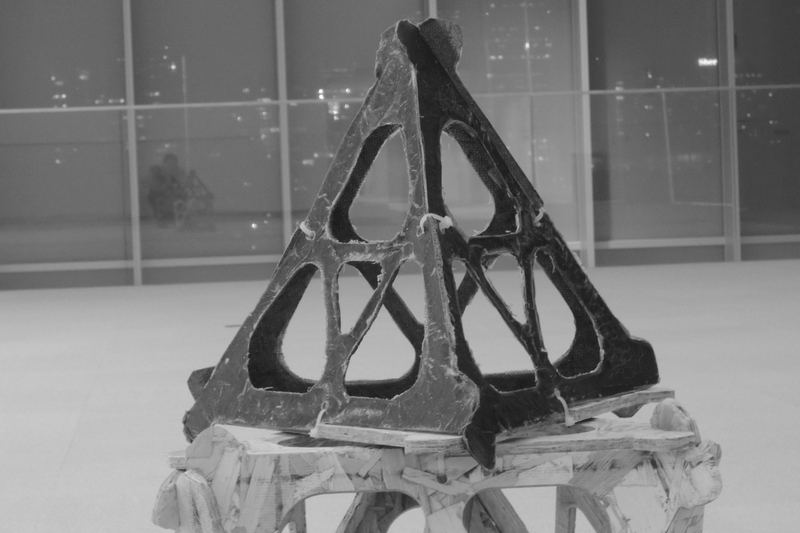
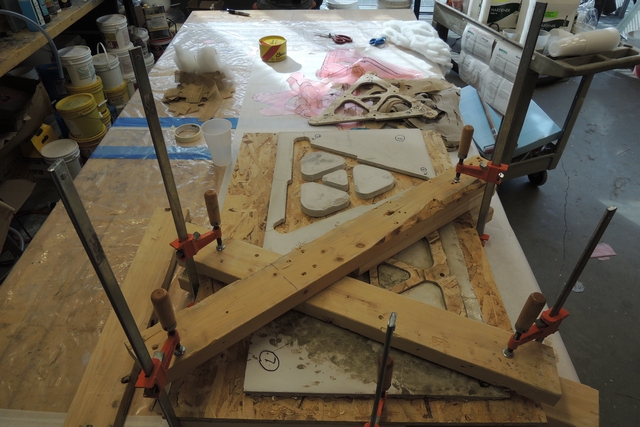
As a layout I used the same basic structure as for the computer controlled machining week: an equilateral triangle (four of them are forming a triangular pyramid, as shown in figure 1); This time I used the wooden structure as a positive mold to make a negative hydro-stone mold for compression molding. The idea was to have to sides where I could work independently, and to "cast" 2 to 3 composites on each sides imultaneously.
laser cutting
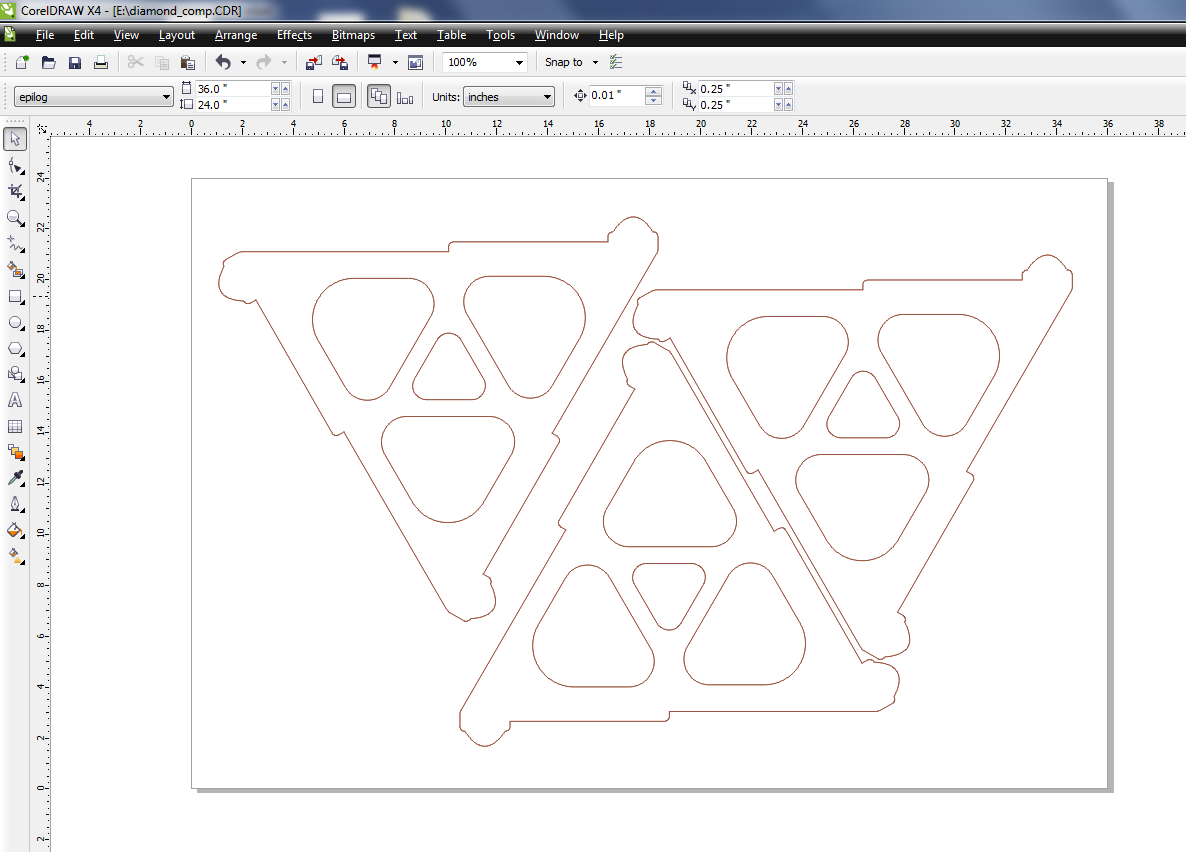
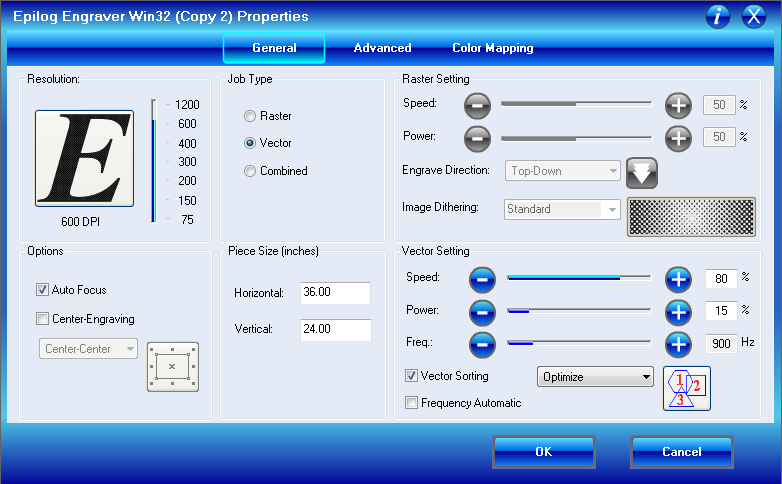
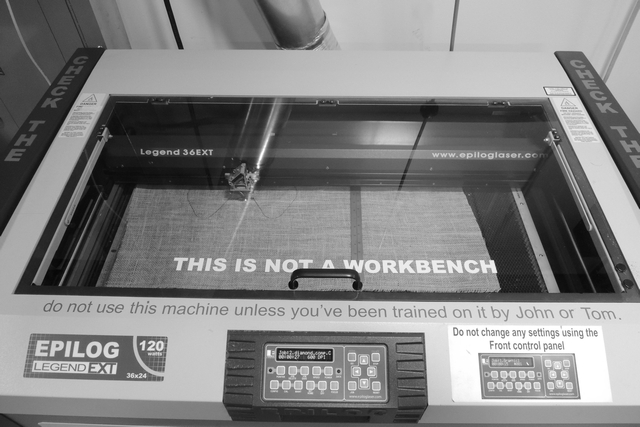
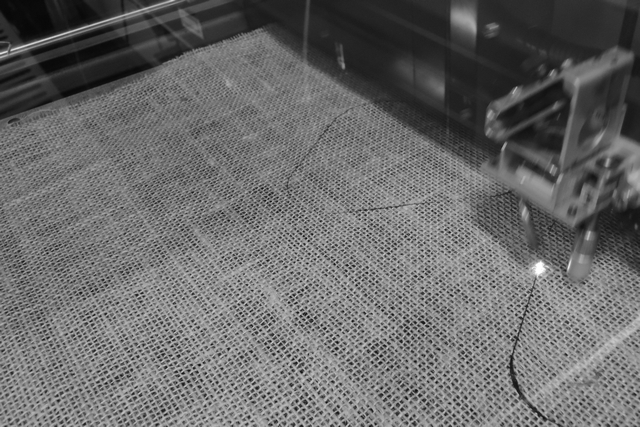
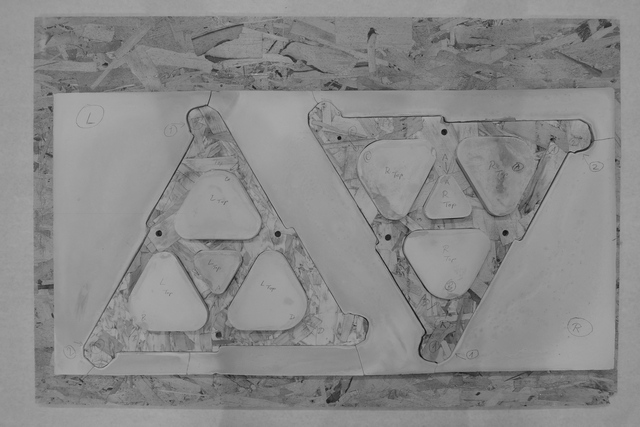
Both, the burlap as well as the linen could be cutted reliable and fast with the epilog laser; figure 2 shows the design arrangement (xdf-file imported in corel draw) and the laser settings (speed = 80%, power = 15%, frequency 900Hz). Figure 3 shows the epilog laser in action.
hydro-stone cast
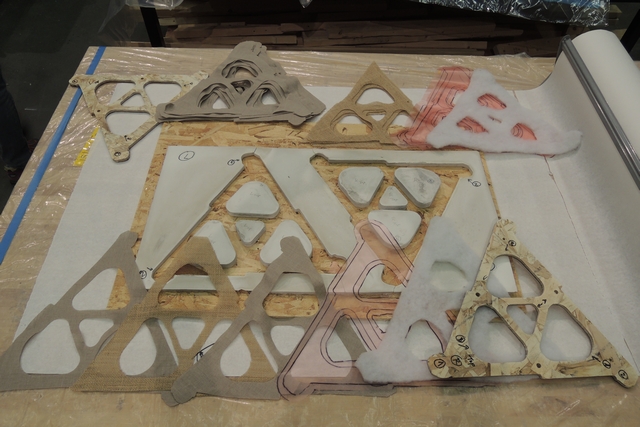
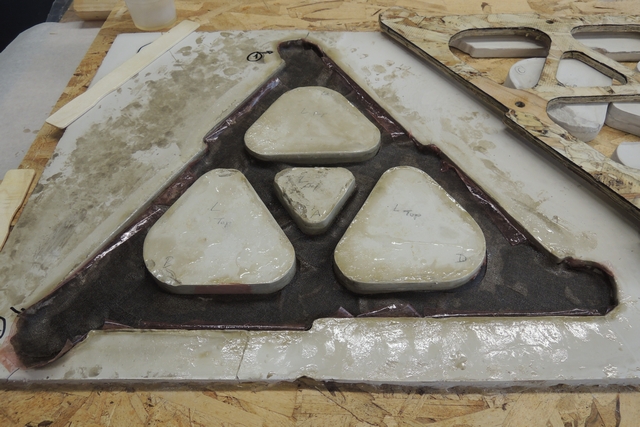
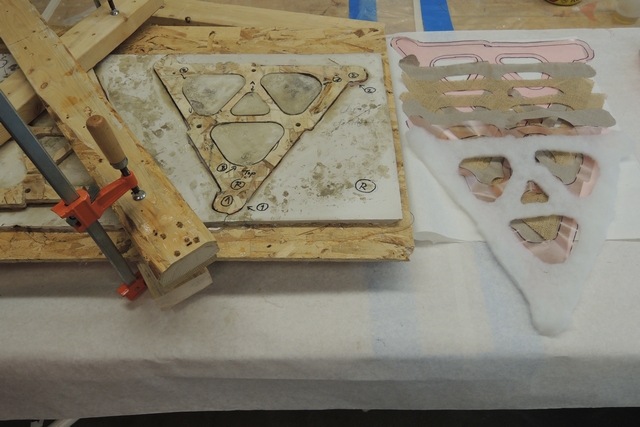
Figure 4 shows the negative mold (hydro stone) resulting from the two wooden positive molds. Though I used a release spray, the wooden molds did not release easily; though I had carefully sanded the , primarely since ; ; on the right you can see all different layers required for the composite-process.
making the composite
In the follwing you can see the single steps required to make a simple composite out of textile and epoxy:

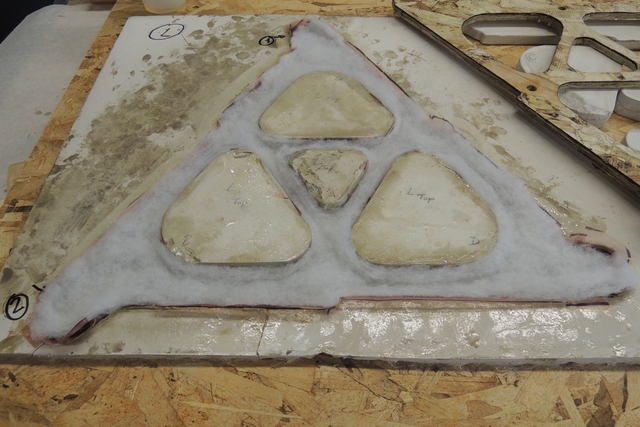
The hydro-stone cast has two sides for compression molding, so I could work independently on two mold, let one cure, and added another one on the top; it was thought for 6 composites, up to know I did three. However, the composite was easily to be released and the wax-coated hydro-stone cast as well as the wooden stamps are fully intact and could be used for additional composites.
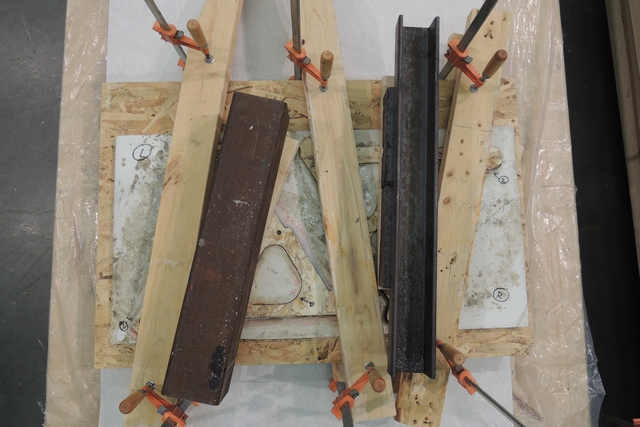
result
The composite was surprisingly easy to be removed from the cast; I had overdone the protection with the anti-sticking layer on the edges of the cast; the wax would be more than sufficient. Therefore, the anti-sticking layer gets it between the textile layers some time, reducing the layer-bonding. After 4 hours of curing, the composite was still comparable flexible, so it was easy to rework it with a sharp knife to remove some artefacts. After first documentation (see figure 8) I put the three composites between two wooden parts and clamped them strongly together. Some parts, especially on the larger outer surfaces o the structure, indicated the possible strength of the fully cured composite.