Reaction Coordinate Potential Energy Surface
Foam square. Antimony. Fab Modules. Shop bot. It’s happening…
A marble rolling on a concave surface is subject to an acceleration of (g sin(theta)), something gradient, complicated by something angular momentum with the contact patch offset from the center of gravity. All this results in a trajectory on the surface, and oscillation.
Other potential energy surfaces in the demonstration collection are 1/r of wood, wide and shallow, 1/r of Z-machine plaster finished with epoxy, roughly cubic, and Leonhard-Jones in wood. Models of phase behavior are made of painted plaster. I will be making my mold out of blue foam, and casting it in DryStone plaster.
Starting with a 24″x24″ foam block, I tacked to the surface of the sacrificial layer with hot melt glue. I had the glue gun on hot. A better process would have been to glue the foam to a backing board, with the lower setting on the glue gun to reduce the amount of time waiting for the glue to cool thereby to set and hold. The backing board would then be screwed to the sacrificial layer.
At the encouragement of NG, I downloaded the latest build of Antimony by Matt Keeter. I clicked and dragged until I managed to make a cube((0,0,0),(24,24,2)). With that success under my belt, I proceeded to make spheres to subtract from the cube, now more like a pizza box. Position them parametrically so that they would cut the pizza box cube from above, to 3/8″ of the bottom surface. I adjusted the radius and height to place the spheres in a square arrangement above the box.

Two of the spheres are stretched in the x or y direction, using the deform.scale() function. The smaller round sphere cuts to 1/2″ from the bottom, making it a higher potential energy. I used CSG.difference to remove the sphere volume from the box, and the output shape from each difference as input for the next difference. This might also work by adding all the spheres and subtracting once. I really like Antimony now that I have a sense of how the interface works.
I saved the surface as a height map .png, at the highest resolution. Upon reflection, the frame around the image is redundant, adding to the machining time by cutting air.
The first board I cut I used the software supplied with the ShopBot, and started the roughing cut. The depth was too large, and if finished would cut through the board. Remembering the fab modules, I stopped the cut, and re-calculated both cut paths. The PartsWorks3D cut path had already removed some high spots, so after a short while I stopped the job, replaced the foam, and started over.
The rough cut was made with a long 1/2″ bit, and the cut path by the fab module was 1/16″ lower than the eventual finish cut, which was made with a 1/8″ long ball end mill. The overlap was 50%, which is too little for a cut like this, even with the diagonal cross pattern.

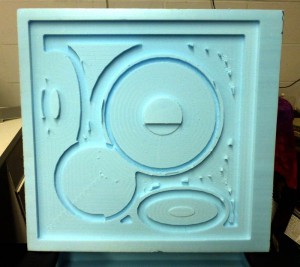
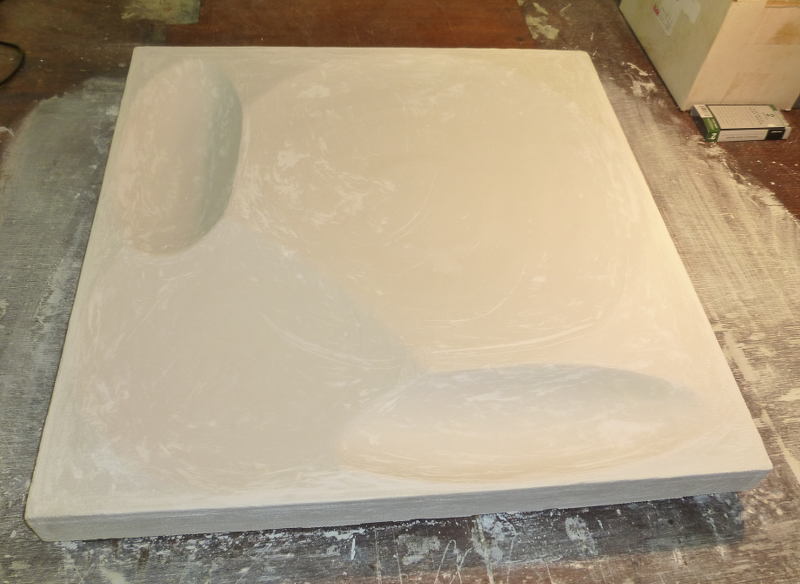
The finished foam after cutting. The ding on the small round was the result of dropping the 1/2″ bit when removing it after the rough cut.
The next step involved gesso, three coats of regular, then three coats of hard gesso, with sanding in between applications. Another approach which I considered as I waited for the gesso to dry, was to cut the form with higher rough cut, and a higher resolution fine cut, followed by application of hot air from a heat gun on medium.
I experimented with scrap foam and the heat gun, and found that the surface did not slump as quickly as I expected. The shiny, heat sealed surface would make a nice mold. I will leave that for the next iteration of the model.
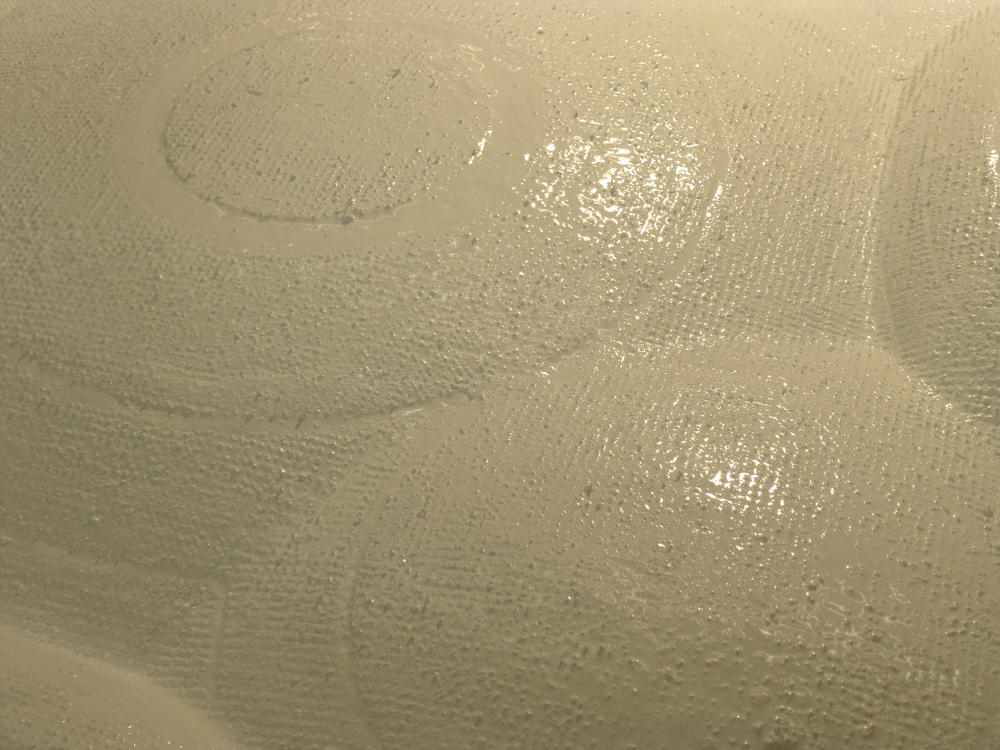 A close-up of the surface with the first coat of gesso. The cross hatching is visible, as well as the remains of the rough cut.
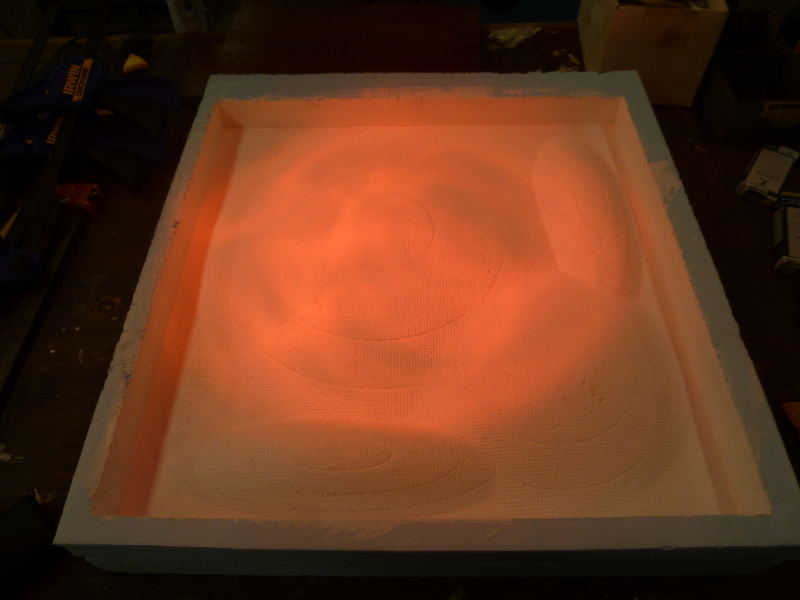
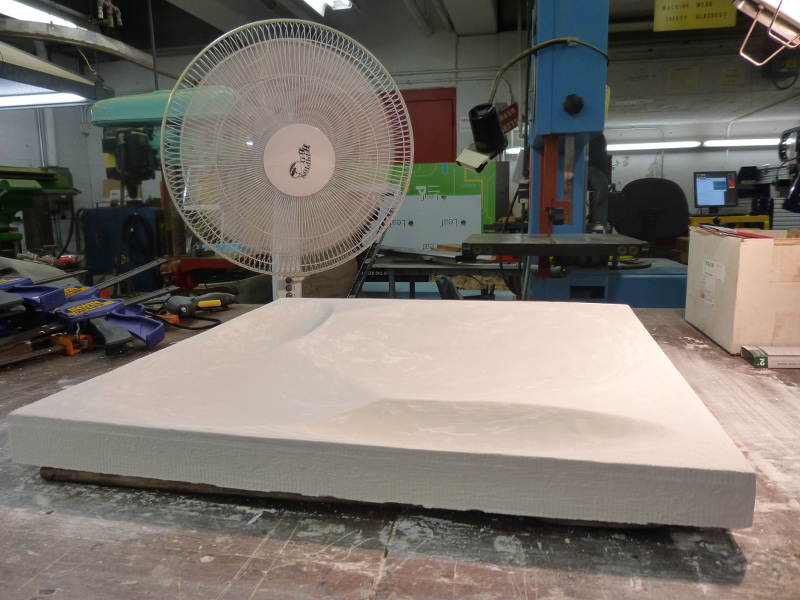
The drying time was hastened by adding a fan and a heat lamp to the work area.
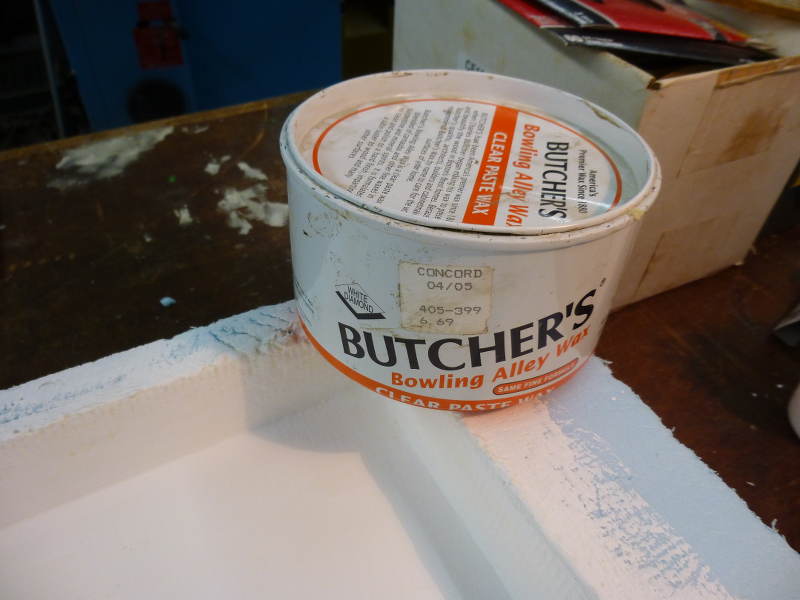
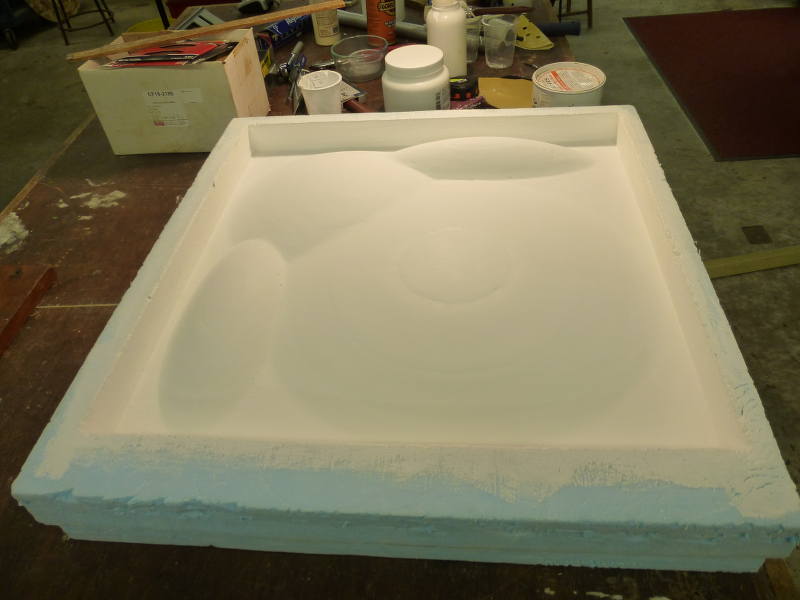 The last coat of hard gesso was sanded and the dust removed, and a layer of wax applied as a mold release agent.
Finally, I mixed up a big batch of DryStone plaster, and filled the mold. I didn’t take any pictures, because I was busy dealing with the overflow and mess. No time, and no desire to wreck the camera. Waiting for the plaster to set gave me the time to mop up the place. When the plaster was set and getting hot, I inverted the mold, flexed the sides a bit, and popped out the piece.
Cooling the piece, per instructions on the package.

Testing the surface with plexiglas spheres, and below are two videos of the spheres rolling on the surface.
fin