2D Cutting and Picking
I had a great time with the Roland Camm1 vinyl cutter, using the fab module.
I learned that the vinyl cutter has to be set to accept parameter changes from the fab module, and that the mod_server.js will look at the local file mod_defaults.js, which would allow us to print from Windows without pasting in the printer path each time.
For my laptop sticker, I downloaded a grey scale bitmap image of a letter and line representation of a benzene molecule.
I used the fab mod to trace the bitmap, varying the threshold to change the line thickness, settling on 0.6 for the file.
The following was cut at 200 dpi, 70gf and 2 cm/s, resulting in a 3″ x 3.5″ decal.
Weeding on the adhesive tape lets me me apply the decal with no post processing.
An alcohol wipe of the target surface to remove finger grease, then wait a minute for evaporation. Apply and burnish. Pull the backing off at a sharp angle. The blue tape releases well and is very flexible, more so than the [other sticky backing material].
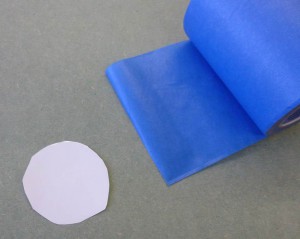
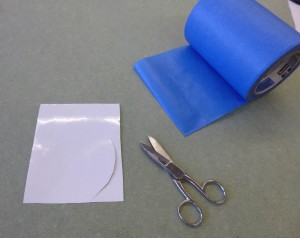
A small graphic of a benzene molecule, cut on the vinyl cutter, is trimmed before fixing it to blue masking tape.
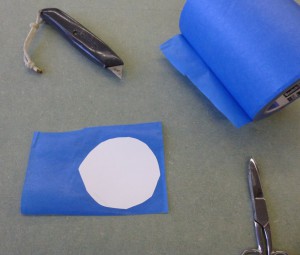
Vinyl side down on the low tack blue masking tape, adhesive side up.
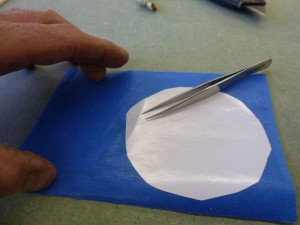
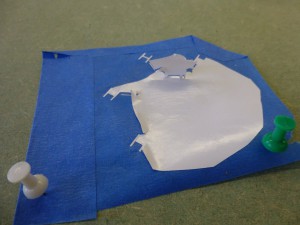
Starting to pull the vinyl away from the tape, slowly and carefully.
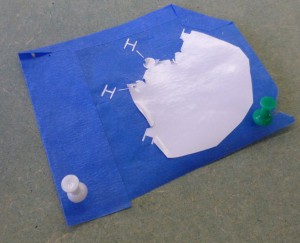
As each section around the edge came up, I cut away the excess with scissors, to keep the waste from grabbing adhesive to adhesive. A previous attempt failed in seconds, when the near 180° pull shear angle dipped and adhesive grabbed. Woops, good thing I made three of these.
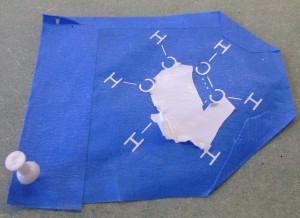
Getting there. Folding the blue tape onto itself made the tape backing easier to hold down, when applying counter force to the peeling.
The tiny rectangles of the partial bond need to be carefully managed to keep them in place on the blue tape. So close…
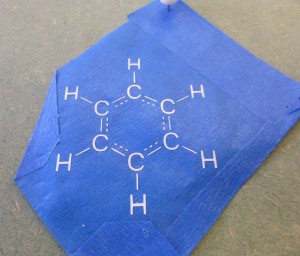
The finished product, which application to my laptop cover, burnishing and peeling, went smoothly with a complete transfer.
