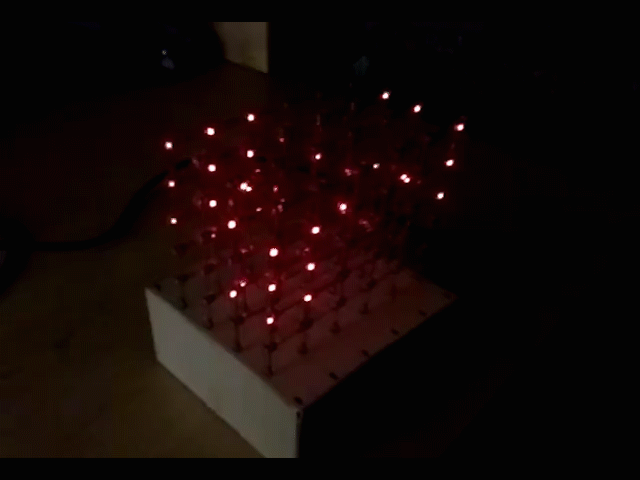
My final project is an LED cube that can display various visualizations.
The first step for the final project was completed in week 13. In week 13 I built
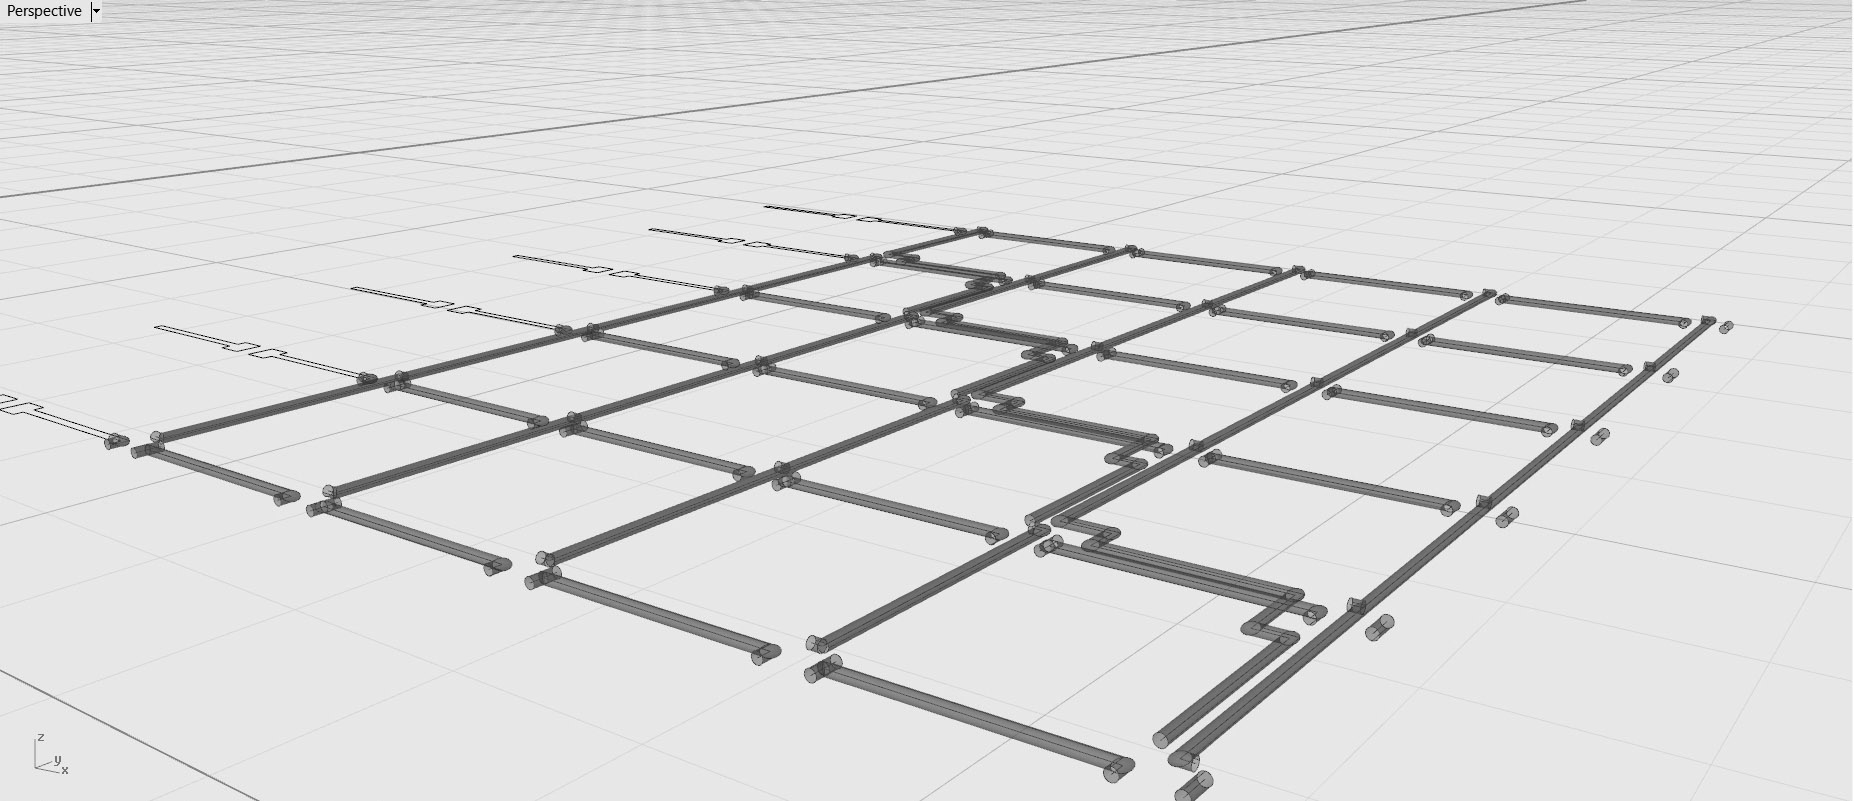
a charlieplexed LED array. The circuit design was done in Rhino. I used the pipe
command, unified with cubes, to create the squares for the components. Then I cut
everything with a plane to create the traces.
I decided to create a new version of the array to solve a couple of problems. First,
I wanted the array to be bigger than the size of the PCB boards. Furthermore,
in the last version I had faced a problem with the diagonal LEDs of the array which were
not working. I realized that there was a mistake in my old traces so I had to redesign
them.
Old vs New Traces

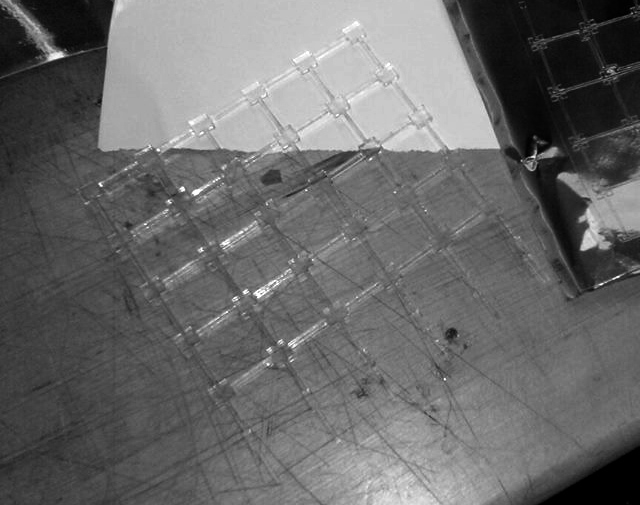
In the new design I used Plexiglas to create the base of the traces. I used Plexiglas
in order to make the LEDs more visible from every direction.
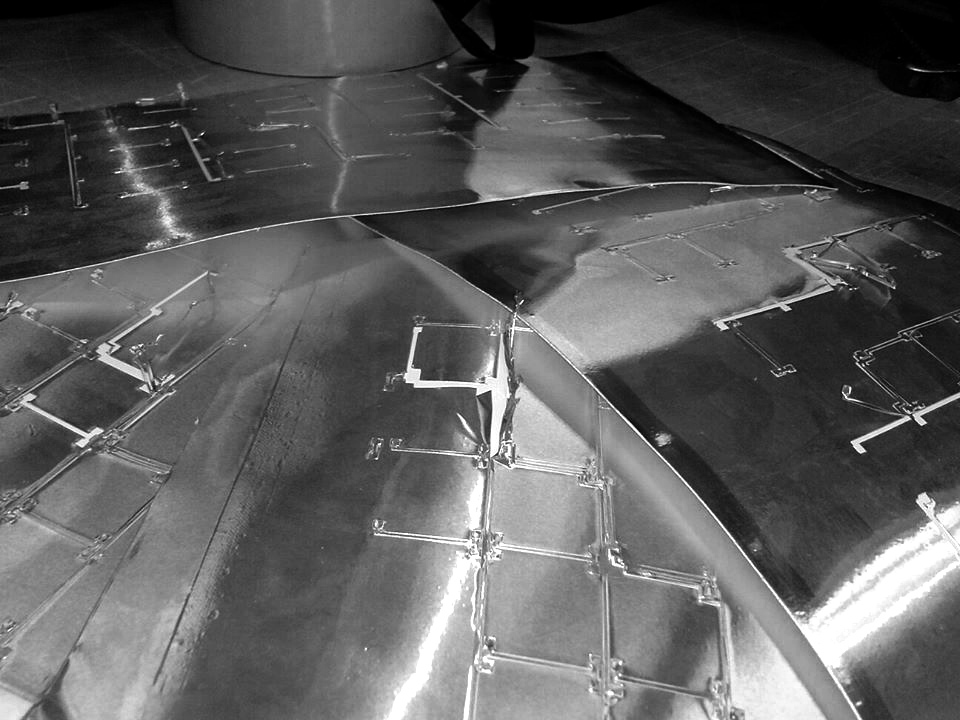
I cut the traces in the vinyl cutter. It turns out this was a big mistake. I had huge
problems using it since it was really unreliable. Parts of the traces were not fully
cut while other parts were cut very deeply. Also, traces that were close together were
torn.
A solution to that was to move traces that were not connected away from each other,
which made it better but still didn't solve the problem completely. In some cases
where this was not possible, I had to use less force and separate some parts with a
X-acto knife. The other part that unfortunately did not work was transferring the traces
by double-tape. Some parts had copper bridges so they could not come of and others
would get torn. After extended trials I decided that it was not possible, so I decided
to remove and apply every trace by itself. This was a long and frustrating procedure.
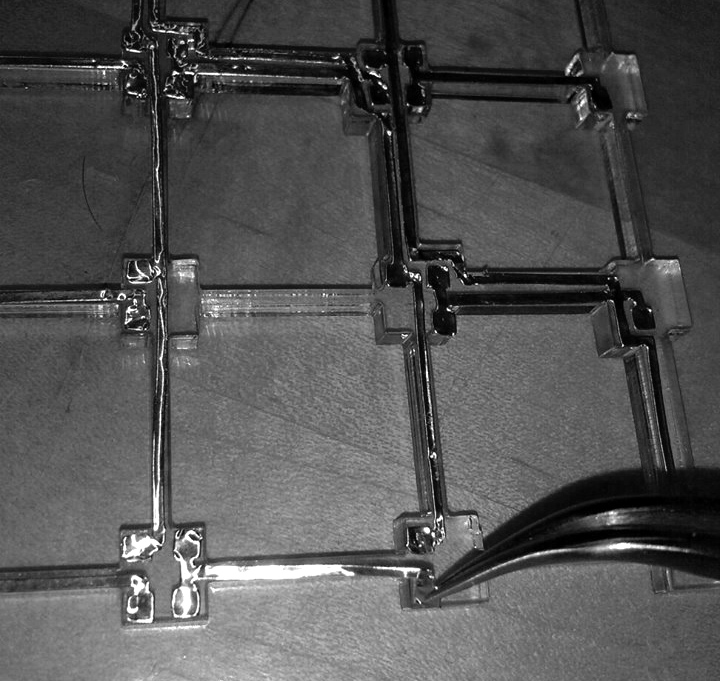
After applying the traces I had to stuff the traces. This was hard as well, because
the iron could not be applied for a long time or it would melt the Plexiglas.

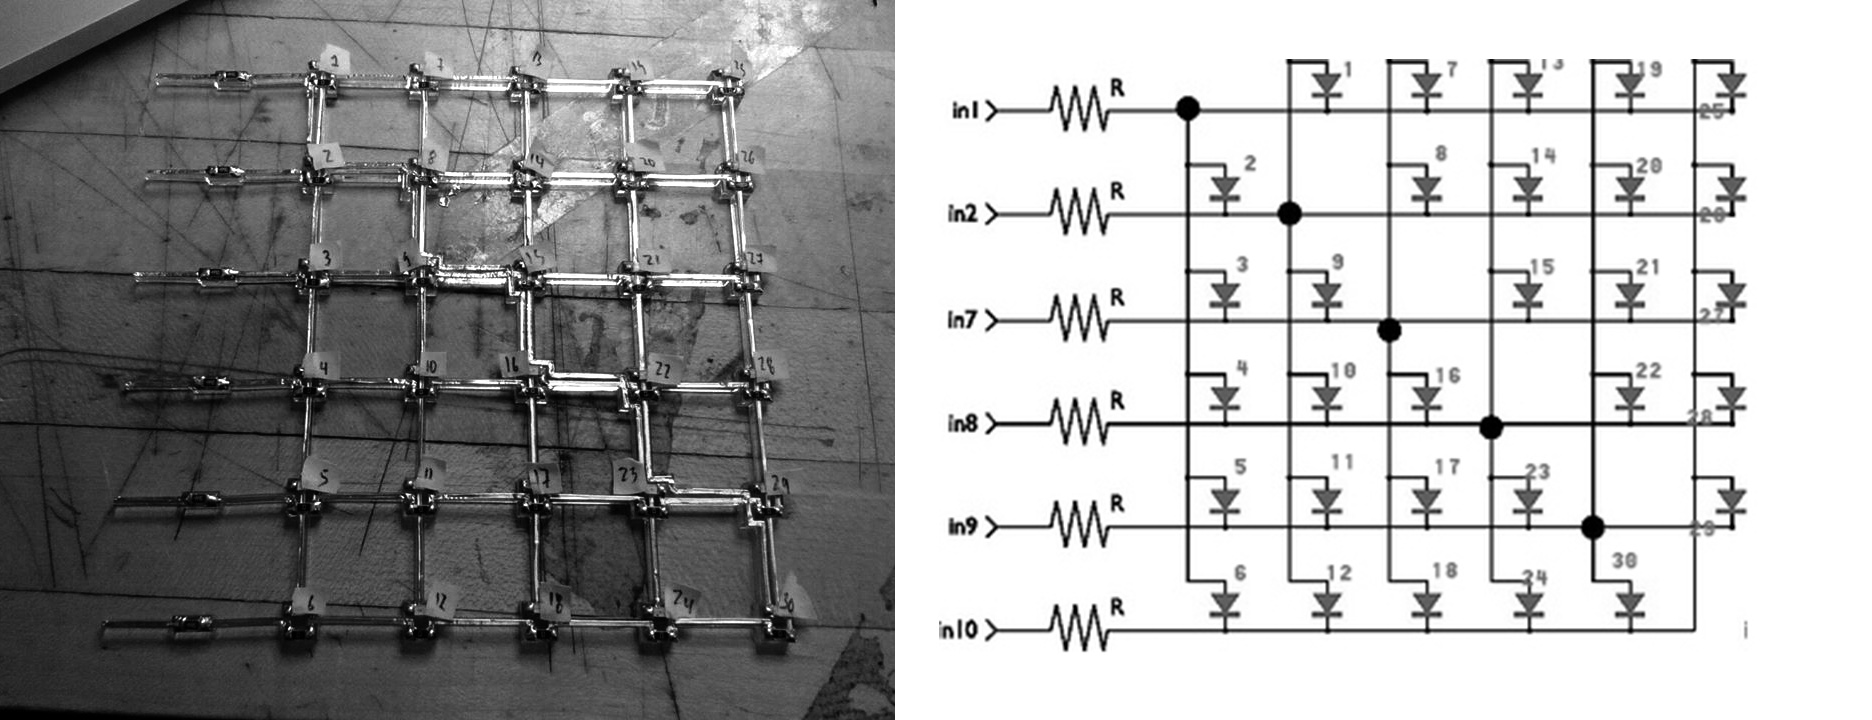
Final traces and correlation with the schematic
In the first array I had a lot of short-circuits. It was pretty easy for the copper to
slip on the Plexiglas and touch a nearby trace when heating it up. After I founded
the sources of the problem I was really careful in the other arrays and I avoided the
problem.
After I finished with the arrays I cut the box for the arrays in the laser cutter
and assembled it. I wanted to create a board for each array and make them communicate
with serial. However, the previous procedure was extremely time-consuming so I used an
Arduino Mega instead. I explain the way charlieplexing is programmed in Arduino in week
13. In order to program the arrays as a cube I created a function that could address
every LED as part of a 3d array.
Final LED cube generating random patterns